Houdini Render Came Back Different: Missing Caches, Paths and Versions
If your Houdini render farm output looks unexpectedly different from your local viewport, you are likely facing missing caches, broken file paths, or version mismatches. When transferring a complex scene to a remote node, subtle discrepancies like unbaked simulation data, absolute path references, or minor build differences between Houdini and plugin renderers like Arnold or Redshift can silently alter your final frames.
In this guide, we will break down the primary reasons your renders diverge and show you how to fix path dependencies and environment settings for consistent results every time.
Why does my Houdini render look different on another machine?
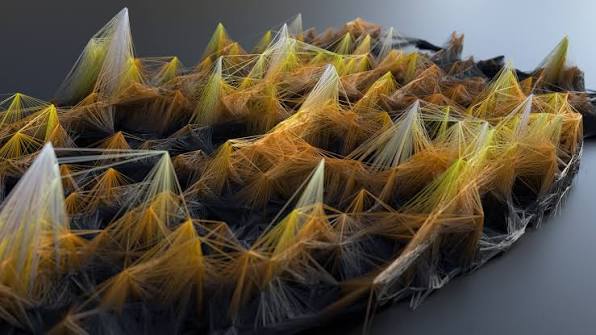
Image Source: Mapzilla
The scene did not break. The environment it was opened in was different from the one it was built in, and five causes account for nearly all of these differences, roughly in the order you will meet them.
External caches that never travelled. The most common by a distance, and the one specific to Houdini.
Paths that only exist on your machine. Second most common, and the one that takes texture and asset references down with it.
HDAs missing or on a different version. Nodes fail to build, or build differently.
Version drift in Houdini, the renderer or a plugin. Defaults and algorithms change between releases.
Color management differences. The least suspected, and the reason a frame can be correct in every other respect and still look wrong.
Missing caches: the Houdini-specific trap
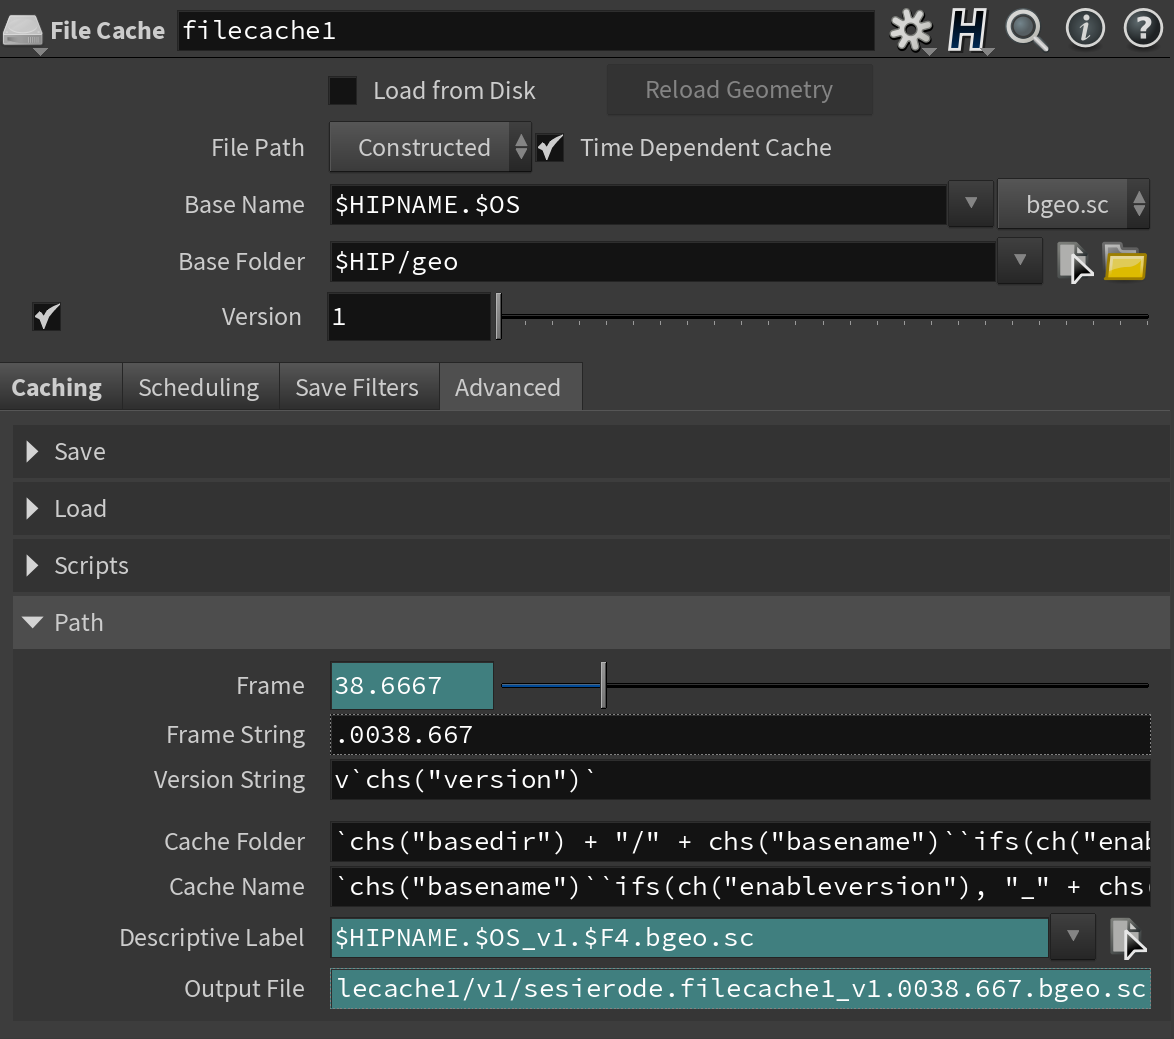
Image Source: Side FX
Your .hip file stores the path to a cache. It does not store the cache. A File Cache node pointing at a .bgeo.sc or .vdb sequence holds a reference, and if that sequence never reached the render machine, the node evaluates to nothing.
Nothing is what makes this so expensive. A missing texture usually leaves an obvious grey or magenta surface. A missing volume cache leaves empty space. Your pyro is gone, your FLIP surface is gone, your crowd sim is gone, and the lighting, the camera move and the environment all come back looking exactly as intended.
Two signs identify it from the frame alone. Simulated geometry or volumes are absent while everything else is correct. And the shot looks like an earlier version of itself, the one from before you cached the sim. To check before you send, open the File Cache and File nodes in your scene and read where each one points.
Paths that only exist on your machine
A scene remembers where its files were, and D:\work\shot_040\cache\ means nothing on a machine that has no D: drive. This single cause takes down caches, textures, HDRIs, alembic files and point clouds together, which is why a scene can arrive looking stripped rather than slightly wrong.
Houdini solves this with variables, and the documentation is specific about which ones. $HIP holds the parent path of the scene file, so $HIP/geo/pyro.bgeo.sc follows the .hip wherever it goes. $JOB points at the project root, which you set through File > New Project or File > Set Project, and its value is saved with the scene file.
For work that leaves your machine, $HIP is the safer of the two. Since $JOB is stored in the .hip with whatever value you gave it, a project root that exists only on your workstation arrives on the render machine as a path to nowhere. There is a menu item built for exactly this moment, and few people use it. Render > Preflight lists references in the current scene to resources outside the project.
Version drift in Houdini, renderer and HDAs
Two machines on different Houdini builds can produce two different images from the same file. Default parameter values move between releases and solver or sampling behaviour gets revised, so a scene opened on a newer build is not necessarily the scene you saved.
Renderer and plugin versions do the same thing and are harder to catch, because the scene still opens and still renders. Nothing announces that the version underneath changed. You only find out by comparing frames.
HDAs deserve their own line. A digital asset that is missing leaves a node that cannot build. An asset present at a different version builds something, just not what you built. Embedding your HDAs into the scene file before you send it removes both problems at once. Write the Houdini build number, the renderer version and the plugin versions into the project folder as a text file.
Color management
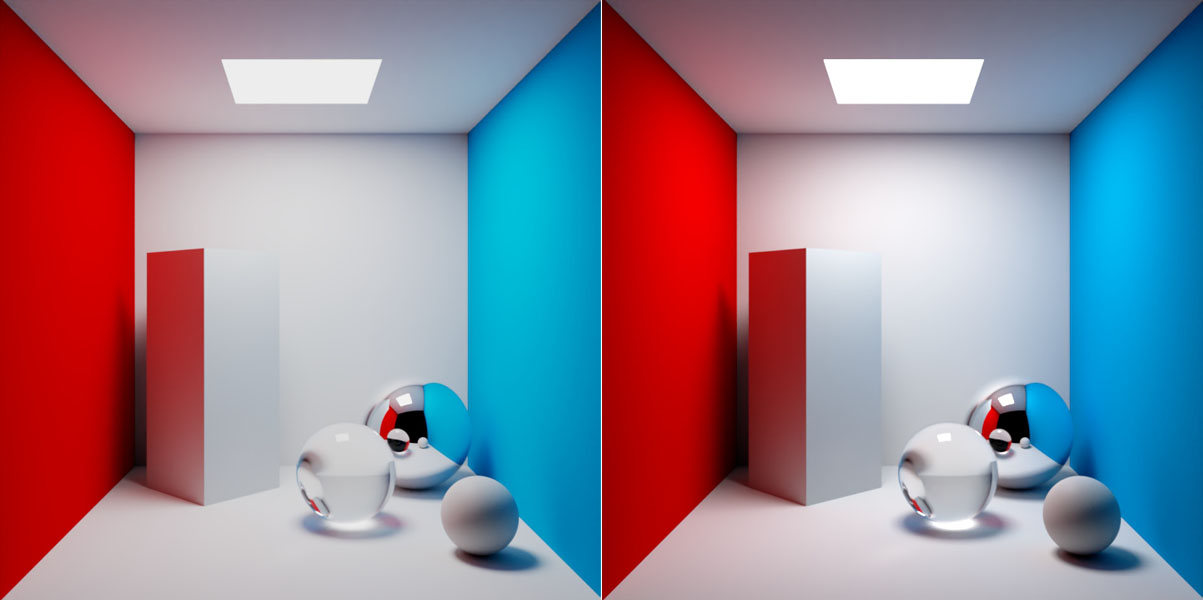
Color Management in Houdini - Image Source: SideFX
This one arrives last in most people’s diagnosis and it should probably arrive first, because everything else in the frame can be correct while the image is still wrong.
If the colour configuration on the render machine differs from yours, the transforms applied to your image differ too, and what comes back is shifted in colour or in brightness. If your studio uses a custom OCIO configuration, that configuration has to travel with the job, exactly like a texture. Output format decides how much this costs you. Render important work to linear EXR and a colour difference stays fixable in comp, because the data is still there. A PNG has the colour transform baked in at write time, and recovering from that means rendering the sequence again.
A pre-flight check before you send the job
- Run Render > Preflight and resolve everything it finds outside the project.
- Convert absolute paths to $HIP, and confirm no reference points at a drive letter or a network share only you can reach.
- Upload the caches, or confirm they are already on the render machine.
- Embed your HDAs into the scene file.
- Record the Houdini, renderer and plugin versions.
- Render one frame on the render machine and compare it against your local version before submitting the sequence.
iRender Provides RTX 5090 Cloud Server Configurations for Houdini Rendering
iRender provides an enterprise-grade Bare-Metal Infrastructure-as-a-Service (IaaS) architecture:
You rent an entire remote machine by the hour, with RTX 4090/5090 cards (up to eight per machine), an AMD Threadripper PRO CPU, 256GB of RAM and fast NVMe storage, and install your own Houdini build on it. The free iRender GPU app uploads your files to a network drive that syncs to the machine, even while the machine is switched off, so your asset library and any caches you do need are waiting on the Z: drive when you boot. Better still, run the sim on the machine. The Threadripper and the 256GB of RAM are what a solver leans on, the cache is written where it will be rendered, and your upload shrinks to the .hip file and the assets it references.
- Package 3i (1x RTX 5090): AMD Ryzen Threadripper PRO 5975WX, 256GB RAM, 2TB NVMe
- Package 4i (2x RTX 5090): AMD Ryzen Threadripper PRO 5975WX, 256GB RAM, 2TB NVMe
- Package 5i (4x RTX 5090): AMD Ryzen Threadripper PRO 5975WX, 256GB RAM, 2TB NVMe
- Package 9i (8x RTX 5090): AMD Ryzen Threadripper PRO 5975WX, 256GB RAM, 2TB NVMe
Billing on iRender begins the moment the machine boots, whatever your upload or your first frame is doing. Boot a machine and then start a long upload, and you pay for hours of a workstation doing nothing. Upload through the app with the machine off, confirm the sync has finished, then boot, and switch on auto shutdown before the job starts. Let’s watch the tutorial video to see how our service works:

FAQ
Q1: Why is my volume missing in the render farm output?
The render machine almost certainly could not find the cache file for that volume. Houdini stores the path to an external cache in the scene file rather than the cache data itself, so if the .bgeo.sc or .vdb sequence did not travel with the job, the node evaluates to nothing. The rest of the scene renders normally.
Q2: How do I make my Houdini scene portable between machines?
Use $HIP rather than absolute paths, since it holds the parent path of the scene file and follows the .hip wherever it goes. Send the full set of textures and caches with the job, embed your HDAs into the scene file so no digital asset has to be found elsewhere, and write down the Houdini and renderer versions the project was built with.
Q3: Why are the colors different in my Houdini render output?
The color management configuration on the render machine is probably not the same as yours, so a different set of transforms was applied to your image. If your studio uses a custom OCIO configuration, it has to travel with the job in the same way a texture does.
Maximum Speed – Absolute Freedom
Related Posts
The latest creative news from Houdini Cloud Rendering , 3D VFX Plugins & Cloud Rendering.