Render Artifacts and Fireflies: Why Your Output Looks Wrong
A render can finish successfully and still leave you with a problem. You may open an overnight render and find tiny bright dots, strange streaks, or patches across surfaces, then wonder whether the whole sequence needs to be rendered again. Before you decide to increase samples, identify the artifact first. The right render artifacts fireflies fix noise workflow starts with diagnosis. Fireflies usually come from rare, extremely bright light paths, while ordinary grain is often a sampling problem. Flicker between frames points toward temporal instability, and jagged edges usually need better anti-aliasing rather than more denoising. Each problem has a different cause, so applying the wrong fix can waste hours of render time.
What kind of artifact are you actually looking at?
3D renders can fail visually in several different ways, even when the render completes normally.
-
-
-
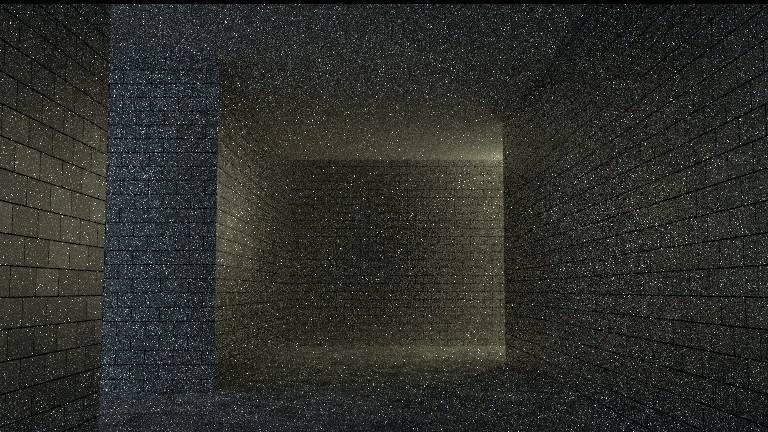
- Fireflies: tiny, extremely bright dots, often caused by difficult light paths, caustics, or sharp reflections.
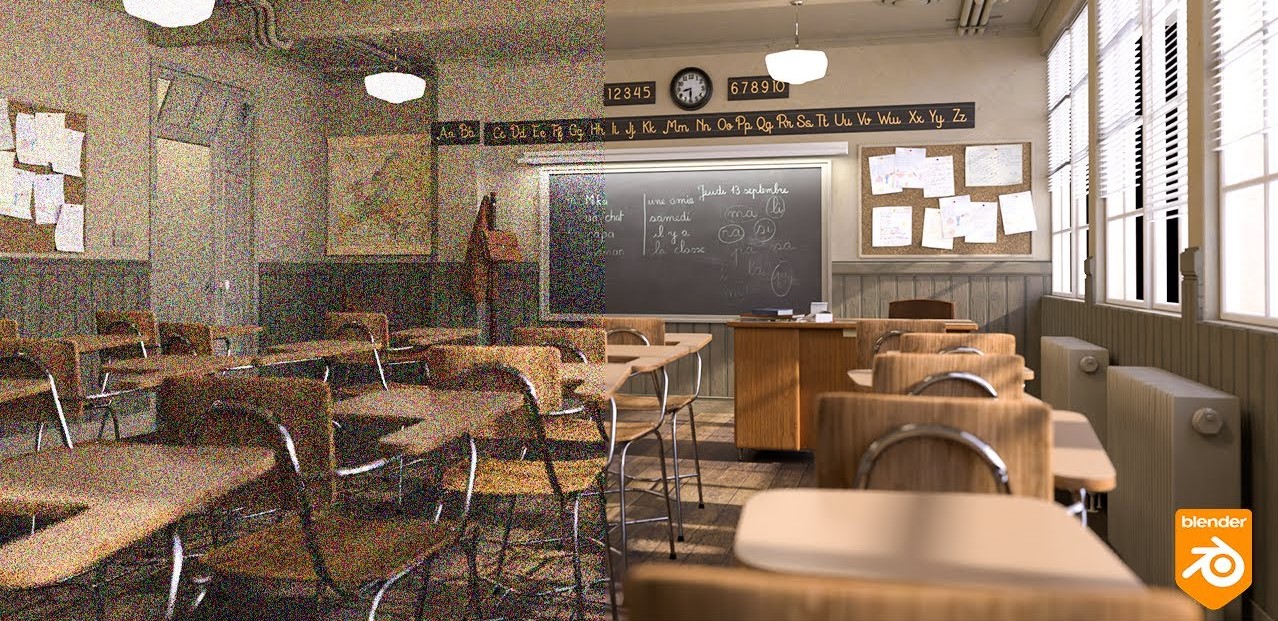
- General noise: evenly distributed grain across shadows, reflections, or darker areas, usually caused by insufficient sampling.
- Streaks or patches: unusual bands or blotches that can come from lighting, materials, ray paths, or insufficient samples.
- Flicker: brightness or noise changes from frame to frame, often caused by unstable sampling, lighting, reflections, or denoising.
- Jagged edges: stair-stepped outlines around geometry, commonly linked to insufficient anti-aliasing or sampling.
-
-
If the problem is misidentified, increasing samples may do little, while a denoiser can sometimes hide symptoms without fixing the source.
Fireflies and where they come from
Fireflies appear as isolated points of intense brightness that stand out from the rest of the image. They usually occur when a small number of samples encounter extremely bright light paths, such as indirect lighting, caustics, tiny powerful lights, or highly reflective materials.
Fixing fireflies without flattening your image
In Blender Cycles, Clamp limits how much brightness an individual sample can contribute to a pixel, which can reduce fireflies at the cost of accuracy. A value of 0 disables clamping. Blender also recommends considering indirect-light clamping separately, since indirect paths are often responsible for fireflies.
Do not push the Clamp value too low. It can remove bright highlights that were intentionally part of the lighting, making the image darker and less convincing.
If the scene does not need them, disabling reflective or refractive caustics can remove a major source of difficult light paths and noise.
Larger light sources can also help, since very small bright sources are harder for path tracing to sample consistently. Denoising works best as a final cleanup step rather than the first response to fireflies.
Grain across the whole image is a different problem
Uniform grain across the image usually points to insufficient samples, not excessive light values. Clamp is not the right first response. Denoising can clean up a reasonably sampled image, but when the source is extremely noisy, it may smear textures and remove fine details.
Adaptive Sampling helps spend more samples where the image remains noisy. You set a noise threshold, and the renderer continues sampling areas that have not reached that level while reducing work on cleaner regions. This can improve efficiency without treating every pixel equally, especially in scenes with difficult shadows or reflections.
Artifacts that are not about sampling at all
Some visual problems have nothing to do with sampling. Incorrect normals, overlapping surfaces, wrong texture color spaces, and unrealistic scene scale can all create artifacts that extra samples will not solve.
A quick check can narrow the cause. Shading that suddenly flips may indicate bad normals, while flickering or moiré-like surfaces can point to overlapping geometry. Incorrect texture colors often look washed out or overly dark, and unrealistic scale can affect lighting, shadows, and material response. This is an important part of any render artifacts fireflies fix noise workflow.
Flicker in animation
Flicker is a sequence-level problem rather than a single-frame defect. Changes in sampling seeds or denoising behavior can make neighboring frames produce slightly different noise patterns.
The fix needs to be applied across the animation. Keep sampling, lighting, denoising, and related render settings consistent between frames, then inspect the sequence rather than judging isolated images.
When re-rendering is the only fix
When an entire sequence needs to be rendered again, render speed becomes the practical concern. That is where render artifacts fireflies fix noise work connects with cloud rendering, because a faster machine can reduce the time needed to produce a corrected sequence.
iRender can help when the cause has already been identified and the sequence simply needs a fresh render. A Windows RTX 4090 machine can handle the job, while multiple machines can process separate frames in parallel. Because you control the environment, you can install the same software and versions used for the approved render. There is one operational limitation: billing starts when the machine is running, not when rendering begins. I would fix and test the scene locally first, then upload it, enable auto-shutdown, and let the sequence run. New users can also receive a 100% bonus on their first top-up, subject to the service’s current terms.
Let’s check some of iRender Blender tests on RTX 4090:


Identifying image artifacts and applying the right fix
| What you see | What it is | How to fix it |
| Extremely bright, isolated spots | Fireflies | Clamp indirect light, disable caustics, and increase the size of light sources |
| Uniform grain across the image | Insufficient samples | Increase the sample count, use adaptive sampling, and apply denoising |
| Strange streaks or patches on surfaces | Overlapping geometry or incorrect normals | Separate overlapping surfaces and check or recalculate the normals |
| Clearly incorrect or shifted colors | Incorrect texture color space | Set the correct color space for each type of texture map |
| Flickering across a sequence of frames | Inconsistent sampling or denoising between frames | Keep settings consistent and troubleshoot at the sequence level |
FAQ
Q: What causes fireflies in a render?
Fireflies appear when a small number of samples receive extremely high light values, often from indirect lighting, caustics, very small and intense light sources, or highly reflective materials. They appear as isolated bright spots rather than uniform grain across the image. Because the cause is different, they also require a different approach to fixing them.
Q: How do I remove fireflies without darkening my render?
Start by clamping indirect light rather than direct light, since many fireflies originate from indirect lighting. Lower the value gradually and check the image after each adjustment. If you clamp too aggressively, intentional bright areas can lose their intensity. Disabling caustics can also help when the scene does not require them.
Q: Why does my animation flicker between frames?
Animation can flicker when sampling or denoising settings produce inconsistent results between frames. Each individual frame may look acceptable, but the differences become visible when the sequence plays continuously. Keep the relevant render settings consistent throughout the sequence, and troubleshoot the animation as a whole rather than adjusting frames individually.
Register an account on iRender to claim your 100% bonus for the first deposit and render without limitations.
iRender – Maximum Speed – Absolute Freedom
Related Posts
The latest creative news from Blender Cloud Rendering, Octane Cloud Rendering