
CUDA Out of Memory in Blender: How to Render Heavy Scenes Without Crashing
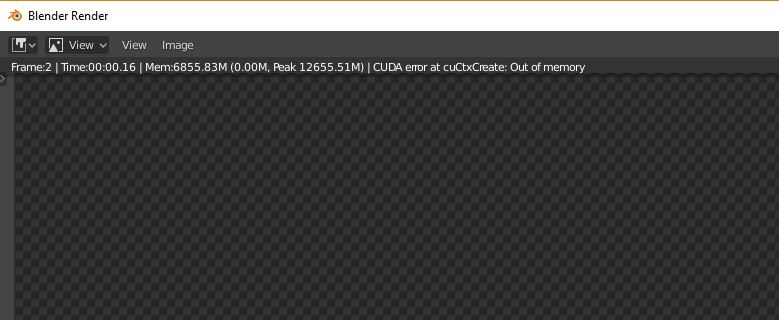
“I have a 24GB card and Blender still throws CUDA error: out of memory halfway through the render. Why, and what do I turn off first?”
I get a version of that question all the time, and the frustrating part is that the viewport runs perfectly right up until you hit F12. Cycles needs to load the whole scene into the card’s memory to render it, and the viewport does not, so a scene can feel fine to work in and still blow past 24GB the moment you ask for a full render. The good news is that Blender gives you a clear order of things to cut, and you rarely have to gut your scene to get under the limit.
| Order | What to change in Blender | VRAM freed (sample) | Quality cost |
|---|---|---|---|
| 1 | Cap texture size under Simplify (Render) | ~4 to 8 GB | None if objects are off camera |
| 2 | Lower subdivision render levels | ~2 to 5 GB | Usually invisible at level 3 to 4 |
| 3 | Turn off Persistent Data | ~1 to 3 GB | Slower per frame in animation |
| 4 | Reduce adaptive displacement | Varies, can be large | Softer micro detail |
| 5 | Render at lower resolution for tests | ~1 to 2 GB | Test only, restore for final |
Why a 24GB card runs out on a scene that looks small
The number that matters is not how complex the scene feels to work in, it is how much data Cycles has to hold at render time. Four things usually push it over. Texture sets are the heaviest, because every map at full resolution sits in memory whether the object is close or a speck in the distance. Subdivision and adaptive displacement come next, since they generate geometry the viewport often shows you at a lower level than the render uses. Persistent Data, which speeds up animation by keeping the scene loaded between frames, also keeps that data in VRAM the whole time. And the framebuffers for your output resolution and any compositing passes take their share on top.
On one product scene I had pinned at about 23.6 of 24GB, capping textures to 2K for everything outside the hero group brought it down to roughly 15GB, and the render went from a stuttering out of core crawl of around 16 minutes to a clean 6 on the GPU. Nothing in the final frame changed, because none of those textures were near the camera.
Get it back on the GPU instead of dropping to CPU
When Cycles cannot fit the scene, some people just switch the device back to CPU so it finishes at all. That works, but you give up most of your speed, and a frame that would take six minutes on the card can crawl for forty on the processor. Before you accept that, walk down the table above. Capping texture size alone solves a large share of CUDA out of memory cases, and it takes about two minutes.
If you have trimmed everything sensible and you are still a gigabyte or two over, turn on out of core so Cycles streams the overflow from system RAM rather than failing outright. It keeps you on the GPU, though the parts that live in system memory read slower, so expect the frame to take longer than a scene that fits entirely on the card. That is usually a fair price to stay off the CPU.
When the scene is just heavy and your card is the limit
There is a point where the scene genuinely needs more memory than 24GB can give, and no amount of capping textures will change that without wrecking the look. When you reach it, your choices are out of core backed by a lot of system RAM, a card with more memory, or splitting the job so each frame runs on a machine with room to spare.
Renting a GPU machine is one way through this, and iRender fits because you keep your own Blender. You log into a full RTX 4090 workstation with 256GB of system RAM, install your exact Blender build and add-ons, and set out of core the way your scene needs, so the render matches what you get at home because you configured it. That is what “your renders, your rules” means in practice, and the large system memory pool is what makes out of core scenes sit comfortably. Worth knowing before you start: you pay from the moment the machine boots, not from the first frame, so prep and pack your file locally and upload it ready to go. The classic money waster is an instance left running after an overnight render finishes, which auto-shutdown handles for you, and the first session needs fifteen to thirty minutes to get Blender installed before later launches are quick. If you would rather just send a file and forget it, a SaaS render farm covers that case more simply.
Heavy Blender scene that will not fit, even after trimming?: Render Blender on RTX 4090 with 256GB RAM
Want to try your scene on a bigger machine first?: Try iRender now and get a 100% bonus on your first deposit