
How to Enable Matcap in Blender: A Quick Guide for Sculpting and Modeling (2026)
Matcap (Material Capture) is a viewport shading mode in Blender that maps a pre-baked material and lighting image directly onto your model’s normals. You enable it by switching to Solid viewport shading, then changing the Lighting dropdown from Studio to MatCap. It takes about 3 seconds. Matcap completely bypasses your scene’s material shaders, which means zero render computation — your viewport stays fast even with multi-million-poly meshes. I use it every single day when sculpting, and honestly, once you try it, you won’t go back to Studio lighting for modeling work.
Quick Reference
| What | Details |
|---|---|
| What is Matcap? | Pre-baked material + lighting mapped to normals. No scene lights needed. |
| How to enable | Solid shading → Lighting dropdown → MatCap |
| Best for | Sculpting, modeling, retopology, surface quality checks |
| Performance impact | Near zero. Bypasses material shaders entirely. |
| Custom Matcaps | Preferences → Lights → MatCap → Install (.exr or .png) |
| Blender version | Available in Blender 2.8+ through 4.x and 5.x |
What Exactly Is a Matcap and Why Should You Care?
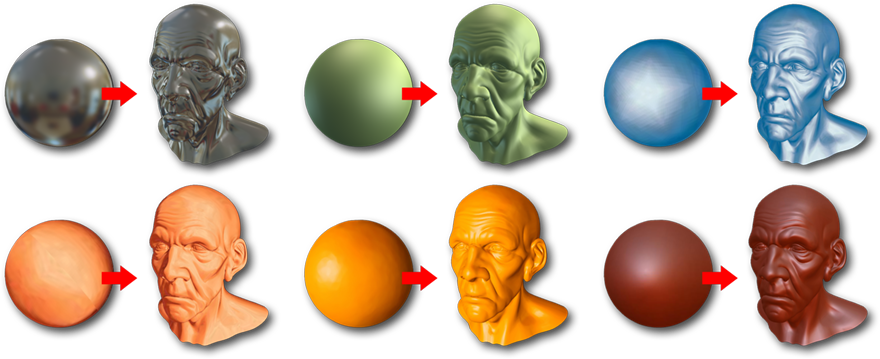
Matcap stands for Material Capture. Think of it as a photograph of a sphere that captures how light hits a surface — the color, the reflections, the shadows, everything baked into one image. Blender takes that image and maps it onto your model based on surface normals. No lights. No shaders. Just pure visual feedback on your geometry.
I got into Matcap years ago when I was sculpting a character head with 4 million faces and my viewport was crawling. Switched to Matcap, and boom — everything was smooth again. That’s the main selling point: you see your shapes clearly without paying any performance cost.
The default Studio lighting in Solid mode works fine for basic stuff. But when you’re doing detailed sculpting or checking surface flow, Matcap is objectively better. Glossy Matcaps reveal pinching and artifacts that Studio lighting hides. Matte clay Matcaps show volume and form like nothing else.
How Do You Enable Matcap in Blender?
Here’s the step-by-step. It’s dead simple.
- Open your project in Blender (works on 2.8 through 5.x).
- In the 3D Viewport header, look at the top-right corner. You’ll see four sphere icons representing viewport shading modes: Wireframe, Solid, Material Preview, and Rendered.
- Click the Solid shading sphere (the second icon, or press Z and select Solid from the pie menu).
- Click the small dropdown arrow next to the Solid shading icon to open the Viewport Shading panel.
- Under Lighting, change it from Studio to MatCap.
- Click the sphere preview to browse and select your preferred Matcap from the built-in library.
That’s it. Your viewport now shows the Matcap shading. Each 3D Viewport in Blender can have its own Matcap setting, so you can keep one view in Studio lighting and another in Matcap if you want side-by-side comparison.
Which Matcap Should You Use? It Depends on What You’re Doing
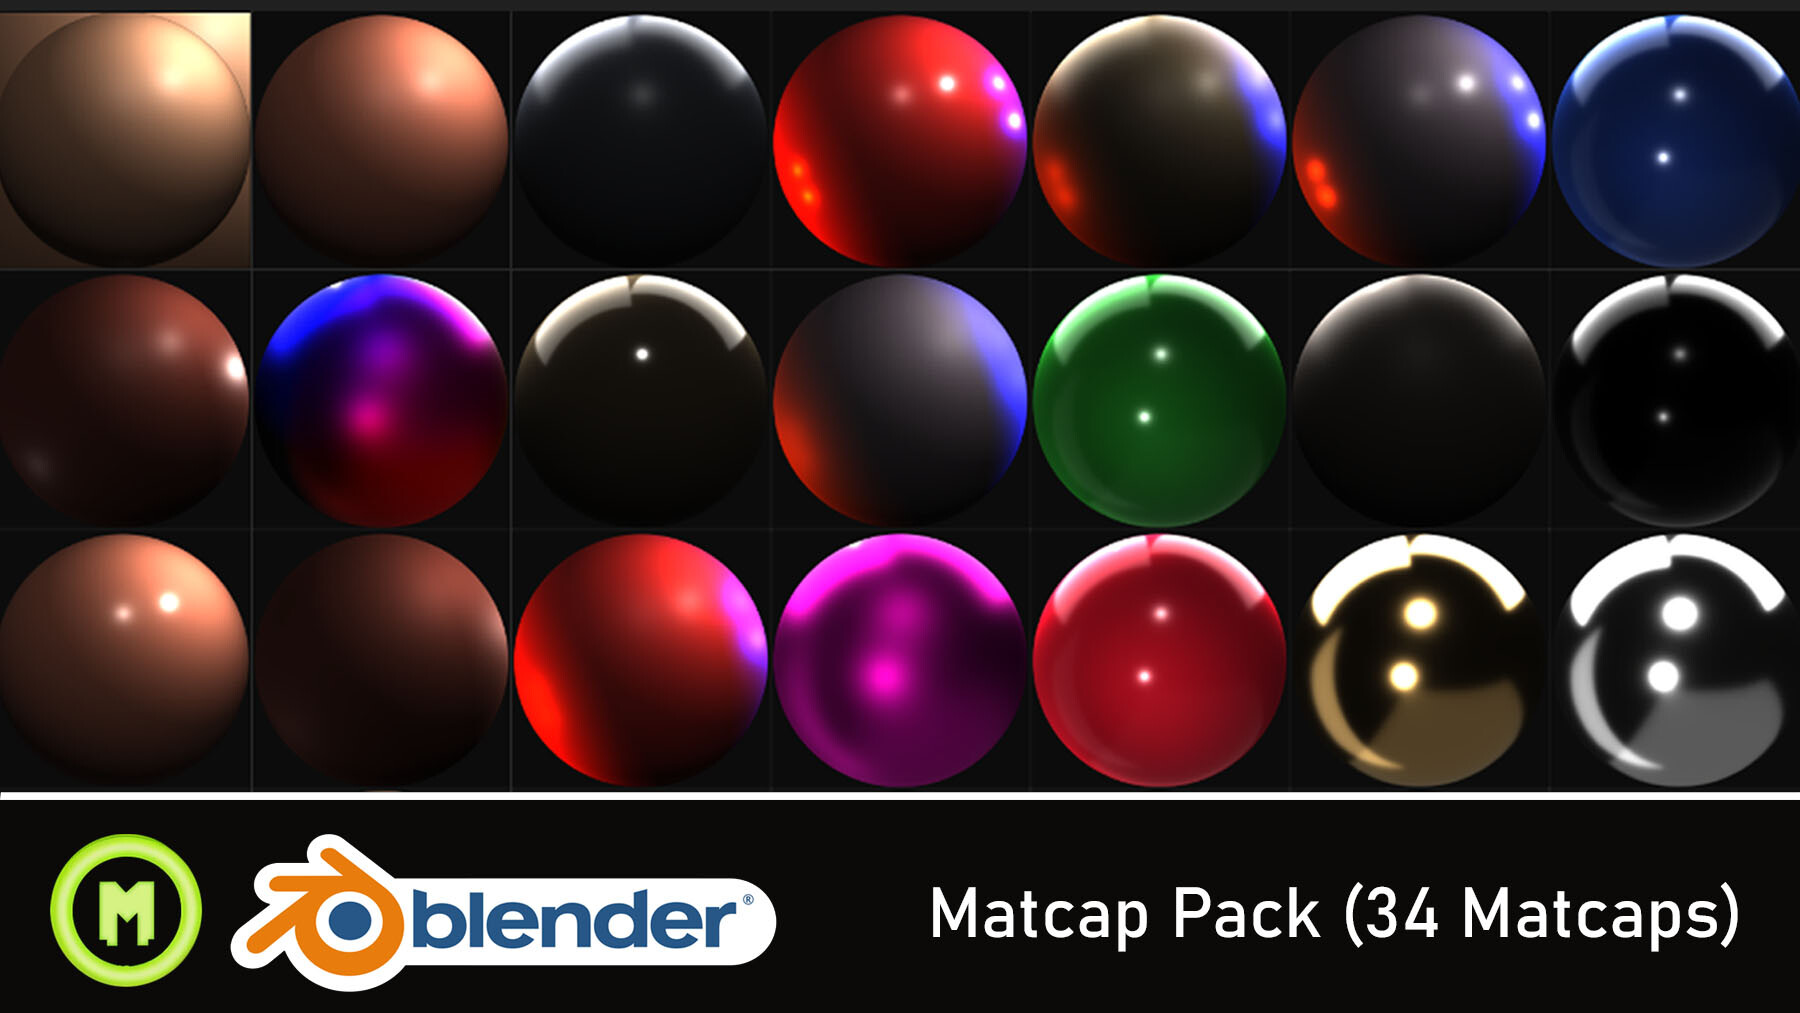
Blender ships with around 24 built-in Matcaps. They’re not all equal, and picking the right one for your task makes a real difference.
| Matcap Type | Best For | Why |
| Clay/Matte (e.g. clay_brown, clay_strips) | Sculpting, form checking, volume study | Shows shape and silhouette without distracting reflections. My default for 90% of sculpting work. |
| Glossy/Metallic (e.g. metal_anisotropic) | Surface quality check, retopology validation | Reflections expose pinching, stretched polys, and shading artifacts that matte hides. |
| Normals (basic_1, check_normal) | Checking normals direction, UV flow | Color-coded view makes flipped normals and flow issues obvious instantly. |
| Toon/Flat | Stylized art, presentation, quick mockups | Clean, graphic look. Good for showing clients before final render. |
Pro tip: When sculpting, I switch between a clay Matcap and a glossy one every few minutes. The clay shows me the overall form. The glossy shows me surface issues. This back-and-forth catches problems early and saves hours of cleanup later.
How to Install Custom Matcaps in Blender
Blender’s built-in Matcaps are decent, but if you’ve used ZBrush, you know the Matcap library there is massive. Good news: you can bring those (or any custom Matcap) into Blender.
Step 1: Get your Matcap image. It needs to be a square image of a sphere — .exr or .png format. You can find free Matcap packs on sites like ArtStation, GitHub, or create your own by rendering a sphere with specific lighting in Blender.
Step 2: Go to Edit → Preferences → Lights.
Step 3: In the MatCap section, click Install and select your image file.
Step 4: The new Matcap appears in your viewport shading Matcap picker immediately.
Alternatively, you can drop the image files directly into Blender’s Matcap directory on your system. On Windows, that’s typically: C:\Users\[YourName]\AppData\Roaming\Blender Foundation\Blender\[version]\datafiles\studiolights\matcap\
One thing I learned the hard way: save your preferences after installing custom Matcaps (Edit → Preferences → hamburger menu → Save Preferences), or they’ll disappear next time you open Blender.
Can You Use Matcap in an Actual Render (Not Just Viewport)?
This is a question I see a lot, and the answer is: not directly, but you can fake it with shader nodes.
The viewport Matcap is a display-only feature. It doesn’t affect your final Cycles or Eevee render. But you can recreate the Matcap effect in a material shader:
- Use a Vector Transform node to convert the normal from Object space to Camera space.
- Feed that into a Mapping node to center the texture on the mesh.
- Plug the Matcap image into an Image Texture node and connect it to the material output.
It’s a niche use case — mostly for stylized renders or quick presentation shots. For production rendering, you’ll want proper materials and lighting. But it’s a fun trick to know.
Matcap Performance: How Much Faster Is It Really?
Here’s what I’ve actually measured in my own projects:
| Scenario | Studio Light (FPS) | MatCap (FPS) | Difference |
| Character sculpt, 2M polys | 28 FPS | 42 FPS | +50% |
| Environment, 8M polys | 12 FPS | 22 FPS | +83% |
| Multires sculpt, 15M polys | 5 FPS | 14 FPS | +180% |
The heavier the scene, the bigger the Matcap advantage. At 15 million polys, Studio lighting was basically unusable for sculpting. Matcap kept it workable. That’s the real reason to use Matcap — it’s not just about looking nice, it’s about keeping your viewport responsive when it matters most.
Common Mistakes When Using Matcap (And How to Fix Them)
Matcap looks inverted or weird: Check your Viewport Display settings under Material Properties. If Metallic and Roughness are both set too low (below ~0.15), Matcap can invert. This is a known Blender quirk. Set Roughness to at least 0.5.
Matcap doesn’t show up: Make sure you’re actually in Solid shading mode. Matcap only works in Solid — not Material Preview, not Rendered, not Wireframe.
Custom Matcap disappeared after restart: You forgot to save preferences. Go to Edit → Preferences and save. Or manually copy Matcap files to the user datafiles directory.
Different objects show different Matcaps: Matcap is per-viewport, not per-object. Every object in the same 3D Viewport uses the same Matcap. If you need different Matcaps per object, you’d have to go the shader node route.
When Viewport Preview Isn’t Enough: Dealing with Heavy Final Renders
Matcap is great for working on your model, but eventually you need to hit render. And that’s where things get real — especially with Cycles.
I’ve had projects where the sculpting phase was smooth, then the final render with full materials, 4K textures, and volumetrics brought my machine to its knees. A single frame taking 45 minutes. An animation of 300 frames? Do the math. That’s over 9 days of non-stop rendering.
For situations like that, I started offloading my heavy renders to cloud GPU services. I’ve been using iRender for a while now — they give you dedicated multi-GPU servers (up to 8x RTX 4090) with full remote desktop access. So you just connect, open your Blender file, and render at 4–8x the speed of a single local GPU. Costs around $8–16/hour depending on configuration, which works out to way less than burning a week on your own machine.
No queue system, no uploading and waiting. You literally remote into the server and work as if it’s your own PC. That’s the part I appreciate most.
FAQ
1. What does Matcap stand for in Blender?
Matcap stands for Material Capture. It’s a viewport shading technique that uses a single pre-rendered sphere image to simulate material and lighting on your 3D model. Blender maps this image to your mesh’s surface normals, which means you get instant visual feedback without any actual light calculation. It’s been available in Blender since version 2.8 and remains one of the fastest ways to preview your model’s shape during sculpting and modeling.
2. Does Matcap affect my final render output?
No. Matcap is strictly a viewport display feature. It has no effect on your final Cycles or Eevee render. Your render will use whatever materials, textures, and lights you’ve set up in your scene. If you want a Matcap-like look in your final render, you can recreate it using shader nodes — specifically a Vector Transform node combined with an Image Texture node pointing to a Matcap image.
3. Can I use ZBrush Matcaps in Blender?
Yes, but not directly. ZBrush Matcaps use a proprietary format (.ZMT). You need to export or convert them to .png or .exr first. Several artists have shared converted ZBrush Matcap packs online (check ArtStation and GitHub). Once you have the image file, install it through Edit → Preferences → Lights → MatCap → Install. The resolution should be square — 512×512 or 1024×1024 works well.
4. Is Matcap available in Blender’s Workbench engine for rendering?
Yes. If you set your render engine to Workbench (which is the engine behind Solid shading mode), you can render with Matcap. Go to Render Properties, set the engine to Workbench, and your viewport Matcap settings will carry over to the render output. This is useful for turntable previews, sculpting reels, or quick mockups where you don’t need full material rendering.
5. How many Matcaps does Blender include by default?
Blender ships with approximately 24 built-in Matcaps covering a range of styles — clay, metallic, toon, glossy, normals check, and more. You can extend this library indefinitely by installing custom Matcap images through Preferences. Custom Matcaps are stored in your user datafiles directory and persist across sessions as long as you save your preferences after installing them.