
Denoising Eats Your Render Time? Smart Sampling Strategies That Actually Work
A denoiser is supposed to make your renders faster, so it catches people off guard when the denoise pass turns out to be the thing adding time to every frame. I once watched a denoiser tack roughly 90 seconds onto a frame that only took four minutes to render, which quietly inflated a whole sequence. The denoiser was doing its job, it was just doing it the slow way, on the wrong hardware, after I had already under-sampled the frame.
Denoising saves time only when the samples you skip cost more than the denoise pass itself. Run the denoiser on the GPU, lower your samples with adaptive sampling, and keep the pass count sane, and you come out ahead. Run a heavy denoiser on the CPU, or denoise a stack of passes at high resolution, and it can cost more than it saves. The goal is fewer samples plus a fast denoise, not a denoiser bolted onto a frame you already starved of samples.
| Denoiser | Where it runs | Speed | Best for |
|---|---|---|---|
| OptiX | NVIDIA GPU | Very fast, near real time | Viewport, fast finals, quick iteration |
| OpenImageDenoise (OIDN) | CPU, or GPU since Blender 4.0 | Fast on GPU, slower on CPU | High quality finals, detail retention |
| Temporal / animation denoise | GPU or CPU, extra passes | Slower, needs more data | Animation, removing frame to frame flicker |
| No denoiser, high samples | GPU | Slowest overall | Reference frames, fine detail you cannot risk |
Why a denoiser sometimes makes things slower
The promise of denoising is simple. Instead of throwing thousands of samples at a frame to clean the noise, you render fewer samples and let the denoiser finish the job, which should be a large net saving. That holds right up until the denoise pass costs more than the samples you saved.
It goes wrong in a few familiar ways. Running a heavy denoiser on the CPU while your GPU sits idle is the classic one, because the card finishes the trace fast and then waits on a slow processor for the cleanup. Denoising a long list of render passes, the AOVs, separately multiplies the work at the end of every frame. And at very low samples the denoiser has so little real signal to work with that it has to do more, sometimes smearing detail in the process. When a frame is short, that fixed denoise cost becomes a big slice of the total.
The sampling and denoising setup I actually use
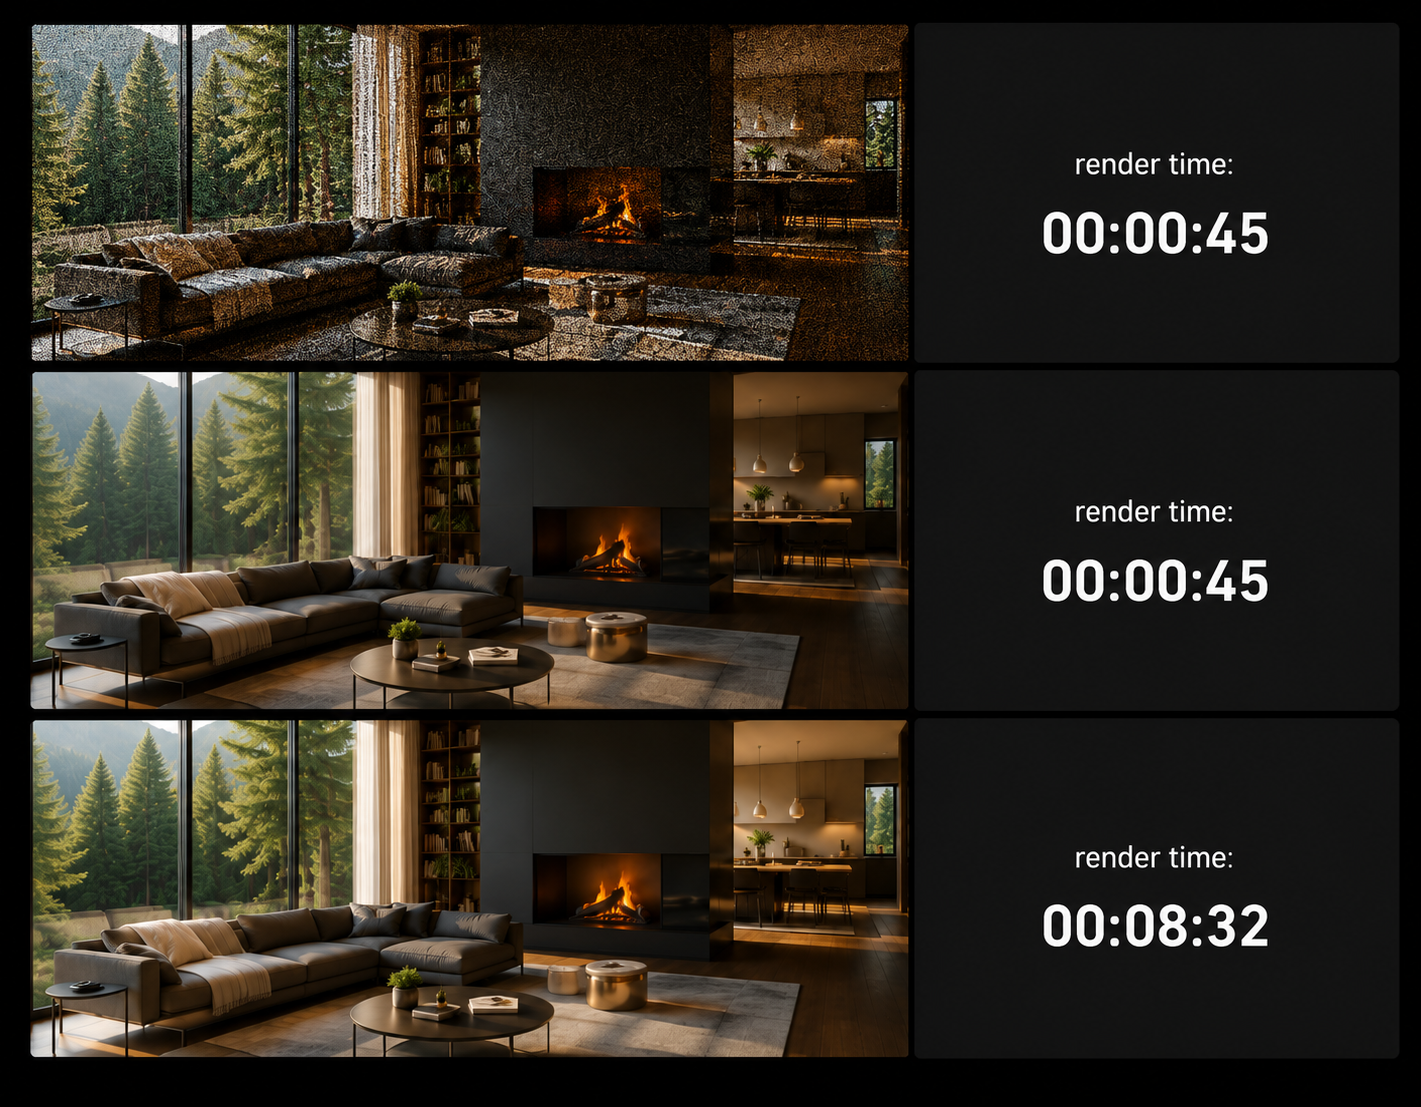
The pairing that works is fewer samples plus a fast denoise. Turn on adaptive sampling with a sensible noise threshold so the renderer stops early where the image is already clean, then denoise on the GPU rather than the CPU so the cleanup is near instant. Feeding the denoiser albedo and normal passes helps it keep edges and texture detail, which is worth doing on finals. On a recent interior, dropping samples and running OptiX denoise took a frame from around 12 minutes to roughly 3, and the denoise pass itself was under a second on the card.
For animation, reach for a temporal or animation-aware denoiser rather than a single-frame one, because a per-frame denoise applied across a sequence tends to shimmer as the noise pattern changes between frames. It costs a little more per frame, and it saves you from a flickering result you would have to redo.
Fewer samples and a fast denoiser beats high samples every time. Low samples and a slow denoiser beats nothing.
Where the hardware helps, and how iRender fits
A denoiser that runs on the GPU is only fast if the GPU is fast, and across a long animation the difference between a sub-second card denoise and a multi-second CPU one adds up to hours. This is where a strong card and the ability to spread frames across machines change the total time rather than the per-frame setting.
iRender gives you full RTX 4090 machines with 256GB of system RAM, and you install your own engine and versions, so your sampling and denoise setup behaves exactly as it does at home and the result matches, which is the point of “your renders, your rules.” A fast card keeps GPU denoising near instant even at 4K, and several machines clear a sequence in a night. One habit to carry over to any rented machine: the meter starts when the server powers on, not at your first frame, so a finished overnight render left running is paid time you got nothing for. Auto-shutdown closes that gap, and the only other overhead is the first install, which takes a little while before your saved image boots fast. If you simply want to hand frames to a queue, a SaaS render farm covers that with less hands-on time.
Long animation where the denoise pass is dragging every frame?: Render and denoise on fast RTX 4090 servers
Want to test your sampling and denoise setup on a fast card?: Try iRender now and get a 100% bonus on your first deposit