Exploring the Menus of Adobe Premiere Pro - File with iRender
Premiere Pro is a powerful, feature-rich, cross-platform, non-linear editing application built for modern file-based video editing production. Every day, hundreds of thousands of filmmakers, broadcast editors, videographers, and journalists around the world rely on Premiere Pro to create a wide array of compelling content.
Premiere Pro is resolution independent, allowing editors to work at HD, 4K, 8K, and beyond, freely mixing frame rates and video formats on the same timeline without the need for time-consuming transcoding. Extensive native media support allows creatives to get to work right away, no matter which device their footage is coming from, whether it’s a broadcast camera, high-end digital device, mobile device, action camera, DSLR, or almost any other source. You can use Premiere Pro to easily assemble clips and sequences, edit, add audio and video effects, create titles, manipulate colors and light for the perfect aesthetic, and export your finished project to any screen and any format. In Blog’s Today, we will explore the Menus of Adobe Premiere Pro – File.
1. Legacy Title in Menus of Adobe Premiere Pro
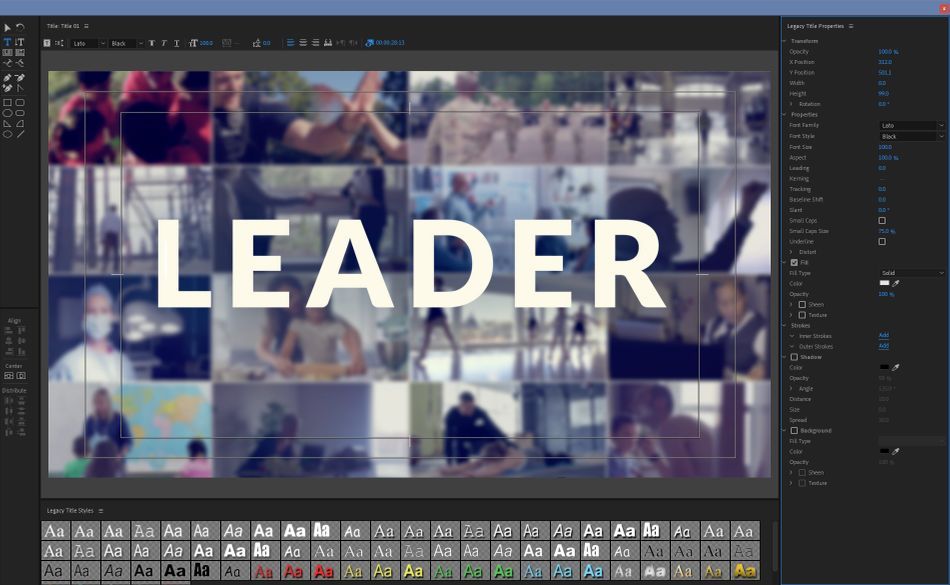
It’s not uncommon while in Premiere to need to throw in a splash of MoGraph. Maybe a line reveal across the screen or a popup box. Whatever the case it’s often more convenient to keep the animation inside of Premiere Pro instead of opening After Effects, creating something, and pulling it back inside of an edit.
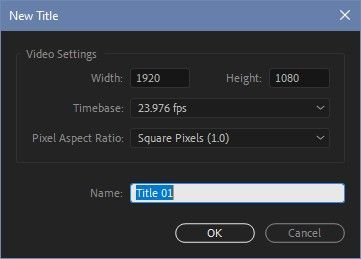
So if a simple graphic is all you need, look no further than the Legacy Title Tool. Inside this window, you’ll find everything you need to add text (though not as flexible as the new text tool), add lines, and even shapes. Those graphics can then be animated using Premiere’s Effect Controls or the transform effect.
2. Adjustment Layer
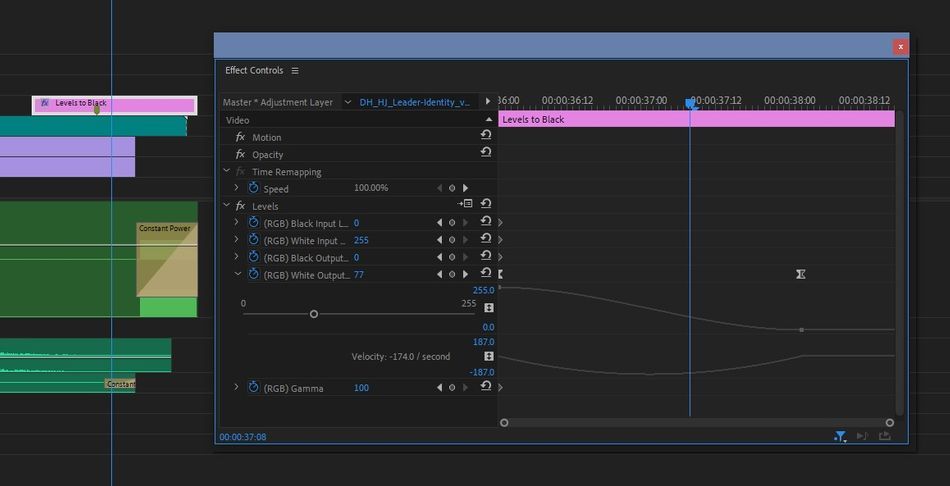
Adjustment layers aren’t just for After Effects. With the Project window selected, create an adjustment layer via New > Adjustment Layer. You’ll be prompted to set a resolution, which defaults to the size of the last sequence Premiere referenced. Feel free to change the size here if you need, or you can use the Effect Controls once the Adjustment Layer is in a timeline to scale it up or down.
Hold up. If the Adjustment Layer is scaled or moved in the timeline, won’t that affect the clips beneath it? The Effect Controls for an Adjustment Layer only affect the Adjustment Layer’s properties and nothing beneath it. Only effects on an Adjustment Layer modify the clips below. So to scale or move clips, use Premiere’s Transform effect, by the way, which allows you to add motion blur to movements in Premiere by changing the shutter angle.
3. Adobe Dynamic Link in Adobe Premiere Pro
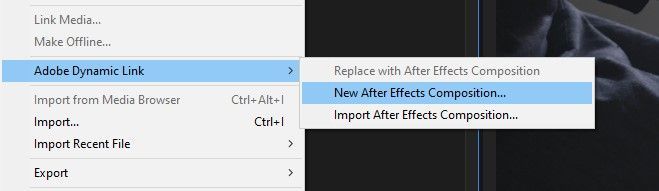
Speaking of After Effects, this is where Adobe’s magical Dynamic Link system lives inside of Premiere. Adding a New After Effects Composition will add a dynamically linked clip in Premiere, pop open After Effects, and open up a new composition. Whatever’s created inside of that comp within AE will be pushed through a magical tube right inside of your edit.
A helpful tip for faster playback of the linked comp is to ram preview it in After Effects first. As a caveat from personal experience, this does have its limits. Intense graphics or visual effects are still better rendered and imported rather than forcing them through the magic tubes.

Works similar to the above, but you can instead import an already created AE comp and have it dynamically linked between the two programs.
4. Project Settings in Adobe Premiere Pro
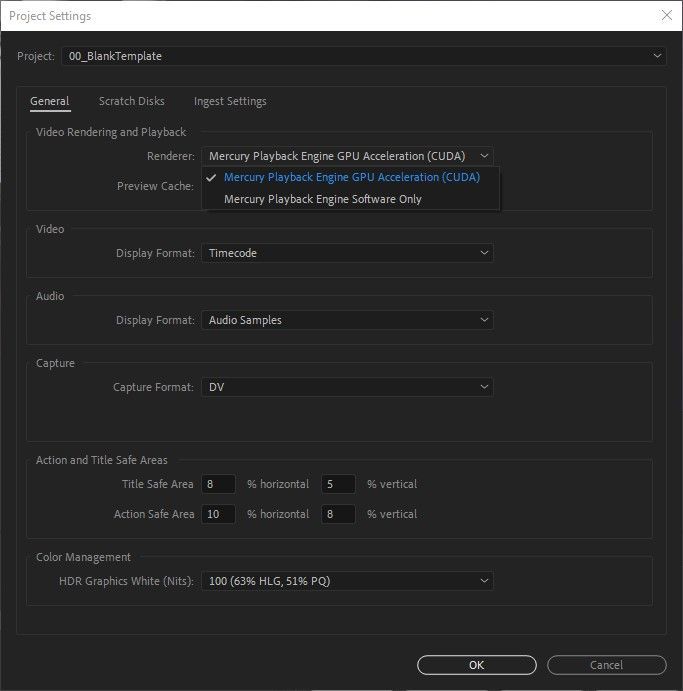
Project settings are a biggie. These are set at the start of every project, but you’ll need to know how to adjust them should the project move computers, or you need to troubleshoot timeline render problems. The Project Settings window in the menus of Adobe Premiere Pro has 3 tabs: General, Scratch Disks, and Ingest Settings. The ingest settings are useful when pulling in new media from hard drives, but let’s focus our attention to the first two tabs, starting with General.
At the top of the General tab you’ll find the Video Rendering and Playback section. Here you can change the renderer Adobe Premiere uses to playback video and render effects. Most of the time this setting should be left on GPU Acceleration for best performance.
If in an edit playback starts to look strange, the Program monitor goes black, or Premiere starts freezing and crashing, then consider switching the renderer to Software Only. You can even render a part of your timeline that’s causing trouble—maybe it has a lot of effects or large images—then switch the renderer back to GPU Acceleration. Note that if you do that, any edits you make to the rendered section should again be performed with Software Only rendering. Check this out for more Premier Pro troubleshooting tips.
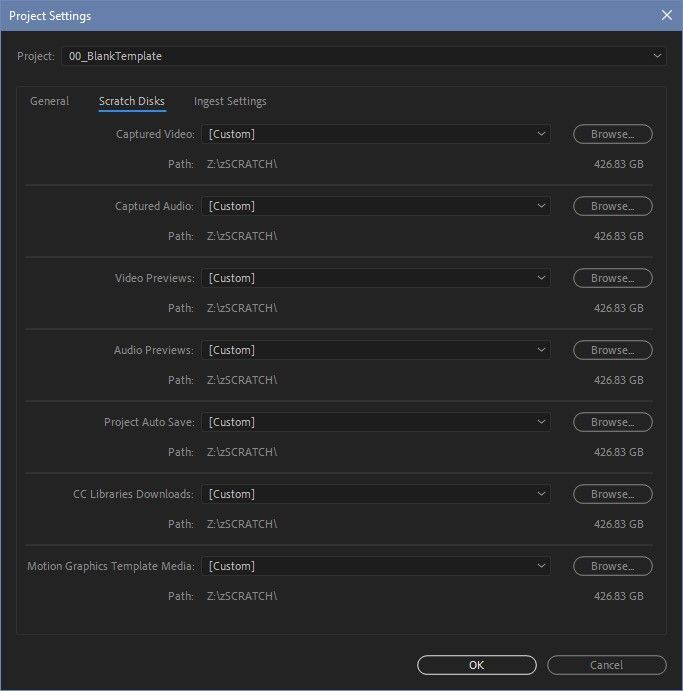
Also in the Project Settings window are Scratch Disks. Premiere Pro uses scratch disks to access temporary files that help it perform better and run faster. So scratch disks should be added to a separate, fast drive (like an NVMe SSD), whenever possible. We suggest you should keep your scratch disks and cache set to the same location for easy cleaning and troubleshooting.
5. Cloud rendering service for Adobe Premiere Pro
iRender provides a high performance and configurable server system for 3D rendering, AI Training, VR & AR, simulation, etc. With our server, you can install any software you need, add your license, and do whatever you like with your project. These tools above are no exception. Most tools for fluids are computationally expensive. Understanding that, we have different config and package compatible with them, from CPU to single GPU, dual and even multi-GPUs.
Moreover, iRender has many more to offer.
- Free and convenient transfering tool: iRender offers a powerful and free file transfer tool: Gpuhub Sync. With fast file transfer speed, large data capacity, and completely free. You can transfer all the necessary data into our Gpuhub Sync tool at any time without connecting to the server. The data will be automatically synchronized in the Z drive inside the server, ready for you to use.
- Flexible price: You can always save from 10% to 40% with our Fixed Rental feature. For those who’s in need of server more than a day, or have extremely large project, we advise to choose daily/ weekly/monthly rental package. The discount is attractive (from 10 to 40% depends on your package), and you don’t have to worry about over-charging if you forget to shutdown the server. In this July, we offer a discounted price for GPU server 3 and other servers, users will take advantage of these to level up their renders.
- Real human 24/7 support service, helping you to handle the problem quickly, effectively, saving you both time and money.
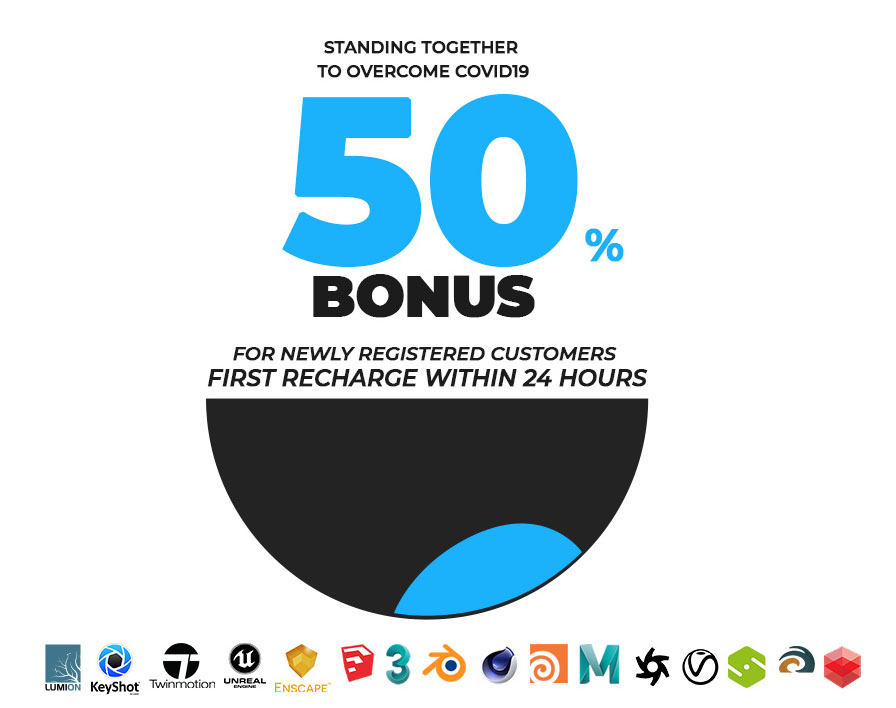
In addition, we always have attractive promotions to thank our beloved customers. SPECIAL OFFER for this August: Get 50% BONUS for all newly registered users.
If you have any questions, please do not hesitate to reach us via Whatsapp: +(84) 916017116. Register an ACCOUNT today and get FREE COUPON to experience our service. Or contact us via WhatsApp: +(84) 916017116 for advice and support.
Thank you & Happy Rendering!
Source: schoolofmotion.com
Related Posts
The latest creative news from Enscape Cloud rendering, Lumion Cloud rendering, V-Ray Cloud Rendering , Twinmotion Cloud Rendering , 3D VFX Plugins & Cloud Rendering.