How to Create the Perfect 3D Scene Lighting with Daz3D
Daz Studio is a software application developed and offered for free by Daz 3D. Daz Studio is a 3D scene creation and rendering application used to produce images as well as video. Renders can be done by leveraging either the 3Delight render engine, or the Iray render engine, both of which ship for free along with Daz Studio, or with a variety of purchasable add-on render engine plugins for Daz Studio from various vendors and companies.
Tired of wondering why your renders don’t look as realistic and professional as those of other 3D artists or the sample pictures featured in the marketplace where you purchased the model? If so, this 3D scene lighting tutorial may be exactly what you have been looking for. Lighting is a difficult topic that can be difficult to fully grasp at first, yet improving your knowledge of it will vastly improve the quality and realism of your work.
While this tutorial is geared specifically toward Daz Studio, the concepts and principles taught here will carry over to any program. The methods and language various render engines use may change, but the principles are going to be the same. In fact, whether you are lighting a stage for a grand performance, taking portraits in a photography studio, or setting up lighting in 3D, many of the fundamentals apply. If you are ready to learn this key step in creating the perfect environment for your 3D Scene Lighting with Daz3D, let’s get started.
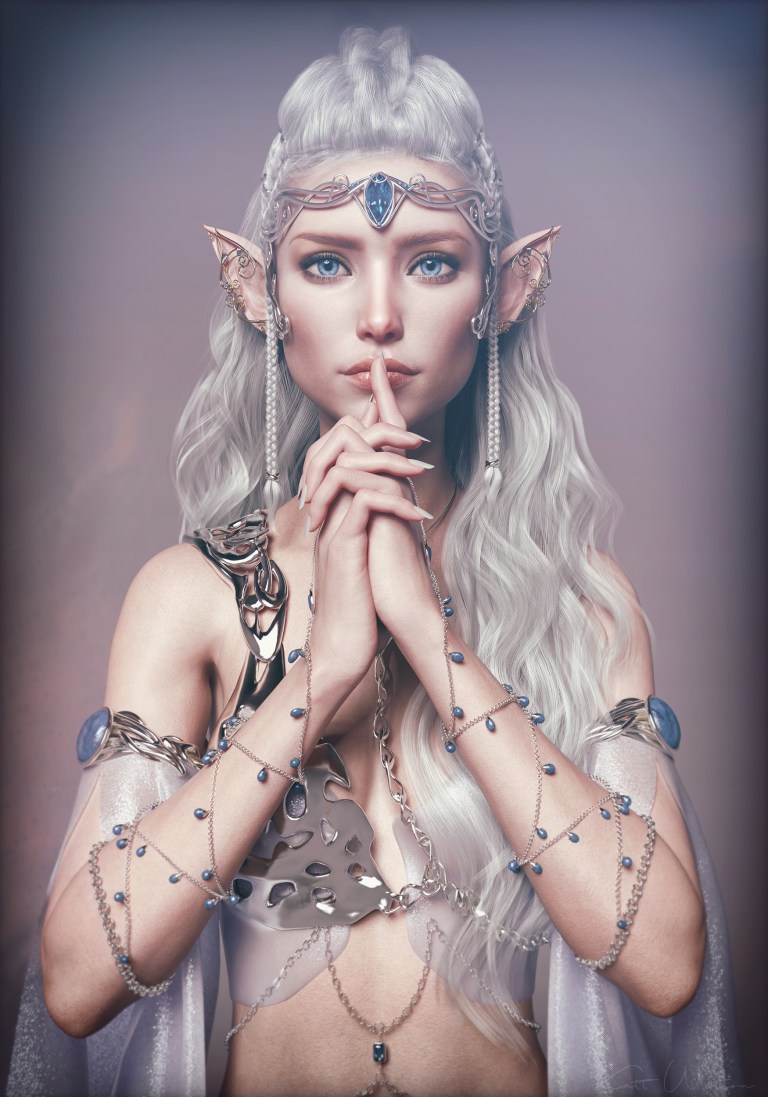
Create the Perfect 3D Scene Lighting with Daz3D – Fate Awaits buy Edsart
Types Of Lighting
Overall, you will find many common similarities between 3D design programs and the types of lights available. While all programs may handle these important tools slightly differently, fundamentally, they share many of the same basic structures. In Daz Studio, you have these lights available to use in your scenes:
- Distant Lights: Think of the sun here. It is a massive light source located at an infinite distance away from you. Its reach is great and broad. This means it can illuminate large portions of a scene with relative ease.
- Spotlights: Think of the lighting on a stage. These lights are focused on a specific area of your scene. These lights also work great for other focused beams of light, such as car headlights or even a flashlight when used on a smaller scale.
- Point Lights: Think of a light bulb for this type of light. It’s not as infinite as a distant light, though it emanates light in all directions around it. This mimics light bulbs, or even candles, very well.
- Linear Point Lights: These are a little more complex to understand as they don’t necessarily have a direct correlation to a real-world light source. They function like a point light; however, you have the freedom to select the point where the light drops off, rather than continuing it. While a point light follows the physical laws of light (the intensity of light is inversely proportional to the square of the distance from the source), a linear point light isn’t bound by these laws. Instead, it allows you to set the point at which the light falls off. This allows you to have the effect of a point light but at a much higher intensity.
While names may change or differences may occur from program to program, practicing with the lighting available in Daz Studio will greatly improve your ability to learn lighting in any other program. The inverse, of course, is also true. Ultimately, without lighting, your scenes couldn’t be viewed! Daz Studio and many other programs are probably going to automatically load a preset light source or two into your workspace, but this lighting is rarely if ever going to be enough to create the perfect 3D scene lighting!
Basic Principles Of Lighting And How To Apply Them To 3D
In photography and even stage and film production, there are generally several known principles of lighting and how to do it properly in an aesthetic way. These principles can and do apply to 3D scenes as well. Of course, keep in mind that these are not hard and fast rules but rather guidelines. In the end, only you as the artist know exactly what effect you want to portray in your scene. Nevertheless, these are great principles to keep in mind as you try to make the perfect lighting for your 3D scene.
- Intensity of Light: How much light is present in the scene?
- Quantity of Light: How many light sources are present in the scene? What are the ratios between these light sources if there are more than one?
- Direction of Light: What direction in relation to the subject of the scene is the light coming from?
- Quality of Light: How does the light appear? What color is it? How does the light appear on the subject? Does it create hard shadows or minimal/soft shadows? Are there no shadows at all?
These are great questions to ask yourself about the light in your scene. By identifying each of these principles or characteristics of light, you will better stay in control of the lighting. How you adjust these characteristics will ultimately decide the type of light present in your scene.
Here are some examples from our gallery of awesome renders that exemplify three basic types of lighting you can consider using in your own renders:
- Soft light: Here you are going to see shadows on your subject, but these are going to be soft, gentle shadows. There will not be a crisp edge where light and shadow meet, but rather, a gentle fade from light to shadow. Most likely, even at the darkest point in the shadow, there will still be a small amount of light. This is likely going to be created by having multiple lights projecting from different angles, though one light will be primary with slightly more intensity than the other secondary light, or playing with the direction of the light.
Create the Perfect 3D Scene Lighting with Daz3D – Alessia by Scorpia Softlight
- Hard Light: This style of lighting is far more dramatic. The transition from highlight to shadow is so crisp, so often you can see a linear line created by this fast change in light. This is abrupt, dramatic, and far harsher than the shadows of soft light.
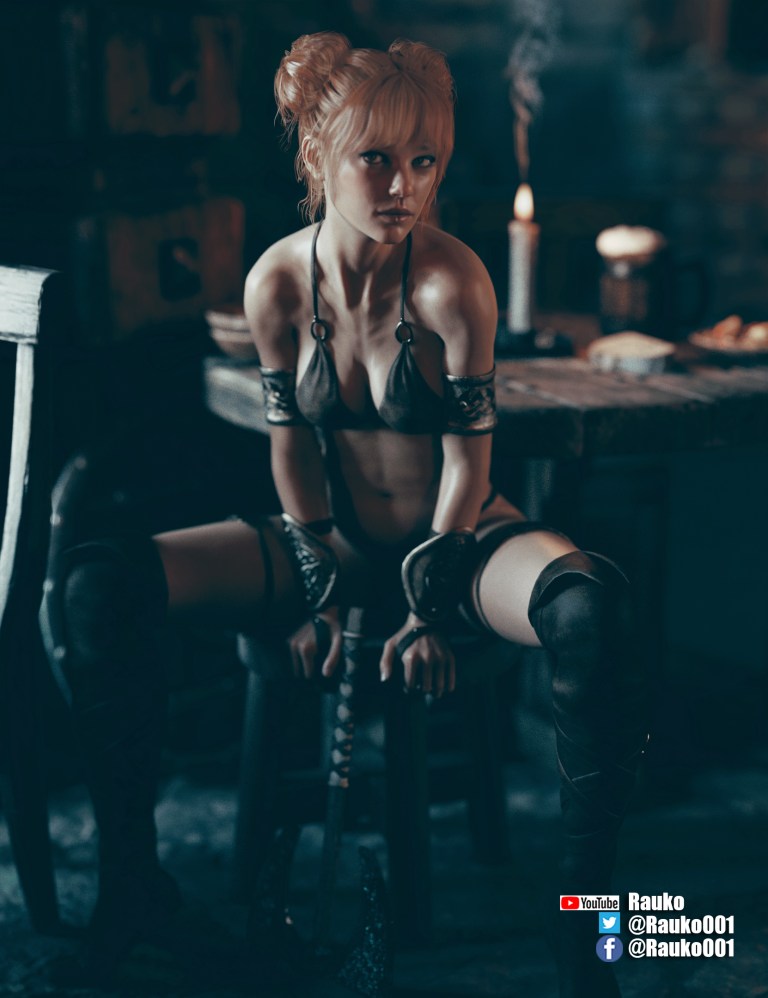
Create the Perfect 3D Scene Lighting with Daz3D – Out of work Barbarian buy Raukoo001
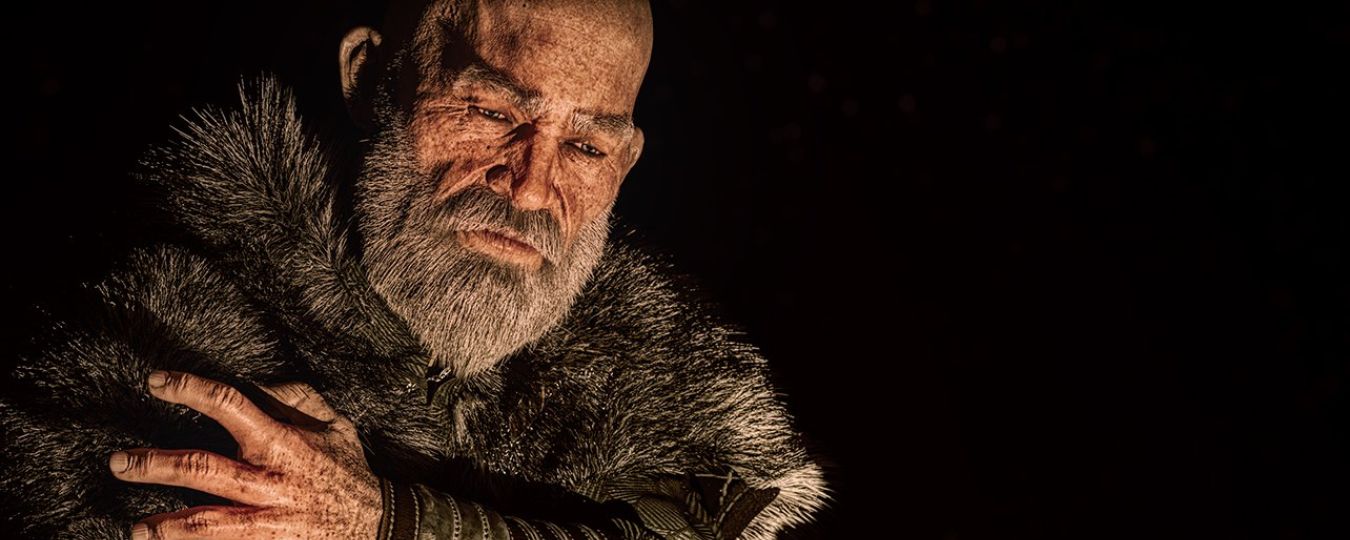
- Flat light: This is a lack of variation in lighting on the subject, or in other words, the light is evenly dispersed across the subject. You can accomplish this by having multiple light sources to project light at an even balance from multiple angles relative to the subject. You can also accomplish this with, as in this example, as an even shadow across the subject.
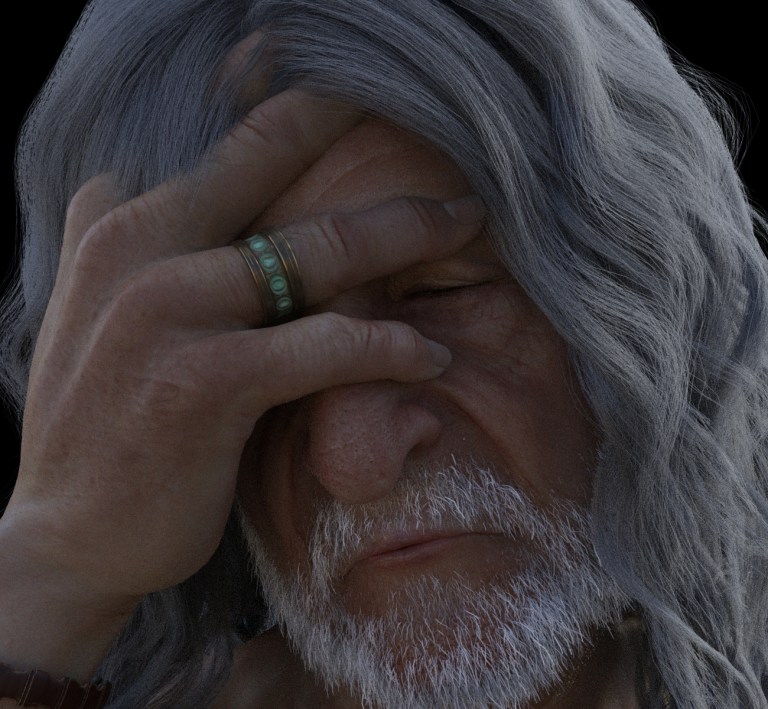
Create the Perfect 3D Scene Lighting with Daz3D – Old mans tale by My 3D Spin
It’s important to remember that neither of these styles is better than the other, as these renders by talented Daz artists prove. It solely depends on the type of scene you are creating and the mood or look you hope to convey. That said, it is possible to get it wrong. While 3D design is certainly a form of art — and there is always room for subjectivity in art — lighting is easy to overdo or just get wrong. Viewers may not be able to pinpoint what is lacking, though lighting is oftentimes a major culprit. Not only does good 3D scene lighting help your renders look more realistic, but it can also convey the mood and help you tell a story with your work.
Surfaces And Why They Matter
Surfaces are another important element of 3D design that is crucial to understand. It is very common for a beginner to toil away, positioning their lights and creating the perfect balance of lights, only to render the scene and be frustrated by the results because they failed to set up surfaces properly on their models.
In the real world, light travels in waves. When these waves touch an object, the object either reflects or absorbs the light. Certain physical properties of an object govern how much light it reflects and absorbs. The most basic example is the existence of color. A blue object reflects the blue within the light, which our eyes then perceive as the color blue. Some objects are so sleek that they reflect light in a way that makes them shiny, or perhaps they reflect so little that they appear dull. It is thus the duty of a render engine (the means by which your program conveys a 2D scene that appears 3D) to mimic these interactions within the 3D scene.
Daz Studio has two render engines available to choose from: Iray and 3Delight. Which render engine you choose is up to you, but the assets you’re using should also govern which engine you use. Each of these engines handles lighting differently. In plain terms, they speak different languages. This means the parameters they use to define how surfaces interact with the light are different. IRay uses MDL (Material Definition Language) while 3Delight uses RSL (Renderman Shading Language).
If you want your objects to behave and look properly in the lighting you have set up, simply ensure that all of your surfaces match the rendering engine you are using in the scene. It’s easy to tell which render engine a surface is using in Daz Studio simply by looking at its properties.
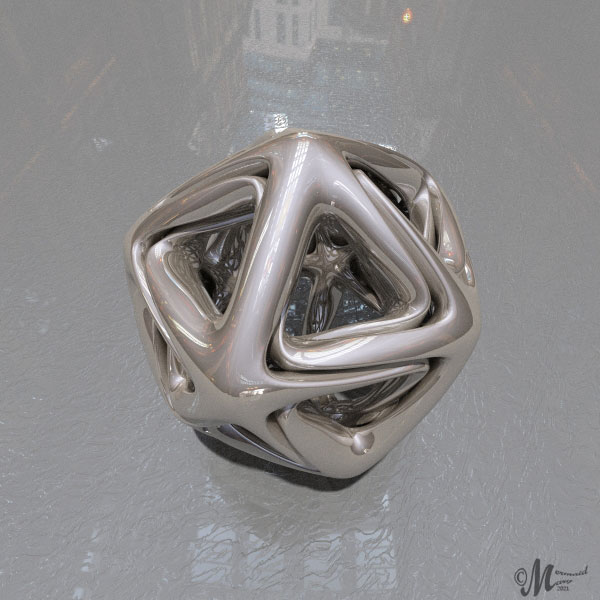
This still-life image by Daz artist, Mermaid is a fantastic example of why surfaces matter when working with light. The smooth metallic surface and near mirror-like reflections help elevate this render to the level of quality and beauty it achieves.
How To Use Lighting In Daz Studio
Now that we know a lot more about lighting and how it affects a scene, let’s hop into Daz Studio and put it into practice!
When you first open a project in Daz Studio, it is going to come with some preloaded lights in your scene. These allow you to see what you are working on, without having to set things up first. However, for the sake of our scene, we are going to remove these preset lights first.
First, go to Render Settings, and make sure you are on the Editor Tab. Then, select Environment from the options along the left pane. Toggle off Draw Dome. This will turn off the image that is being projected essentially onto the sky surrounding our project. Note that if you want to keep this environment map, you can tweak it using all of the other settings under the Environment section.
This is not the only light automatically in play, however. There is also a light known as a headlamp. Think of this light as wearing a flashlight on your forehead. Wherever you look, the headlamp projects a light straight ahead. This is great for being able to see what you are creating; however, you may not want this while you are staging a scene. To remove this, first add a camera to your scene. Select Create > Create New Camera. Then navigate to the Camera Tab and select Headlamp from the settings tree within the camera panel. Set the Headlamp Mode to Auto. Note that if you set it to off, the entire scene would now be completely dark. Auto is desired because the headlight will be on until you add other lights, at which point the headlamp will shut off and allow the other lights to take over.
Now that you’ve cleared the lights from the scene, you are ready to start building dramatic and beautiful lighting in your scenes, unaffected by default lighting. From here on out, the only lighting at play in your scenes will be the ones you add. Ultimately, it will be up to you to experiment and play with the various types of lighting available to you within Daz Studio to create your scenes.
If you are unsure of where to start, refer back to the description of the types of 3D scene lighting section mentioned earlier. If you are working with an outdoor scene, be sure to add a Distant Light to mimic lighting that would be created by the sun or moon, using the sliders to customize the intensity and direction of the light. On the other hand, if you are working indoors, ask yourself what light sources make sense for your scene, and choose lights accordingly. And of course, don’t forget to check your surfaces’ properties as well!
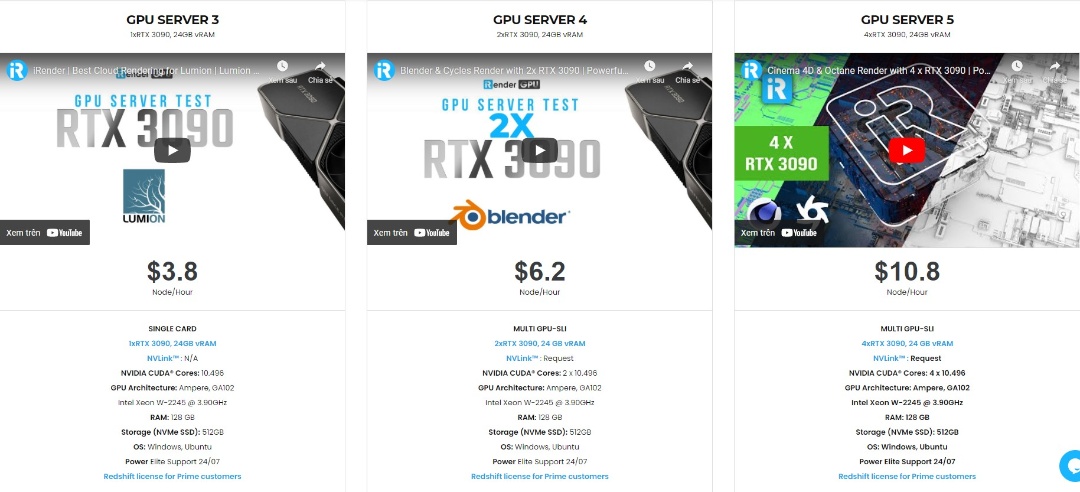
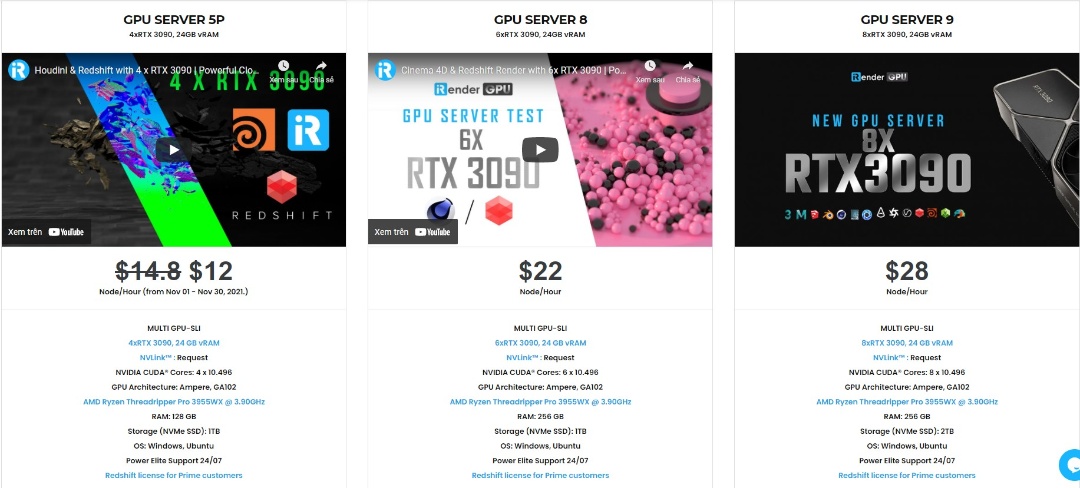
The professional cloud rendering service for Daz 3D
iRender is a GPU-Acceleration Cloud Rendering Service for Multi-GPU Rendering with Powerful Render Nodes: 2/4/6/8x RTX 3090/3080/2080Ti. iRender provides High-performance machines for GPU-based & CPU-based rendering on the Cloud. For Daz 3D users can leverage the power of single GPU, multi GPUs to speed up your render time. Users can easily choose their machine configuration from recommended system requirements to high-end options.

Why iRender?
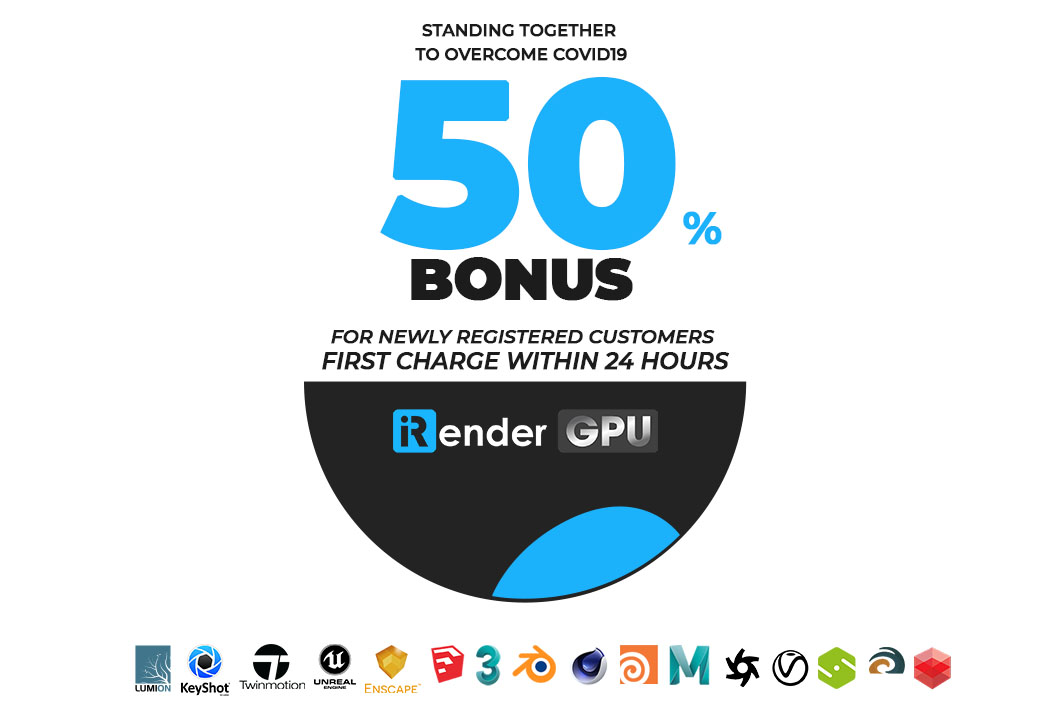
Reasonable price (lots of bonus)
You will be charged on a per-minute basis. However, you can always save up to 50% with our Fixed Rental feature. For those who are in need of the server for more than a day, or have extremely large projects, we advise choosing daily/weekly/monthly or even yearly rental packages. The discount is attractive (15% for daily packages, 30% for weekly and monthly packages, 40% for yearly packages).
Real human 24/7 support
Our support is always online 24/7, helping you to handle the problem quickly, effectively, saving you both time and money.
Conclusion
If you have any questions, please do not hesitate to reach us via Whatsapp: +(84) 972755742. Register an ACCOUNT today and get FREE COUPON to experience our service. Or contact us via WhatsApp: +(84) 972755742 for advice and support.
iRender – Happy rendering
Source & pictures: Daz 3D blog
Related Posts
The latest creative news from Daz3d Cloud Rendering, Redshift Cloud Rendering, Nvidia Iray Cloud Rendering , Octane Cloud Rendering, 3D VFX Plugins & Cloud Rendering.