Basic steps to model realistic 3D eyes
A realistic 3D human model plays a vital role in various fields, including video games, animation, medical simulations, marketing, and especially virtual reality experiments. Since eyes are often considered the “windows to the soul,” crafting lifelike eyes is a crucial aspect of creating a believable 3D human model. In this guide, iRender will explore five fundamental steps to model 3D eyes.
1. Learn about eye anatomy
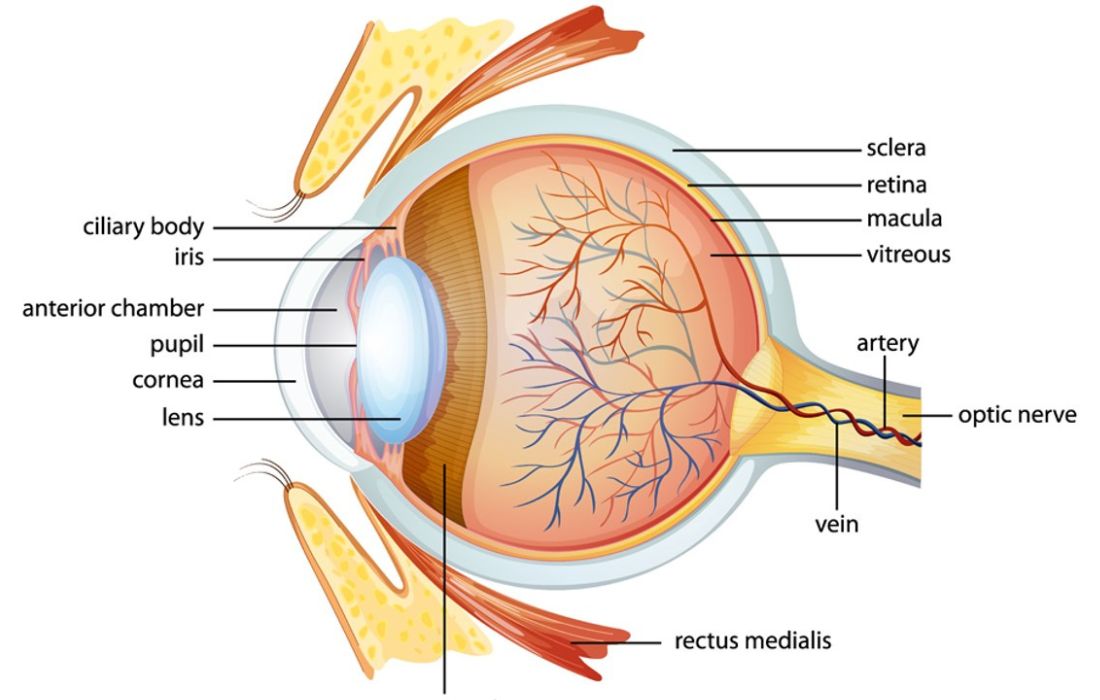
To model 3D eyes as realistic as possible, the first and most important step is to familiarize yourself with the anatomy of the eye. Understanding its structure is essential for accurate modeling. The eyeball comprises three distinct layers: the outermost layer, consisting of the cornea and sclera; the middle layer, which contains the primary blood supply, iris, and pupil; and the innermost layer, made up of the retina. Studying detailed images and diagrams of the eye’s anatomy will give you a clearer understanding of the shapes and features that need replicating. This knowledge will also guide you in selecting the appropriate tools and determining the necessary steps for the modeling process. Furthermore, assembling a comprehensive catalog of high-quality reference images will significantly enhance the realism and intricacy of your 3D eye model, enabling you to capture subtle details with greater precision.
2. Sketch the eye
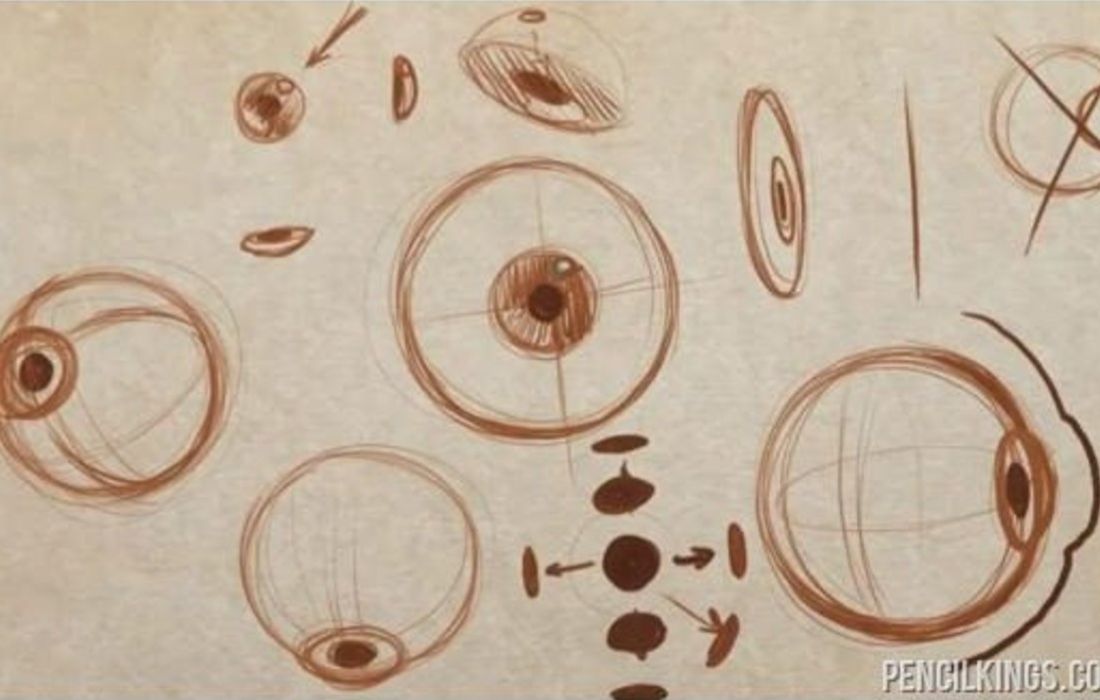
Gaining a solid understanding of eye anatomy is indispensable for grasping the details of what you aim to achieve in your 3D modeling process. However, taking your learning a step further by sketching out the anatomy can make a significant difference. Sketching acts as a practical rehearsal after you’ve studied the structure and features of the eye. It doesn’t have to be a perfect or realistic drawing, nor does it need to be artistically beautiful. Even a simple outline or rough representation will suffice. The primary goal of sketching is to reinforce your memory of the various parts and intricate details of the eye. This practice ensures that you retain the information better, reducing the need to repeatedly refer back to reference images during the time you’re modeling 3D eyes.
3. Shape the model
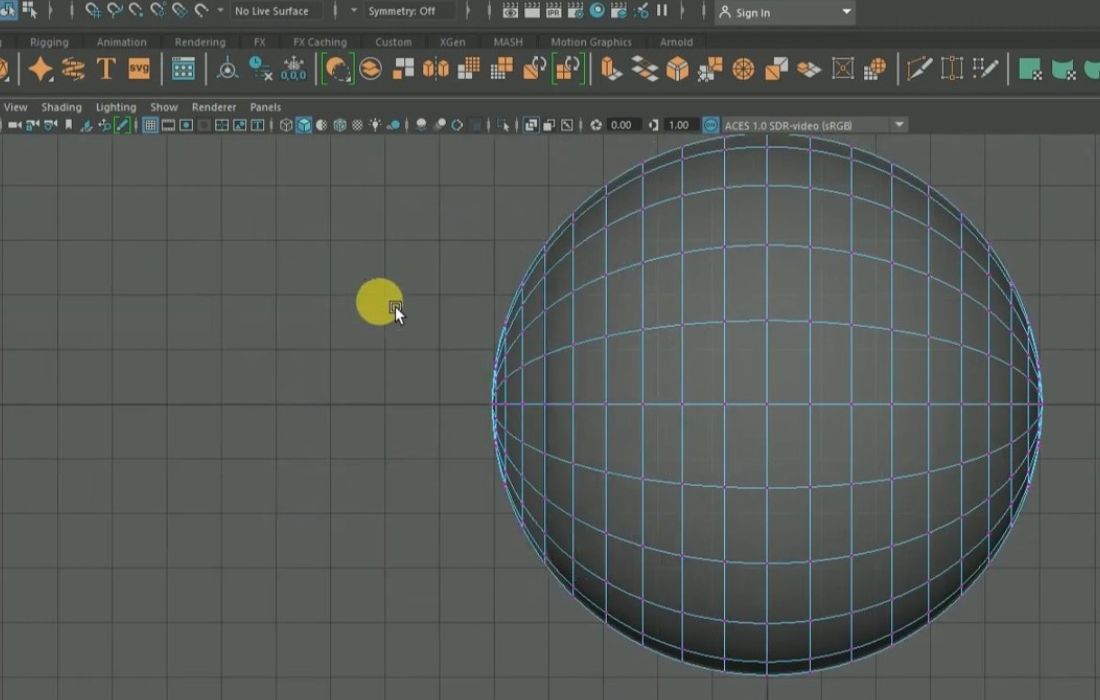
In many tutorial videos, artists commonly rely on the sphere shape as the foundation for modeling various parts of the eye, including the eyeball, cornea, and lens. This approach simplifies the process and provides a versatile starting point for creating realistic shapes.
The first step to model 3D eyes involves using a sphere to model the eyeball. It’s generally recommended to start with a perfectly round sphere, as this is the safest and most accurate base. To shape the iris and pupil, you can scale the vertices inward on a small section of the sphere and add additional loops to refine the details.
The second step is to use another sphere to create the lens, which is positioned inside the eyeball. This step requires some adjustments since the lens is not perfectly spherical; its vertices will need to be carefully reshaped to achieve the correct form.
The third step involves using yet another sphere to model the cornea. Similar to the lens, the cornea is not entirely round, so you’ll need to manipulate the vertices to match its natural curvature. By following these steps and refining the shapes as needed, you can create the essential structures of the eye with accuracy and detail.
4. Texture

The next crucial step in modeling a realistic 3D eye is applying textures, which bring the model to life by adding color, details, and surface variations. Texturing involves overlaying a 2D image onto the surface of a 3D model to simulate the intricate details of a real object. This process can be achieved using various tools, such as Photoshop, Substance Painter, or available techniques in 3D software like Blender or Maya. One of the most challenging aspects of texturing is recreating the complex and detailed appearance of a real-life iris, as it contains numerous intricate patterns and subtle variations.
To achieve maximum realism, it’s highly recommended to use a combination of texture types. For example, Diffuse Texture is essential for defining the base color and visible details, such as the intricate iris patterns and the veins in the sclera. Normal Map can be used to simulate fine surface details, like the delicate ridges in the iris and the slight texture of the sclera. Specular Map is key for controlling the reflective properties of the surface, particularly the cornea’s glossy appearance, while Roughness Map determines the smoothness or roughness of the eye’s surface, enhancing its overall realism.
If time is limited, you can opt to source pre-made textures from online libraries, many of which offer either free or paid options. This can significantly speed up the texturing process while still providing high-quality results for your 3D eye model.
5. Add the details
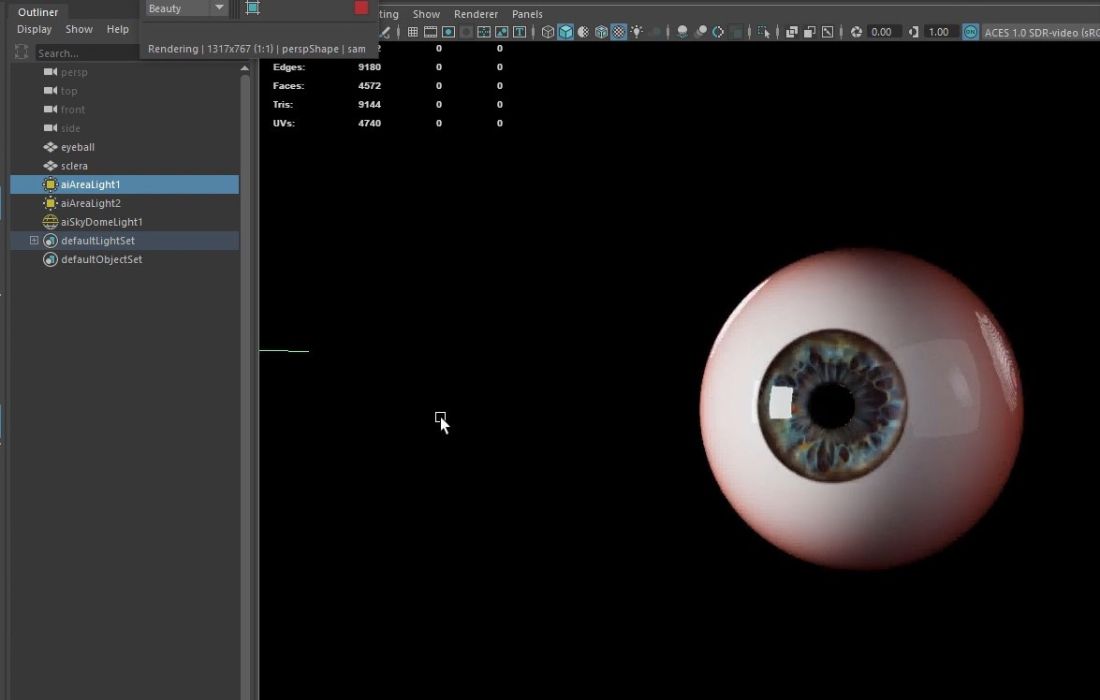
To model 3D eyes which can be more realistic, adding shadows and highlights is an important step because the eye is often the focal point of a character, playing a vital role in conveying life, emotion, and a sense of realism. The eye’s glossy and reflective nature, along with its complex interaction with light, makes accurate rendering of these elements essential. Highlights are particularly important for replicating the wet and shiny appearance of the cornea, while shadows add depth and definition to the sclera and the iris, enhancing the model’s overall lifelike quality.
To further elevate the realism of your eye model, incorporating small details and subtle variations is key. Features such as wrinkles around the eye, delicate veins on the sclera, tears, or realistic reflections can significantly enhance the uniqueness and authenticity of the model. These intricate details can be achieved through a variety of techniques, including sculpting fine features, hand-painting textures, or adding extra geometry to the model. These finishing touches ensure the eye stands out as a dynamic and convincing element in your character design.
6. Use Eye kit
In case you want to focus on other parts of the body crafting rather than to model 3D eyes, you can use an instant model. With The FlippedNormals Eye Kit, you can instantly drag and drop the model to your character, saving you quite a time from modeling the eyes to focusing on other parts of your human model. The eye model is realistic enough to be used in either VFX or the game at close or distant angles.
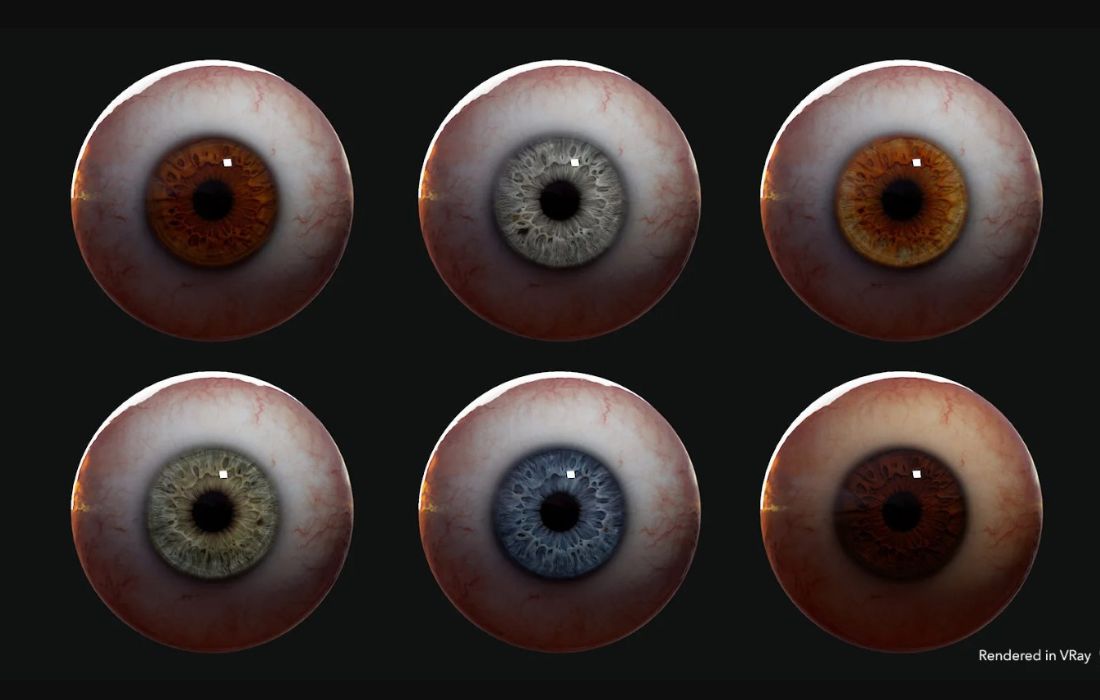
The FlippedNormals Eye Kit includes 6 iris colors (blue, brown, dark brown, green, hazel, and grey), together with 2 sclera variations (bright and dark).
The kit is ready to use in Arnold for Maya, VRay for Maya, Blender, and Modo. With just some easy steps like importing the file or dragging on a slider, you can change pupil dilation and constriction. With other software, you will need to import FBX or OBJ files. Not all software; however, interprets them the same way, you might see minor discrepancies when importing an OBJ across different platforms.
Boost model rendering performance with iRender’s servers
For the best final result, not only a complicated model and appropriate rendering software are required but also a computer with a powerful configuration. iRender provides high configurations of machines with upmarket specifications like AMD Ryzen™ Threadripper™ PRO 3955WX @ 3.9 – 4.2GHz or AMD Ryzen™ Threadripper™ PRO 5975WX @ 3.6 – 4.5GHz, RAM 256GB, Storage NVMe SSD 2TB. Most importantly, we always update to the latest GPU technology.
Whatever modeling software and render engines you use, you still can find a suitable PC at iRender. You can consider our packages and their configuration here.
Let’s see how fast Arnold for Maya, VRay for Maya render on our servers!


Why can iRender be a great render farm for you?
In addition to high-configuration servers, iRender also provides many other utilities to bring the best experience for users.
- Dedicated server for individuals: You have full control and access to the server you rent. The working environment (installed apps, files) will be stored for the next use.
- Easy and free file-transferring between your computer and iRender’s server: The transferring task can be done via “GPU iRender” application for Windows and the “iRender Drive” application for MacOS.
- 24/7 assistance: iRender’s attentive agents are always ready to support all your queries.
- All software compatibility: iRender’s PCs are built to meet the configuration needs of all 3D software and rendering tools at a variety of cost levels for users to choose from.
REGISTER NOW to get the free trial today—don’t miss out!

If you have any questions, please get in touch with me through email d[email protected] or our 24/7 support team for a quick response.
Thank you for reading & Happy Rendering!
Source: flippednormals, linkedin, daisie blog, youtube
Related Posts
The latest creative news from Maya Cloud Rendering