How to Bake Lighting in Unreal Engine 5 Using iRender's GPU Nodes?
Lighting is what separates a good-looking Unreal Engine scene from a truly stunning one. And in 2026, with UE5’s expanded toolset: Lumen, Nanite, Virtual Shadow Maps, and GPU Lightmass, artists have more control over lighting quality than ever before.
But there’s a catch: baking lighting in Unreal Engine 5, especially for large or complex scenes, is one of the most GPU-intensive tasks in real-time production. Running GPU Lightmass on a mid-range workstation can take hours, create system instability, and lock up your machine entirely while the bake runs.
That’s exactly where iRender’s cloud GPU nodes come in.
By offloading your UE5 light baking to iRender’s RTX 4090-powered servers, you get dedicated, full-performance GPU hardware without blocking your local machine or waiting hours for results. This guide walks you through everything you need to know: what light baking is, when to use it, how GPU Lightmass works, and a complete step-by-step setup for running your light bakes on iRender.
What Is Light Baking and Why Does It Matter?
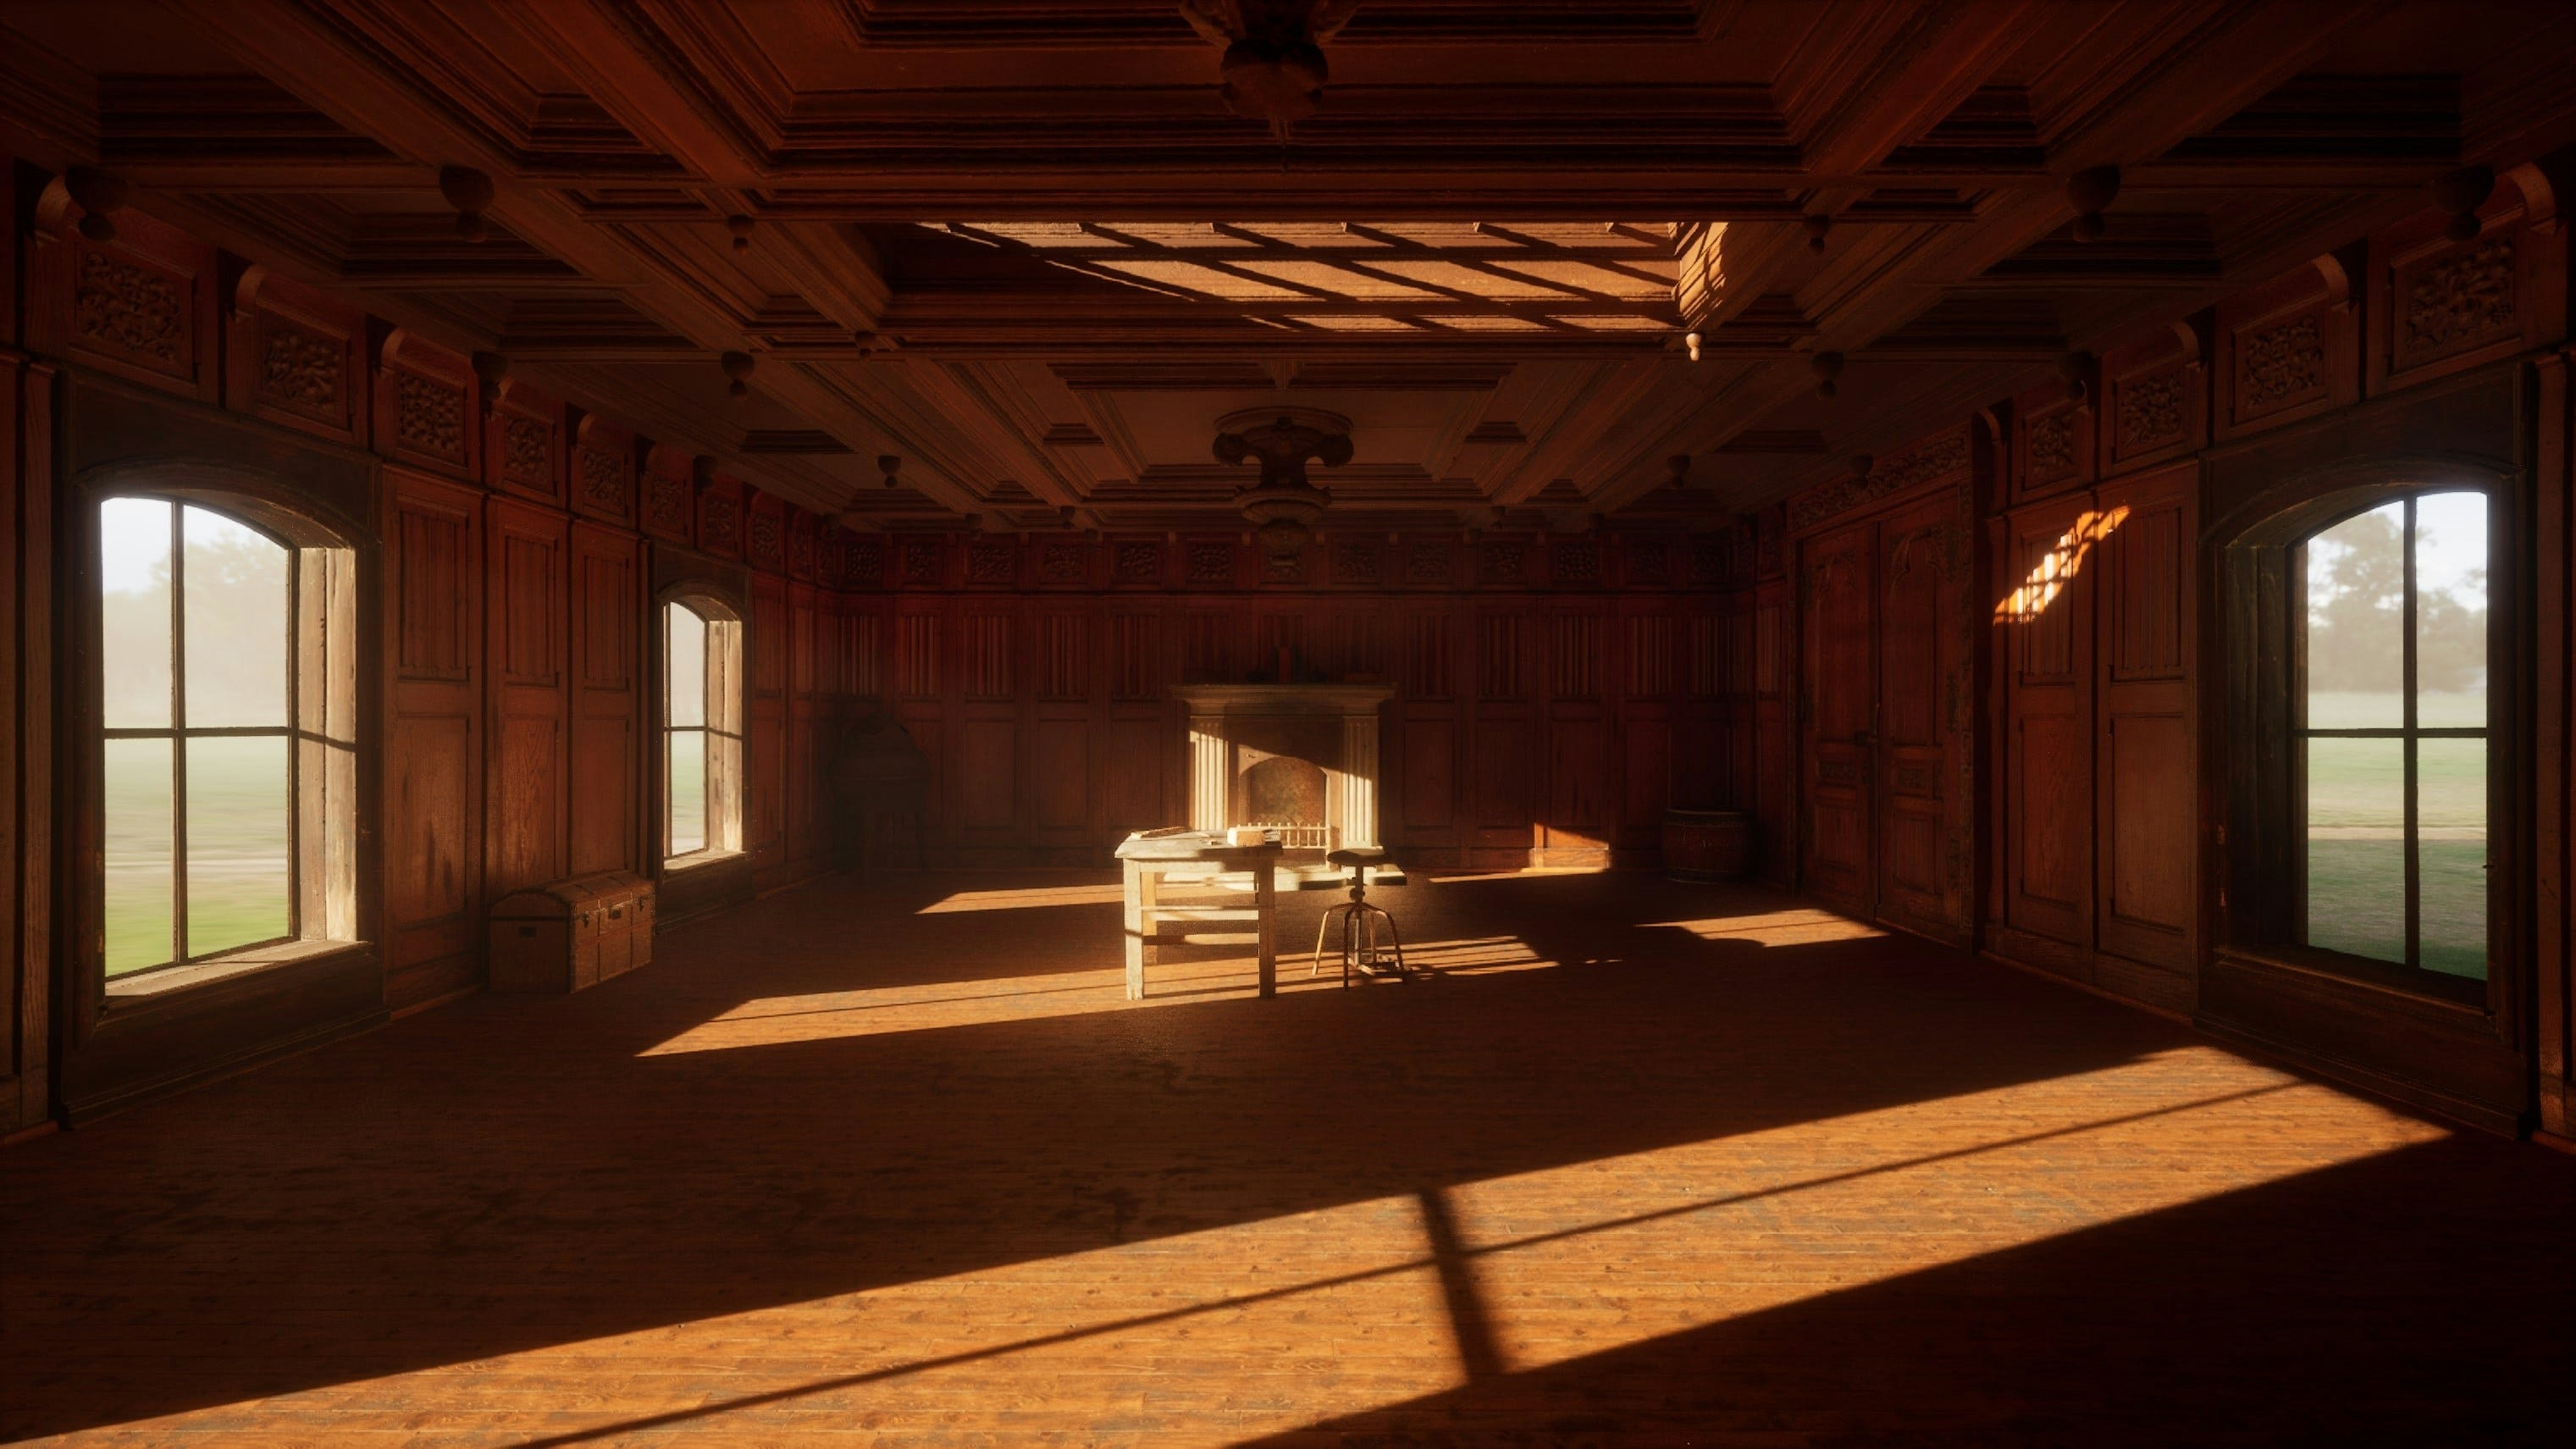
Light baking means pre-calculating how light interacts with your scene and saving that data into textures called lightmaps. Once baked, these lights don’t require real-time GPU computation, which means better performance in your packaged game or real-time experience, and more consistent, high-quality lighting in architectural visualizations and cinematics.
In Unreal Engine 5, there are three lighting mobility modes:
- Static: Light is fully baked into the scene. No runtime cost. Best for fixed environmental lights like ceiling fixtures, sun positions, and ambient fills.
- Stationary: Light is precomputed for indirect illumination but can change color and intensity in real time. Ideal for flickering lamps or day/night transitions.
- Movable: Fully dynamic. Updates every frame. Most GPU-expensive option, best for moving lights like flashlights or vehicle headlights.
For game projects, interactive architectural walkthroughs, and VR experiences, baked static lighting is often the right choice. It gives you photorealistic global illumination and soft shadow detail at virtually no runtime performance cost once the bake is done.
The challenge is that doing the bake itself is computationally expensive. That’s where GPU Lightmass changes the equation.
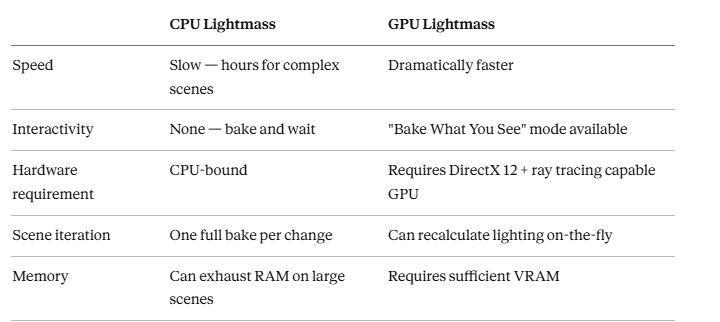
CPU Lightmass vs GPU Lightmass: What's the Difference?
Unreal Engine’s original Lightmass system was CPU-based. For complex scenes, CPU Lightmass builds could take many hours, and even with distributed builds using Swarm Agent across multiple machines, iteration speed was a persistent frustration.
GPU Lightmass (GPULM) is Epic’s modern solution. It leverages the GPU’s parallel processing architecture and Microsoft’s DXR ray tracing API to dramatically accelerate the baking process. According to Epic’s official documentation, GPU Lightmass achieves speeds comparable to distributed CPU Lightmass builds but on a single GPU, without Swarm setup.
The practical difference for artists:
The “Bake What You See” (BWYS) mode is a standout GPU Lightmass feature: it lets you preview baked lighting results interactively as you work, calculating only the tiles visible in your current viewport. This makes lighting iteration dramatically faster; you can tweak a light and see the baked result in seconds rather than waiting for a full rebuild.
When to Use Light Baking vs Lumen in UE5
In 2026, UE5 gives you two primary global illumination systems: Lumen (real-time, dynamic) and GPU Lightmass (baked, static). Choosing between them depends on your project type:
Use GPU Lightmass (Baked Lighting) when:
- You’re building a game that needs to run at high frame rates on a wide range of hardware
- You’re creating a VR experience where consistent, stable performance is non-negotiable
- You’re doing architectural visualization where lighting quality is the priority and geometry doesn’t change
- You want the absolute highest-quality global illumination with soft, detailed shadows in every corner
Use Lumen (Dynamic Lighting) when:
- Your scene has dynamic geometry or moving light sources
- You’re working on a cinematic or real-time experience where flexibility matters more than raw performance
- You’re iterating quickly and don’t want to wait for bake times
In many production scenarios, artists use both Lumen for dynamic objects and real-time shadows, and GPU Lightmass for the static environment. UE5 5.4+ supports this hybrid approach cleanly, and Virtual Shadow Maps (VSMs) provide high-quality dynamic shadows for moving objects alongside your baked environment lighting.
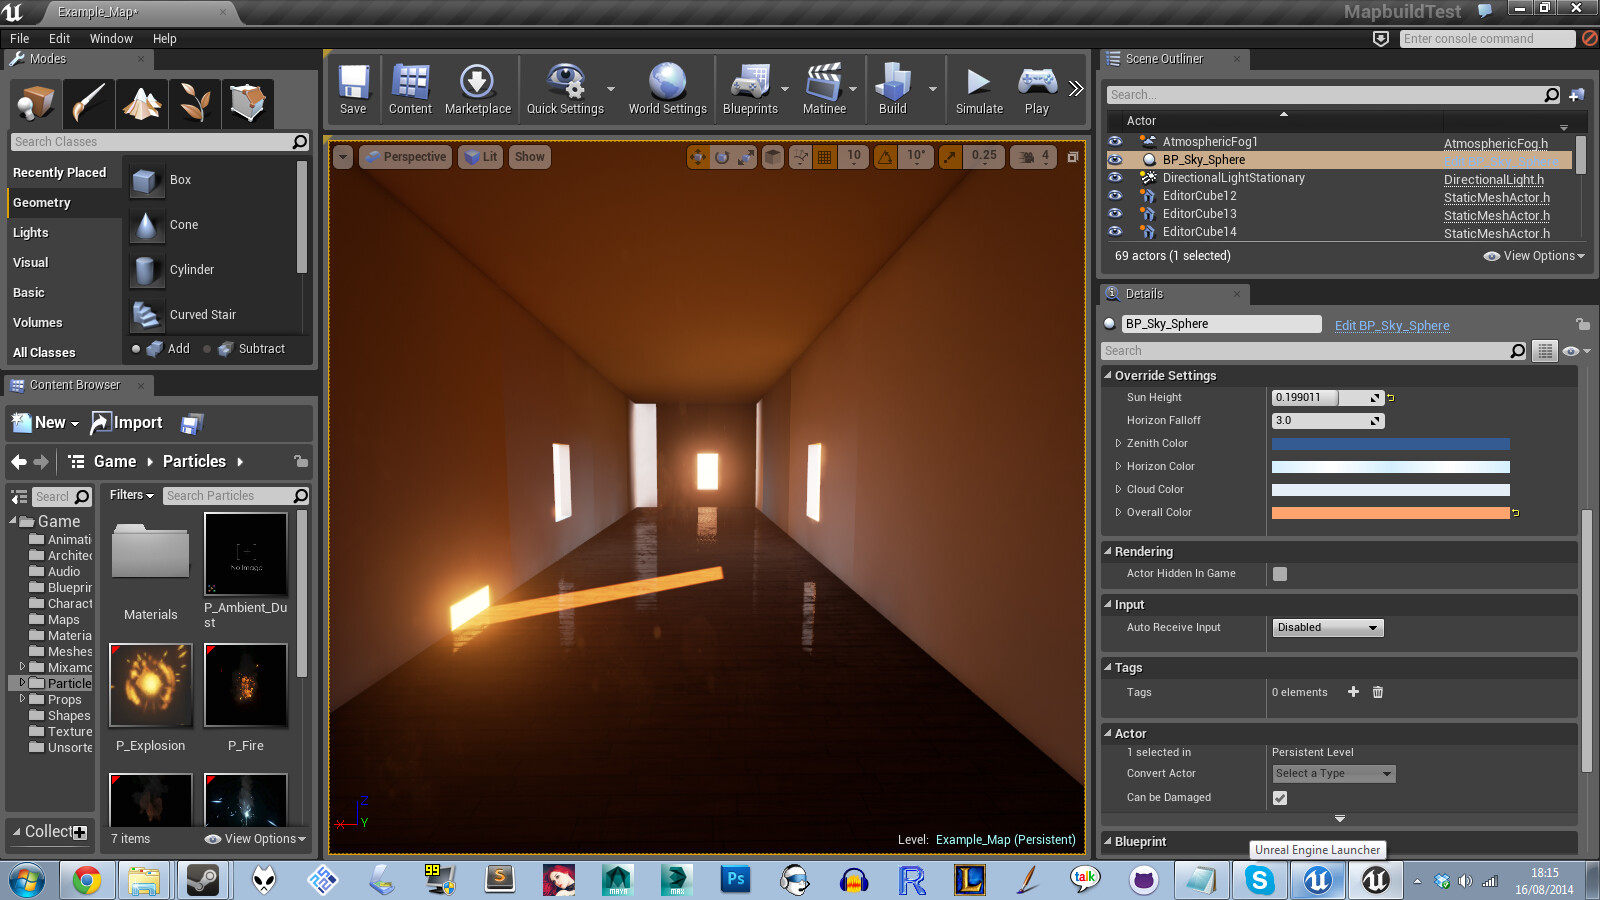
Step-by-Step: How to Enable GPU Lightmass in UE5
Before connecting to iRender, make sure your project is configured correctly for GPU Lightmass.
Step 1: Enable the GPU Lightmass Plugin
- Go to Edit > Plugins
- Under Built-In > Editor, find GPU Lightmass and enable it
- When prompted, restart the editor
Step 2: Configure Project Settings
Before restarting, open Edit > Project Settings and under Engine > Rendering, enable:
- Support Hardware Ray Tracing (under Hardware Ray Tracing)
- Ensure DirectX 12 is set as your rendering API
Also, if you’re focused on baked lighting and not using Lumen, disable it to avoid conflicts:
- Under Global Illumination, set Lumen Global Illumination to Disabled
- Ensure Lightmass is enabled (it should be by default)
Step 3: Set Mesh Mobility to Static
Only static meshes can receive baked lighting. Select each mesh in the viewport, find the Mobility dropdown in the Details panel, and set it to Static. Movable or Stationary objects will not be included in the bake.
Step 4: Set Up Lightmap UVs
Good lightmap UVs are the foundation of a clean light bake. Every Static Mesh needs a dedicated lightmap UV channel (usually UV Channel 1) with no overlapping islands and sufficient padding between islands.
You can generate lightmap UVs automatically in the Static Mesh Editor, or set them manually for more control. Adjust lightmap resolution per object, higher resolution for large, prominent surfaces; lower for small or distant geometry. Use the Overridden Light Map Res property in the Details panel to set per-actor lightmap resolution.
Step 5: Disable Unnecessary Ray Tracing Features
GPU Lightmass requires ray tracing, but it doesn’t need all ray-traced effects enabled. Disable ray-traced shadows, ambient occlusion, and reflections unless you specifically want them alongside baked lighting. Add these lines to your DefaultEngine.ini under [/Script/Engine.RendererSettings]:
r.RayTracing.ForceAllRayTracingEffects=0
This reduces VRAM overhead and prevents conflicts between GPU Lightmass and other ray tracing features.
Step 6: Test a Small Area First
Before running a full scene bake, use Bake What You See mode to test a portion of your scene. Position your camera to show the most complex area, run a preview bake, and check for artifacts, dark seams, blotchy shadows, and lightmap bleeding before committing to a full build.
How to Run Your UE5 Light Bake on iRender
Once your scene is configured and tested, moving the bake to iRender’s GPU nodes is straightforward.
Step 1: Create Your iRender Account
Sign up at iRender.net. New accounts receive a bonus on first recharge to get started.
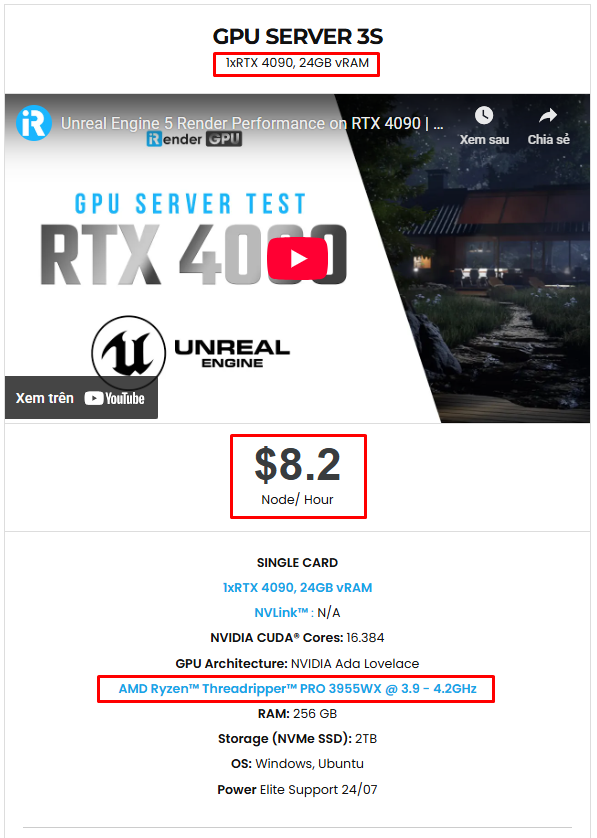
Step 2: Choose the Right Server Package
For Unreal Engine, iRender recommends the 3S package (1x RTX 4090). As iRender’s own documentation notes, Unreal Engine uses a single GPU. Hence, a single high-performance RTX 4090 node is the optimal configuration with more VRAM and compute per card than splitting across multiple GPUs.
The RTX 4090’s 24GB VRAM provides substantial headroom for large lightmap sets, while the dedicated hardware ensures no TDR crashes from background system load.
Step 3: Transfer Your Project Files
Use iRender’s file transfer tool to upload your UE5 project folder to the remote server. Make sure all assets are within the project directory and referenced with relative paths, no absolute local paths that won’t resolve on the remote machine.
Step 4: Connect to Your Remote Server
Launch the iRender Desktop Application and connect to your assigned GPU server via Remote Desktop. The server functions exactly like your own workstation with a full Windows environment, full GPU access, and full administrative control.
Step 5: Install Unreal Engine (First Time Only)
Install your required UE5 version via the Epic Games Launcher on the remote server. This only needs to be done once iRender’s servers retain your installed software between sessions on the same machine.
Step 6: Open Your Project and Run the Bake
Open your UE5 project, confirm your GPU Lightmass settings are correct, and launch your light build. With the full RTX 4090 dedicated to the bake, no competing processes, no display overhead, your build times will be significantly faster than on a shared local machine.
For very large scenes, you can use UE5’s Python API to automate the process: setting lightmap resolutions based on object size, baking multiple levels in sequence, and validating UVs before the bake starts.
Step 7: Download Your Results
Once the bake is complete, transfer your project files (including the built lighting data) back to your local machine via iRender’s file transfer system.
iRender - The best powerful rendering solution for Unreal Engine
iRender provides enterprise-grade Multi-GPU Render Farm solutions that help you:
- Run Unreal Engine smoothly with high-quality Path Tracing.
- Accelerate V-Ray rendering far beyond the limits of a single workstation.
- Optimize costs while achieving maximum performance for your studio.
iRender is proud to provide suitable configuration packages for all software to bring you a great experience in the rendering process. With the benefits that iRender brings to you as well as the configuration that is very suitable for all versions of Unreal Engine, do not hesitate to use the service at iRender to have a great experience with your rendering time. At iRender, we provide remote workstation(s) where you can use it as your own computer. Under the IaaS (Infrastructure as a Service) model, you will have full control over the entire rendering process and use it as your personal machine. Therefore, you can install any software and plug-ins you want, add your license, and render or modify your project yourself.
Below is information about our 3S package, which is the most suitable for Unreal Engine:
Not only does it have powerful configurations, but iRender also provides you with many more services. Free and convenient transfer tool iRender drive for macOS and Linux users. For Windows users, we recommend the iRender GPU application, you will not need to access our website anymore. The price at iRender is also very flexible with hourly rental (pay as you use), and daily/weekly/monthly rental with a 10-20% discount.
We’re always happy to help you with any questions. If you have any problems or questions, don’t hesitate to contact our 24/7 support team. Or via Whatsapp: 0912 785 500 for free advice and support.
iRender is currently offering a SPECIAL PROMOTION: enjoy a 100% bonus on your first top-up. This means your first deposit will be doubled, and your points never expire, allowing you to use them whenever you need.
Sign up for an account today to experience and enjoy our services.
Thank you & Happy Rendering!

Related Posts
The latest creative news from Unreal Engine Cloud Rendering