
How to convert a sketch into a 3D model
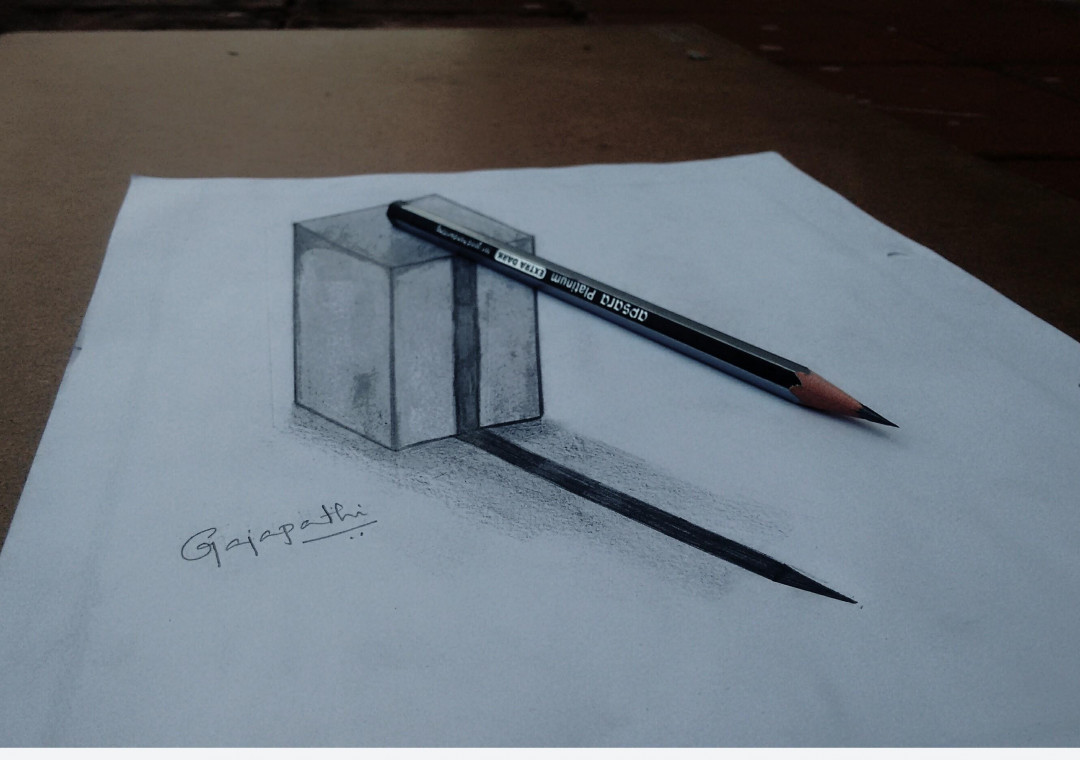
Today, there are many different ways to design a two- or three-dimensional thing. Designers can use many methods to design such as using digital software, hand-drawing, or a combination of the two. People that use both approaches, on the other hand, will have additional difficulty because they would have to convert manually.
In this article, we’ll look at how to convert a sketch into a 3D image/model. It’s important to note that the transition varies depending on the complexity of the image or 3D model you want to create. Let’s go through each step and make it a habit while we’re working.
Going Digital
The most basic conversion from a 2D sketch to a 3D image we’ll go over is digitizing a 2D sketch. It can be done with scanning equipment like an integrated scanner on a paper printer or even a smartphone with a camera. If you decide to use your phone, make sure you download a scanning tool like Adobe Scan, Microsoft Office Lens, or SwiftScan.
Because your sketch is already digital, using electronic drawing equipment (such as a tablet and pen) immediately completes this stage. You won’t need to vectorize the image if you create your drawing digitally in a vector-based program like Adobe Illustrator, you’ll save time.
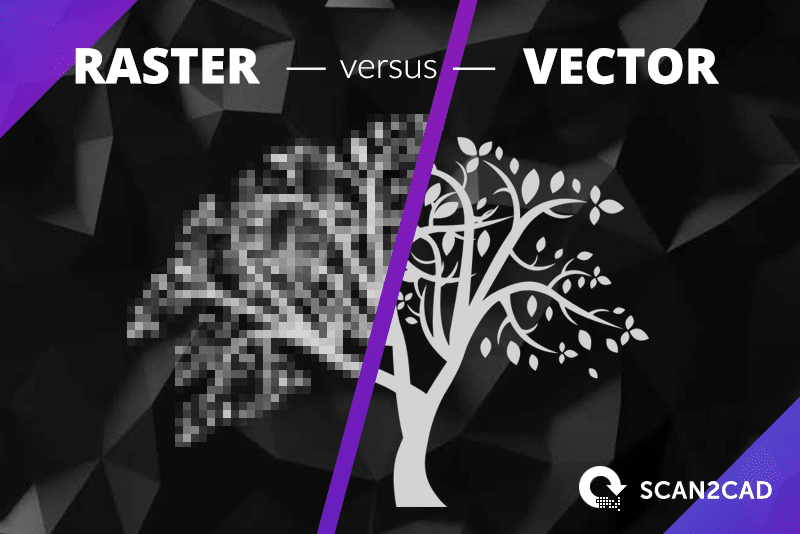
Vector vs. Raster
You have to vectorize your drawing after digitizing your pen and paper sketch. Because most scanning platforms save your scans in a scalar (rather than a vector) file format like JPG, this is the case. This makes it difficult to edit individual features or scale your image without losing quality.
To fix this, vectorize the image, which converts it into a set of mathematically computed features that can be easily manipulated. Users can vectorize their images by using a vectorization tool in vector-based graphic design software like Adobe Illustrator, CorelDraw, or Inkscape. Designers should check your drawing after vectorization and repair any errors that happened during the process.
You can also maintain track of your scanned drawings, which is particularly important if you’re working with graphic design software that doesn’t support vectorization. It will make a digital copy of your drawing for you to edit, move, and adjust.
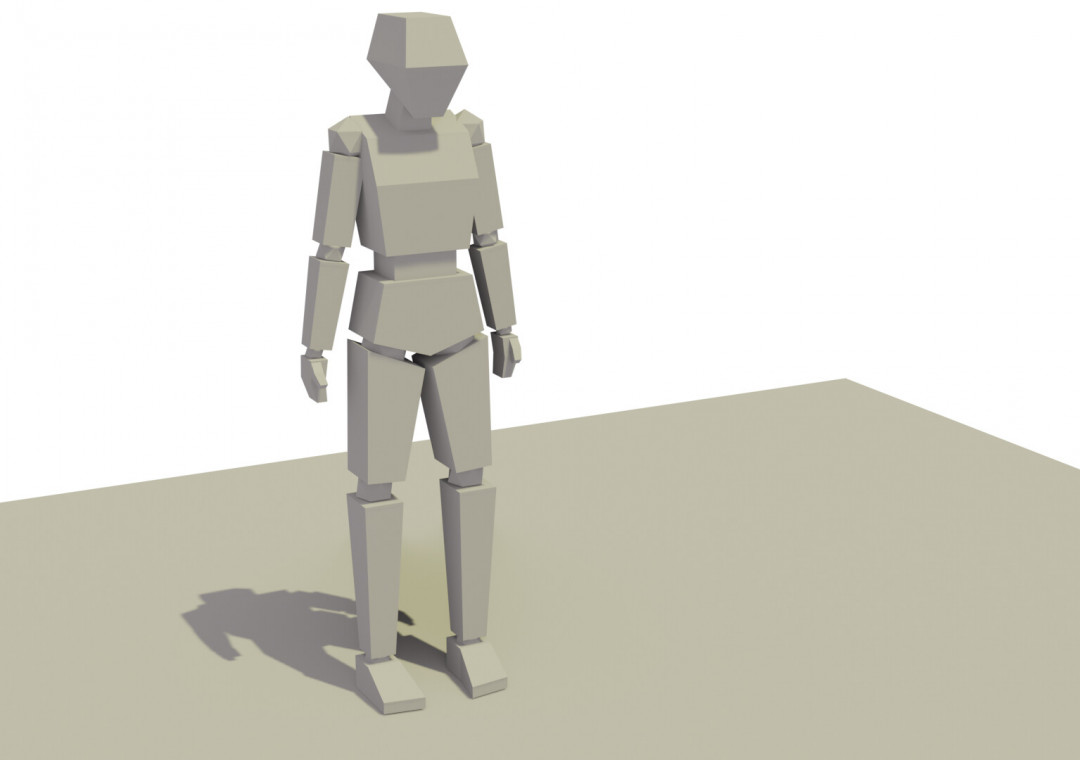
Basic 3D model
The second transformation we’ll perform is to turn a 3D object’s drawing into a basic digital 3D model. A basic 3D model is a 3D model with only two-dimensional details, such as a cube or cylinder.
If necessary, digitize your paper sketch as described in the previous section, then save your digital sketch into a file format capable of storing 2D data from your graphics editing platform (e.g. DXF, DWG, SVG). Then, using Fusion 360, Onshape, or AutoCAD, import the 2D drawing file into a CAD application. Make sure the software uses the 2D drawing as a 2D sketch and not for anything else when you import it (e.g. reference image).
Before adding the third dimension to your 2D sketch, you must edit and verify its integrity. This entails double-checking that your sketch is the right size and shape. You should be able to make any changes using the drawing features in your CAD program, including ensuring the sketch is a closed figure.
Finally, use your CAD program’s depth modeling capability to convert the final 2D drawing into a 3D model. The extrude and revolve tools are two popular 3D modeling tools that can be used to accomplish this operation. This stage completes the process of converting a paper drawing into a 3D model.
Complex 3D Model
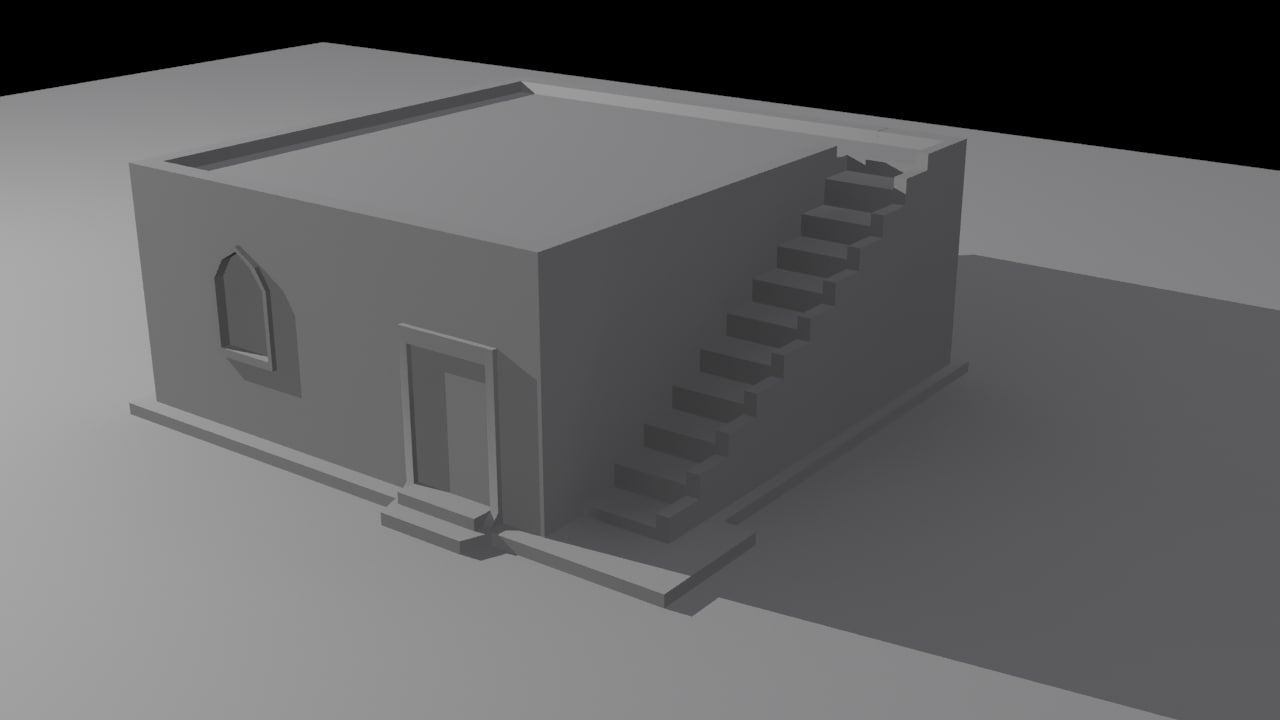
Some people are still concerned about how to create complicated 3D objects. Complex 3D models, such as most real-world things, portray 3D objects in all three dimensions in detail (for example, cars, architectural structures, or character models).
Its features must be constructed manually, unlike basic items that may be transformed to 3D by adding a third dimension. Make sure you have multiple sketches of your desired complex 3D model from a distinct perspective. It is to aid you in this upgrade. Sketches can be uploaded as a reference image and placed in your design space. This allows you to duplicate aspects from the sketch with ease.
The first step is to use the method we explained in the digital conversion section before. Then, using the method described in the last part, make a basic 3D model based on a sketch at any angle you choose to start with.
We’ll need to upload this basic model into an advanced 3D design or modeling tool like Fusion 360 or Blender to edit it into the complicated thing you’ve developed. You should also upload your other views’ reference photographs to the design space. To aid you in creating, make sure your reference photographs are on the right planes and matched with your model’s perspective.
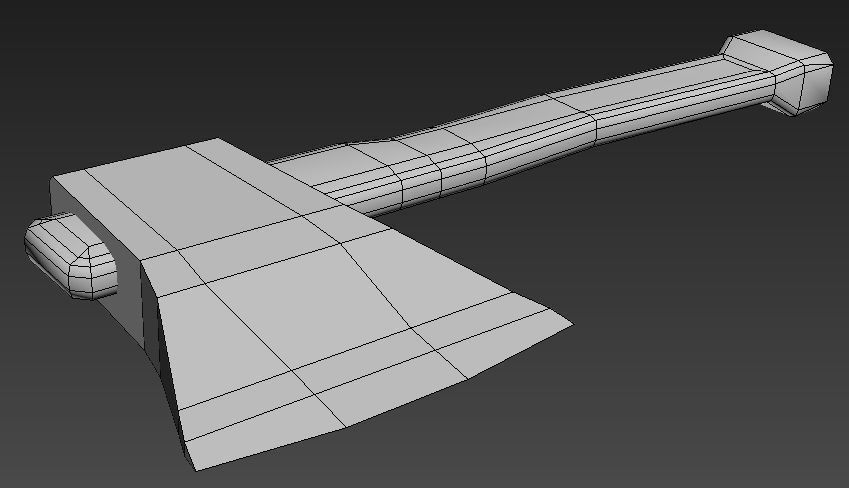
After uploading, you can modify your basic 3D model using the software’s 3D modeling tools. While conventional modeling tools are adequate for this task, sculpting tools are also useful for modifying the model’s shape. This method includes a manual component that allows you to create a complicated 3D model that perfectly matches your idea.
Automated 3D Model
You now understand how time-consuming and difficult it is to turn a sketch into a complicated 3D model. While this allows for a lot of customization in terms of modeling, not everyone is competent enough in 3D design applications to put their ideas into action.
However, there is currently some software that can help users with this. These programs can recognize features on a 2D graphic and transform them into 3D features on a 3D model automatically. You’ll also need to upload sketches of the model from various perspectives to aid the program in finding features on a complicated 3D model.
You can refer to PIFuHD, this software converts 2D to 3D quite accurately. This program is beneficial because it is well compatible with Blender, a popular CAD and computer graphics platform.
According to some users, FlexiDesign and Anvil Express are also automatic conversion software to consider. Of course, all of these programs can’t just read any kind of sketches or images, but usually have a set of requirements for imported sketches, so try to use a set of Match the requirements that best suit your sketch or image.
Overall, an automated conversion solution can dramatically speed up the design process when done correctly. However, it is important to note that these programs are intrinsically more complex than manual methods because the supporting software does not always process the drawing perfectly.
iRender - Powerful Cloud Rendering Service for Design Software
The latest creative news from Unreal Engine Cloud rendering.

Understanding users’ needs, iRender is a pioneer in Vietnam providing mainframe performance services, based on cloud computing technology, and helping users get photo results. quality, at a cost-saving more than tens, even hundreds of times. With GPUHub service, iRender helps users of 3D design software such as Fusion 360 or Blender, speed up the rendering process while still achieving quality products, cost-effectively as well as saving time.
iRender has a 24/7 customer support team that is always available to help you with problems during product use. Register now to experience our service for free!
Hopefully, the article has provided a lot of useful information, and the necessary tools for the process of turning your sketch into your 3D image/model.
iRender – Happy rendering
Source:all3dp.com
Related Posts
The latest creative news from Blender Cloud Rendering, Redshift Cloud Rendering, Houdini Cloud Rendering , Octane Cloud Rendering, 3D VFX Plugins & Cloud Rendering.


