How to Import Blender files to Keyshot
As we all know, KeyShot has made strides to become one of the leading visualization tools across every industry, solving challenges in the project development pipeline by combining advanced visualization authoring with unparalleled ease of use. And one of the most popular workflows for 3D artists and creators is going from Blender to KeyShot.
If you’re a Blender user, we’re excited to finally bring you the KeyShot for Blender plugin. This plugin will help optimize your workflow by speeding up the process of bringing Blender files to KeyShot and updating the files you do bring into KeyShot.
KeyShot for Blender Plugin
To get started, download and install the Blender plugin by visiting keyshot.com/plugins or by visiting the KeyShot for Blender manual for download and installation information. This Add-on for Blender allows real-time 3D rendering in KeyShot with LiveLinking model update and animation support.
Requirements:
- Blender 2.93
- KeyShot 11.1 (Try | Buy)
- Windows 10 and later or macOS 10.15 or later
With the plugin installed and Blender open, you’ll notice a new KeyShot tab on the main menu. You have several options, including the ability to send your Blender scene to KeyShot, as well as update the model sent to KeyShot if you’ve made new edits. There are two ways to open a Blender model in KeyShot. Let’s get into the details!
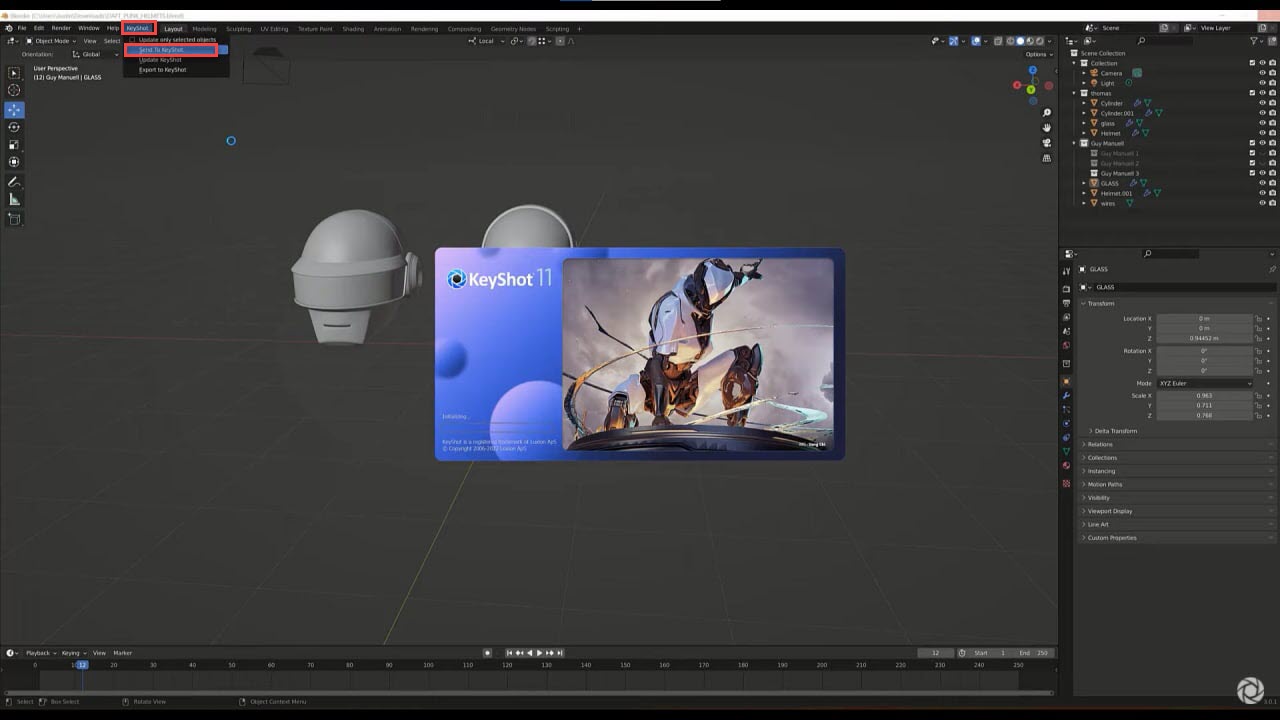
Send Blender Files Directly to KeyShot
First, with the model open in Blender, go to the KeyShot tab and select Send to KeyShot. The Blender model(s) you’ve created will open in a new KeyShot scene, and are ‘LiveLinked’ to capture any changes you make in Blender. The LiveLink allows you to make updates to your Blender model if needed, and then quickly send those updates to your KeyShot scene without needing to re-import or re-apply materials. To do so, simply select Update KeyShot from the KeyShot menu.
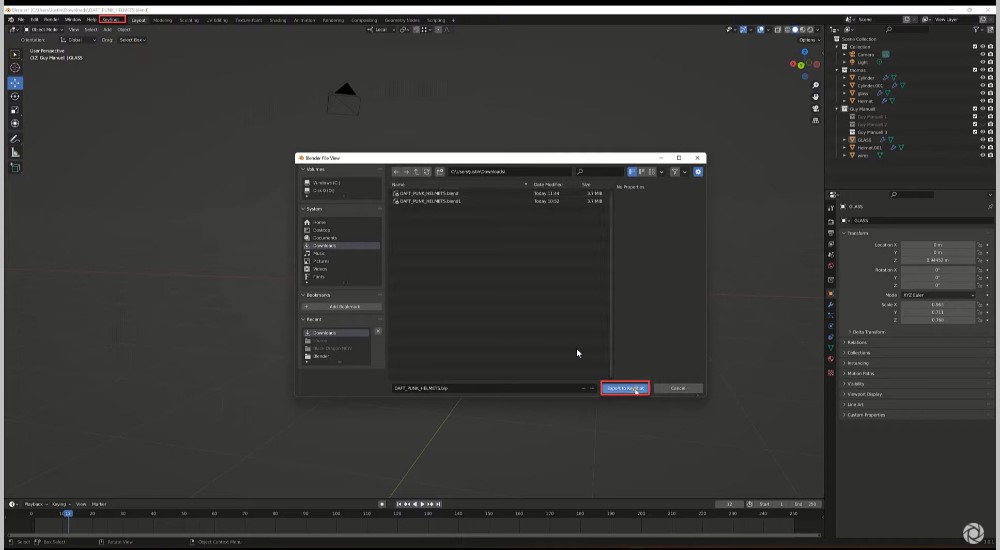
Export Blender Files and Import Into KeyShot
The Second method to open files to KeyShot is to simply export a KeyShot file from Blender. For this method, you’ll locate the KeyShot tab at the top and select export to KeyShot from the dropdown menu. This will export your Blender models as a KeyShot .bip file which you can then open in KeyShot. Be aware that this method will not establish a LiveLink between Blender and KeyShot.
Other KeyShot for Blender Features
Using the KeyShot for Blender plugin not only allows LiveLinking and export of KeyShot files, but also supports exports for rigid and deformable animations as well as any models with meshes, curves, surfaces, and text. The plugin also allows you to import View Layers as Model Sets if needed for your workflow. You can download the KeyShot for Blender plugin here and learn more in the KeyShot plugin manual. Hopefully, this quick tip has helped speed up your blender to Keyshot workflow and do not forget to stay tuned for our helpful tips and tricks every day!
Unmatched multi- GPU servers at iRender Cloud Rendering
iRender is a GPU-Acceleration Cloud Rendering Service which provides high computing performance on the model of IaaS (Infrastructure-as-a-Service). Users will remotely connect to our server, install any version of Keyshot only one time and easily do any intensive tasks like using their local computers. So if you are having troubles in selecting a render farm for Keyshot? And you don’t know what is the best cloud render farm for your needs. Let’s iRender give you the answer. iRender provide various types of single/ multi-GPU-servers ranging from 1/2/4/6/8 RTX 3090 which are the most effective for Keyshot rendering in GPU, coming with the following specifications:
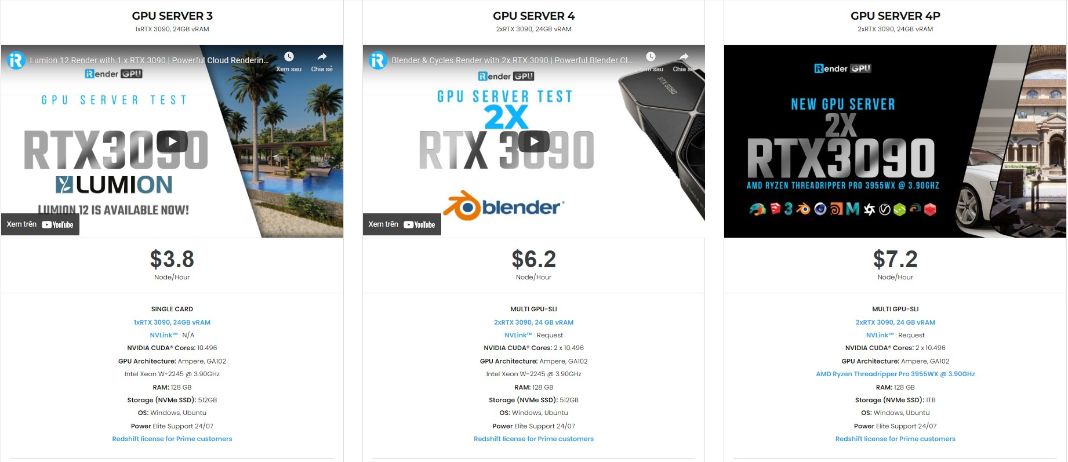
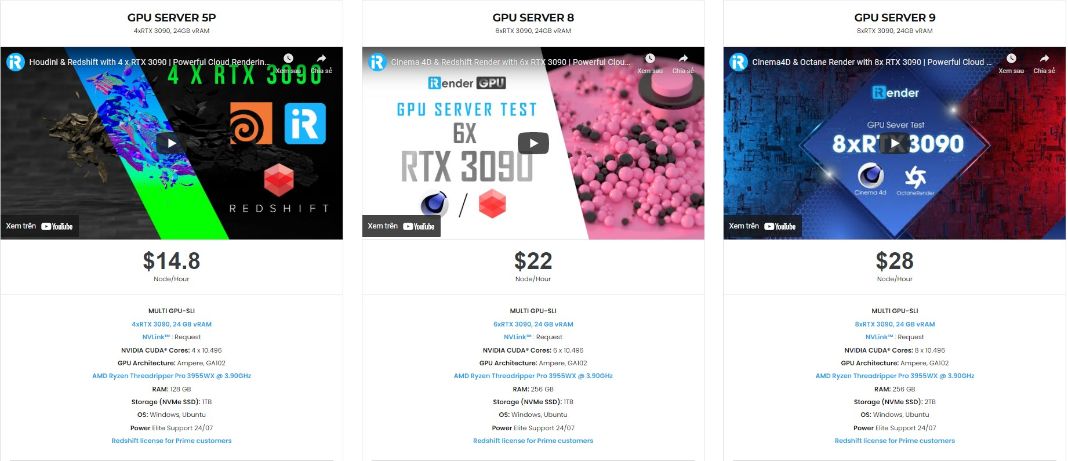
These servers are the ultimate online solution for KeyShot rendering and, you can control the power and performance for the highest level customization and configuration in application resource usage. These servers are the premier solutions to maximize your advantage when you need it most – to win the project, to meet the impossible deadline, or pivot your visual direction with unparalleled speed.

Some other outstanding features iRender provide
Friendly user interface
We believe that ‘less is more’, so the user’s interface is designed easily to use. It takes just a few steps to get started. First, register to the service, then create a new work environment or better known as a system image.
This work environment will be saved and automatically loaded for the user as soon as logging into the account. After that, a remote desktop connection will be set up, and the user will be provided with a file with login credentials. The file transfer process is unique, it can transfer files even when the server is turned off, so the users can make changes any time and it’s free to transfer. Furthermore, major cloud transferring platforms like Dropbox, Google Drive are also supported. Additionally, multiple servers can also be used, and the system image can automatically be generated, thus providing usefulness to the users.
Flexible Pricing
You will be charged on a per-minute basis. Depending on the type of server you choose, we will issue you an invoice once you shut down the servers, so that you will control your balance easily. Moreover, you can always save up to 20% with our Fixed Rental feature.
For those who’re in need of a server for more than a day, or have an extremely large project, we advise to choose a daily/ weekly/monthly rental package. The discount is attractive and help to save more for your render. We accept payment through PayPal, Onepay, bank transfer, or credit card, And of course, we sometimes provide promotions for customers on special occasions. Staying connected with us to keep updating these programs.
24/7 Real Human Support
If you choose to render your projects with iRender, you can feel extra safe that we have a dedicated CPU & GPU infrastructure and enthusiastic technical supporters available 24 hours a day, 7 days in a week to answer any queries you might have regarding your rendering jobs.

At iRender, we try our best every day to offer our beloved customers the power and expedience they need to put the project, concept, or presentation together quickly and beautifully. Keeping that in mind, iRender aims to facilitate such people by providing our own cloud render services for everyone. Even a low-performance computer can turn into a supercomputer using the cloud services by iRender. You don’t need to buy expensive computers and then install heavy software, just make use of the services by iRender and start creating.
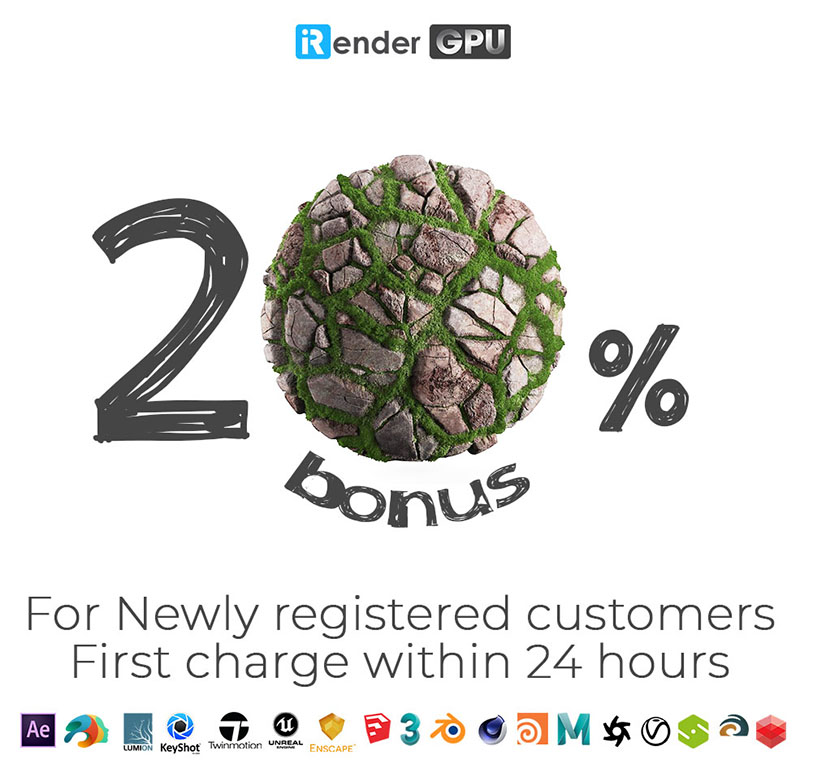
If you are a new iRender user, just register HERE to get FREE COUPON to test our servers with your Keyshot scenes and stay tuned for more interesting and useful articles related to rendering everyday. SPECIAL OFFER for this February: Get 20% BONUS for all newly registered users. Let’s CHECK IT OUT!
Thank you & Happy Rendering!
Source: blog.keyshot.com
Related Posts
The latest creative news from KeyShot Cloud Rendering , Cinema 4D Cloud Rendering , 3D VFX Plugins & Cloud Rendering.