How to transfer C4D Files into Blender
Cinema 4D and Blender are powerful 3D modeling and animation software, each with unique features and capabilities. However, there are times when it’s necessary to move assets or scenes between these two platforms. Whether you’re collaborating with others who use Blender or want to take advantage of specific features in each software, understanding how to transfer C4D files into Blender can be beneficial. In this blog, let’s explore with iRender the process of moving your models from Cinema 4D to Blender, unlocking new possibilities for your 3D projects.
Reasons choose Blender and C4D
Blender is an open-source 3D creation toolkit that provides a wide range of tools for modeling, sculpting, compositing, animation, rendering, compositing, and more. Blender is known for its powerful feature set and active community. Blender is a free and open-source 3D design program for modeling, animation, and video editing. It is also commonly used as a conversion platform.
Cinema 4D is a commercial 3D modeling, animation, and rendering software developed by Maxon. It is known for its ease of use and integration with other software and plugins. Cinema 4D is a flexible and stable toolset that makes 3D workflows more accessible and efficient for design, motion graphics, VFX, AR/MR/VR, and game development.

Benefits of transferring C4D models to Blender
Transferring Cinema 4D (C4D) models to Blender can offer several benefits, allowing users to leverage both software packages’ strengths. Some of the advantages of transferring C4D models to Blender include:
-
- Expanded Toolset: Blender and Cinema 4D each have their unique features and strengths. By transferring C4D models to Blender, users can tap into the diverse toolset of Blender, which includes robust sculpting, animation, and simulation tools, as well as the powerful node-based shader editor for materials.
- Cost Efficiency: Blender is open-source and free to use, making it an attractive option for individuals or organizations looking to minimize software licensing costs. By transferring C4D models to Blender, users can take advantage of Blender’s extensive capabilities without incurring additional expenses.
- Flexibility and Workflow Considerations: Different software packages excel in specific areas. Transferring C4D models to Blender allows users to take advantage of Blender’s unique workflow, procedural modeling capabilities, and its efficient rendering engine, Cycles. This can lead to more flexible and efficient workflows for certain types of projects.
- Community and Resources: Blender has a large and active community, with a wealth of tutorials, add-ons, and resources available. By transferring C4D models to Blender, users gain access to a diverse ecosystem of support and creative tools, broadening their options for learning and enhancing their projects.
- Interoperability: Blender’s broad capability for importing various file formats makes the transfer of C4D models relatively seamless. This interoperability allows users to combine assets or projects created in Cinema 4D with their Blender-based workflows, enabling more collaborative and integrated production pipelines.
- Learning and Skill Development: By working across multiple software platforms, users can expand their skill set and understanding of different workflows. Transferring C4D models to Blender provides an opportunity for users to diversify their expertise and gain proficiency in both tools, enhancing their overall capabilities as 3D artists and designers.
3D file fomats
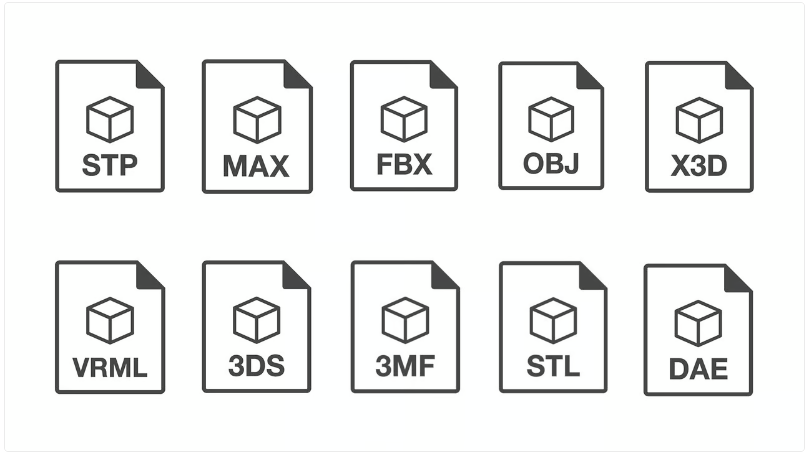
3D files can come in several popular formats, including STL, OBJ, FBX, and DAE. They are widely used in a variety of applications, from video game animation to industrial additive manufacturing. 3D files can store four main features: the model’s geometry, the model’s surface textures, scene details, and any animations of the model.
The process of transferring files from C4D to Blender
Step 1: Exporting from Cinema 4D
- Depending on your specific needs, you can choose to export the entire scene or specific models. Cinema 4D provides various export options, but for compatibility with Blender, the FBX file format is recommended. By exporting as an FBX file, you can preserve geometry, materials, animations, and other essential elements of your scene.
Step 2: Importing into Blender
- Open Blender and go to “File” > “Import” > “FBX.” Navigate to the location of your exported FBX file from Cinema 4D and select it. Blender will then import the file along with its geometry, materials, and animations.
Step 3: Check and adjust import settings
- Depending on the complexity of your scene, you may need to adjust your import settings to make sure everything is working correctly. This may involve adjusting options related to materials, textures, and animations, among others.
Step 4: Fine-tuning the imported scene
- Once the file is imported into Blender, you may need to make some adjustments to the materials, textures, animations, or any other components to make sure everything looks and works as expected in the new environment.
FBX animations and bone skins should also be automatically imported by Blender. However, Blender can’t always read complex FBX animation data, so unbaked animations can cause issues. If your animations aren’t importing as expected, try selecting “Bake All Frames” in the FBX Export settings when exporting from Cinema 4D.
Conclusion
Through this article, iRender hopes that you have a better understanding of Blender and C4D, as well as how to transfer models from C4D to Blender.
iRender is proud to provide suitable configuration packages for C4D and Blender to bring you a great experience during the rendering process. With the benefits that iRender brings to the configuration that is very suitable for all versions of C4D and Blender, do not hesitate to use the service at iRender to have a great experience with your rendering time. At iRender, we provide remote workstation(s) where you can use it as your computer. Under the IaaS (Infrastructure as a Service) model, you will have full control over the entire rendering process and use it as your machine. Therefore, you can install any software and plug-ins you want, add your license, and render or modify your project yourself. All our machines come with Blender, C4D pre-installed and users will get a free C4D+ Redshift license combo.
Below is information about iRender’s service packages:
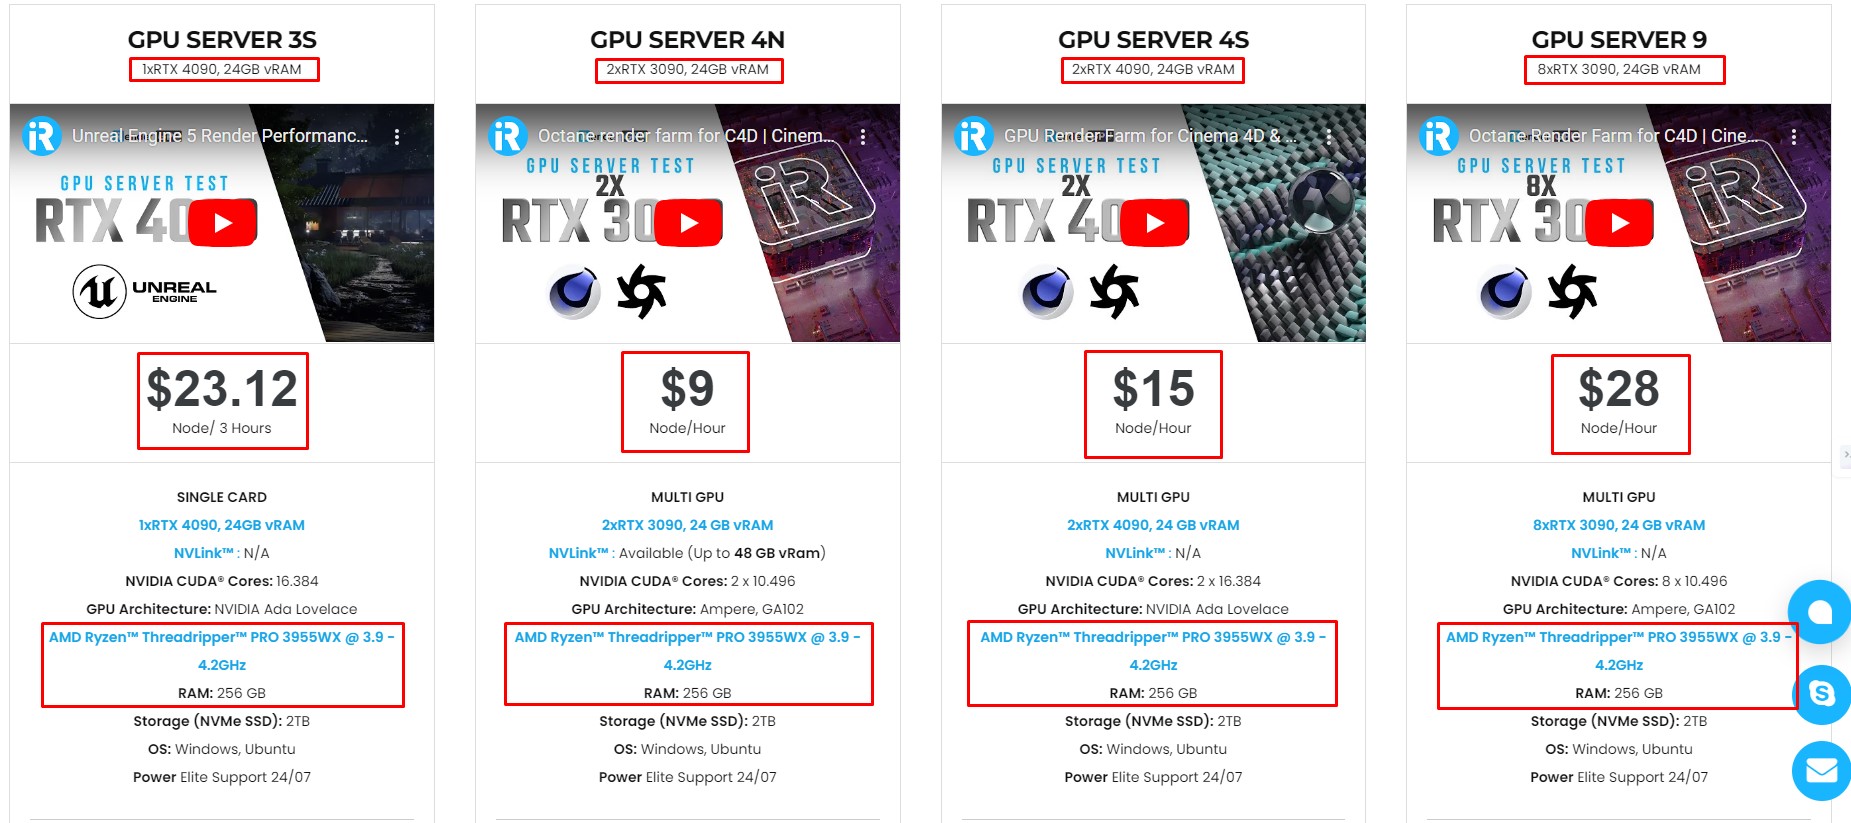
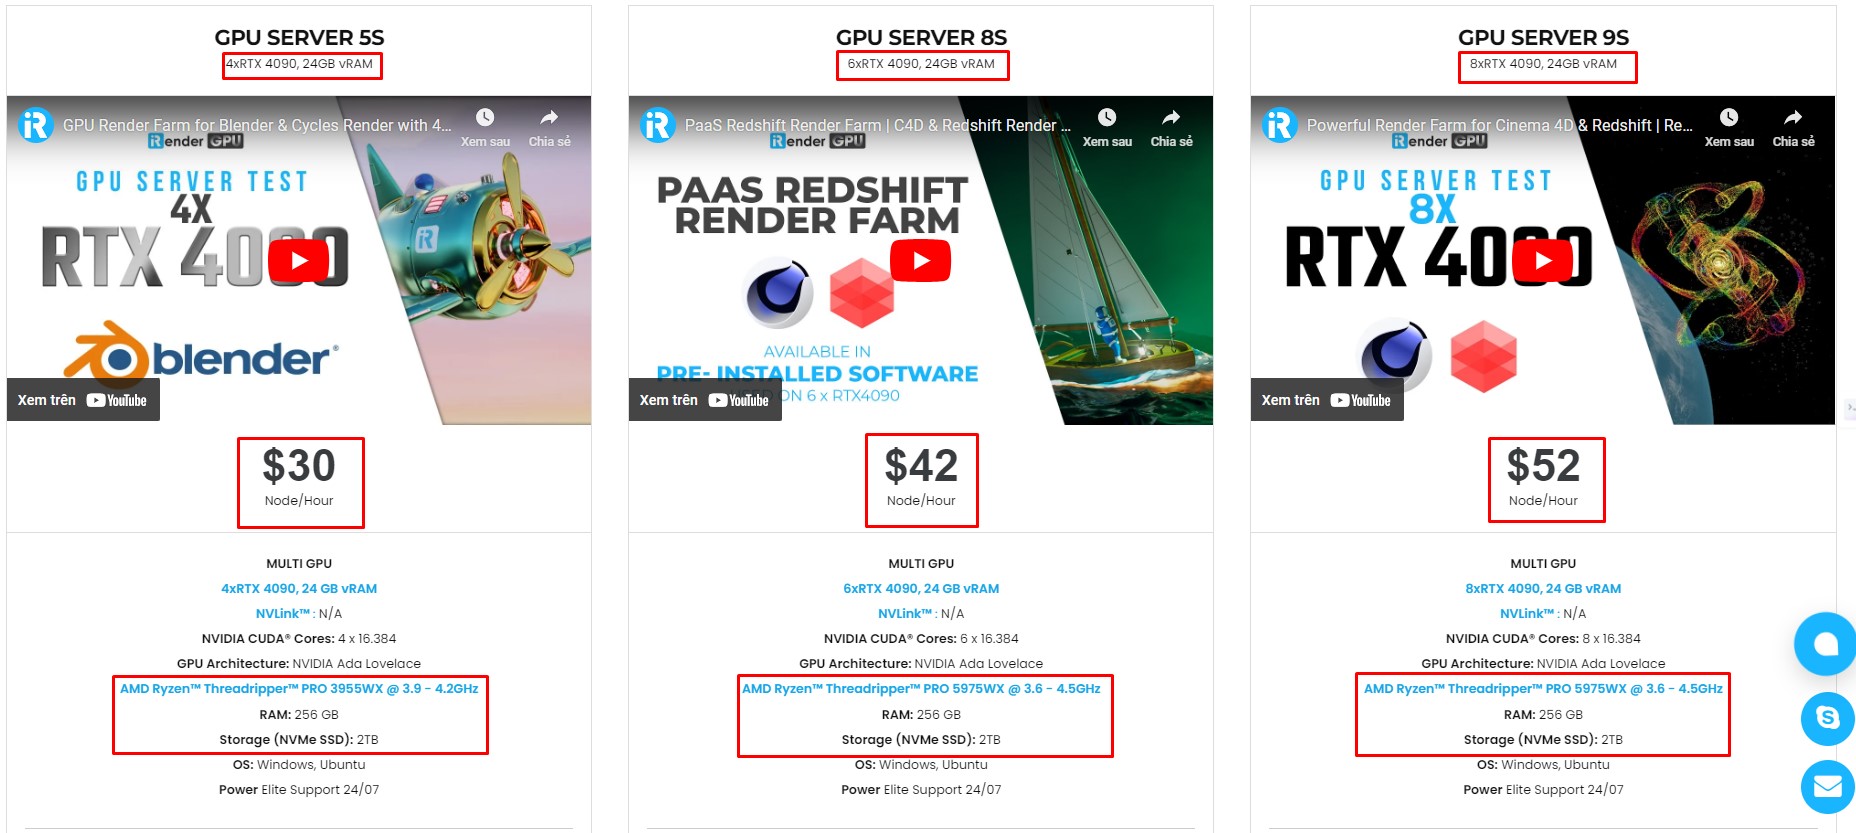
Not only does iRender have powerful configurations, but it also offers you more services. Free and convenient transfer tool iRender drive for macOS and Linux users. For Windows users, we recommend the iRender GPU application, you will no longer need to access our website. The price at iRender is also very flexible with hourly rental (pay as you use it), and daily/weekly/monthly rental with a 10-20% discount. Even more special this August, iRender is having a promotion program to give 100% to customers who deposit $1500 and a 50% bonus to those who deposit $575.
Let’s iRender check out some videos with C4D and Blender here:


We’re always happy to help you with any questions. If you have any problems or questions, don’t hesitate to contact our 24/7 support team. Or via Whatsapp: 0912 785 500 for free advice and support.
Right now iRender has a SPECIAL PROMOTION program with a 100% bonus for the first transaction within 24 hours of your registration. It means that you can get an extra 100% of the money you recharged the first time. And points never expire, so you can use them at any time.
Sign up for an account today to experience and enjoy our services.
Thank you & Happy Rendering!
Source and image: modelo.io
Related Posts
The latest creative news from Blender Cloud Rendering, C4D Cloud Rendering