How to use Spotlights with NVIDIA Iray in DAZ Studio

NVIDIA Iray is a highly interactive and intuitive physically based rendering technology that generates photorealistic imagery for interactive and batch rendering workflows. Iray is primarily for designers and visual effects artists working with 3D content who require predictable photorealistic imagery. It delivers immediate visual feedback that results in stunning imagery for everything from architecture, engineering, and design to marketing and advertising visual effects. Iray supports a variety of 3D applications such as Daz3D, Rhinoceros, 3Dsmax, Maya, Irayserver and Cinema4D.
How to use Spotlights with NVIDIA Iray
NVIDIA Iray render engine can be a bit of a mysterious box sometimes, especially when it comes to lighting. But it does not have to be. Let’s see how we can add a standard spotlight to our scene and set it up so we can use it properly with Iray.
Let’s take this simple scene as as demo and a staring point.
Iray Default Light (IBL)
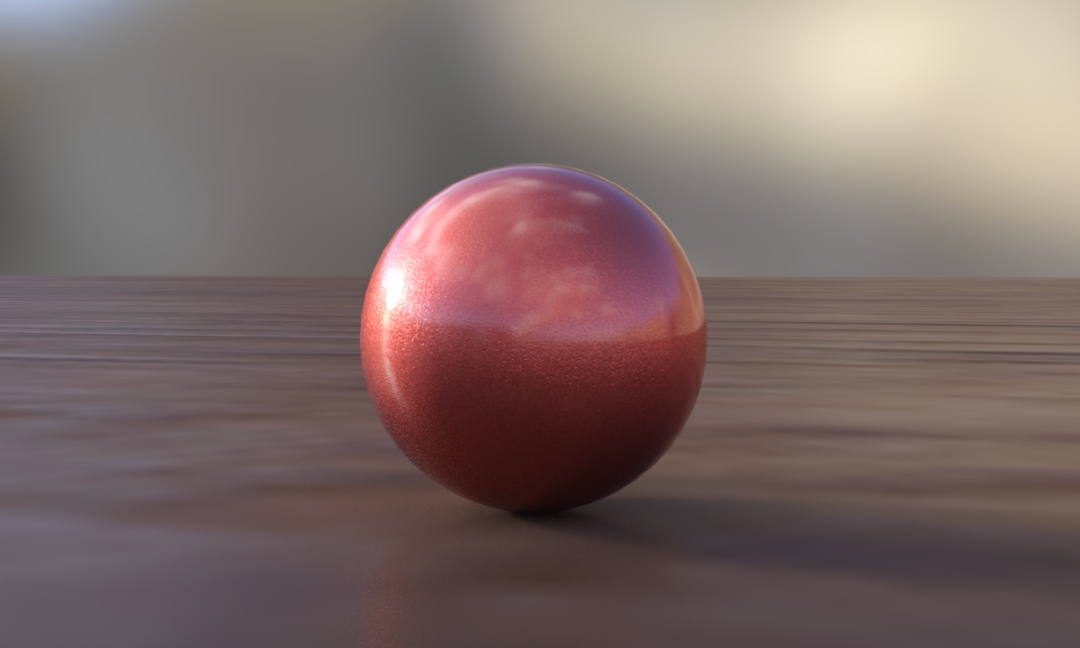
The default lighting for a new DAZ Studio Iray scene comes with a small HDRI image applied by default, and when we render our scene, we can see the effects of that light source.
Notice that there is a small specular highlight on the sphere, on the left hand side (a small shots spot). This is the sun’s hotspot from the HDRI image map. As you turn the camera around, the hotspot moves. Alternatively you can move the Iray Dome to move that hotspot (under Render Settings – Environment – Dome – Dome Rotation).
Not every HDRI image has a sun though, and depending on which map you use, you may not even see such a hotspot in your renders.
Adding a Spotlight
The left hand side of our sphere is a little darker, and if this was a character’s face, we may want to brighten it up a bit. In 3Delight we would just add a standard spotlight, tweak the intensity and shadows until we are happy, and then we are done with it. With Iray we will do the same thing – but the settings are just a little different.
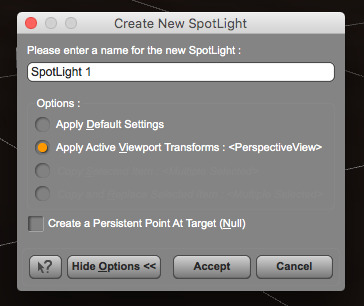
Let’s add a spotlight by heading over to Create – New Spotlight. It is easiest to switch to Perspective View beforehand and frame the sphere as if looking through the light (maybe from the top left somewhere). When creating a spotlight, we have the option to “Apply Active Viewport Transforms”. This will save us moving the spotlight into position later.
NOTE: You MUST create your new spotlight with Render Settings set to Iray. If they’re set to 3Delight, and you switch Render Settings to Iray later, you will not see the following options in your lights.
Although we see something of a change in our viewport, our spotlight seems to have no effect on the render. And even though the Intensity Slider seems to brighten up our preview (in Texture Shaded mode), this change is not reflected in our render either. What is happening?
It is because these lights were designed with 3Delight in mind, and we will have to do some work in order to make them work handsomely in Iray. It is not difficult, it is just knowing what to do.
Let’s select the spotlight and make the following changes:
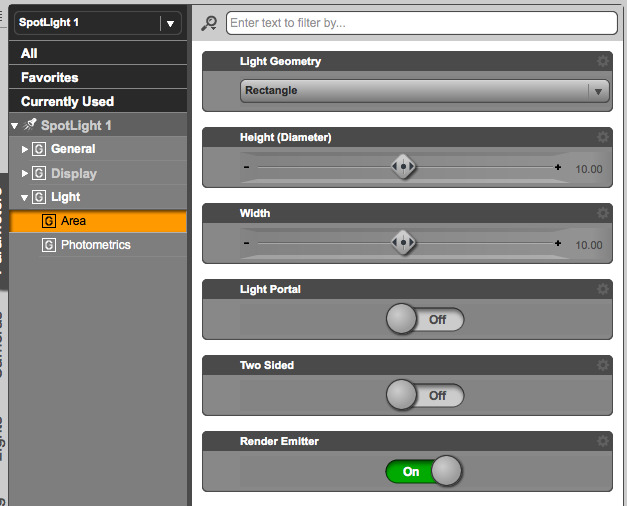
- Under Light – Area, change the Light Geometry from Point to Rectangle. This will create something like a soft box. You can also choose Disc for a round soft box.
- Change the height and width parameters here from the default 10 to 100 each. This will create softer shadows from our soft box light. For harder shadows, tweak your way back down to 10 and see how it affects the light.
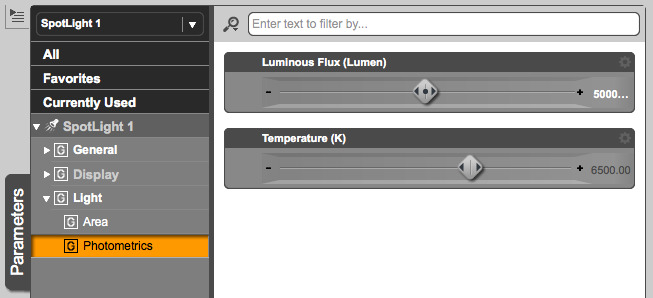
- Under Light – Photometrics, change the Luminous Flux value from 1500 Lumen to 50000 Lumen.
- Leave the Light Temperature alone, unless you know what you’re doing. The default is 6500 K (as in Kelvin). Higher values will create bluer light, while lower values will create warmer light.
Here’s a render with those settings applied:

We now have a second hotspot on our sphere on the right, and it’s undoubtedly coming from our home made soft box. We can even see the square outline if we look closely.
And what’s even better: the standard Intensity Slider is now working as it should: crank it up from anywhere between 0% and 200% and see what happens. In fact, the Intensity Slider and the Luminous Flux value do the same thing: setting the slider to 200% is the same as leaving it at 100%, and using 200.000 Lumen instead (that’s 50.000 times four – light works like sound, to the power of two).
You can add as many spotlights as you like, and use them just like in a 3-point or 5-point lighting setup.
Adjusting the direction of the spotlight
To adjust the position the light, switch the viewport from Perspective View (or your Camera) to the spotlight. The view will look a little skewed, and rotating the scene is a little awkward at times, but it allows us to position the light very accurately. It’s like positioning a camera.
Character Lighting
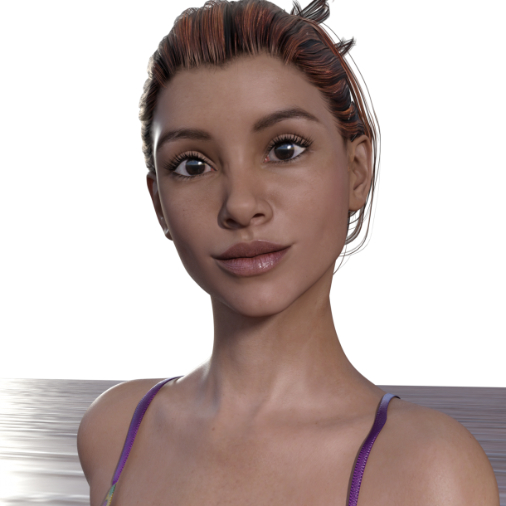
We can apply the same principles to characters. In this portrait, Iray Dome’s HDRI sun is positioned somewhere behind the subject, so it doubles as a rim light. Then use a single spotlight from the right to brighten the face, just as described above.
If you look closely, you can even see the soft box reflection in her eyes.
Render faster with iRender’s Iray Cloud Rendering Service
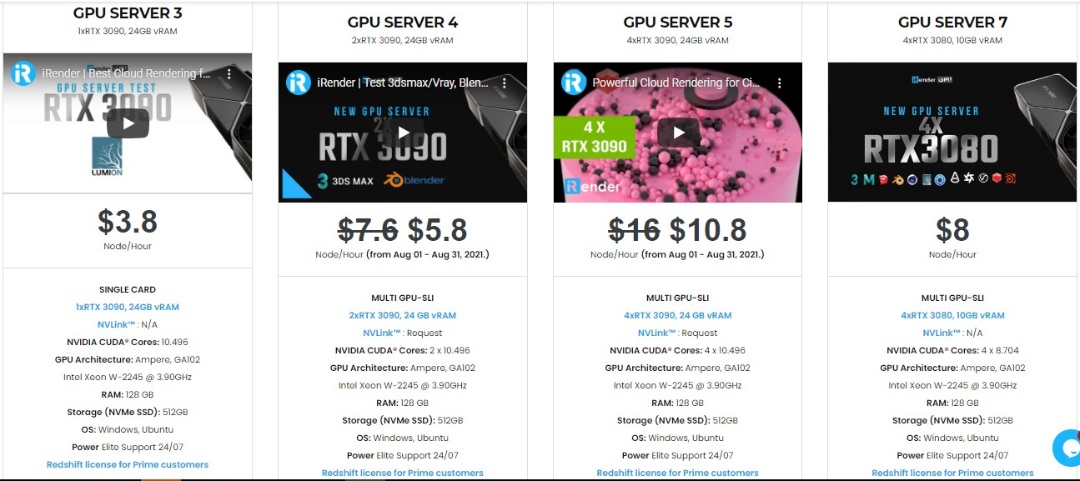
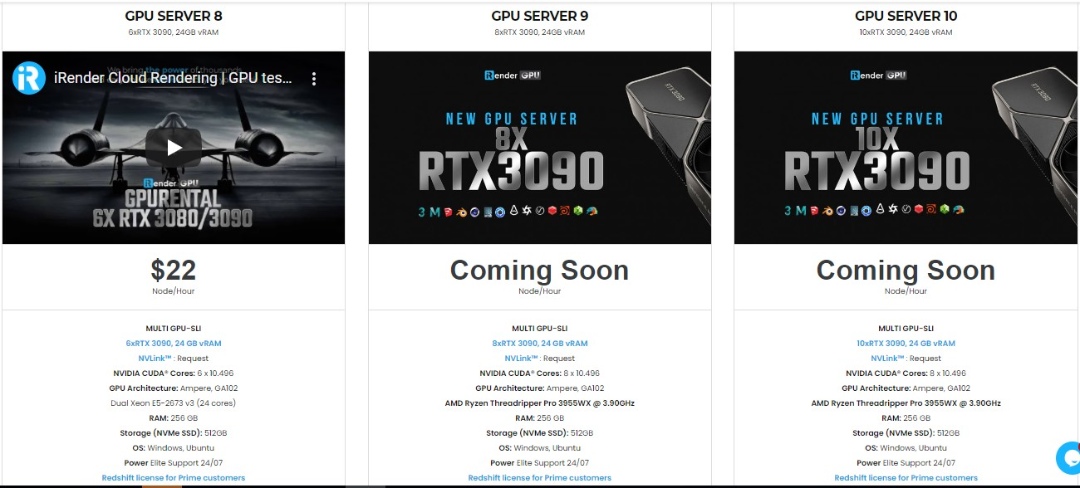
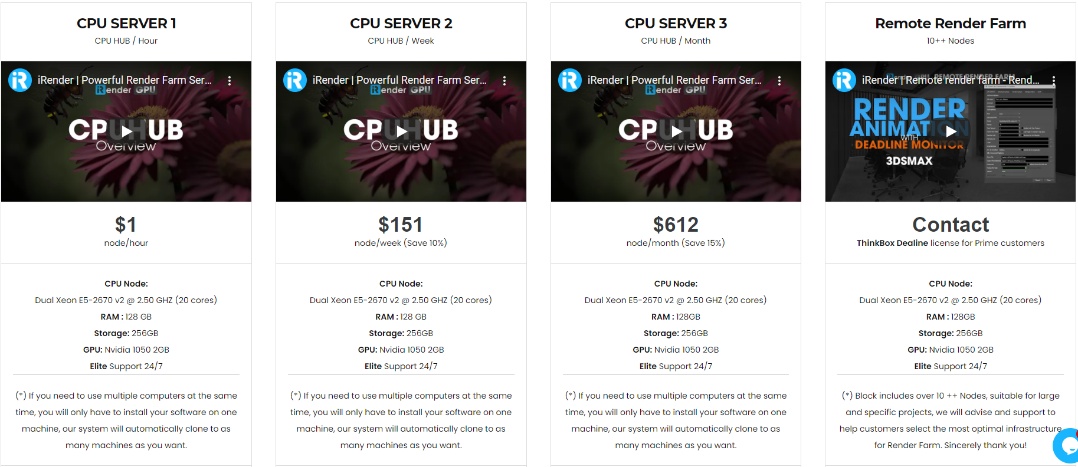
iRender, a Vietnamese-based software company, provides high computing performance on the model of IaaS (Infrastructure-as-a-Service), with thousands of CPUs & GPUs for 3D rendering, processing Big Data or any other intensive tasks. We provide CPU Server and 6 GPU Cloud Rendering packages with 1/2/4/6 card(s) RTX 2080Ti/3080/3090, which suit all your project demands and will speed up your rendering process many times. Iray users can easily choose their machine configuration from recommended system requirements to high-end options.
To reduce the rendering time more, Iray users can run multiple machines at the same time, separately, or connect them with Iray Server.
Let’s see rendering tests with Iray on server 3 (1x RTX 3090), server 6 (6x RTX 2080Ti), and server 8 (6x RTX 3090) at iRender:


In addition, you will enjoy more benefits than just the powerful machines.
1. Free and convenient transferring tool
iRender offers a powerful and free file transfer tool: Gpuhub Sync. With fast file transfer speed, large data capacity, and completely free. You can transfer all the necessary data into our Gpuhub Sync tool at any time without connecting to the server. The data will be automatically synchronized in the Z drive inside the server, ready for you to use.
2. Flexible price
You will be charged on a per-minute basis. However, you can always save up to 50% with our Fixed Rental feature. For those who are in need of the server for more than a day, or have extremely large projects, we advise choosing daily/weekly/monthly or even yearly rental packages. The discount is attractive (20% for daily packages, 40% for weekly and monthly packages, 50% for yearly packages). Besides, you don’t have to worry about over-charging if you forget to shut down the server.
3. Real human 24/7 support
Our support is always online 24/7, helping you to handle the problem quickly, effectively, saving you both time and money.
Conclusion
Hope this article help you work with lighting better with NVIDIA Iray in DAZ Studio.
Also, with the above advantages and the machine configuration package for NVIDIA Iray in DAZ Studio that iRender offers, we believe that Iray users will have the most comfortable, quickest, and most effective rendering time.
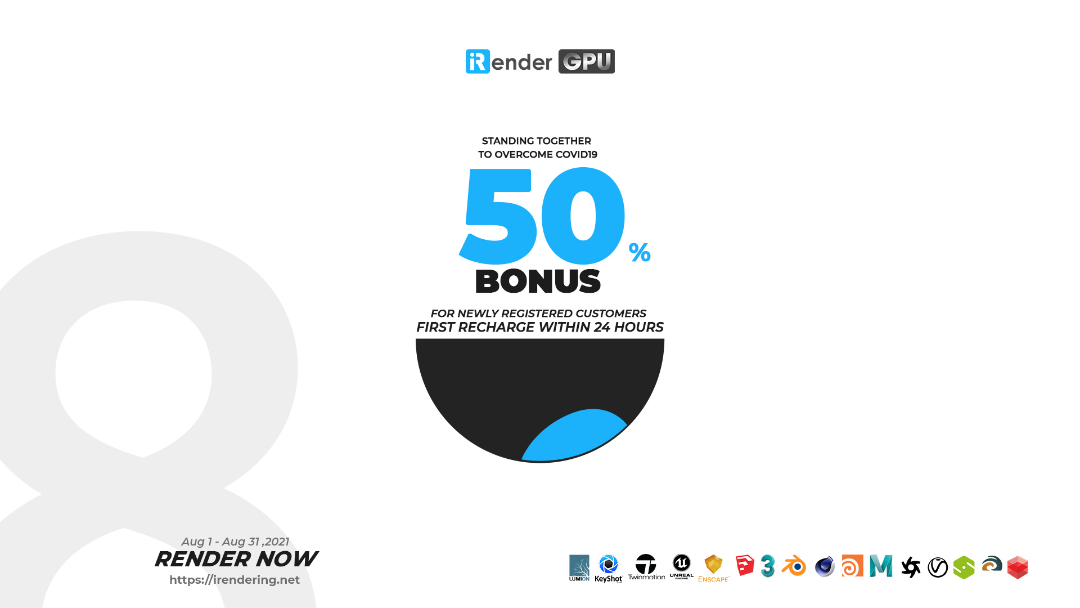
So, do not hesitate anymore, let’s REGISTER for an account today to get a FREE COUPON to experience our service and reach a new level of cloud rendering. Or contact us via WhatsApp: +(84) 912875500 for advice and support.
Thank you & Happy Rendering!
Reference and Image Source: Jay Versluis
Related Posts
The latest creative news from Daz3d Cloud Rendering, Nvidia Iray Cloud Rendering , Octane Cloud Rendering, V-Ray Cloud Rendering , 3D VFX Plugins & Cloud Rendering.