Integrating Blender Hair into Unreal Engine Groom System
Hair is one of the most challenging parts to achieve realism in real-time characters, especially when transitioning between different 3D tools. Blender offers powerful and flexible hair creation tools, while Unreal Engine’s Groom System provides high-quality, real-time hair rendering optimized for games, cinematics, and virtual production. However, integrating hair data between these two platforms requires a clear and well-structured workflow.
In this article, iRender explores how to successfully integrate Blender hair into Unreal Engine’s Groom System, focusing on preparation, export methods, and common technical considerations.
Let’s get started!
Understanding Unreal Engine’s Groom System
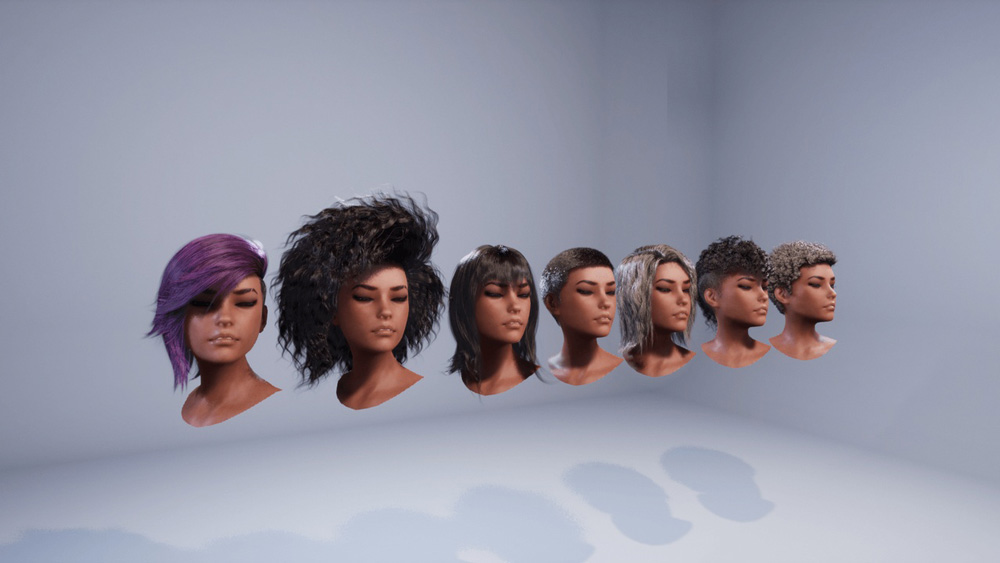
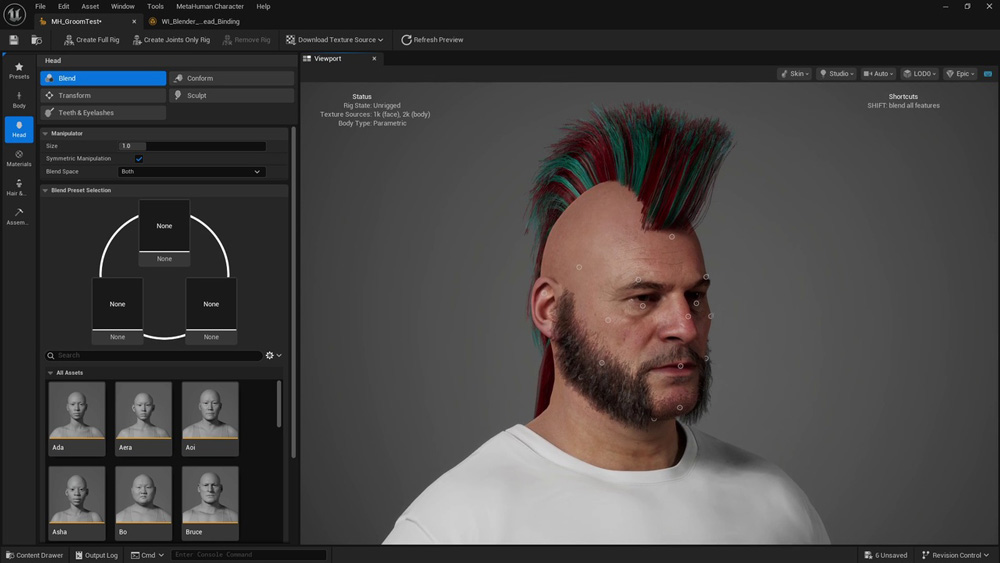
Image Source: Unreal Engine
Unreal Engine’s Groom System, introduced in UE 4.2,6, is a real-time hair rendering solution designed to handle high-quality, strand-based hair for modern character workflows. It supports complex grooms created in DCC tools such as Blender or Maya XGen through Alembic (.abc) caches that store detailed hair strand data. While the system can also work with alternative representations like hair cards or mesh-based hair for better scalability, true strand data delivers the highest level of realism in shading, lighting, and motion. With built-in support for physics simulation, LOD control, and real-time performance optimization, the Groom System is essential for creating believable human hair, fur, and feather grooms in games, cinematics, and virtual production.
Understanding Blender Hair Systems: From Particles to Geometry Nodes
Blender provides two main systems for creating strand-based hair: the legacy Hair Particle System and the modern Geometry Nodes–based Hair system. While both are capable of producing hair, fur, and similar strand-like assets, their workflows and use cases differ significantly.

Image Source: Blender
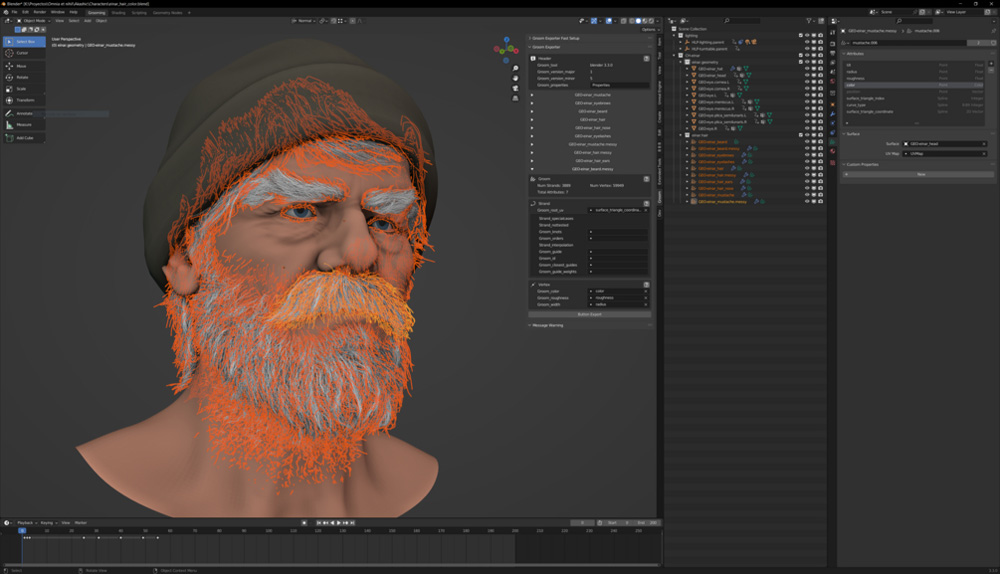
The Hair Particle System is designed for straightforward, interactive grooming. Artists apply a Particle System modifier to a mesh such as a scalp or character body, set the particle type to “Hair,” and control basic parameters like strand count and length. Hair is styled in Particle Edit Mode using familiar tools such as comb, cut, smooth, and clump. Although the system supports dynamics and children hairs for added volume, these features are often simplified or disabled when preparing hair for Unreal Engine, where physics and density are better handled on the engine side. This makes the particle workflow easy to understand and effective for static or semi-static hair setups.
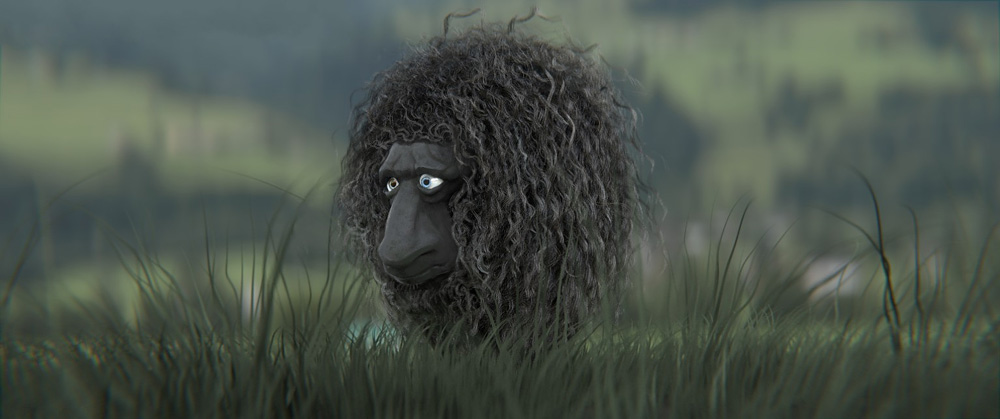
Image Source: Blender
In contrast, Geometry Nodes Hair (Hair Curves) is a procedural, node-based system built for flexibility and scalability. Instead of relying on manual grooming alone, artists define hair behavior using nodes that control distribution, length variation, clumping, and modifiers in a non-destructive way. This approach is more technical but offers greater control, consistency, and compatibility with modern pipelines. Geometry Nodes Hair is actively developed and better suited for exporting clean strand data, especially for real-time engines like Unreal Engine’s Groom System.
Overall, Particle Hair is a simple and artist-friendly solution for quick grooming and legacy workflows, while Geometry Nodes Hair offers procedural power, cleaner exports, and better integration with advanced real-time rendering pipelines.
How to Export Blender Hair for Unreal Engine Groom

Exporting hair from Blender to Unreal Engine is a critical step in ensuring that hair assets work correctly and look realistic in real-time. Depending on the chosen workflow, hair can be transferred either as true strand-based data or as mesh-based geometry. Unreal Engine supports these approaches through two main export formats: Alembic (.abc) for strand-based grooms and FBX (.fbx) for mesh or hair-card solutions. Let’s break down each below:
Alembic (.abc) – Strand-Based Hair for Unreal Engine’s Groom System
Alembic (.abc) is the standard and recommended format for exporting hair from Blender to Unreal Engine’s Groom System because it supports true strand-based data. Unlike traditional mesh formats, Alembic stores hair as curves, preserving essential information such as strand position, thickness, direction, and grouping. This allows Unreal Engine to show the hair as a native groom asset, enabling accurate shading, lighting response, physics simulation, and level-of-detail management in real-time.
When preparing hair in Blender for Alembic export, the groom must be clean and optimized. Hair should be created using Geometry Nodes Hair or converted from the legacy Particle Hair system into curves. Features like children hairs and Blender-side dynamics are typically disabled, since Unreal Engine handles density and physics internally. Applying correct scale and transforms to both the scalp mesh and the hair curves is critical to avoid mismatches or deformation issues after import.
Once exported as an Alembic file with curve data enabled, Unreal Engine can import the file through its Groom system plugins. The engine automatically generates a groom asset that can be bound to a skeletal mesh, allowing artists to further refine materials, physics behavior, and LOD settings directly inside Unreal. This workflow is ideal for high-end characters and cinematic projects.
FBX (.fbx) – Mesh-Based Hair and Hair Cards
FBX (.fbx), in contrast, does not support strand-based hair data and therefore cannot be used directly with Unreal Engine’s Groom System. Instead, FBX is used when hair is converted into mesh geometry, most commonly in the form of hair cards or polygon strips. This approach has long been standard in real-time applications because it offers better performance and predictable behavior, especially on lower-end hardware.
In Blender, exporting hair as FBX requires converting hair particles or curves into mesh objects. The artist must then create proper UV layouts and textures, such as opacity maps, to simulate the appearance of individual strands. Because the hair is now geometry-based, visual quality depends heavily on texture resolution, card placement, and material setup rather than actual strand data.
After exporting the hair mesh as an FBX file, Unreal Engine treats it as a static or skeletal mesh rather than a groom asset. Hair movement is usually achieved through skeletal animation or simple physics setups, and materials rely on masked or translucent shaders. While this method cannot match the realism of strand-based grooms, it is well-suited for mobile games.
Importing Blender Hair into Unreal Engine’s Groom System
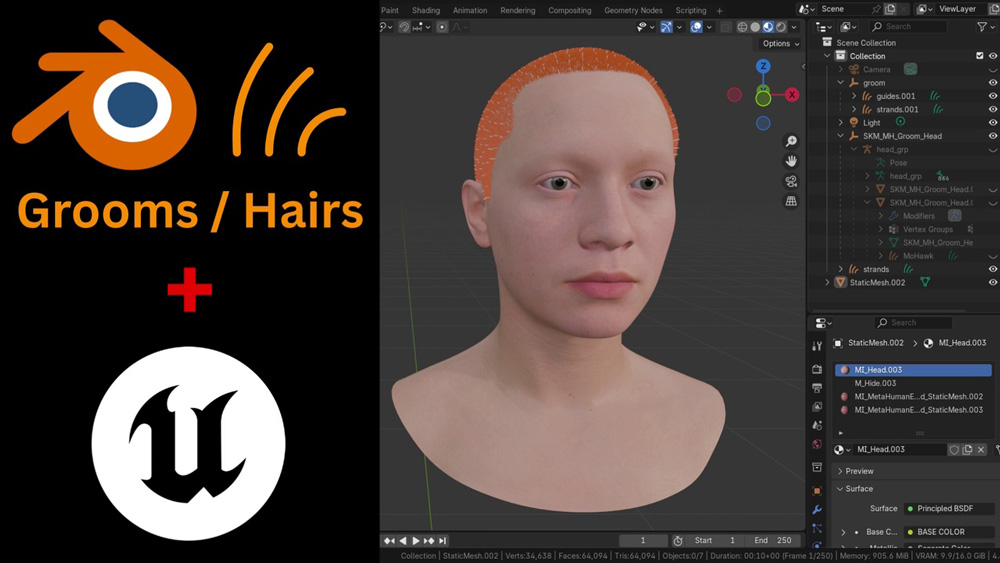
Image Source: Unreal Engine
Before importing hair into Unreal Engine, hair data must be recognized as a groom asset, correctly aligned with the character, and properly configured for rendering and simulation.
Step 1: Enable Groom Support in Unreal Engine
Before importing any hair data, Unreal Engine must be configured to support strand-based grooms. This is done by enabling the Groom (Hair Strands) plugin in the project settings. Once active, Unreal gains the ability to recognize Alembic hair files and treat them as groom assets instead of regular geometry. If the plugin was previously disabled, restarting the editor ensures the system initializes correctly.
Step 2: Import the Alembic Hair File
With groom support enabled, the Alembic (.abc) file exported from Blender can be imported through the Content Browser. During this process, Unreal reads the curve data stored in the file and converts it into a Groom Asset. If the hair was prepared correctly in Blender, Unreal will automatically detect it as a groom. Proper scale and orientation at this stage are essential to ensure the hair aligns accurately with the character model.
Step 3: Verify the Groom Asset
After import, Unreal creates a groom asset that contains all the hair strand data. Opening this asset allows artists to preview the hair and confirm that the strands are intact, evenly distributed, and positioned correctly. This step helps identify early issues such as missing strands, incorrect density, or scale mismatches before attaching the hair to a character.
Step 4: Bind the Groom to a Skeletal Mesh
To ensure the hair follows character animation, the groom must be bound to a skeletal mesh. Unreal uses a Groom Binding Asset to attach the hair roots to the surface of the character’s scalp. This binding process ensures that the hair moves naturally with the head and body, preventing it from sliding or detaching during animation. Binding is essential for animated characters, though static meshes may not require it.
Step 5: Assign a Hair Material
Once the groom is attached, a proper hair material must be applied for correct rendering. Unreal Engine uses a dedicated Hair shading model that simulates realistic light interaction along hair strands. Assigning a material configured for hair strands allows the groom to display natural highlights, depth, and color variation under different lighting conditions.
Step 6: Enable and Adjust Hair Physics
For added realism, Unreal’s Groom System supports real-time hair physics simulation. By enabling simulation within the groom settings, the hair can react to motion, gravity, and collisions. Adjusting parameters such as stiffness and damping helps control how soft or rigid the hair appears. A well-configured physics asset on the character ensures the hair interacts correctly with the head and body.
Optimizing Hair Performance for Real-Time Rendering
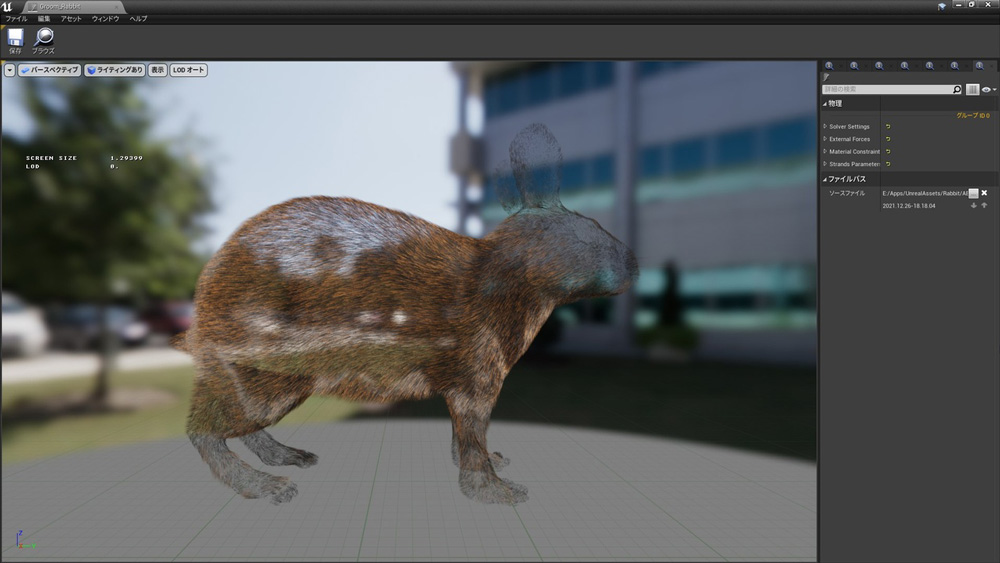
Rabbit with groom asset (Image Source: Unreal Engine)
Hair is one of the most performance-intensive elements in real-time rendering, especially when using strand-based systems like Unreal Engine’s Groom System. Each visible hair strand adds to GPU workload through shading, lighting, shadows, and simulation, making optimization a critical part of any real-time hair workflow. Without proper optimization, even a visually impressive groom can quickly become a performance bottleneck.
A key factor in optimizing hair performance is controlling strand density. While high strand counts improve realism at close range, they are often unnecessary at medium or far distances. Using level-of-detail (LOD) settings to reduce strand complexity gradually helps maintain visual quality while significantly improving frame rates. Similarly, limiting hair width variation and shadow quality can reduce rendering cost without noticeably affecting appearance.
Physics simulation also has a major impact on performance. Real-time hair physics adds realism, but it should be applied selectively. Stiffness, damping, and solver iterations should be tuned carefully, and simulation can be disabled or simplified for distant LODs.
Finally, material and lighting choices play an important role. Hair shaders are complex by nature, so avoiding unnecessary material features and using optimized lighting setups can improve performance.
Conclusion
Integrating Blender hair into the Unreal Engine Groom System may seem complex at first, but once you understand the workflow, it becomes a powerful way to bring high-quality, realistic hair into real-time projects. By properly preparing hair data in Blender and exporting it using the correct formats, artists can take full advantage of Unreal Engine’s Groom tools for rendering, simulation, and performance optimization. This pipeline not only improves visual realism but also gives you greater control over how hair behaves under lighting and animation.
If you need a powerful machine to handle all these complex tasks. Let’s join iRender now!
iRender - The most fabulous Render Farm for Blender and Unreal Engine
iRender powers up your creativity with unlimited GPU rendering resources. Our GPU render farm houses the most powerful 3D rendering machines. Configure from 1 to 8 GPUs with top-tier RTX 4090, Threadripper Pro CPUs, 256GB RAM, and 2TB SSD storage – iRender’s machines can handle any 3D project demands. We support all 3D software including Unreal Engine 5 and Blender.
Once renting our machines, you will own them as your personal workstations. All our servers are equipped:
- AMD Ryzen™ Threadripper™ PRO 3955WX (3.9-4.2GHz) or
- AMD Ryzen™ Threadripper™ PRO 5975WX (3.6-4.5GHz)
- 1/2/4/6/8x – 4090
- 256GB RAM
- 2TB NVMe SSDs
Our server has pre-installed Blender 4.5 so you just upload your Blender files and start rendering there.
Let’s see our latest performance test on our servers!


Moreover, iRender offers an iRender GPU app. In this all-in-one application, you can free your workflow from accessing iRender website, and just have to work on the iRender GPU app. This app is only for Window users.

Enjoy our FREE TRIAL to try our RTX 4090 machines and boost your rendering now!
For more detailed information, please contact us via Live chat 24/7 or WhatsApp: +(84) 912-785-500 or Email: [email protected].
iRender – Happy Rendering!
Related Posts
The latest creative news from Redshift Cloud Rendering, Blender Cloud Rendering, 3D VFX Plugins & Cloud Rendering.