Setting up Motion Blur in Cycles and Eevee for Blender
By default, Blender animations are rendered as a sequence of completely still images. While this is ideal for stop-motion and time-lapse videos, it is unrealistic because fast-moving objects appear blurred in the direction of motion, both in a movie frame and in a photograph taken with a real-world camera. In today’s article, iRender will walk you through setting up Motion Blur in Cycles and Eevee for Blender. Let’s get started!
1. Setting up Motion Blur in Cycles and Eevee for Blender
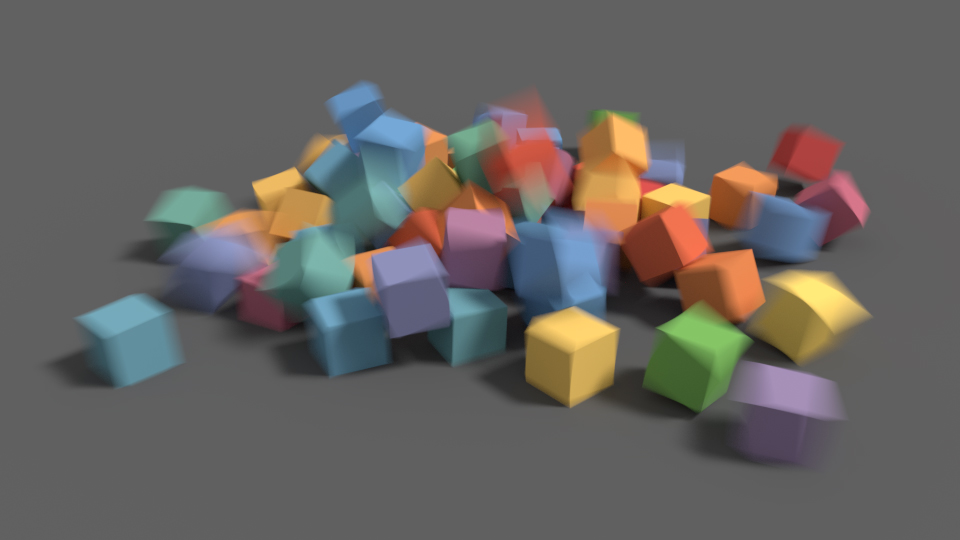
Below is an example of the motion blur effect in Blender:
1.1 Setting up Motion Blur in Cycles
Position: Controls when the shutter opens in relation to the current frame.
-
-
- Start on Frame: The shutter is starting to open at this frame.
- Center on Frame: It is fully opened at this frame.
- End on Frame: It is fully closed at this current frame.
-
Shutter: This is the time (in frames) between when the shutter begins to open and it fully closes. For example, when the shutter time value is 1.0, the motion blur effect blurs over the length of 1 frame.
Rolling Shutter: This setting option creates a Rolling Shutter effect.
-
-
- None: This means no rolling shutter effect.
- Top-Bottom: Meaning rendering the rolling shutter effect from the top to the bottom of an image.
-
Rolling Shutter Duration: This controls the balance between the pure rolling shutter effect (when the value is 0) and the pure motion blur effect (when the value is 1).
Note: If a scene contains particles or another physics system, make sure to bake them before rendering; otherwise, you may not achieve correct or consistent motion blur. To control motion blur, each object has its own settings. These settings can be found in the Properties’ Object tab. For further details, see the object setting here.
Shutter Curve: The shutter curve defines how the shutter opens and closes. The X axis represents time, whereas Y values of 0 represent totally closed shutters and Y values of 1 represent fully opened shutters. When the shutter opens and closes instantly, this is the default mapping.
Some Limitations you need to know about motion blur in Cycles:
-
-
- Deformation motion blur does not operate on objects that are set to Auto Smooth.
- Orthographic cameras do not provide camera motion blur.
- Motion blur does not take into account the movement of Lights.
-
1.2 Setting up Motion Blur in Eevee
Position: Controls when the shutter opens in relation to the current frame.
-
-
- Start on Frame: The shutter is starting to open at this current frame.
- Center on Frame: It is fully opened at this frame.
- End on Frame: It is fully closed at this current frame.
-
Shutter: This is the time (in frames) between when the shutter begins to open and it fully closes.
Just like Cycles, the position and shutter settings are the same as those in Cycles renderer. Next, we move to the next setting options in Eevee.
Background Separation: The post-process blur uses this to avoid blurring the background over the foreground. Lower values reduce the amount of background bleeding onto foreground elements.
Max Blur is the maximum blur distance that a pixel can cover. When set to 0, the post-process blur is disabled and just the accumulation blur is used. Please note that high values of maximum blur may also reduce the quality.
Eevee utilizes a quick post-process vector blur with a vector motion pass. Using pixel velocity, this blurs the image over three time steps. This technique is rapid and provides clean gradients, although problems can arise at object borders or if the motion is locally too complex; for example, if there are many vector variations in a small area. This method applies random sampling, and the amount of noise is proportional to the sample count found in Properties > Render > Sampling > Render Samples.
Steps: This setting determines how many steps the accumulation blur takes and consequently its accuracy. More steps equal a longer render time. Note that when using multiple time steps, the render sample count is rounded up to the next multiple steps to ensure that samples are distributed evenly across steps.
Eevee renderer divides the render into multiple time steps and accumulates the result, known as Accumulation Motion Blur. This approach is accurate, although it takes many steps to achieve clear gradients. This is used in conjunction with the post-process blur to handle inter-step gaps. Each step equates to a full scene re-evaluation and can add a significant amount of cost to the render time. By adding more steps, you can also reduce the Max Blur settings because the post-process blur must cover a smaller distance.
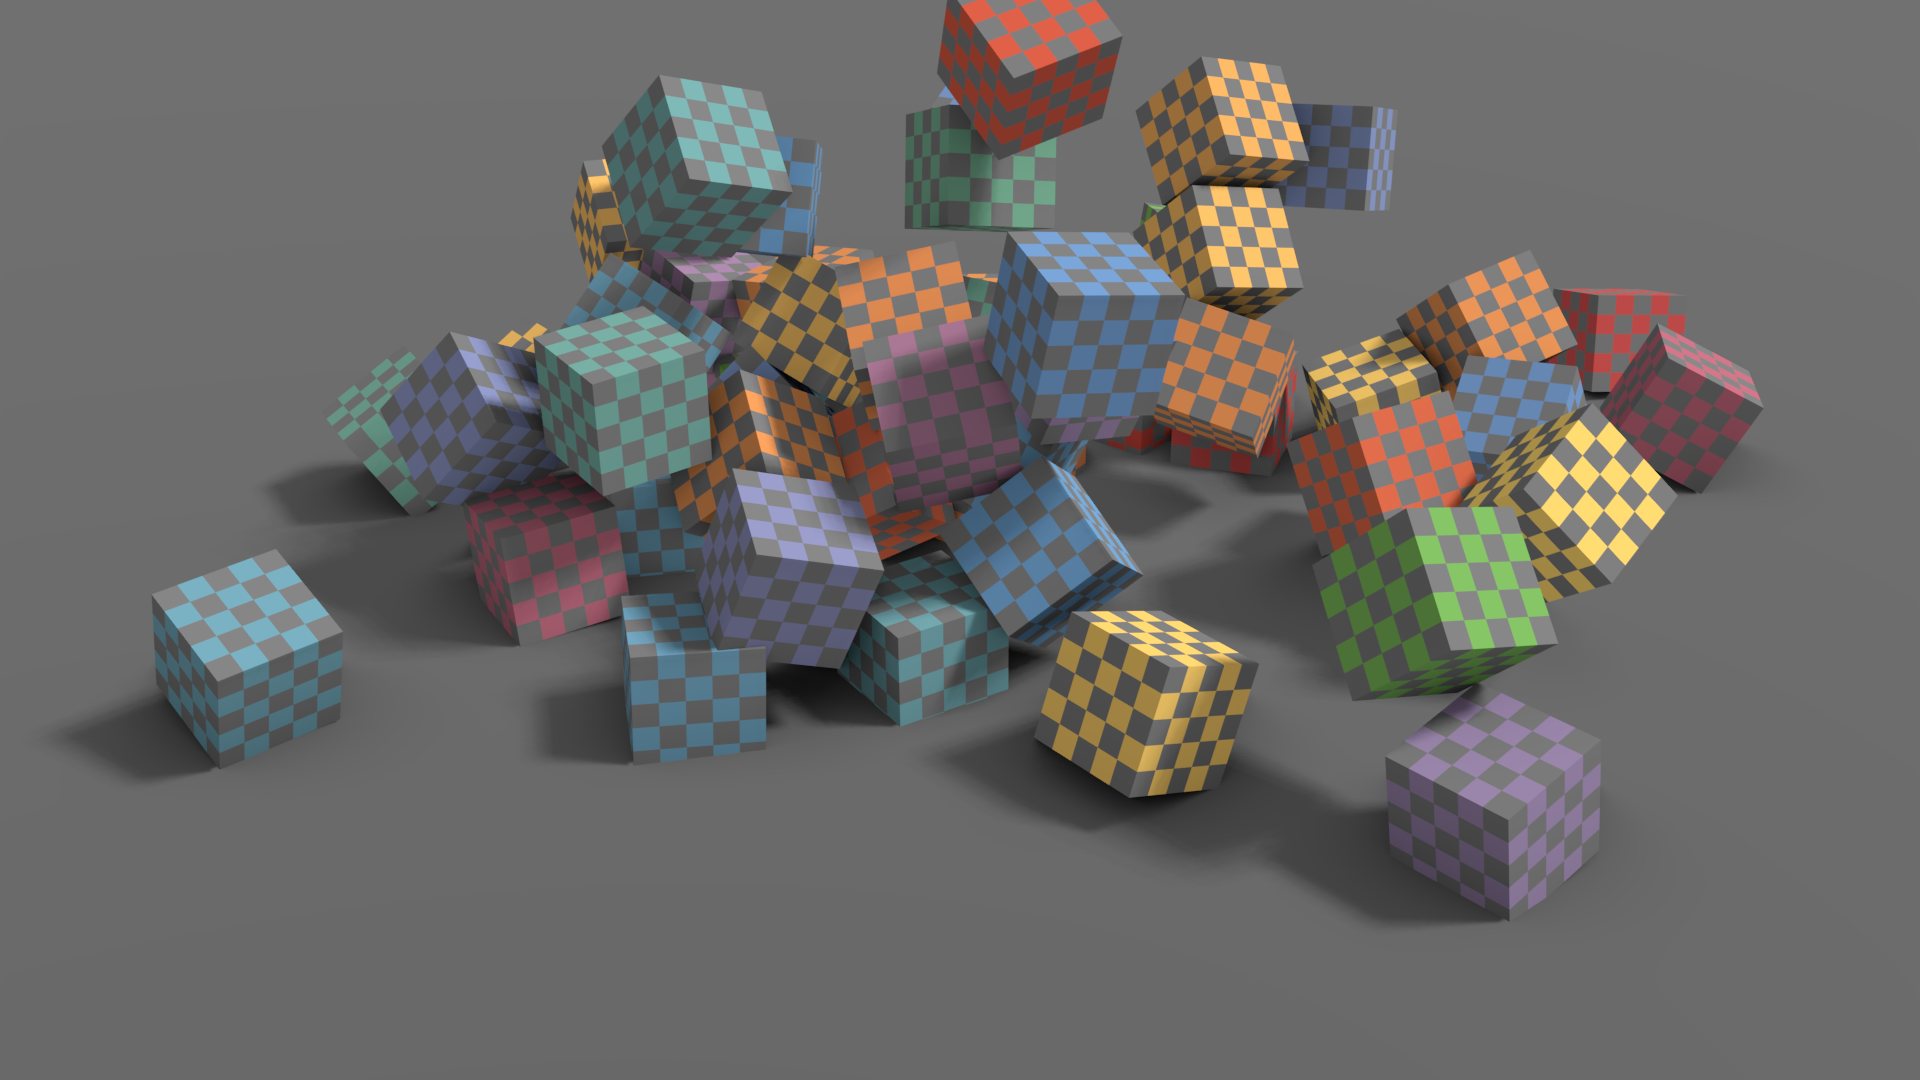
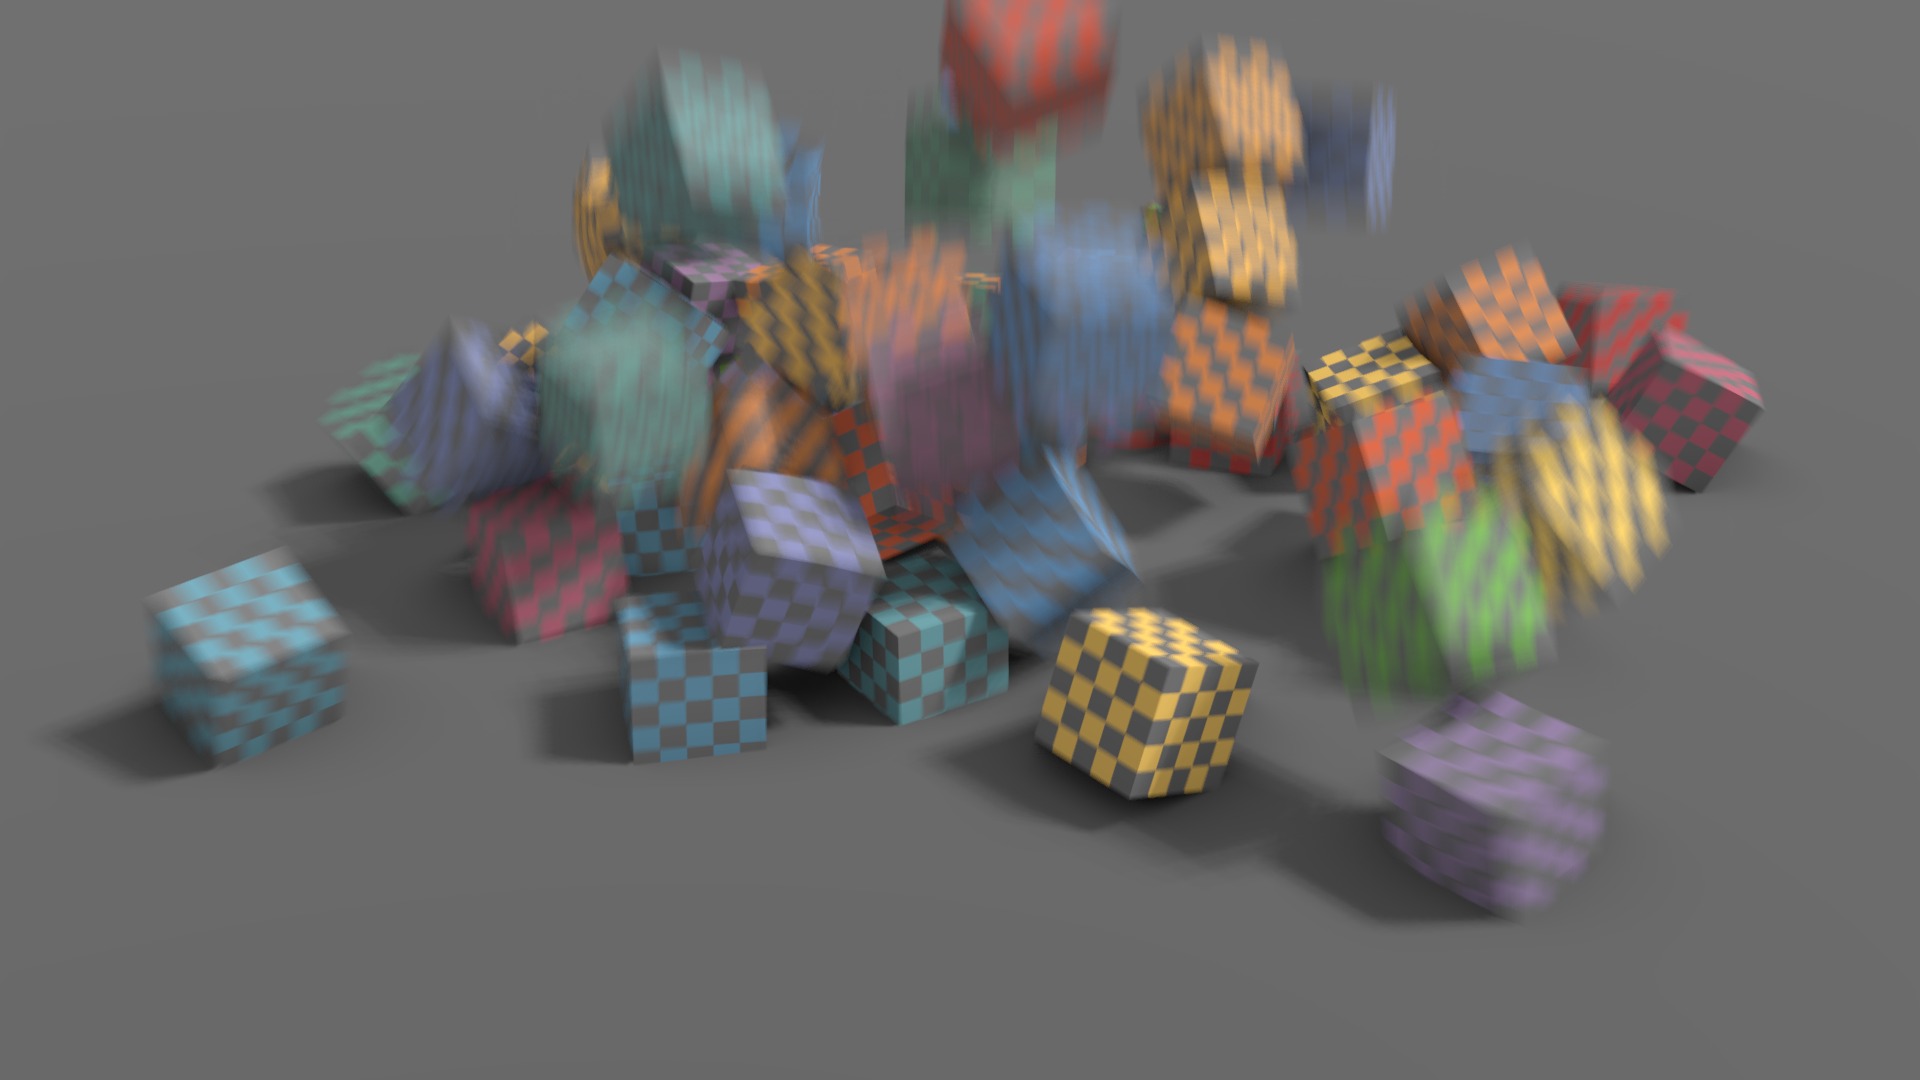
Below are some pictures demonstrating how each setting creates the motion blur effect:
Source: docs.blender.org
2. iRender - The Best Render Farm for Blender
iRender is proud to be a professional GPU Accelerated Cloud Rendering Service provider for 3D Render, CGI, and VFX tasks with more than 30,000 clients. We are appreciated in many global rankings (e.g. CGDirector, Lumion Official, Radarrender, InspirationTuts CAD, All3DP, BlenderBaseCamp, VFX Rendering.)
We are currently a Diamond Sponsor of the Blender Foundation. Our long-term goal is to support the Foundation to partly contribute to the development of this awesome software. Let’s work together and support the future of Blender!
Our service for Blender
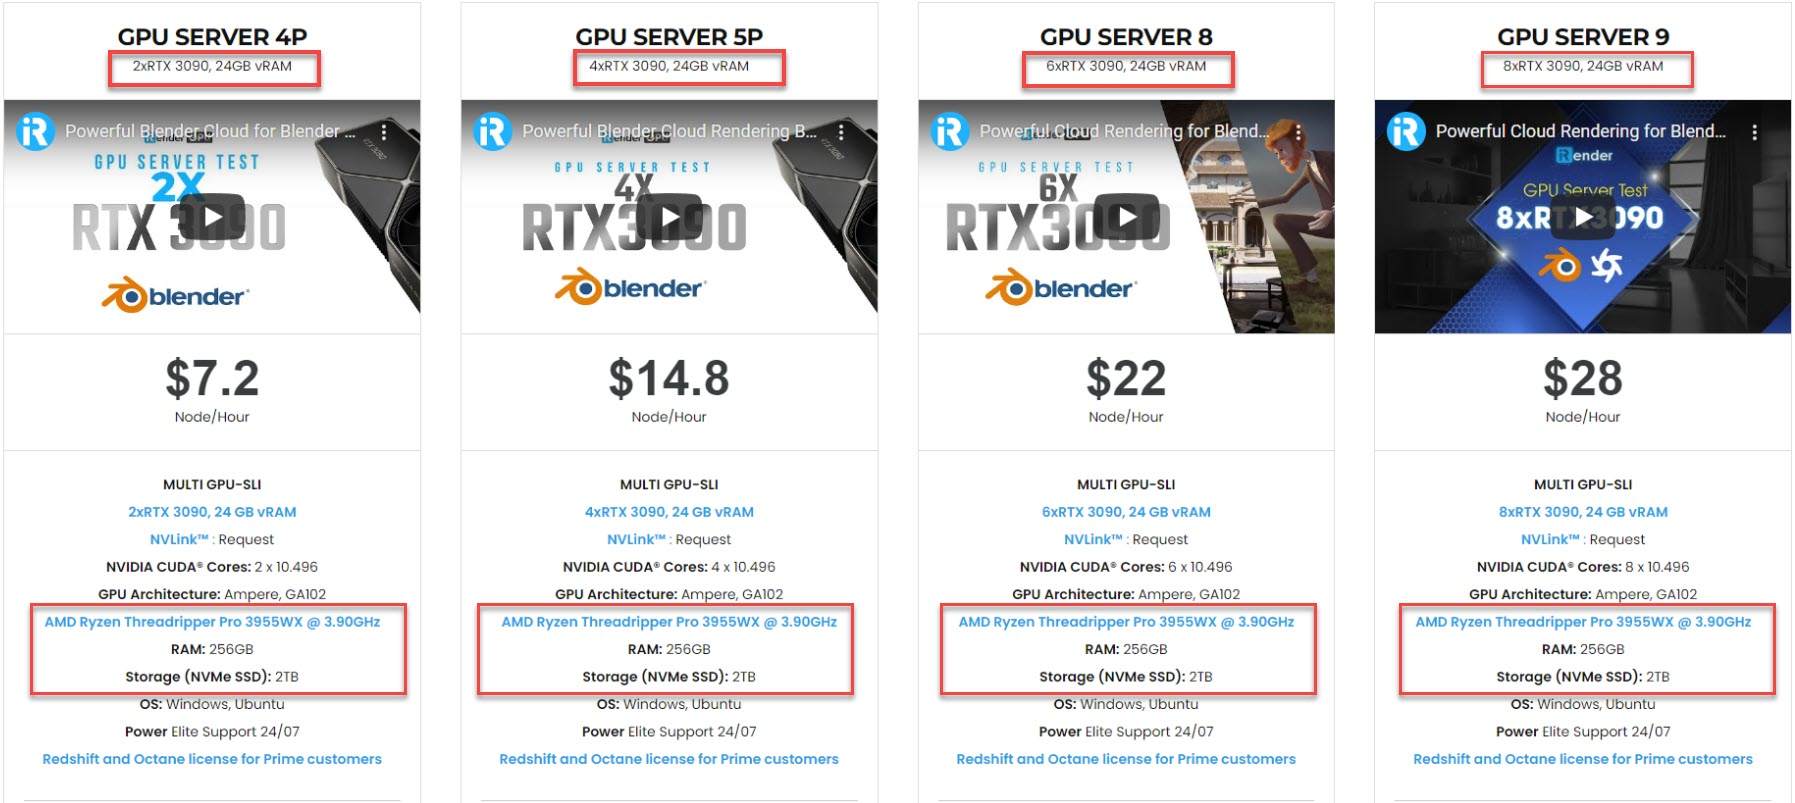
We provide high-configuration dedicated servers (physical machines/computers) that are specifically configured and optimized for GPU rendering. Our GPU machines are built with 1/2/4/6/8x RTX 3090 and 2x RTX 4090 (the new server package that we just released). Also, they all have a strong AMD Ryzen Threadripper PRO 3955WX CPU (on RTX 3090 machines) and AMD Ryzen Threadripper PRO 5955WX CPU (on RTX 4090 machines), which provides increased performance together with GPU. Moreover, the workstations are ideal with 256GB RAM capacity (which is a great amount for most users, even high-end ones) and 2T NVMe SSD storage (that meets all your small to very huge projects’ files). We highly recommend you try our highest configuration server, the 8x RTX 3090. This server will be a super-configured one that brings crazy speed to Blender. It is rated as one of the most worth-trying workstations so far for Blender.
We are the right place for your custom pipeline
If you use a custom pipeline with a lot of plugins, add-ons, or proprietary tools, we are the right place for you. Using our service, you have complete control over the server(s) you operate. Therefore, you can customize your creative working environment as you expect. You can even run multiple machines simultaneously to speed up the renders, thus no more worrying about any deadline.
All of our servers’ configurations are publicly posted on our website. Visit HERE for more details about the configuration and the cost.
Blender render speed on our RTX 4090 and RTX 3090 servers
Let’s check out the rendering performance of Blender and Cycles on our 2x RTX 4090 and 8x RTX 3090 servers in the 02 following test videos.
This December, we are running a SPECIAL OFFER: 20% Additional Bonus for new clients who register an account and make a top-up within 24 hours of registration.
Let’s get started!
Get a FREE COUPON and totally control high-end computers to boost rendering for your Blender projects now! For further information, please do not hesitate to reach us at [email protected] or Whatsapp: +84915875500.
iRender – Happy Rendering!
Reference source: Blender Documentation
Related Posts
The latest creative news from Blender Cloud rendering.

