Step-by-step Guide To Making 3D Hair with Daz Studio and Blender
Hair is a great way to convey character and personality to your 3D model, but working with hair in 3D is difficult. Even professional CG artists get frustrated with the issues surrounding creating 3D hair for their characters. However, you don’t need a team of skilled artists to create 3D hair. This blog will provide a step-by-step guide to creating perfect 3D hair for your character using Daz Studio and Blender! Let’s dig deeper with iRender.
Why should we choose Daz Studio and Blender to make 3D hair?
Blender is a versatile and feature-rich software widely used for creating compelling 3D hair. With its advanced sculpting tools, powerful particle systems, and robust rendering capabilities, Blender offers artists the flexibility and precision needed to bring hair to life in their 3D models. Whether it’s shaping individual strands or achieving realistic flow and texture, Blender provides the essential tools for crafting intricate and lifelike 3D hair effects.
Daz Studio is a leading platform for accessing and customizing high-quality 3D hair assets. With a diverse collection of hair models and extensive character customization options, Daz Studio empowers artists to seamlessly integrate realistic and detailed hair designs into their 3D projects. Through its user-friendly interface and vast library of assets, Daz Studio provides a convenient and versatile resource for creating captivating 3D hair effects that enhance the visual appeal of characters and scenes.
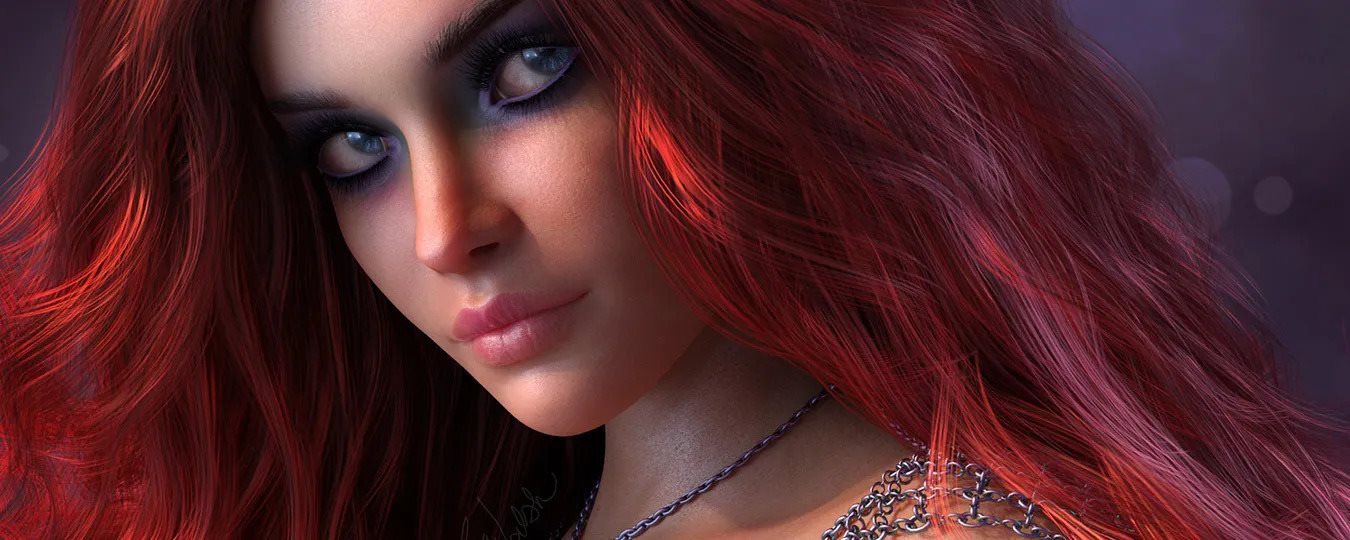
Combining Daz Studio and Blender offers a synergistic approach to creating perfect 3D hair for several key reasons:
- Diverse Assets: Daz Studio provides a wide range of meticulously crafted 3D hair models, offering artists many selections to choose from, while Blender’s versatile toolset allows for extensive customization and integration of these assets into intricate 3D scenes.
- Sculpting and Styling: Blender’s advanced sculpting and particle systems enable fine-tuned shaping and styling of 3D hair, while Daz Studio’s assets serve as an excellent starting point, facilitating efficient workflow and providing a foundation for elaborate hair designs.
- Seamless Integration: By combining both platforms, artists can leverage Daz Studio’s character customization and Blender’s rendering capabilities, ensuring a seamless integration of 3D hair with characters while maintaining a high level of detail and realism.
- Flexibility and Control: Blender’s comprehensive feature set grants artists the control and flexibility to refine and enhance Daz Studio hair assets, enabling the creation of custom hair designs tailored to specific character aesthetics and storytelling needs.
Step-by-step Guide To Making 3D Hair with Daz Studio and Blender
Create 3D Hair
There are many ways to create 3D hair, but in this article, we want to share a powerful tool that will help you create your own unique hairstyle. This is a third-party add-on for Blender called Hair Tool for Blender. It will help you generate hair-card, shell hair, or curve hair in a non-destructive way, using geometry nodes and Python.
Independent developer Bartosz Styperek has created several tools for Blender, which have garnered nearly 900 reviews so far. The tool has great documentation, a Discord server, and several online tutorials from various artists. With practice, you will easily master this add-on in no time.
Get this Hair Tool for Blender with a license starting at just $26.
Install the Hair Tool Add-on for Blender
No matter which software you choose to create 3D hair, you will have to put in some time and effort to learn. If you are familiar with Blender, then using Hair Tool for Blender will be easier.
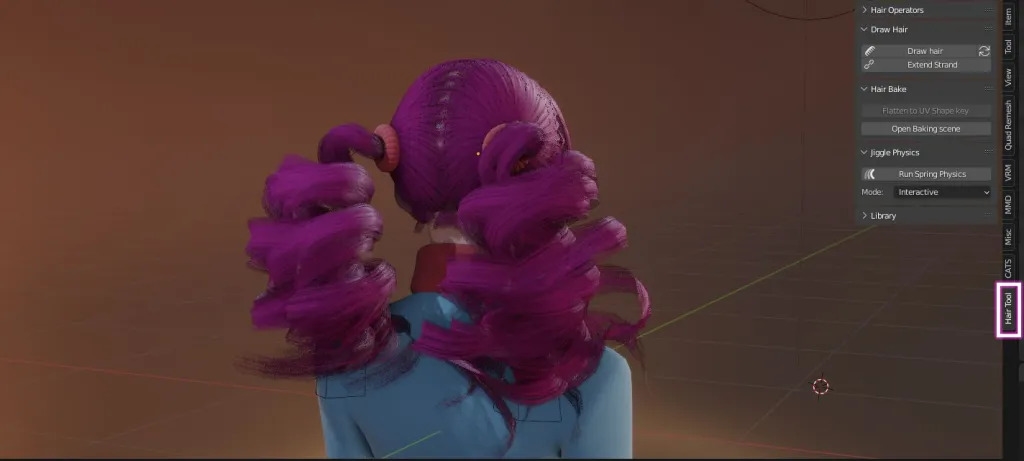
First, let’s learn how to get third-party add-ons running in Blender. After downloading the add-on to your computer, you need to unzip the folder. Then open Blender, and navigate to Edit > Preferences > Add-Ons. Click Install and find the folder you unzipped that contains Hair Tool for Blender.
Once selected, Blender will automatically install the add-on. All you have to do is make sure to check the box next to the tool so that it is properly enabled within the Blender interface. When you see Hair Tool for Blender appear in the panel on the right side of your workspace, it has been loaded properly.
Use Daz to Blender Bridge to bring in a character
Once you have the Hair Tool add-on installed and running, you will need a character. The easiest way to get a character from Daz Studio into Blender is to use the Daz to Blender Bridge. You can access the Bridge through your DazCentral account, install the latest version, and open Daz to create your character. Let’s create a character without hair since we plan to create custom hair in Blender.
Creating a character in Daz Studio is fun and easy with access to thousands of modular assets that are compatible with almost any figure. For this example, we chose to work with Aiko 8 and the full Bandit Sarah Outfit.
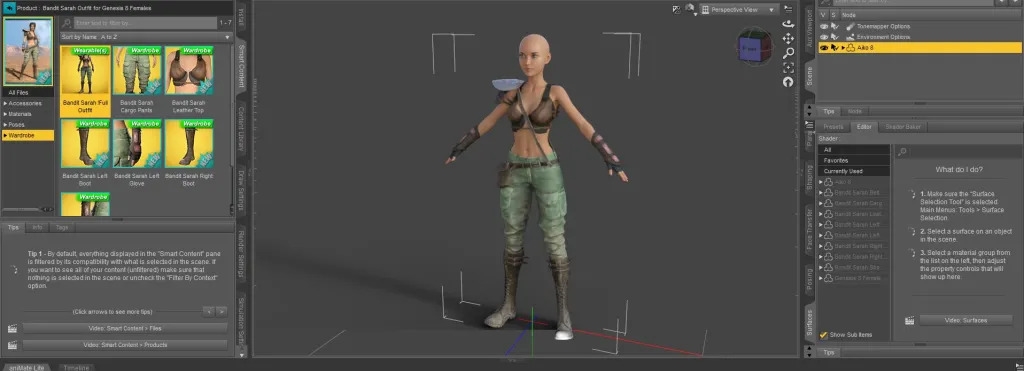
Once your character is ready, export it to Blender using the Bridge. Open Blender and, just like you did with the Hair Tool Add-on, navigate to Edit > Preferences > Add-ons and search for “Daz to Blender”. Make sure you have checked the box to enable the add-on. Now look in the sidebar, you will see Daz To Blender in the list, clicking on it will open the Daz Bridge menu. You just need to click on Import New Genesis Figure and Blender will automatically import the Daz character you created!
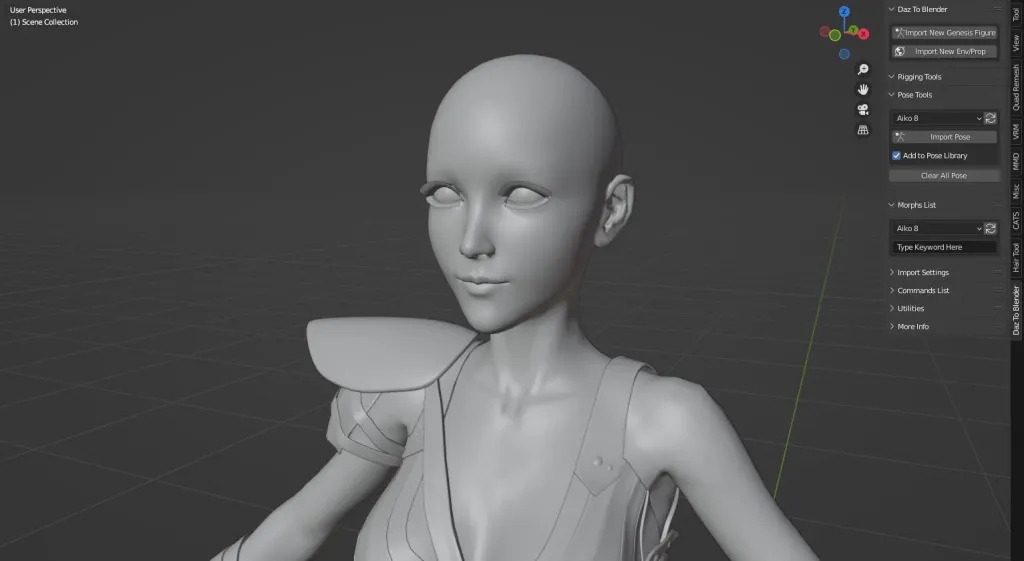
Create Basic Hair Shapes in Blender with Planes
Hair Tool for Blender provides easy customization of hair. You will create the basic shapes and sections of the hair by creating individual planes. At this stage, you don’t need to worry about individual hairs as the tool and texture will handle them. Now you just need to create the general shapes.
You should divide the hair into clumps and layers depending on the hairstyle, but at least 2-3 layers are recommended. With each layer, the hair shape will be more spread out and detailed. The inner layer is for the shape, while the outer layers are for adding detail and style. Using the layering technique will help you avoid flat, two-dimensional hair. It will add volume and style to your design, make hair look better, and prevent the character’s scalp from showing through.
These planes are called Hair Cards.
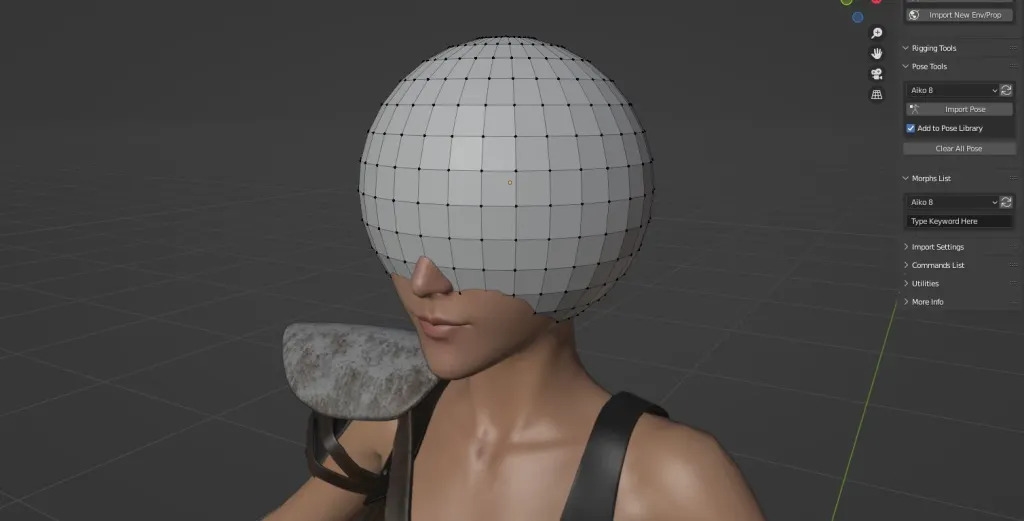
An easy way to do this is to add a sphere to the scene, sized appropriately to fit the head size. Then customize this sphere to create the basic hair shape you want for your character. Once you have created and sized the sphere, you can easily start blocking out and separating the different hair shapes into their own objects.
Generate Hair Curves
Before turning this basic shape into a haircut, you need to mark the hairline as sharp. Select this line and Mark it Sharp. As the hair changes in shape and length, you need to make sure that each section of hair is a separate object. This also applies to individual layers placed on top of each other.
After creating a basic shape and Creating Hair with the Curves from Mesh Surface option, you should have a hair model that looks like this:
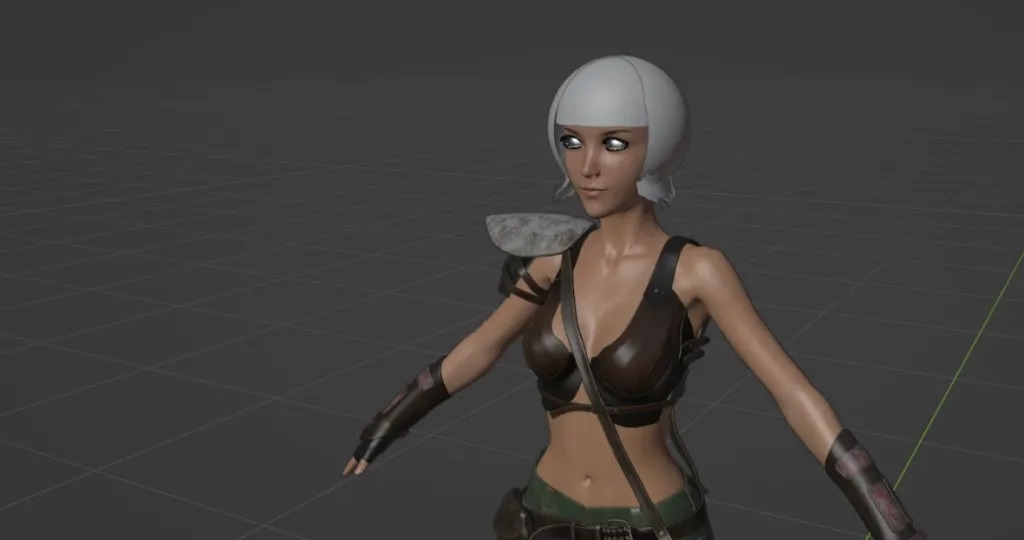
This basic short bob hairstyle consists of two different hair cards, one for the main shape and one for the bangs. However, this hairstyle will look very flat and two-dimensional. To add more depth, we will continue to create more detailed layers.
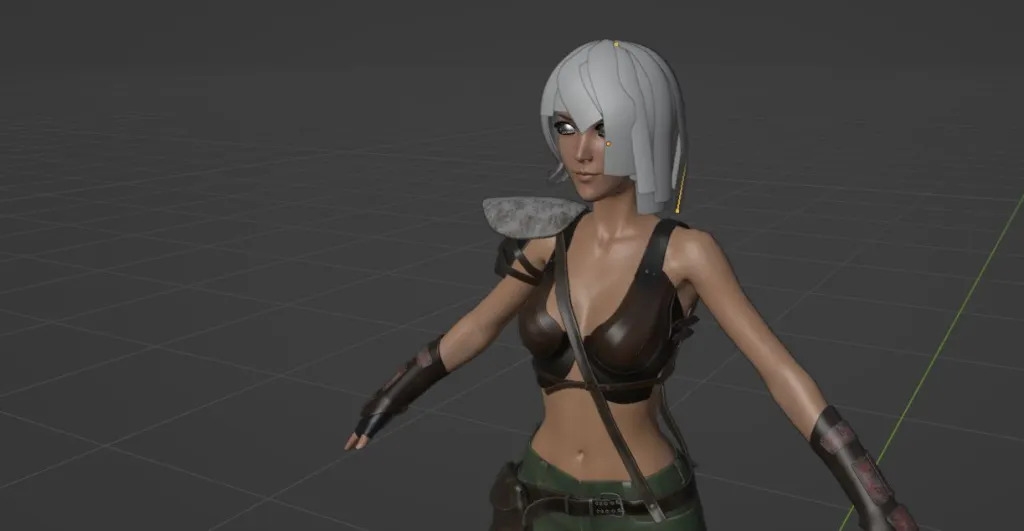
While it may seem silly when you only see the hair cards, it is important how you construct the final hairstyle. Separate clumps of hair will add volume and variety to the hairstyle. Next, you can switch to the shading tab to preview how your hair will look and also adjust the colors in Blender. This will give you a better idea of how the final product will look in Daz Studio.
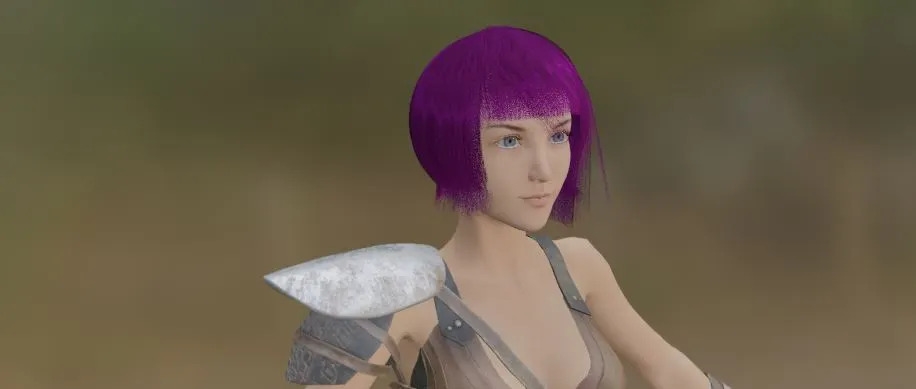
Also, there are a lot of features in this tool, so feel free to experiment and see which one works best for you. Some other settings include the number of hairs and the thickness of each hair.
Export the Hair Asset as an OBJ
Once you have completed the hair for your character, you can simply export it as an OBJ to bring it back to Daz Studio. You can reopen the scene where you created the character and import the new hair asset, without having to import the entire character from Blender to Daz Studio. However, you will need to adjust the position of the hair to get it where you want it. And the best part is that once saved, you can reuse the hair at any time, in any project you create!
Conclusion
In conclusion, creating realistic 3D hair using Daz Studio and Blender is a rewarding process that requires patience and attention to detail. By following the step-by-step instructions provided in this blog, you can enhance the quality of your 3D character creations and bring them to life with stunning hair designs. Experimenting with different techniques, textures, and hairstyles will help you refine your skills and achieve unique results.
Speed up Daz Studio and Blender rendering with iRender
iRender – the best cloud rendering service, provides high-configuration servers that increase CPU and GPU rendering speeds. We offer the most powerful RTX 4090 configuration packages on the market, all equipped with AMD RyzenTM ThreadripperTM PRO 3955WX @ 3.9 – 4.2GHz and AMD Ryzen™ Threadripper™ PRO 5975WX @ 3.6 – 4.5GHz processors, 256GB RAM and 2T NVMe SSD hard drive capacity. With a wide range of GPU servers (1/2/4/6/8x) – RTX 4090, you can choose the server that suits your needs to start the rendering process.
We have newly released 9S (8xRTx 4090) – the most powerful server that will speed up 5-100 times faster than your local PC.

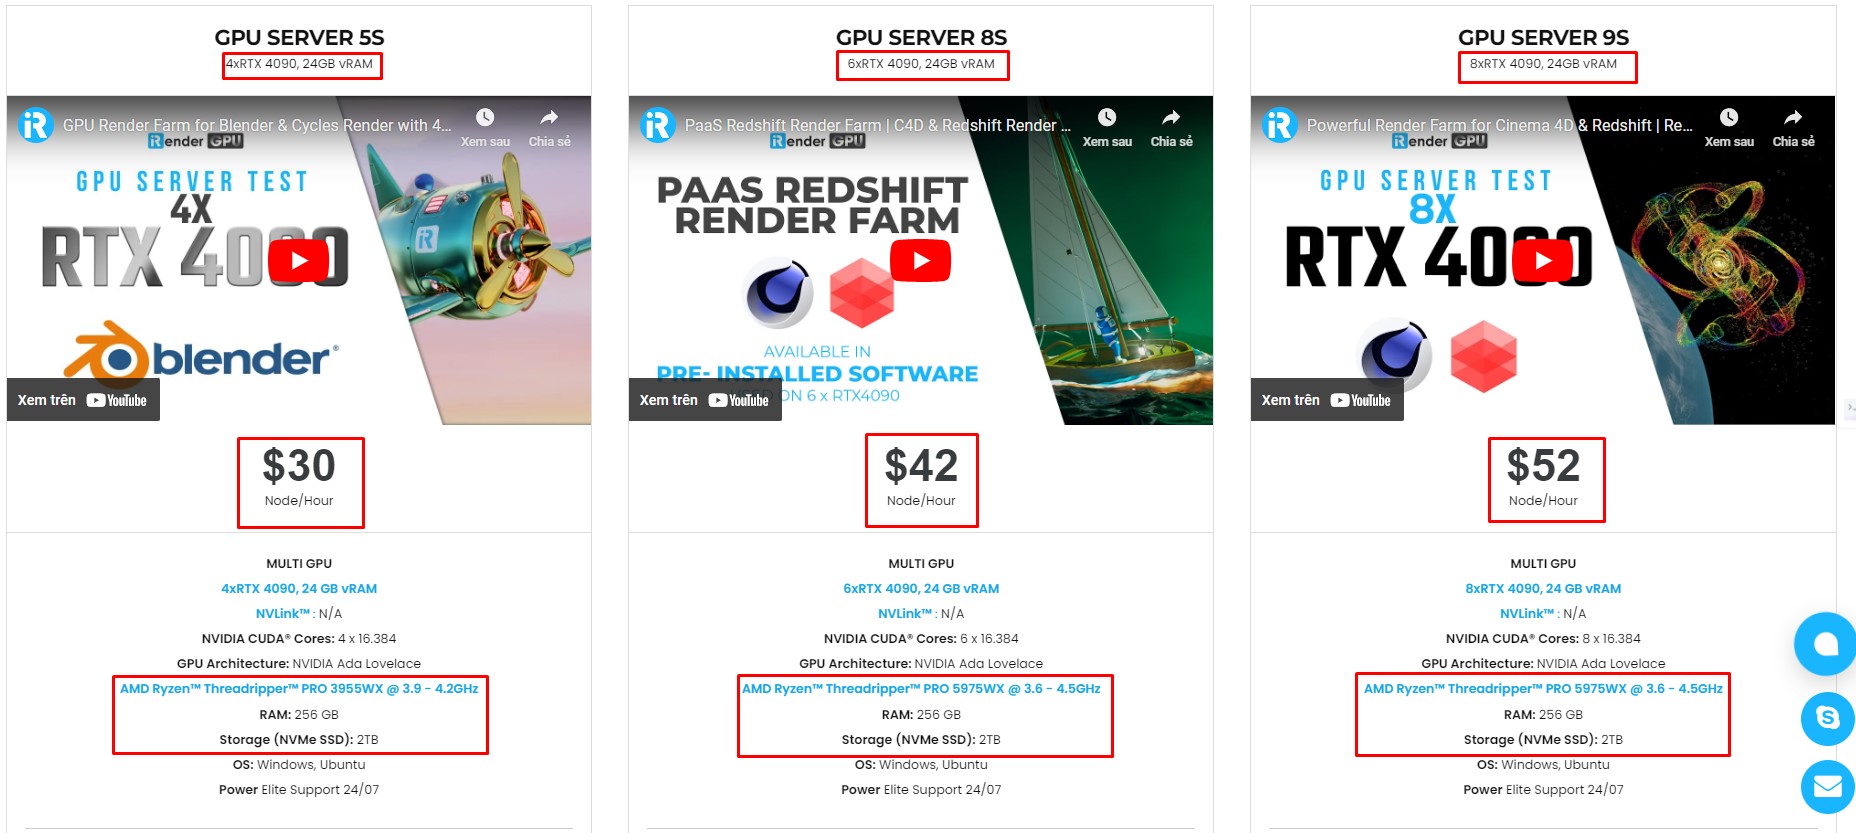
Simple Workflow with Blender Preinstalled
Our servers have Blender LTS 4.2 preinstalled. You just need to transfer your files, connect to the remote machine and install Daz Studio. Then you can render yourself there like the way you do on your local PC. Setting up ONCE and your working environment will be saved and ready to use at any time.
Why choose iRender?
Transferring data may cost time and money on the remote server. However at iRender, you can upload and download your files without booting the server, then you can save a lot of money.
We have an iRender GPU app for Windows PC which integrates all features and is easy to use, and an iRender Drive app for MacOS users to transfer data only. Moreover, there are many reasons why this is the best render farm for your project.
- 100% Software Support: We support all 3D software, their plugins, and render engines.
- Full Control: Our service will give you full control over the servers you rent. Therefore, you are free to create your own working environment.
- Go Green: We are committed to using 100% solar renewable energy towards environmental sustainability.
- Real-human 24/7 Support: Our professional support agents and technicians guarantee to bring you the best rendering experience.
If you still wonder if this is the right place for your project, REGISTER NOW to get a trial and receive a 100% bonus promotion for your first transaction within 24 hours of registration with us.

For more detailed information, please contact us via Live chat 24/7 or WhatsApp: +(84) 962868890 or Email: [email protected]
iRender – Happy Rendering!
Images and References: daz3d.com
Related Posts
The latest creative news from Daz3d Cloud Rendering, Nvidia Iray Cloud Rendering , Nvidia Omniverse Cloud Rendering , Octane Cloud Rendering, V-Ray Cloud Rendering , 3D VFX Plugins & Cloud Rendering.


