Understanding Retopology Modifiers in Blender
Many people still do not know about the retopology editor in Blender and how to use this tool. Retopology modifiers in Blender provide various tools and options to streamline the process of creating optimized meshes for many purposes, ultimately saving time and effort for 3D artists and modelers. So, what is Retopology in Blender defined as?
Let’s explore the Retopology modifiers in Blender in our blog today!
Overview of Retopology Modifiers in Blender
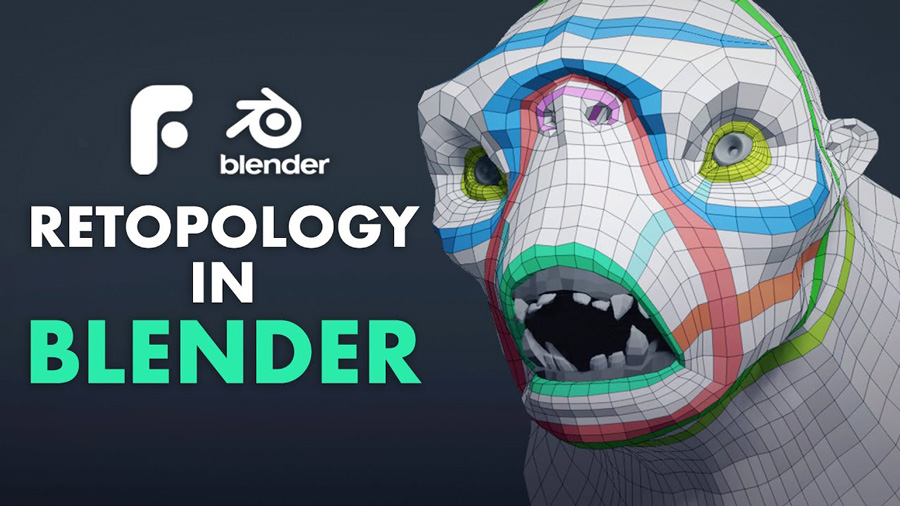
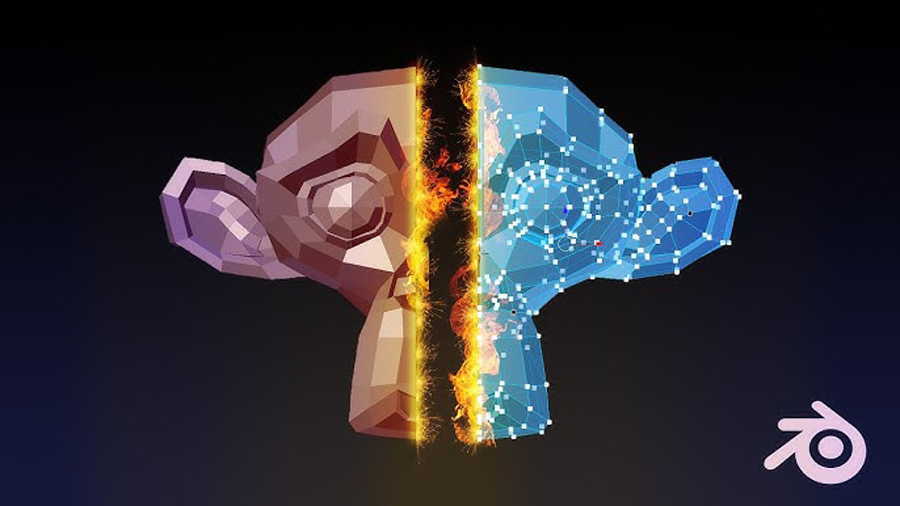
Image Source: Blender Nation
Retopology modifiers in Blender help simplify the process of creating a clean, low-polygon version of a model while preserving its shape and details. One commonly used retopology modifier in Blender is the “Decimate” modifier. This modifier allows you to reduce the polygon count of a model by collapsing edges or dissolving vertices based on specified criteria like angle limit or planar faces.
Another useful retopology modifier is the “Remesh” modifier, which can help create a new mesh with a more uniform topology based on voxel size or smoothness settings. This can be especially helpful when dealing with complex geometries that need to be simplified for animation or game development.
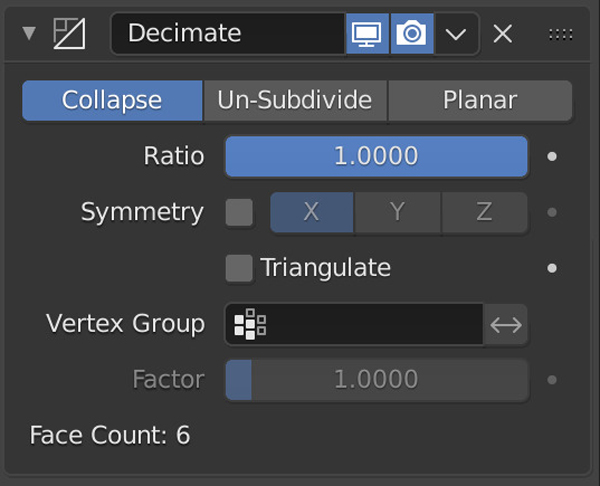
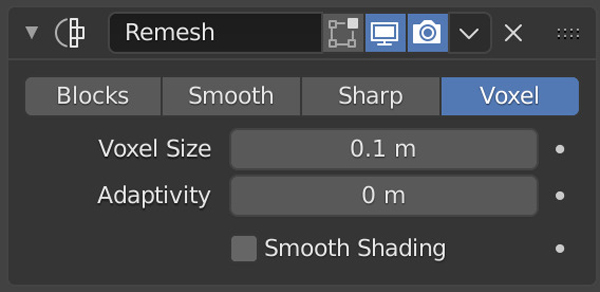
Decimate modifier and Remesh modifier in Blender
Image Source: Blender Documentation
The “Decimate” modifier in Blender is a tool used to reduce the polygon count of a mesh while trying to retain its original shape and form. It offers different methods for simplifying a mesh, such as collapsing edges, dissolving vertices, or even un-subdividing a mesh. The modifier provides options like “Collapse Ratio,” “Un-Subdivide,” and “Planar” to control how aggressively the mesh is simplified.
On the other hand, the “Remesh” modifier is used for creating a new mesh with a more uniform topology. This modifier can generate a new mesh based on voxel size, allowing for a more evenly distributed geometry. The “Remesh” modifier also has options like “Sharp” and “Smoothing” to adjust the final result of the mesh.
The “Decimate” and “Remesh” modifiers in Blender are powerful tools that can help optimize and simplify meshes for various 3D projects, such as animation, game development, or 3D printing.
How to use the Decimate modifier in Blender?
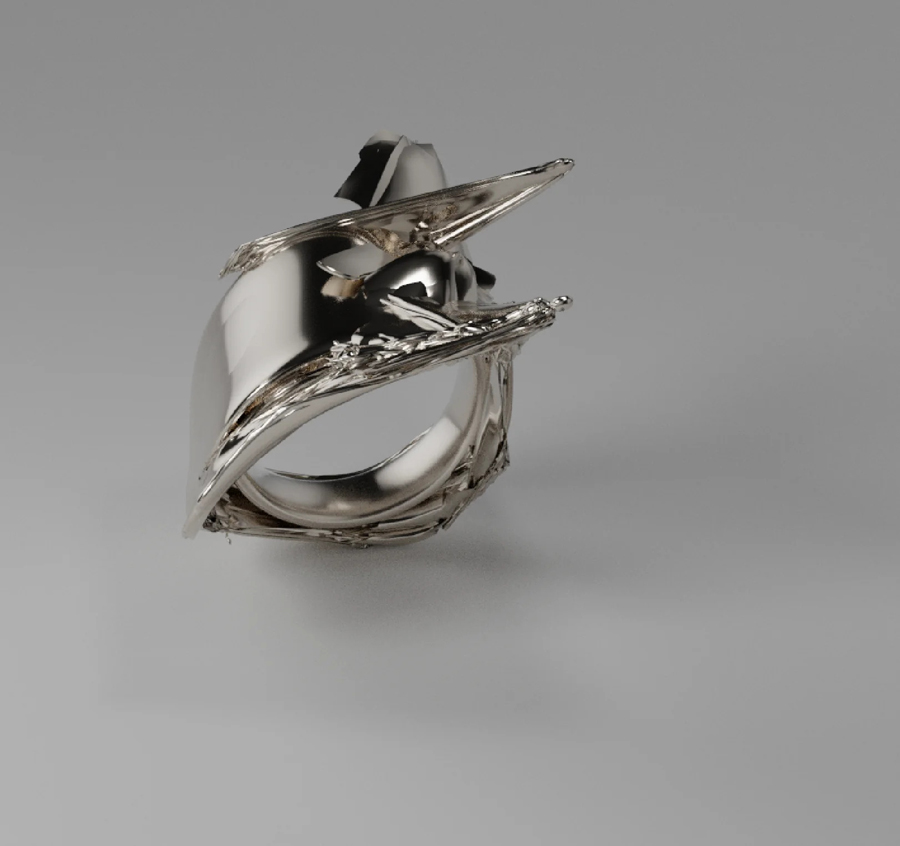
Image Source: Reddit
To use the Decimate modifier in Blender, you just need to follow these steps:
Firstly, you need to select your object: In Blender, select the object you want to simplify using the “Decimate” modifier. Then add the “Decimate” modifier. With your object selected, go to the Properties panel (usually on the right side of the screen) and click on the wrench icon to access the “Modifiers” tab. Click on “Add Modifier” and choose “Decimate” from the list.
In the “Decimate” modifier options, you will find different methods for simplifying the mesh. The most common ones are:
- Ratio: This setting controls the amount of reduction in polygons. Adjust the ratio value to determine how much you want to simplify the mesh.
- Collapse: This option collapses edges and vertices based on a specific angle limit.
- Un-Subdivide: This option reduces the subdivision levels of the mesh.
- Viewport vs. Render: You might notice options for “Ratio” in both viewport and render settings. This allows you to have different levels of decimation for the viewport display and the final render, which can be useful for optimization.
Once you are satisfied with the settings, you can click on the “Apply” button in the modifier tab to apply the decimation to your mesh. Remember, this operation is irreversible, so make sure to save a copy of your original mesh if needed. Depending on your specific needs, you may need to adjust the decimation settings multiple times to achieve the desired result. Feel free to experiment with different options to get the best outcome for your project.
By following these steps, you can effectively use the “Decimate” modifier in Blender to simplify and optimize your meshes for various purposes.
How to use the Remesh modifier in Blender?
First, select the object you want to apply the Remesh modifier to in Blender. With your object selected, go to the Properties panel (usually on the right side of the screen) and click on the wrench icon to access the “Modifiers” tab. Click on “Add Modifier” and choose “Remesh” from the list.
In the “Remesh” modifier options, you will find several settings to define how the remeshing operation will be performed. The “Mode” dropdown allows you to choose between “Sharp,” for preserving sharp edges, and “Smooth,” for creating a more organic topology. The “Octree Depth” setting can be adjusted to control the level of detail in the remeshed model. You can either apply the modifier directly by clicking on the “Apply” button, or you can continue adjusting the settings to see how they affect the desired result. Remember, once you apply the modifier, it becomes a permanent change to your mesh, so it’s a good idea to save a copy of your original object if needed.
Similar to the Decimate modifier, you’ll find options for adjusting the remesh settings for viewport and render separately, allowing you to control the level of remeshing for both display and final rendering. Depending on your specific needs, you may need to experiment with the settings to achieve the desired level of remeshing. Blender provides a real-time preview, so you can see the effects of the modifier as you adjust the settings.
By following these steps, you can effectively use the “Remesh” modifier in Blender to create a new mesh with a more uniform topology based on the settings you specify.
Wrap Up
In conclusion, retopology modifiers in Blender play a crucial role in optimizing and refining 3D models for animation, rendering, or game development. By mastering these tools, you can create models with efficient topology that are easier to work with and produce better results in your projects.
Take your multi-GPU rendering in Blender 4.1 to the next level with iRender Farm
Our iRender GPU Render Farm offers from 1/2/4/6/8 RTX 4090s and 8 RTX 3090 servers. All servers at iRender are also equipped with AMD Ryzen™ Threadripper™ PRO 3955WX @ 3.9 – 4.2GHz or AMD Ryzen™ Threadripper™ PRO 5975WX @ 3.6 – 4.5GHz, 256GB RAM, 2TB Storage NVMe SSD. The high-end configuration is extremely suitable for complex Blender projects. Right now, we have pre-installed Blender 4.1 option.
We just released our GPU Server 9S, with 8x RTX 4090s, powered with AMD Ryzen™ Threadripper™ PRO 5975WX @ 3.6 – 4.5GHz, let’s see how our RTX4090 performs when rendering with Blender scenes:
Especially, this month we have the best deal: You will receive 100% bonus for all transactions from $1500 and 50% bonus for all transactions from $230.
Besides, we also have flexible prices for all small to big projects. You can check out this video to estimate the cost with us:
Enjoy our new beast and boost your multiple GPUs rendering now! If you have any comments about our article, please do not hesitate to reach us at [email protected] or Whatsapp: +(84) 916017116.
iRender – Happy Rendering!
Related Posts
The latest creative news from Blender Cloud rendering.

