
Using Cinepack to move cameras in Blender with iRender
What is Cinepack?
A big collection of professionally produced camera movements that are entirely customizable and pre-animated for Blender. It was created to improve production quality and reduce time.
Besides, camera motions that are frequently used in Hollywood films, motion graphics, commercials, and VFX shots can be easily imported into your scene. Also, these items were created by a cinematographer with more than ten years of expertise in the film industry. You’ll be perplexed as to how you ever survived without CinePack!
Image Source: Blender Market
Why should we use Cinepack in Blender?
- Increase production values for any project without any prior experience needed in animation, keyframing or camerawork.
- Save valuable time on your Blender project!
- Improve your setting easily.
- Cinepack takes care of everything; no need to set up cameras, parent objects, animate movements.
Because every camera move is customisable so you can change them in any way to suit your needs. These camera movements can be used as a base for more complicated tasks. In fact, all moves are instantaneously visible as previews. Last but not least, both CYCLES and EEVEE compatible!
Blender Scene by William Landgren
Setting up Cinepack in Blender
Image Source: Youtube
First, you need to go to Blender Market and download the Cinepack addon. Make sure you have the correct version of the addon for your version of Blender. Ensure that the add-on you have is compatible with the Blender version you are using.
Second, in Blender, go to the “Edit” menu and select “Preferences.” In the “Preferences” window, go to the “Add-ons” tab.
Then, you click on the “Install” button, and navigate to the directory where you downloaded the Cinepack Addon. Select the file and click on the “Open” button to install it. After installing the add-on, find “Cinepack” under the “Add-ons” tab in the “Preferences” window to activate it. To enable an add-on, check the box next to its name.
You can begin using the Cinepack Addon in Blender after it has been activated. The Tools menu, the Properties panel, and the 3D Viewport will all have access to the Cinepack tools. Then, you can use the Properties panel to access the Cinepack tools.
iRender - The Best Render Farm For Blender
1. Features and Highlights of iRender
iRender is proud to be a professional GPU Accelerated Cloud Rendering Service provider for 3D Render, CGI, and VFX tasks with more than 30,000 clients. We are appreciated in many global rankings (e.g. CGDirector, Lumion Official, Radarrender, InspirationTuts CAD, All3DP, BlenderBaseCamp, VFX Rendering.)
Specially, we are currently a Diamond Sponsor of the Blender Foundation. Our long-term goal is to support the Foundation to partly contribute to the development of this awesome software. Besides, with iRender, all the servers are physical machines, you will ensure 100% performance and security. In addition, you will need a password to access the server, no shared working environment with anyone else so the confidentiality is absolute. Last but not least, there are outstanding features such as:
- Flexibility: Users can handle immediately your projects that require frequent editing and modification on iRender server without queuing. It can be said that this special characteristic directly satisfies user needs.
- Various options: suitable for all projects and budgets. You can save your budget with daily/weekly/monthly/yearly Fixed Rental packages, which saves you up to 20% of the cost compared to the hourly rental.
In particular, iRender has many servers from single, dual to multiple GPUs to serve your needs.
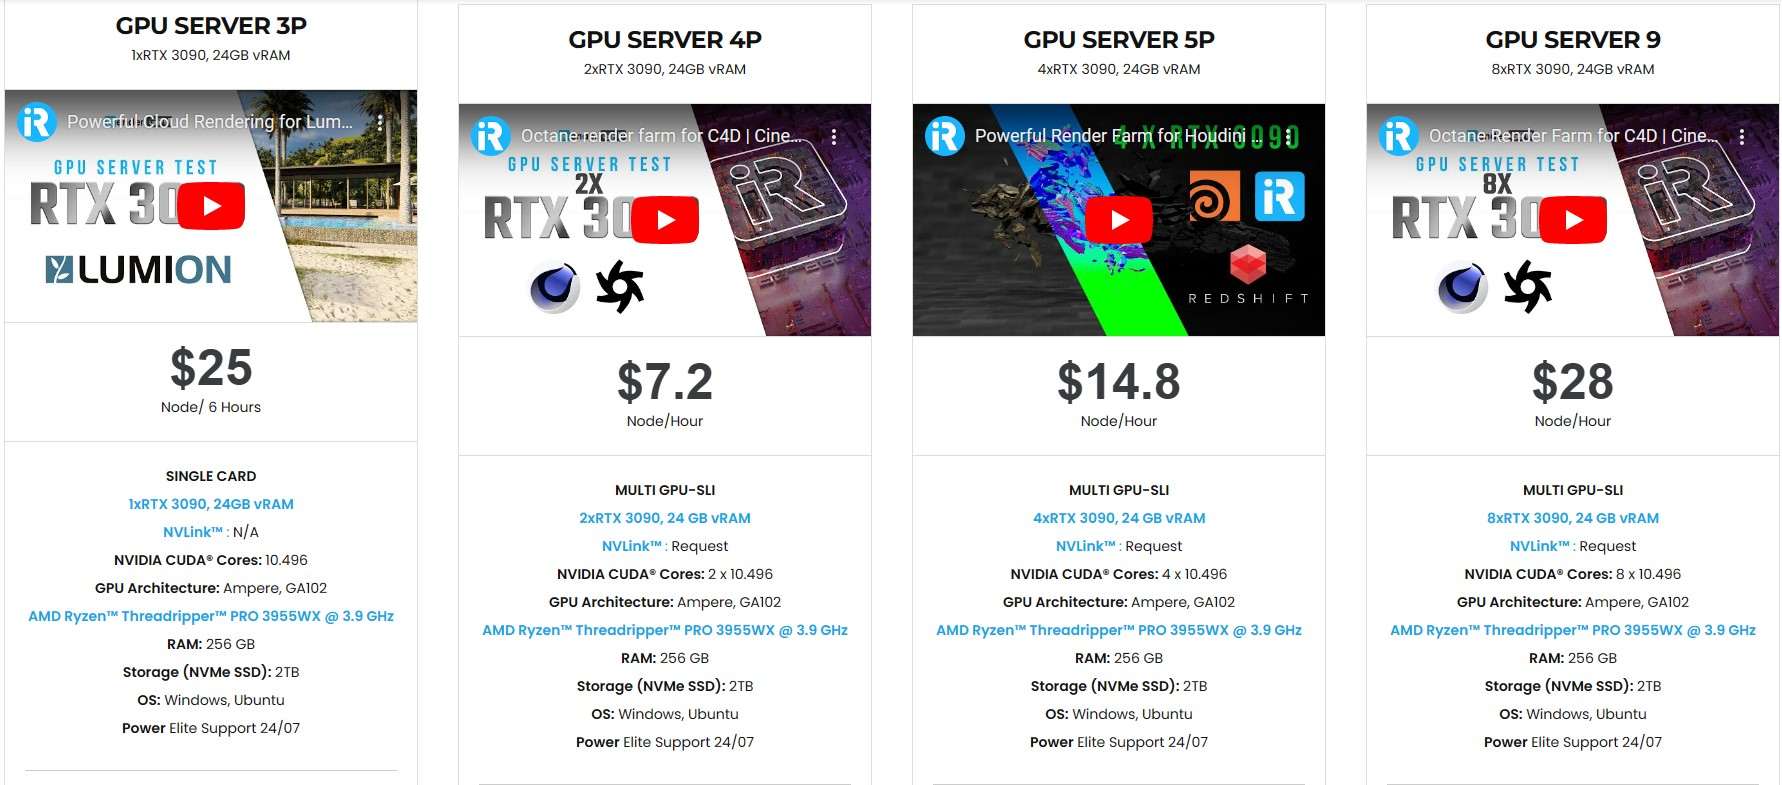
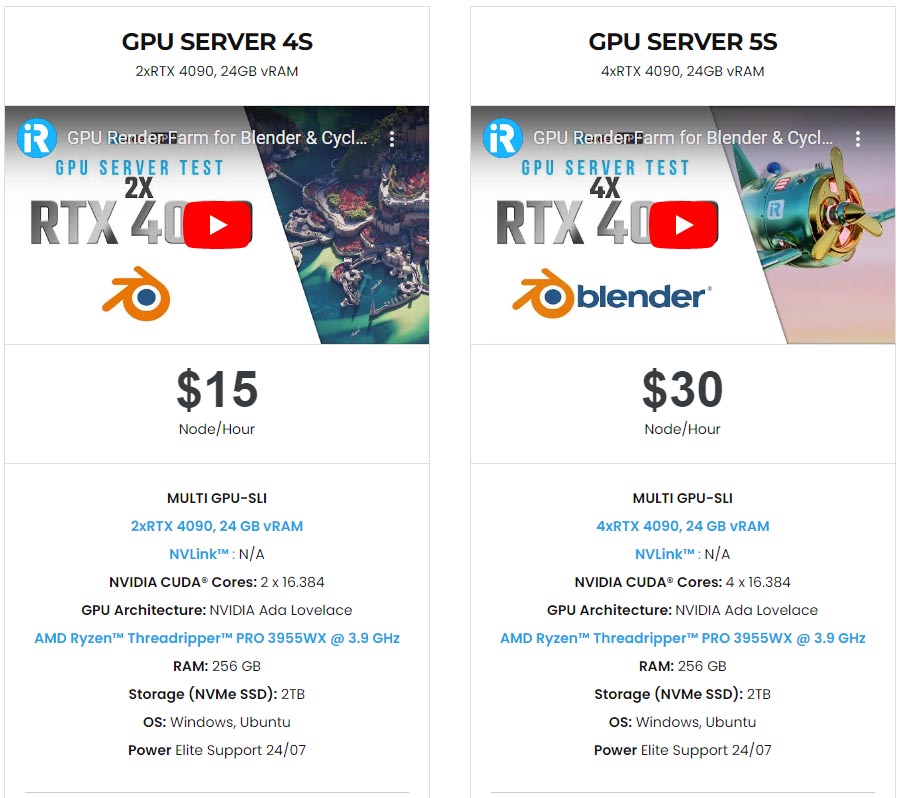
Specially, we just released our new package server 4S (2 RTX 4090), server 5S (4 RTX 4090), you can refer its configuration as below:
2. Blender server test on iRender
Let’s check out the rendering performance in Blender on RTX 3090 and RTX 4090 servers.


3. Our Customer Support and Technical Team available 24/7
In case you have any problems or questions, don’t hesitate to contact the 24/7 support team. We will be happy to help you with your questions and problems at all times.
Besides, iRender always has a special deal for you. This month, we are running a SPECIAL PROGRAM: 20% Additional Bonus for new clients who register an account and make a top-up within 24 hours of registration.
Get the FREE COUPON to try our high-end computers for your Redshift projects now! For further information, please do not hesitate to reach us at [email protected] or Whatsapp: +(84) 916017116.
iRender – Happy Rendering!
Related Posts
The latest creative news from Blender Cloud rendering.


