What are the best settings for iRay in Daz3D?
NVIDIA Iray is a powerful, unbiased GPU-based render engine available in Daz Studio, alongside the original 3Delight renderer. In this guide, we’ll explore the best settings for iRay in Daz3D to help you achieve high-quality renders efficiently.
General settings
Before fine-tuning render settings, it’s important to configure your General settings properly. Set a clear save location and make sure your output resolution is correct.
Dimension Preset, Pixel Size, and Aspect Ratio
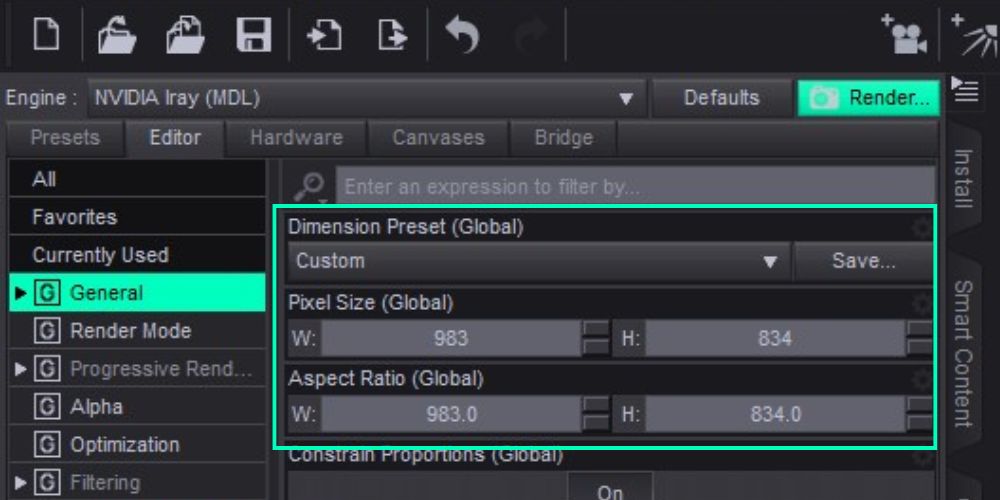
You can choose from several built-in resolution presets like VGA or Panorama. For custom sizes, select Custom and enter your preferred pixel dimensions and aspect ratio.
Recommendation: Use double your desired resolution for rendering, then downscale in an image editor (e.g., Photoshop) for better results.
Render Type
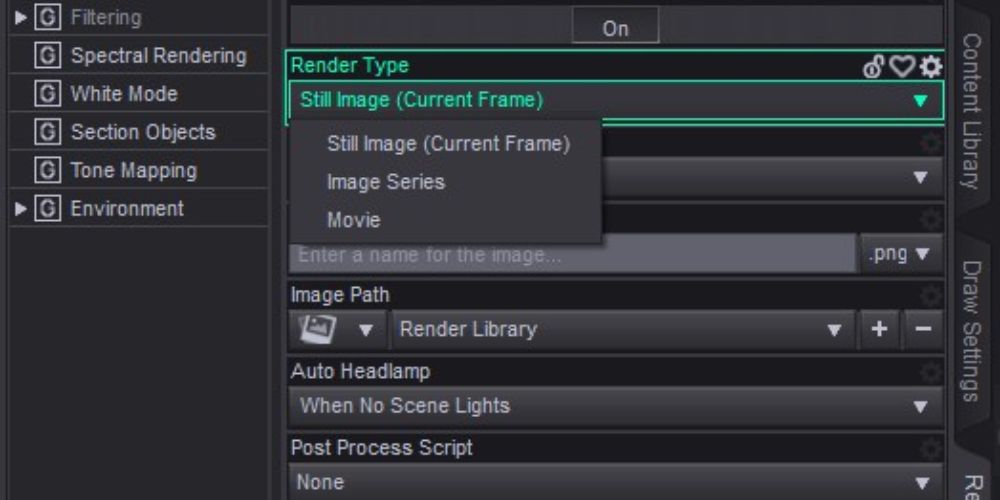
There are 3 options:
- Still Image (Current Frame) – for a single render
- Image Series – for animations, one frame at a time
- Movie – exports a full animation in one file
Recommendation: It’s safer to use Image Series for animations. That way, if rendering gets interrupted, you can resume from the last saved frame instead of starting over.
Render Target
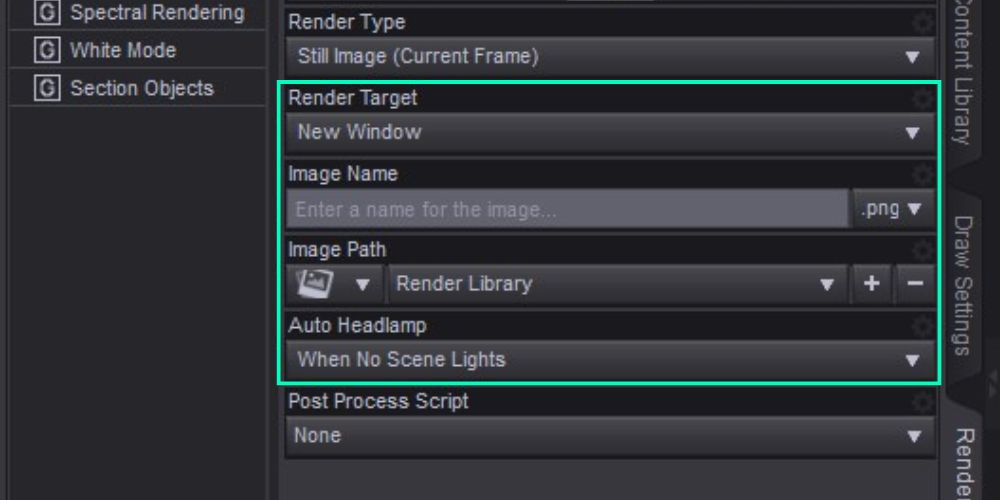
Decide whether your render opens in a new window or saves directly to the file.
Image Name and Image Path
Specify a file name and choose where it should be saved.
Recommendation: If you’re using iRender’s servers, save to any folder on the Desktop to avoid potential errors or crashes.
Auto Headlamp
The headlamp is useful during scene setup for visibility if no lights are present.
Recommendation: For final rendering, it’s usually best to turn it off to avoid unwanted lighting.
Render Mode
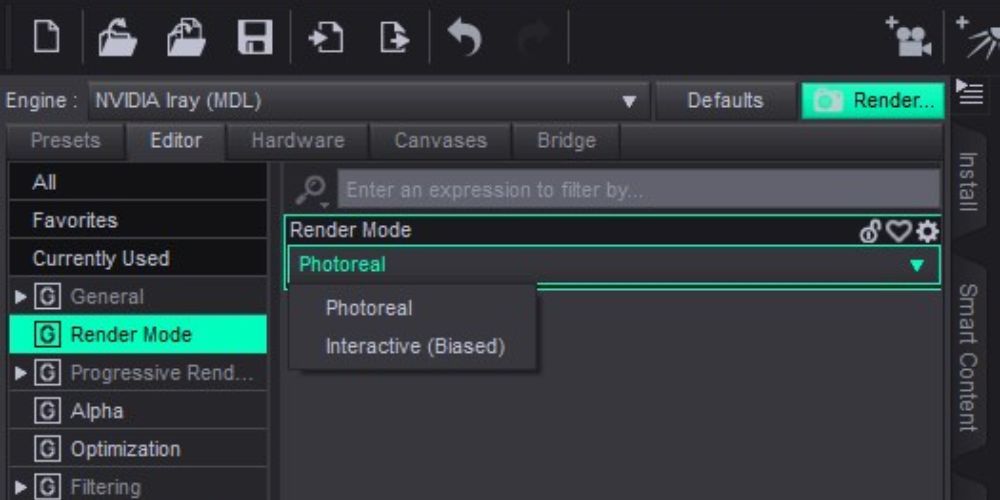
Here, you’ll choose between:
- Photoreal – the highest quality option, ideal for realism
- Interactive – faster previews with lower accuracy
Since Iray is known for its physically accurate results, we’ll focus on the best settings for iRay in Daz3D using the Photoreal mode.
Note: Some render settings may differ slightly depending on the mode selected.
Progressive Rendering – Best Settings for iRay in Daz3D
To get the best balance between speed and quality in Iray rendering, it’s essential to understand how progressive rendering works. These settings affect how the image updates while rendering and when rendering stops.
Min Update Samples and Update Interval (secs)
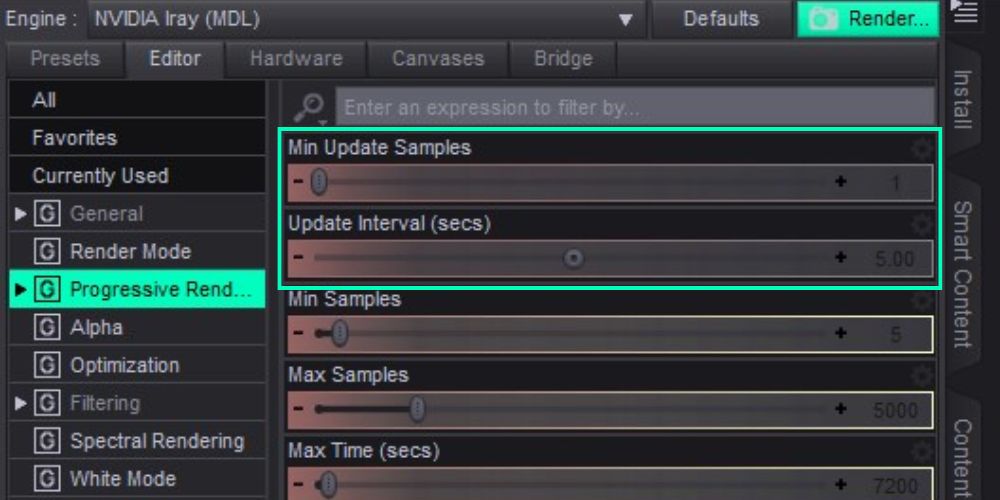
These settings determine how frequently the image updates during the rendering process:
- Min Update Samples: Sets the minimum number of samples per pixel required before the image refreshes on screen. A higher value means less frequent updates, but potentially cleaner previews.
- Update Interval: Defines the time (in seconds) between updates, regardless of how many samples have been calculated.
Recommendation: Most Daz3D users leave Min Update Samples at 1 and keep the Update Interval at its default value for smoother visual feedback during rendering.
Min/ Max Samples and Max Time (secs)
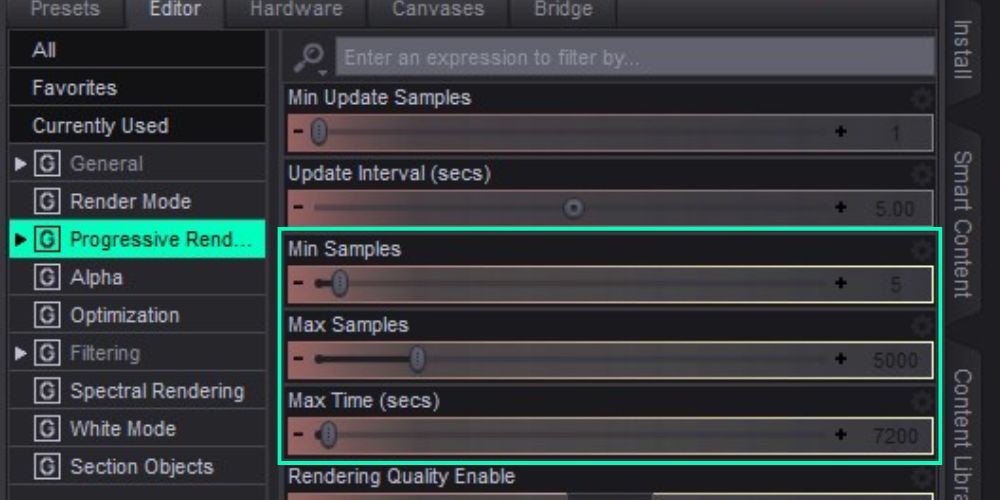
Min Samples and Max Samples determine the range of samples per pixel that Iray needs to calculate before finishing the render. Max Time limits how long Iray will spend rendering. All three settings can work together, which means the rendering whill stop when any one of them is reached.
Recommendations:
- Min Samples: Often left at 0
- Max Samples: Increased for higher detail — portraits may go up to 15,000–40,000
- Max Time: Can be left at 0 (no time limit), or set based on how long you’re willing to wait
- Leave Min Samples at 0 and raise the Max Samples and Max Time values to improve image quality, accepting longer render times as a trade-off.
Rendering Quality and Converged Ratio
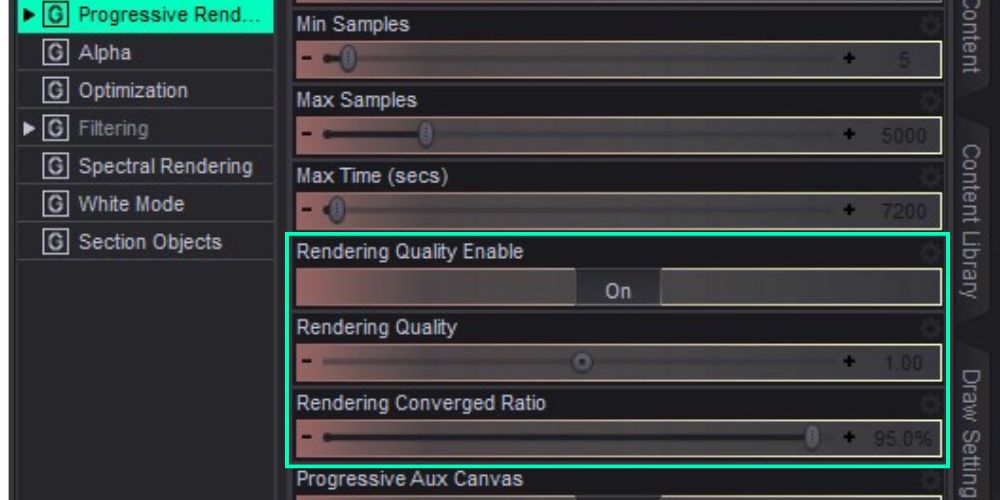
- Rendering Quality (default = 1): Controls final image accuracy. Doubling this value roughly doubles the render time.
- Converged Ratio (default = 95%): Specifies when Iray considers the image “complete.” Raising this may improve quality, but also significantly increases render time.
Recommendation: Keep the default unless you absolutely need cleaner results. Adjust with care.
Alpha
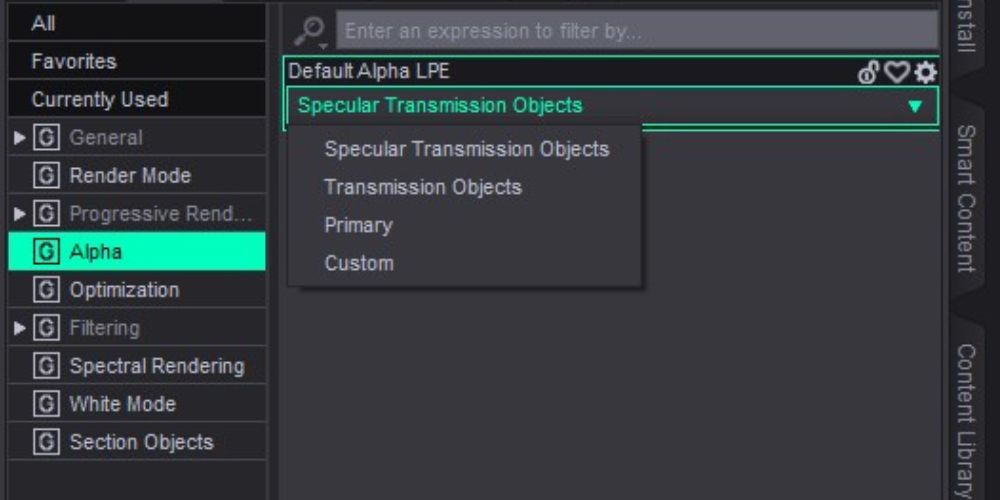
The Alpha settings affect how transparency is handled in renders. The only adjustable option here is Default Alpha LPE (Light Path Expressions).
Recommendation: Unless you’re having issues with transparency or rendering alpha maps, it’s best to leave this setting at “specular transmission objects.”
Optimization
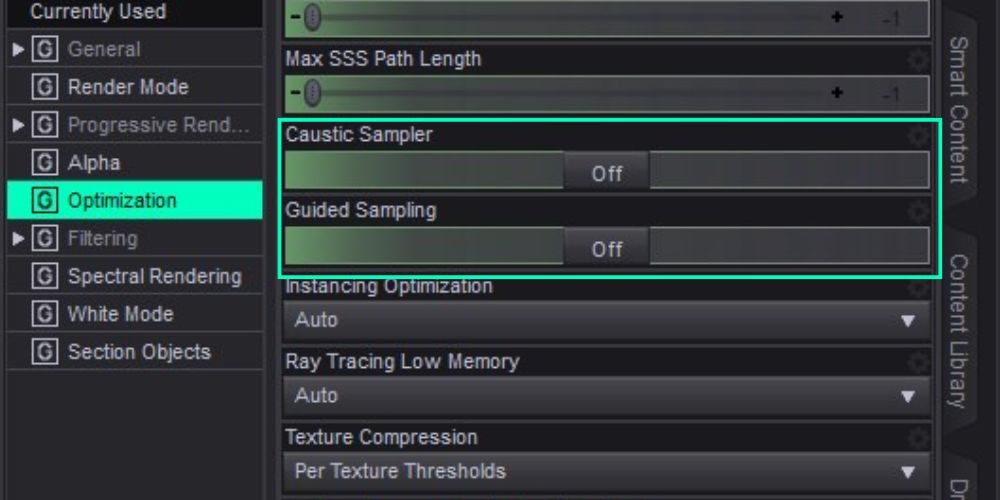
Focus on these two key options for optimization:
Caustic Sampler
Caustics are the light patterns formed when light is refracted (through glass) or reflected (off shiny surfaces). These effects can add realism but significantly increase render time.
Recommendation: Enable Caustic Sampler only if you’re rendering glass, water, or reflective materials and want physically accurate lighting.
Guided Sampling
Guided Sampling helps speed up Iray rendering and reduce noise, especially when used alongside the Firefly Filter. It may increase the memory usage, but the visual payoff is worth it for complex lighting.
Recommendation: Turn on Guided Sampling if your scene includes:
- Large soft shadows (from big area lights)
- Volumetric effects (e.g., fog)
- Occluded or indirect light sources
- Moderate caustics (but not full caustic rendering)
Filtering
In the latest version of Daz Studio, the Filtering tab becomes visible once you click the Render button.
Firefly Filter
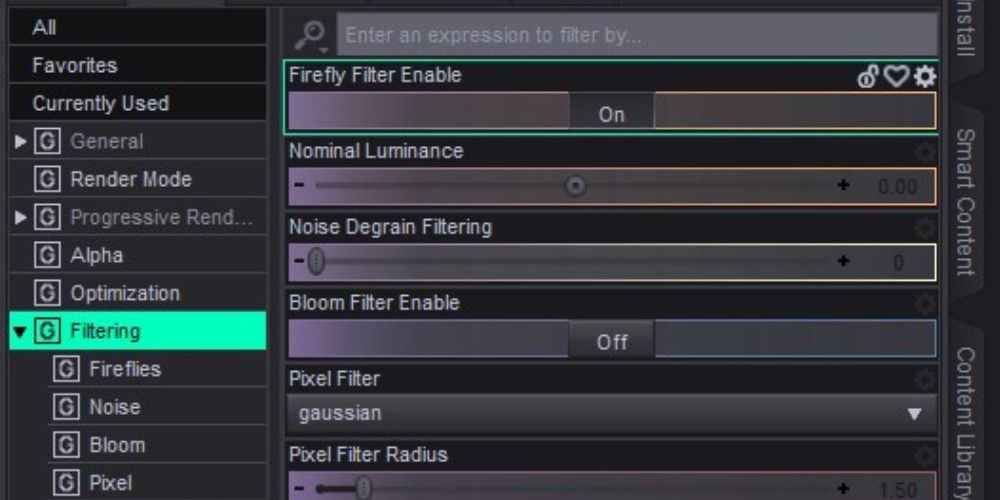
During rendering, it’s common to encounter small, overly bright white pixels scattered throughout your image, often referred to as “fireflies.” These occur in areas where lighting is difficult to calculate accurately. The Firefly Filter is designed to automatically eliminate these spots and improve image quality.
Recommendation: It’s highly recommended to keep this filter enabled in all your renders. For better results, especially in challenging scenes, it’s also advised to use it in combination with Guided Sampling.
Noise Degraining Filter
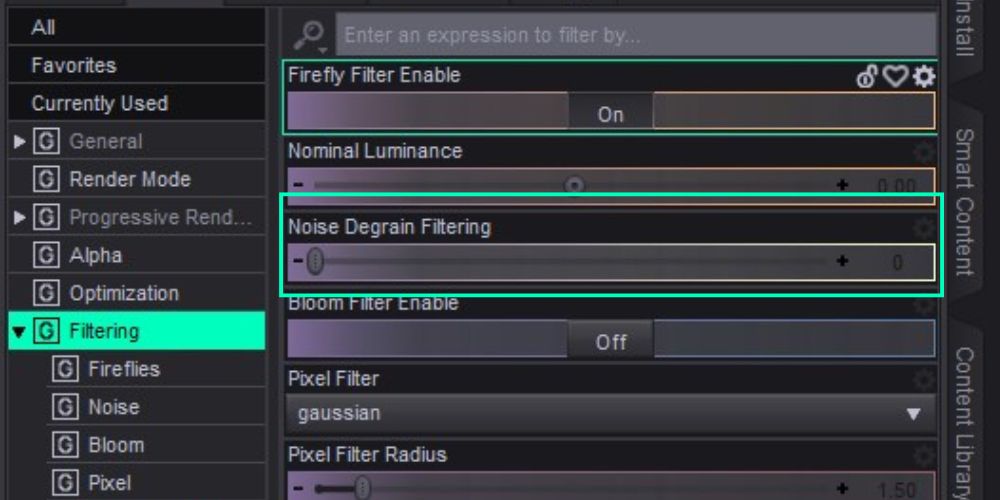
This filter helps reduce overall noise in your image without sacrificing too much detail. You can adjust this filter on a scale from 1 to 5. Lower values like 1 to 3 offer a more conservative approach, focusing on reducing noise in difficult parts of the scene while maintaining sharpness.
Note: Firefly Filter and Noise Degraining Filter are not supported in Interactive rendering mode.
Post Denoiser
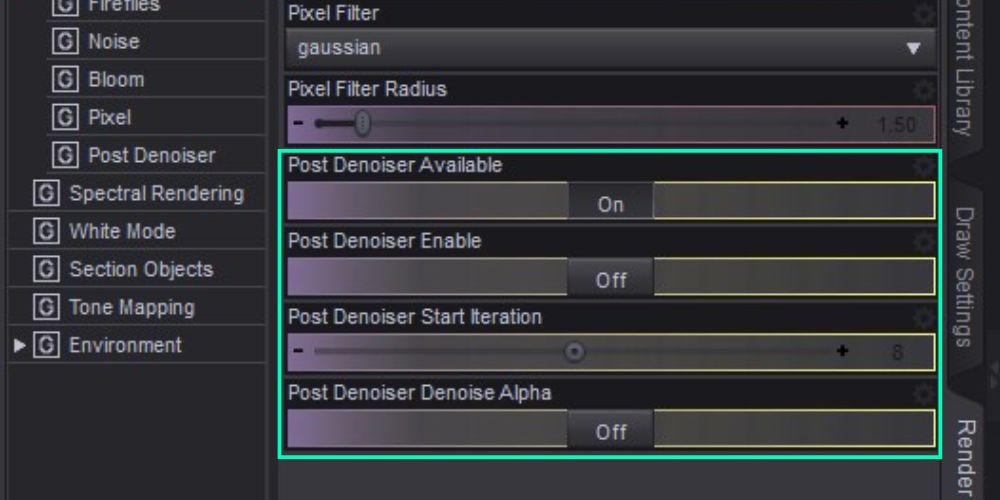
It is especially useful in scenes with complex lighting and shadows. This tool enhances the image after rendering has reached a certain stage, helping to clean up remaining visual imperfections. However, because it uses additional memory and can affect performance, it’s important to use it wisely. Make sure both the “Available” and “Enabled” options are active if you decide to use it.
Post Denoiser Start Iteration determines how soon in the render process the denoiser begins its work. If it starts too early—like at the default setting of 8 iterations—it can result in longer render times and a blurrier image. A better approach is to delay the denoiser until the final few hundred iterations. For example, if you’re rendering 500 total iterations, starting the denoiser around iteration 250 to 350 will save memory and produce a sharper, cleaner result.
Post Denoiser Denoise Alpha is useful if your render includes transparent elements and you want to reduce noise in the alpha channel. Just be aware that enabling this option can potentially double denoising time. Still, it’s worth using if you notice transparency-related noise in your final image.
Spectral Rendering
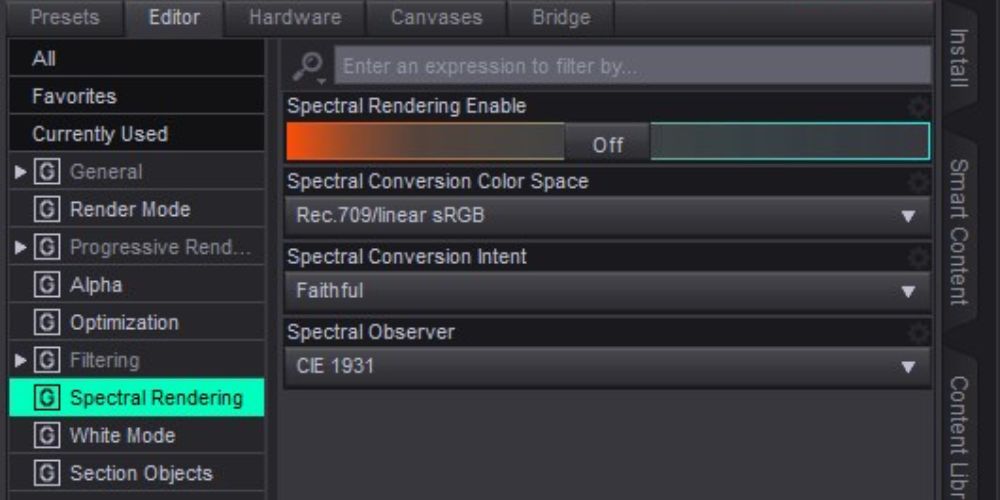
Spectral Rendering is a specialized feature that simulates light and color based on real-world wavelengths rather than relying solely on the RGB color model. This method provides more physically accurate color interactions, which can make a noticeable difference when rendering materials like glass, liquids, or skin.
In most cases, especially for casual or intermediate users, it’s recommended to leave Spectral Rendering disabled unless you’re aiming for highly realistic lighting effects and are comfortable adjusting your workflow to match. While the feature can produce stunning results, it also increases render time and can complicate color management if you’re not familiar with the underlying color theory.
White Mode
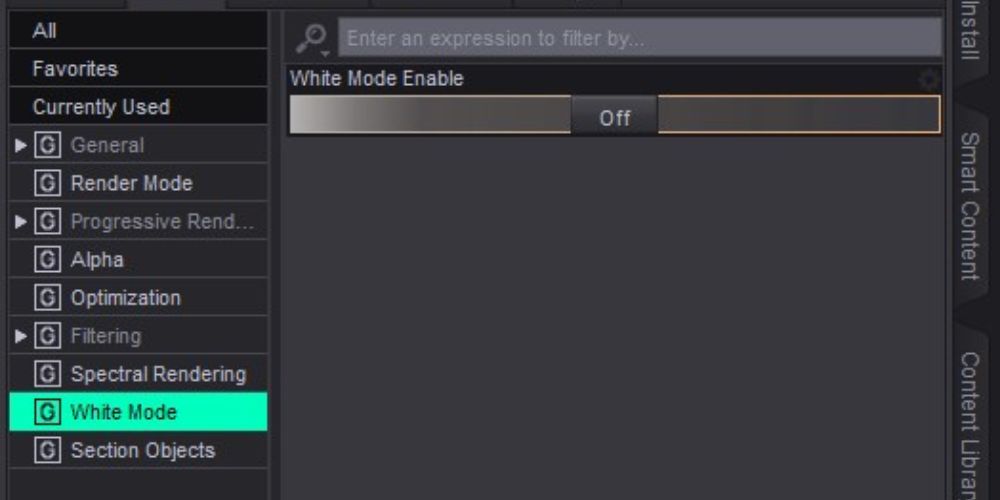
When White Mode is enabled, Iray Interactive applies a plain white diffuse material to all objects in the scene. This mode helps evaluate lighting and shadows without the distraction of surface textures or colors.
Section Objects
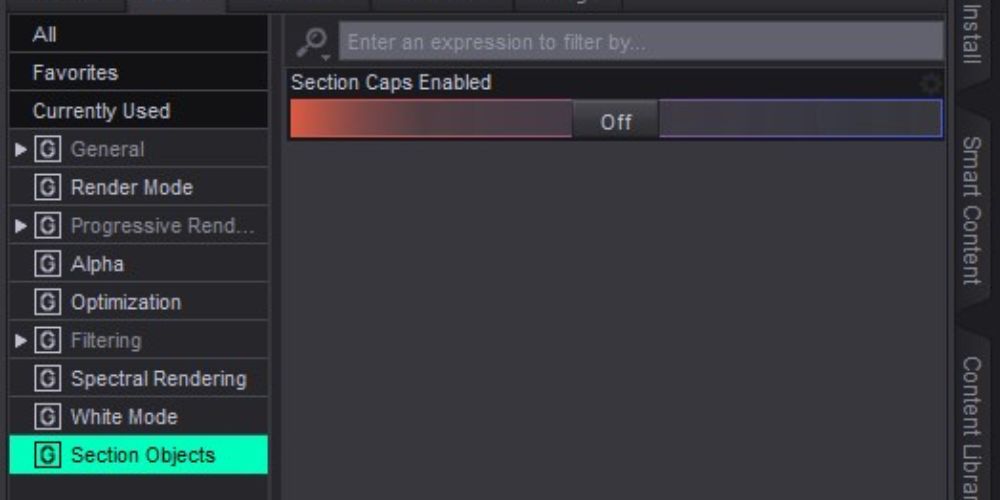
Section Objects allow you to visually “cut” through a 3D model or scene, exposing the interior without altering the geometry. You can add an Iray Section Plane via the Create dropdown in Daz Studio.
Enabling Section Caps fills in the cut surfaces with a solid material or color, instead of leaving the openings hollow or transparent.
Tone Mapping
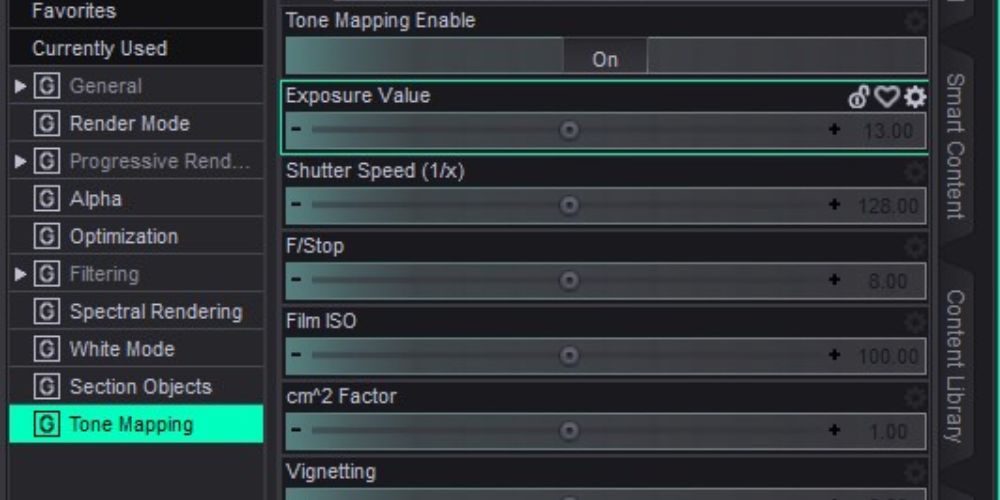
In newer versions of Daz3D, the Tone Mapping tab will appear after clicking the Render button.
This feature controls how lighting and color are balanced in the final image (similar to camera exposure settings). Adjusting tone mapping can help fine-tune brightness, contrast, and overall mood of your renders.
Most users are fine with the default settings, but if you’re curious, I recommend a tutorial video like “Daz Studio: Using Tone Mapping – NotFromThisWorld”.
Environment
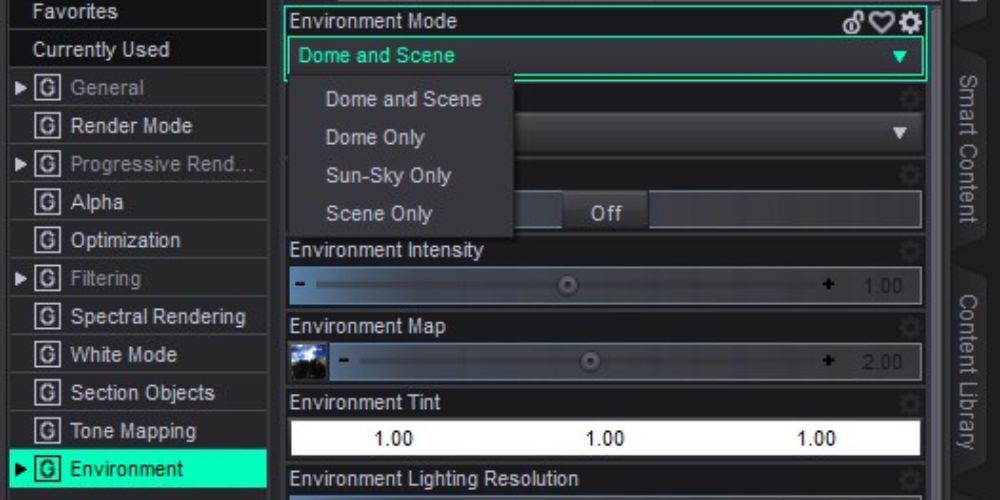
Found under the Environment tab (after hitting Render), this section lets you define the lighting and ambiance of your scene. The core setting here is the Dome, which controls lighting direction, reflections, and general atmosphere. For example, a dome with a sunny forest scene will reflect that environment’s light and mood.
You can choose from several Environment Modes:
- Dome and Scene: Combines dome lighting with your scene’s lights (e.g., spotlights)
- Dome Only: Ignores any lights in your scene and uses only the dome.
- Sun-Sky Only: Uses only the simulated sun and sky from the dome.
- Scene Only: Uses just the lights you’ve placed in the scene, ignoring the dome.
Recommendation: Stick with “Dome and Scene” if you want flexibility and better lighting control for most renders.
Hardware
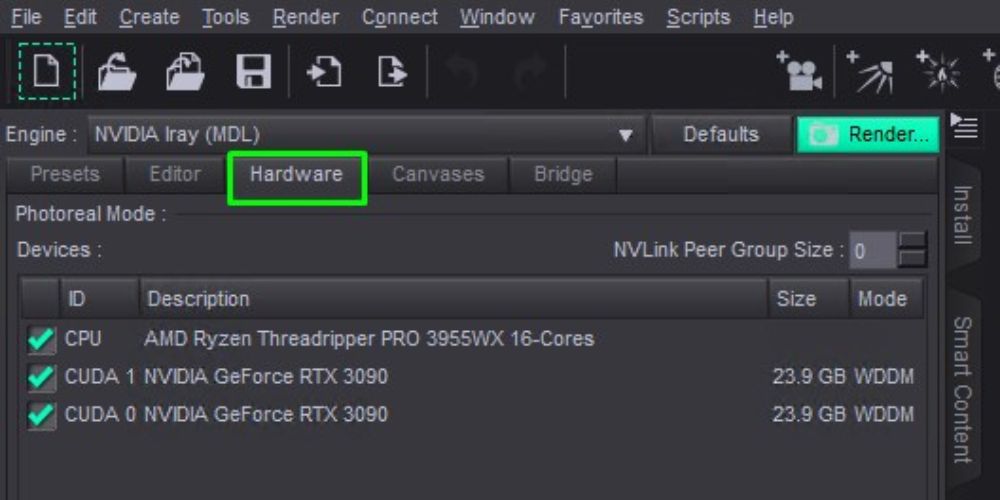
Finally, when discussing the best settings for iRay in Daz3D, it’s essential to consider the Hardware section. Here, you can select whether to use one or more GPUs, the CPU, or a combination of both for rendering. GPUs offer a significant performance advantage, especially for complex scenes, and can dramatically reduce your Iray render times. While combining CPU and GPU is an option, it doesn’t always lead to better results and may actually slow things down in some cases.
For the most efficient rendering, it’s generally recommended to rely on GPU-only rendering, particularly if you have access to multiple GPUs, as this can greatly boost both speed and quality.
Best settings for iRay in Daz3D with iRender's powerful GPUs
iRender provides private high-configuration machines with upmarket specifications that excel in rendering, like AMD Ryzen™ Threadripper™ PRO 3955WX @ 3.9 – 4.2GHz or AMD Ryzen™ Threadripper™ PRO 5975WX @ 3.6 – 4.5GHz, 1/2/4/6/8 x RTX4090 or RTX3090, RAM 256GB, Storage NVMe SSD 2TB.
Why can iRender be a great render farm for you?
In addition to high-configuration servers, iRender provides many other utilities to provide the best user experience.
- Dedicated server for individuals: You have full control and access to the server you rent. The working environment (installed apps, files) will be stored for the next use.
- Easy and free file transfer between your computer and iRender’s server: The transferring task can be done via iRender GPU application for Windows and the iRender Drive application for MacOS.
- 24/7 assistance: iRender’s attentive agents are always ready to support all your queries.
- All software compatibility: iRender’s PCs are built to meet the configuration needs of all 3D software and rendering tools at a variety of cost levels for users to choose from.
Take a look at the videos below to see how Iray renders on our nodes.


New users will get a 100% bonus for the first transaction within 24 hours of their registration. No minimum amount!! If you top up 50$, you will get 100 points in total to hire our machines.
If you have any questions, please get in touch with me through email [email protected] or our 24/7 support team for a quick response.
Thank you for reading
Source: Daz3D, Render Guide
Related Posts
The latest creative news from iRender Cloud Rendering for Daz Studio