Understanding Bump Maps and Normal Maps in Blender
As games become more realistic, the distinction between fantasy and reality becomes increasingly blurred. With each passing year, we see increasingly incredible displays of graphics power. Bump mapping helps contribute to this. Bump maps use lighting methods, graphical processing, and other techniques to add realism to a gaming world.
So what are Bump Maps and Normal Maps in Blender?
Let’s deep dive into iRender’s blog today!
What is Bump Mapping?

In Blender, Bump Mapping is a technique used to create the illusion of surface details and relief on 3D objects without actually modifying the geometry of the model. By applying a bump map (often a depth map) to an object, Blender can simulate the appearance of creases, details, or surface variations on the object without the need to change the original model’s structure physically. This technique helps enhance render performance and reduces the amount of work needed to create highly detailed models.
What is Normal Mapping?
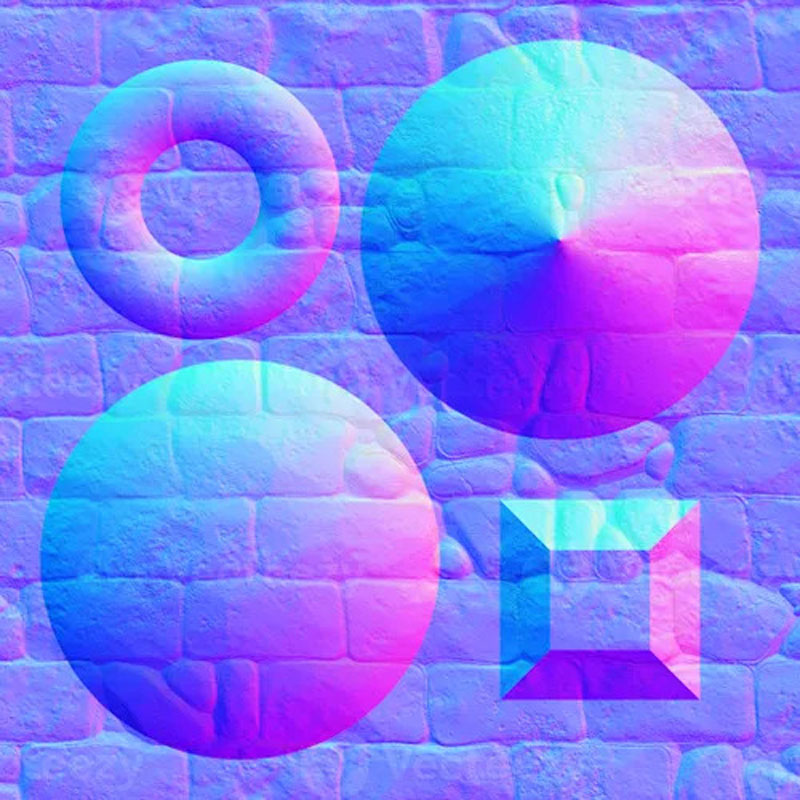
Normal Maps in Blender 4.0 (Image Source: Open3DLab)
In Blender, Normal Mapping is a technique used to simulate surface detail direction on 3D objects without altering the model’s structure. By applying a normal map (a map that encodes surface normals) to an object, Blender can create the illusion of surface details such as creases, wrinkles, or indentations. This technique enhances the realism of the model while maintaining rendering performance and flexibility in modifying the original model. Normal mapping, which is more advanced than bump mapping, is becoming more used. Normal maps commonly use the colors light blue, purple, and pink.
Expressing unevenness with a Bump mapping
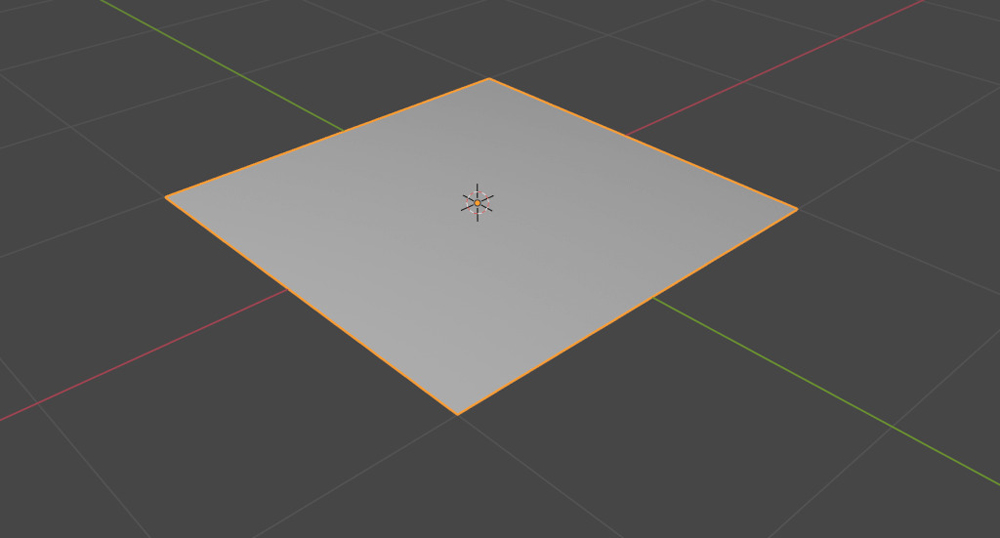
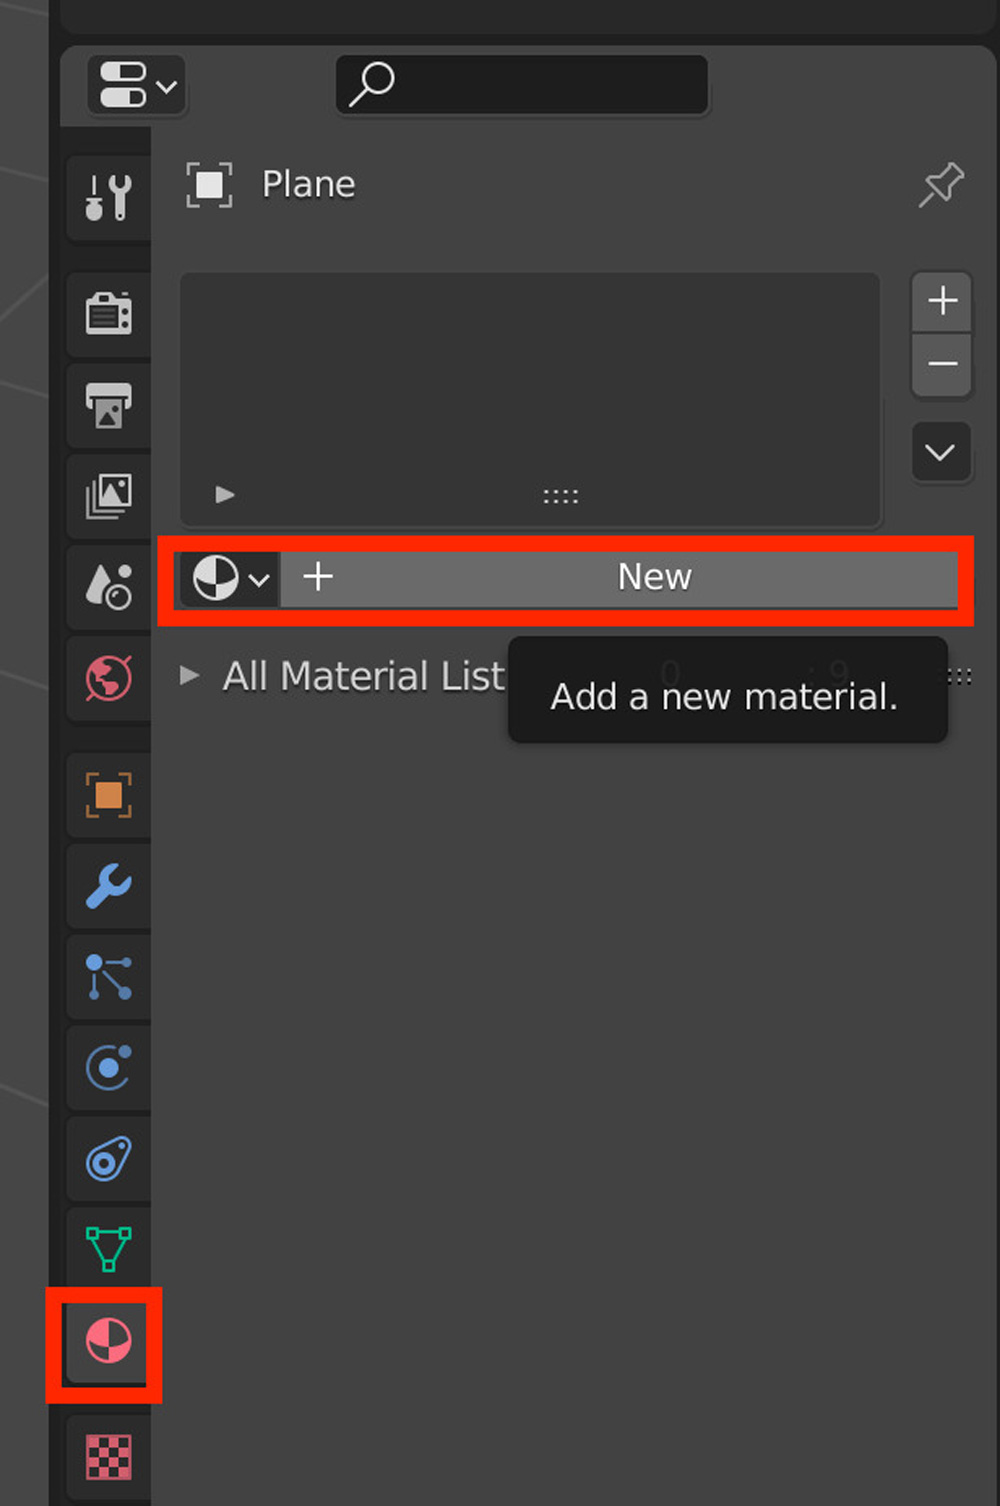
First, we need to add a plan then add a new material.
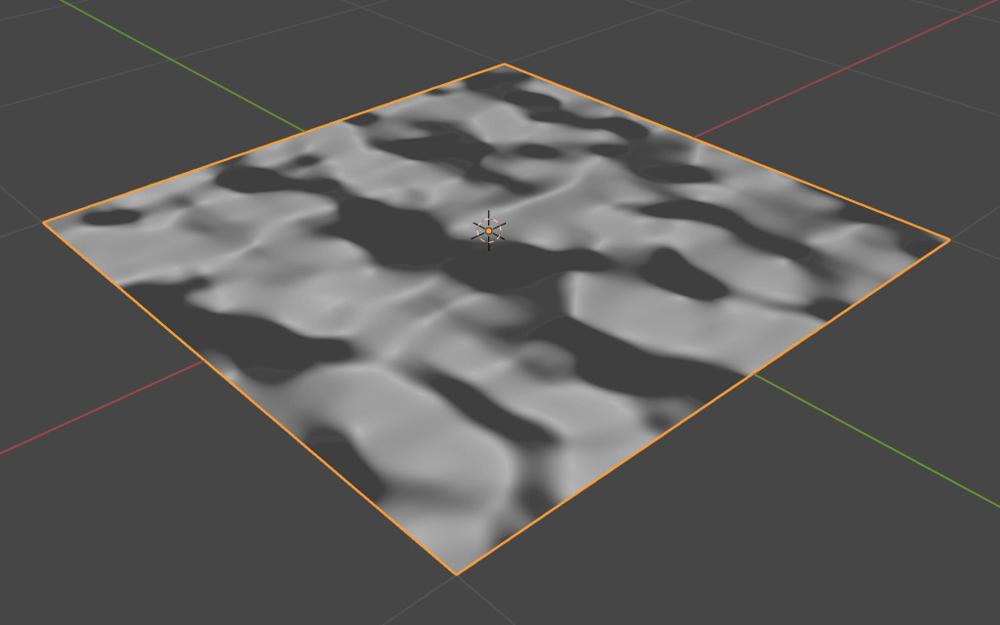
Scroll down and set “Bump” for Normal and “Musgrave Texture” for Height. The Musgrave Texture is a texture that produces complex noise as shown below.
In this case, we set this texture for Height, which will make the white areas of this pattern higher and the black areas lower on the plane.
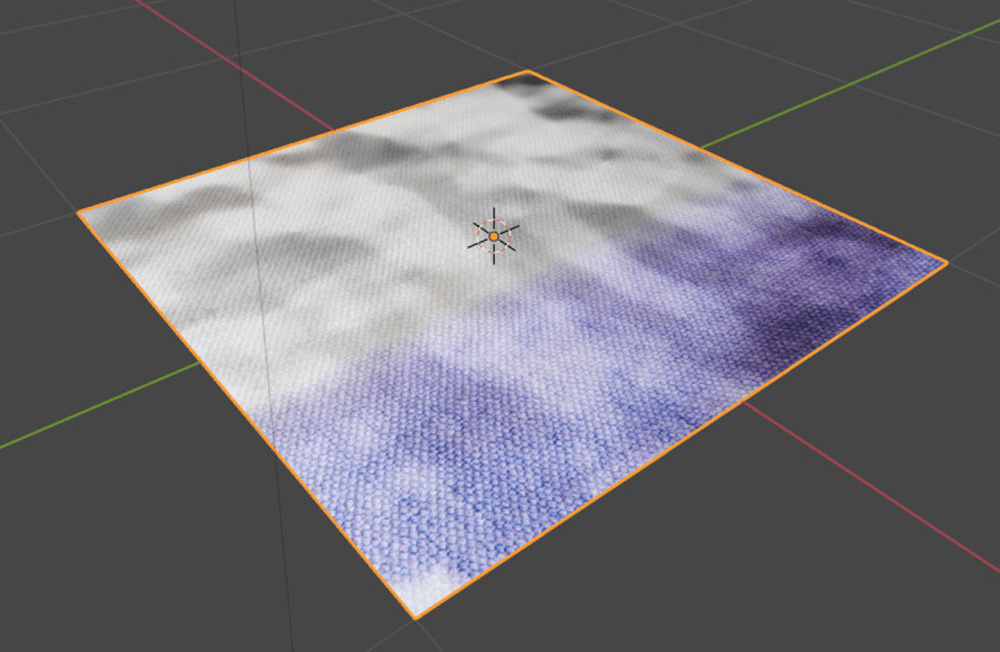
Try moving the light with the Viewport Shading set to Material Preview.
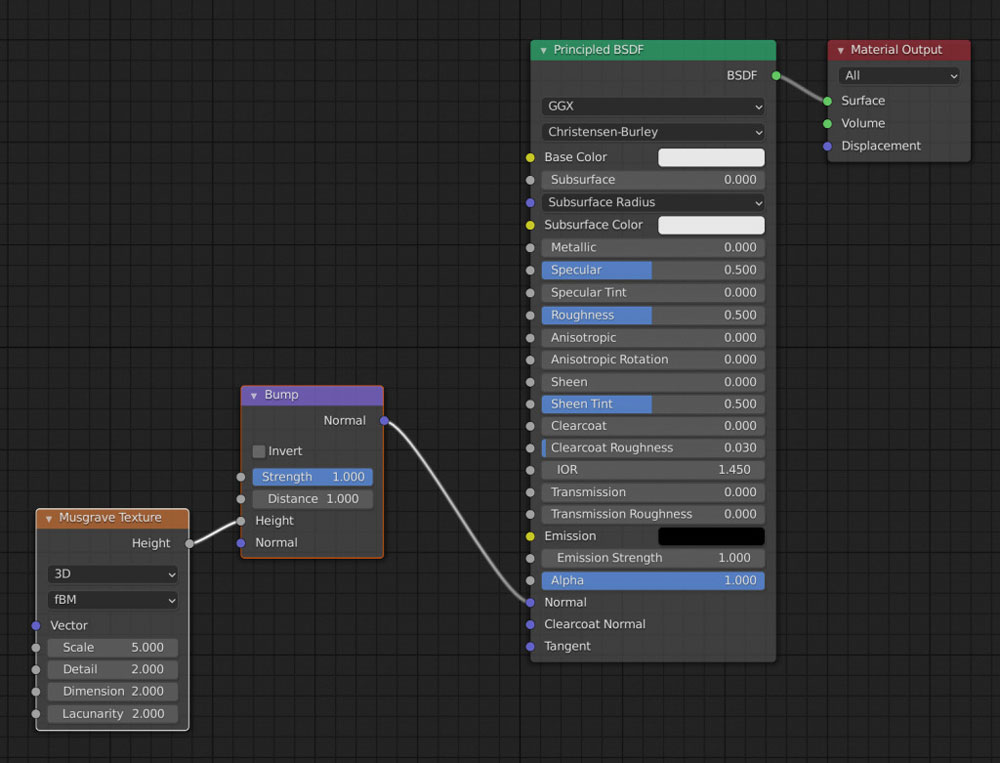
The shadows move by the unevenness of the imaginary surface. If you move to the Shader Editor, you can see that nodes like the one below are generated automatically.
It is easier to understand if you add an Image Texture node to the Base Color of the Principled BSDF and specify the material’s texture. The wrinkles in the material are obvious.
The author uses the Musgrave Texture for the Bump, but you can use any image texture by converting it to an Image Texture node.
Expressing unevenness with a Normal mapping
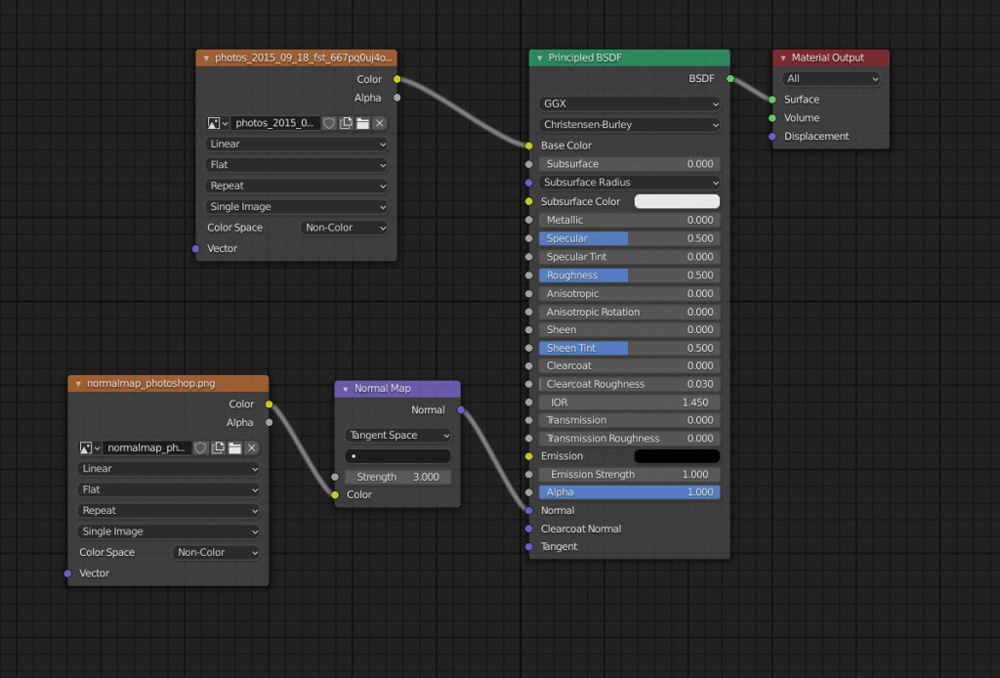
The normal map will be created in the Shader Editor.
Based on the node mentioned in the Bump Mapping section, change the node connected to Normal in the Principled BSDF from Bump to Normal Map, then connect the Image Texture node to the Color of the Normal Map node.
Set the normal map image and the Color Space to “Non-Color” from the Image Texture node’s folder icon.

Normal Map mode
As in the Bump Mapping section, it is easier to understand if you add an Image Texture node to the Principled BSDF’s Base Color and set the original image texture.
Setting the Image Texture to Base Color
Bumps and bumps can be seen more clearly
Whether you use Bump mapping or Normal map, the results are excellent.
iRender - The Best Render Farm Provides RTX 4090 for rendering Blender Projects
iRender is proud to be one of the best GPU service providers on the market. You can find a lot of options suitable for your Blender project. iRender offers from 1/2/4/6/8 RTX 4090s and 8 RTX 3090 servers. In addition to offering powerful configurations, all servers at iRender are also equipped with AMD Ryzen™ Threadripper™ PRO 3955WX @ 3.9 – 4.2GHz or AMD Ryzen™ Threadripper™ PRO 5975WX @ 3.6 – 4.5GHz, 256GB RAM, 2TB Storage NVMe SSD. The high-end configuration is extremely suitable for complex Blender projects. Right now, we have pre-installed Blender 4.1 option when you create a machine, it means you won’t take time to install software.
Let’s see how our RTX4090 performs when rendering with Blender scenes:


Besides, we also have flexible prices for all small to big projects. You can check out this video to estimate the cost with us:

This month, we have a HOT DEAL: iRender’s 5th birthday. You will receive 100% BONUS for all transactions from 1500$ and 50% bonus for all transactions from 230$ from 10th June to 24th June 2024. Don’t miss out!!

Try our RTX 4090 machines and boost your rendering now! If you have any comments about our article, please do not hesitate to reach us at [email protected] or Whatsapp: +(84) 916017116.
iRender – Happy Rendering!
Reference source: Rentalfop
Related Posts
The latest creative news from Blender Cloud rendering.