3D Modeling and Styling Realistic Hair in Daz Studio
Let’s talk about a notoriously difficult topic in 3D modeling realistic hair in Daz Studio. There are tons of reasons why hair is so difficult to get right. For starters, just one head of hair is a collection of about 100,000 individual strands of keratin! Each strand works together—or against each other—to create an attractive style or a bad hair day. Not only that, there are so many different kinds of hair—hair colors, shapes, textures, fizziness, straightness, curls. You get the idea. Hair is a big part of how a person appears, so when it comes to creating 3D characters, this is something you want to get right!
3D Hair in Daz Studio
We understand hair can be a source of frustration. It is important to realize that hair is an extremely difficult part of creating realistic 3D models. In fact, many artists will spend as much time making the hair as they might the entire character figure, if not more for truly detailed, realistic hair. Sure, some characters come with a hairstyle or two, but for the most part, it is up to you to find hairstyles you like that are designed to be compatible with those models.
There are hundreds of beautiful, stunningly realistic options to choose from on Daz’s marketplace. There is a high chance that one of them will capture the vision you had in mind when you choose your character. But, you may want to learn and get better at creating your own 3D models. Did you know that Daz Studio has a totally free, built-in feature just for creating hair? If not, this guide is for you as we take a deeper look into 3D modeling realistic hair right in Daz Studio!
Understanding Hair
Before we get into the studio, let’s take a deeper look at hair and some important theory ideas that will help you recreate hair as a 3D artist. Cosmetologists become familiar with something most refer to as Hair Section Theory. While hairstylists often use this theory to help them cut hair, it can be useful to understand how to style hair that looks good and natural in 3D.
The basis of Hair Section theory splits a head of hair into sections. There are many videos on YouTube that do a great job explaining this theory and where each section is located on the head. The idea is to be aware of each section of hair. 3D is a reflection of reality in a digital world, so why not mimic real stylists in how you design your digital hair? Keeping track of these sections, and working in these sections will help encourage a more natural look in your final render!
When we start working in Daz studio, you will see how having a basic understanding of hair sectioning theory can be extremely helpful, especially in designing female hair or more complex hairstyles.
Studying Reference Photos
As you start practicing making hair, don’t be afraid to look for references. Even professional artists and animators use references. It is by far the best way to ensure that your 3D art stays as true to life as possible, and is a key to creating realistic work. You could never spend too much time studying references and recreating what you observe to the best of your ability!
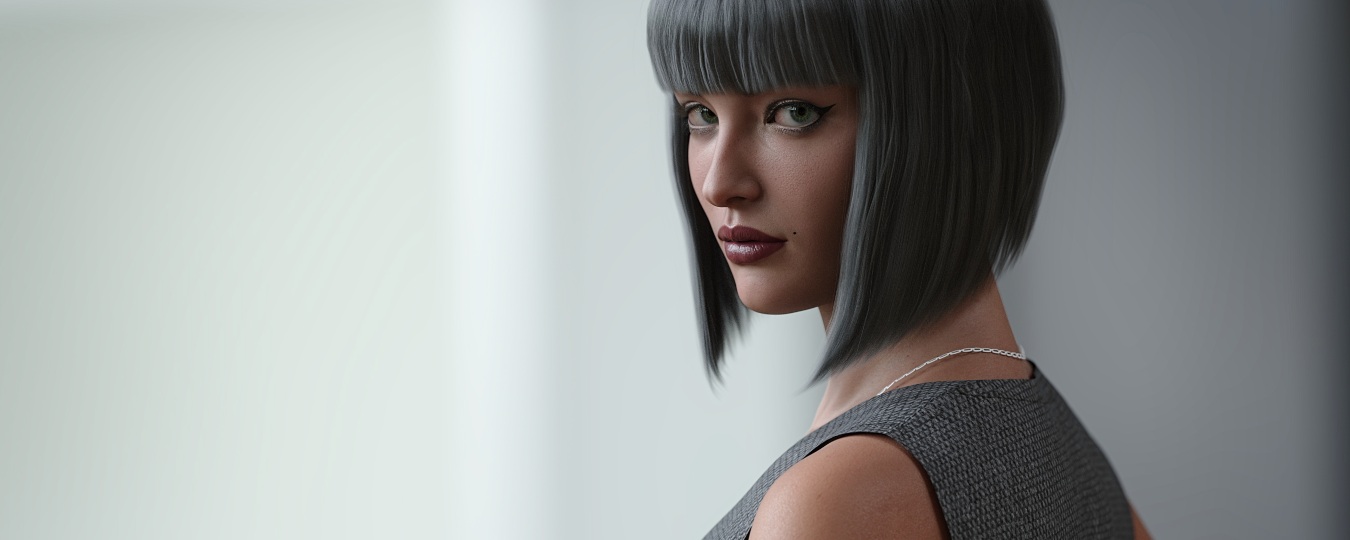
This is a photo in Daz Gallery, rendered by LaMuserie, and will use it for demonstration purposes.
In this simple exercise, examine your reference hairdo and draw over it two to three times. In the first drawing, simply trace the overall shape of the hair. Think of this as the base layer of the hair. In the next drawing, examine the direction, movement, and shape of the smaller, more individualized clumps or groupings of hair. Notice how they move and play within the greater shape you traced previously.
Think of it like water cascading over a cliffside. Which way does the waterfall flow? How does the hair react when it reaches the shoulder? And lastly, the most detailed drawing is looking at the more precise shape of the finer details—braids, curls, etc. Depending on how detailed the hair is, you may or may not want to draw the third level of detail. Keep these basic shapes in mind as you get started. You can refer to these shapes as guidelines to help you stylize your own model’s hair.
Strand Based Hair in Daz Studio
There are a number of 3D modeling programs that many artists use to create hair and even the entire model. If you have access to these industry-standard tools—awesome! Using them surpasses the scope of this tutorial, though there are many great tutorials about how to use them. One feature of Daz Studio that need to be highlighted today is Strand Based Hair. The unique thing about this tool is 1) it’s totally free and already built in to Daz Studio, and 2) you don’t have to have a lot of experience making 3D models to get results.
Now, that said, the strand-based hair system is not as comprehensive as simply creating it from scratch. So, while it is more accessible to beginners, it is also going to be a little more limited in scope. Basically, with this tool you will be able to manipulate a series of sliders and tools to help get a desired effect. If you want to give this tool a try, start by opening Daz Studio and loading in a figure.
With your character selected in the scene tab, navigate to Create > New Strand Based Hair. A dialogue box will appear allowing you to name the strand-based hair you are creating, but you can just click accept and use the default name if you like. Next, a dialogue box will appear explaining that this system can be heavy on performance for older systems. Because of this you can select normal or low. If you don’t have a newer graphics card installed you may need to select low.
Inside the Strand-based editor you will see the window for previewing your character and hair, six tabs along the top (setup, paint, distribute, style, clump, and tweak) and workspace and global settings to the right. You will use each of these tabs consecutively to create your hair.
In some instances, the viewport in the editor may load entirely black. If this happens, an easy fix is to click on Graphics Settings at the bottom left of the editor. Toggle between low and normal a few times to ensure that your graphics card loads properly. After doing this several times, the card should load and start displaying properly within the editor.
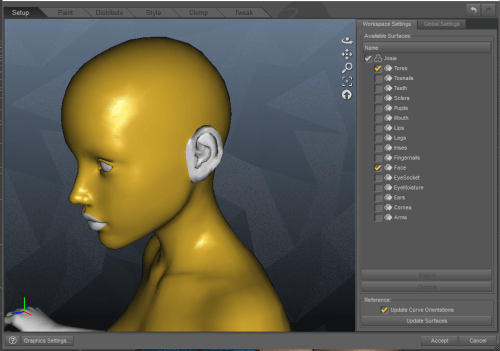
1. Setup
Now that you are in the editor, on the first tab, Setup, you will be telling the editor where you will be applying the hair. With this system you can create body hair on any part of the body—excellent for facial hair and adding other detail to a character. For the sake of the tutorial, we will be selecting the face and torso. This will of course select more of the body then we need, but have no fear, we will address that in the next section.
2. Paint
Once you are ready, simply click on the next tab, Paint, to continue the process. You will now see a wireframe-style view of the part of your character that you selected previously. In this step, we will be painting onto the model precisely where we want hair to grow from on our character. You will hold the Left Mouse Button to do this. You can also hold the ALT key and click + hold LMB to erase.
On the right workspace, you can use the settings to customize the size and intensity of the brush to help you more precisely paint where you want the hair. The denser the brush, the thicker the hair which will be placed.
Whatever brush settings you prefer, make sure you set Symmetry to Symmetry U. This will ensure that whatever you do on one side will also be done on the other side of the head as well. As you will soon see, there are other tools that you can use to create the style. This is simply making sure that you have hair available where you need it, and that it looks even and realistic!
3. Distribute
This is where you can set the density, or how thick, your character’s hair is going to be. In most cases, I would suggest making sure you err on the side of thicker, to help avoid show through when you render. This can be performance intensive, so ultimately you will have to find the right balance for what looks good in your render but doesn’t overtax your system’s performance.
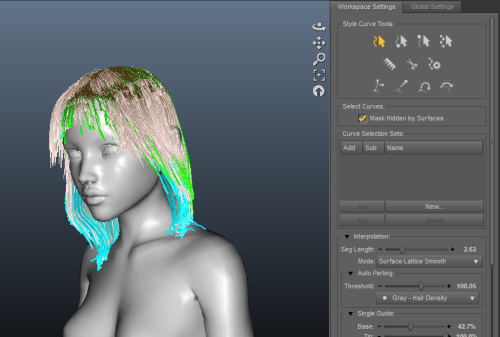
4. Style
This is where the magic happens, and, arguably the tab you are going to stress over the most. You have a number of tools available in the Workspace Settings panel. The most valuable are right at the top: Style Curve tools. The first four tools are selecting tools. You can select the entire curve (hair strand) or just the tip, just the root, and so on. The comb tool, first tool on the second line is a quick and easy way to control and shape the hair. Like a real comb, it pushes hair down and straightens it out. The bottom row of tools help you manipulate curves by extending them, curling them, and bending them.
You should test each tool to get a feel for what it does. No worries, you can use the back arrow located in the top right of the screen to undo anything you do during this testing phase. Once you feel like you have a feel for things it’s time to start creating Curve Selection Sets.
Creating these sections will help you style and manipulate the hair. Once you are done, scroll down in the Workspace Settings Panel until you see Show Hair. Checkmark this to see the strands of hair. Then select the Extend Curves tool, and one or more of your Curve Selection Sets. With the extend tool you can left click, hold, and drag side to side to shorten or extend the hair. Once you have a length you like, use the comb and other tools to start shaping it the way you like. Refer to your reference often for shape and movement. The main reason these sections are so helpful is because not all hair is the same length, especially in the case of bangs.
Take your time and carefully work each section. Once you like the shape, you may need to make smaller selections to help style and create movement in the hair. Take your time, and remember you can always undo any mistakes.
5. Clump and Tweak
The final tabs, Clump and Tweak are excellent methods for adding a final touch of realism to the hair. Explore each slider and see what it does to the hair. You can affect the clumps. Or groupings of hair, as well details like fizziness in these sections. Use these tabs as little or as much as you need to produce end results you are pleased with!
Hair Shading with Surfaces
You may have noticed that you can tweak the color of the hair within the Strand-Based Hair editor, however this only changes the color of the hair within the editor. This could help you visualize what the final image will look like, but ultimately, don’t worry about it. You will use the Surfaces tab to select the color of your hair.
Once you have closed the strand-based hair editor, navigate to the surfaces tab, with the hair still selected. Select the strand-based hair object, or whatever you named it. Now you have a wide variety of options to choose from to further tweak the look of the hair. You can select base colors, root colors, highlights, and more. I went for a more natural look but you can do whatever you need for your render!

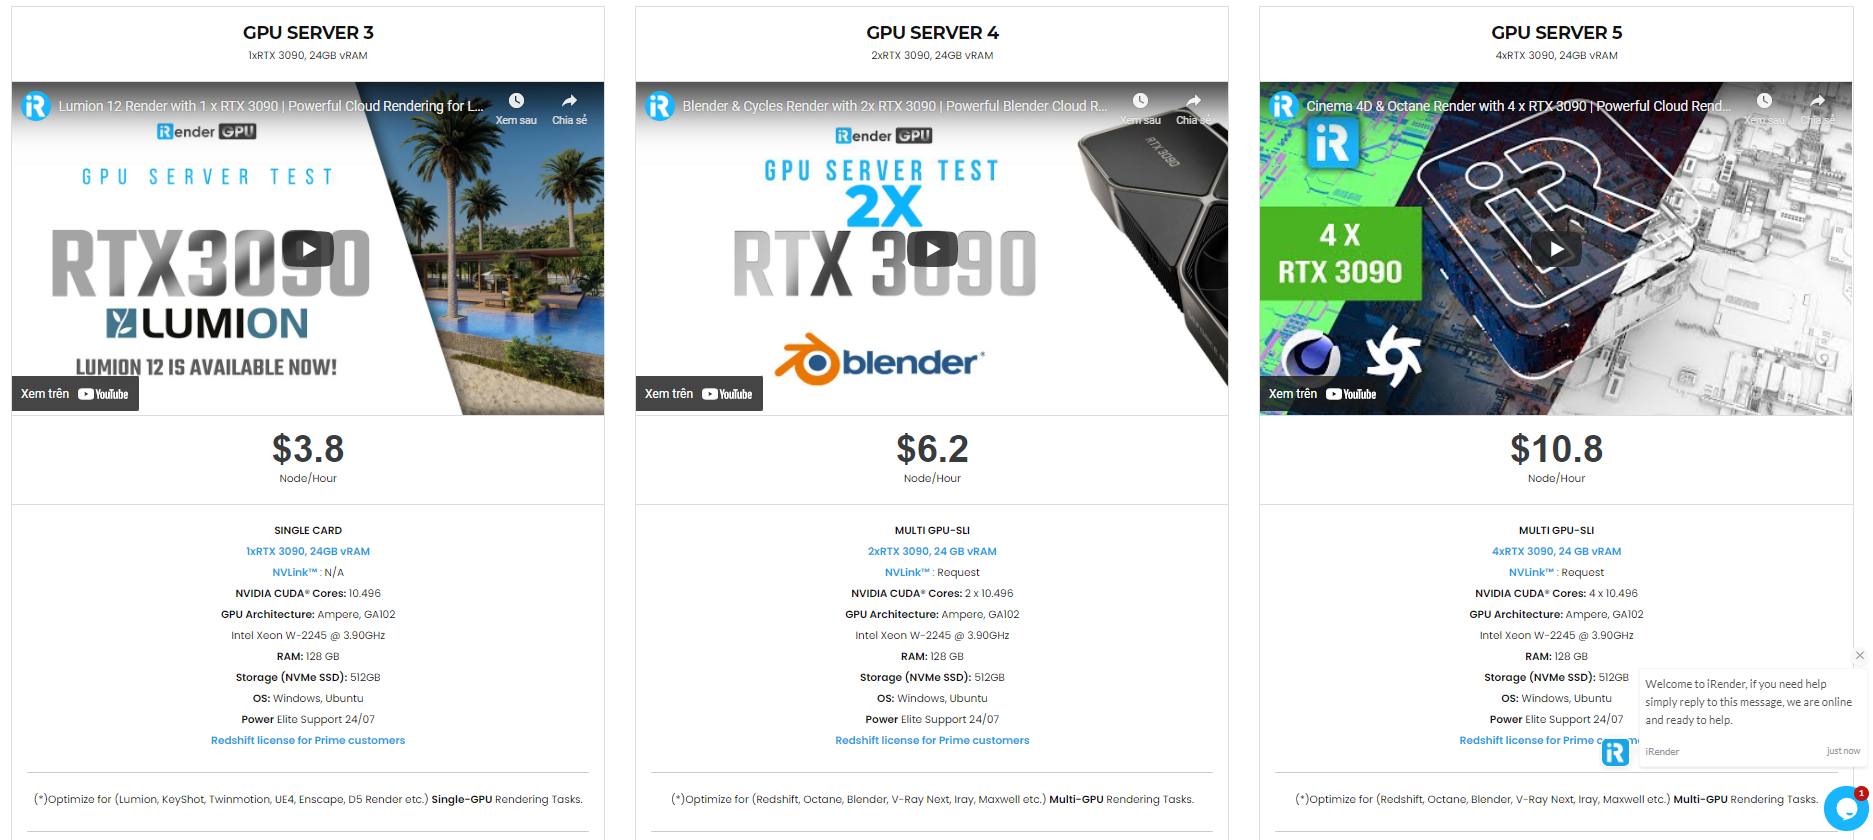
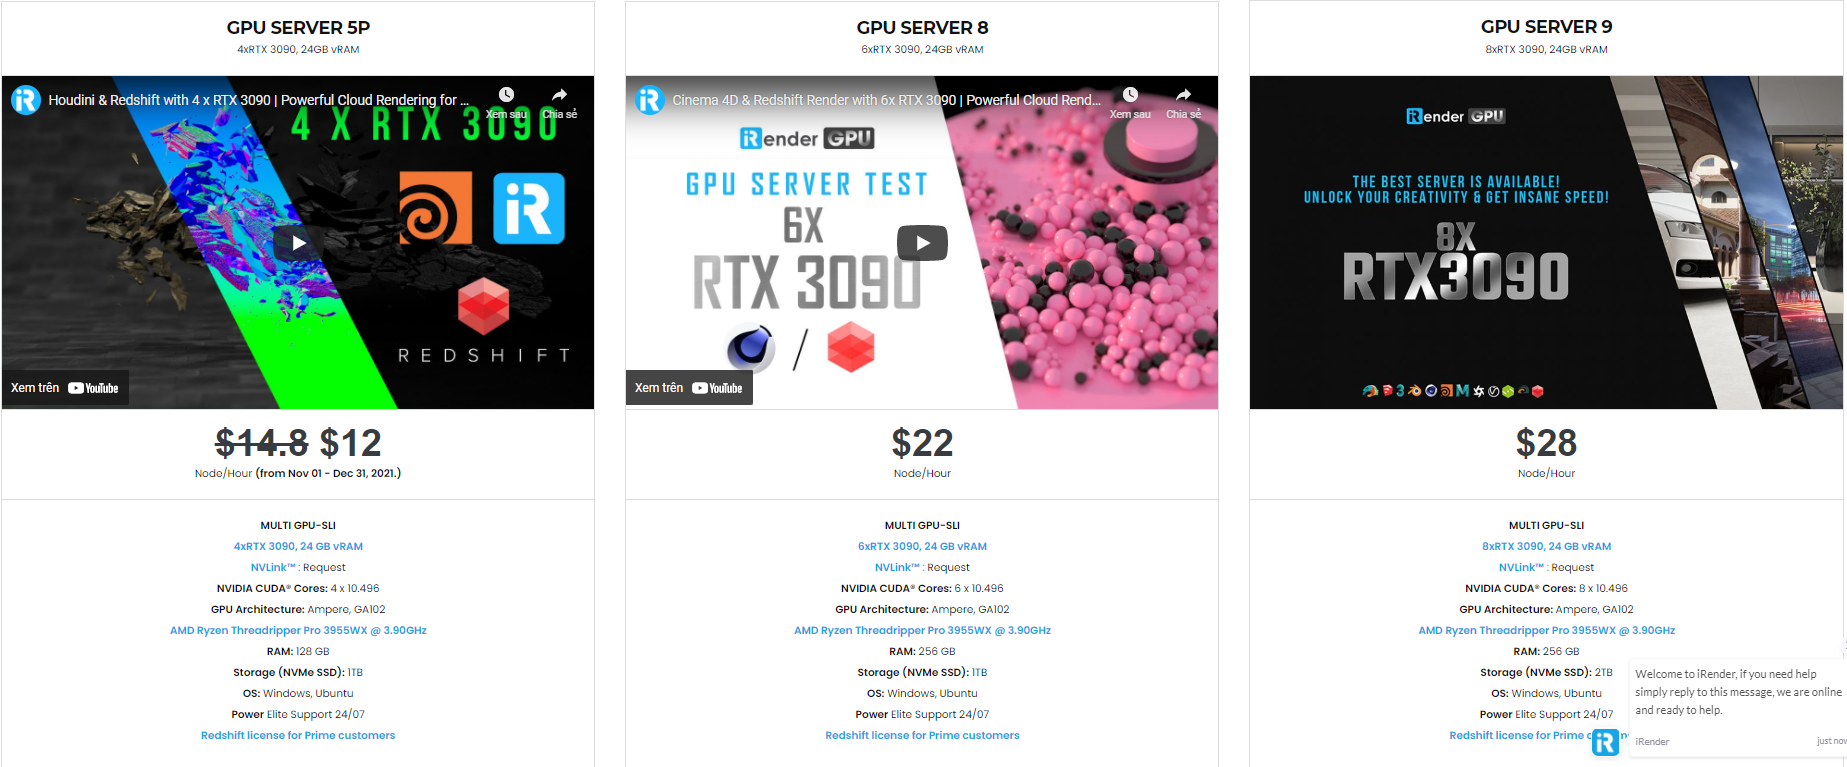
The professional cloud rendering service for Daz 3D
iRender is a GPU-Acceleration Cloud Rendering Service for Multi-GPU Rendering with Powerful Render Nodes: 2/4/6/8x RTX 3090. iRender provides High-performance machines for GPU-based & CPU-based rendering on the Cloud. For Daz 3D users can leverage the power of single GPU, multi GPUs to speed up your render time. Users can easily choose their machine configuration from recommended system requirements to high-end options.

Why iRender?
Reasonable price (lots of bonus)
You will be charged on a per-minute basis. However, you can always save up to 20% with our Fixed Rental feature. For those who are in need of the server for more than a day, or have extremely large projects, we advise choosing daily/weekly/monthly or even yearly rental packages. The discount is attractive (10% for daily packages, 20% for weekly and monthly packages)

Real human 24/7 support
Our support is always online 24/7, helping you to handle the problem quickly, effectively, saving you both time and money.
Conclusion
If you have any questions, please do not hesitate to reach us via Whatsapp: +(84) 972755742. Register an ACCOUNT today and get FREE COUPON to experience our service. Or contact us via WhatsApp: +(84) 972755742 for advice and support.
iRender – Happy rendering
Source & pictures: Daz3Dblog
Related Posts
The latest creative news from Daz3d Cloud Rendering, Redshift Cloud Rendering, Nvidia Iray Cloud Rendering , Octane Cloud Rendering, 3D VFX Plugins & Cloud Rendering.