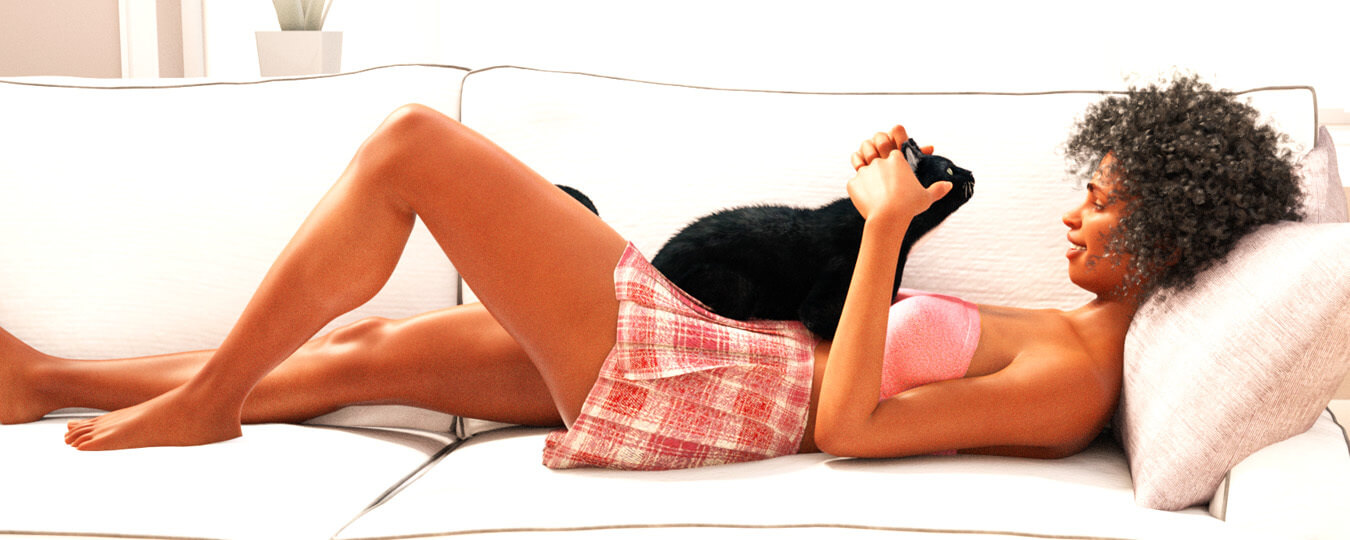
5 Tips for Skin Texturing Real-time Characters with Daz3D
When it comes to creating a realistic 3D character for real-time use, don’t overlook the importance of skin texturing. Especially if hyper-realism is your goal. A 3D character with low-resolution skin can look flat, lifeless, and sometimes downright fake.
Here are top 5 tips for skin texturing real-time characters with Daz3D, intended to help beginner and intermediate artists explore new technology, software, and ultimately, creative possibilities.
Tip #1: Use Professional Resources And Photo References
This may seem obvious to veteran artists, but as a beginner, it can be easy to overlook the importance of good human references in 3D art. Not only that, some beginning and intermediate artists may not know what resources are available and how they can help them. If you are texturing a stylized model, then it is easy for many artists to create the textures by hand using digital art software or programs like photoshop. This would be very difficult to do convincingly well for realistic models, however.
The best way to skin texture real-time characters with hyper-realism is to take advantage of high-quality reference images.
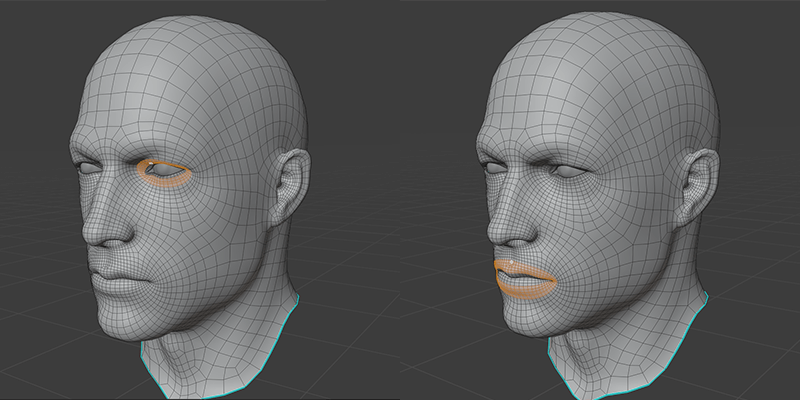
Tip #2: Modeling And Sculpting Affects Skin Texturing
At a professional level, it is not uncommon for an artist who specializes in skin texturing to not be the person who actually creates the model. In many situations, however, you are likely performing all stages in the creation pipeline. Being mindful of topology is extremely important in skin texturing, especially the polygons directly around the mouth and eyes. Imagine the colorization of the character’s lips bleeding into the skin immediately around them. Suddenly your character may look like they had a little too much juice to drink.
These are areas where the topology is often most pronounced on the face. The areas around the eyes feature pronounced recesses and indentations within the face that will certainly affect how the face is lit and appears to the viewer. The same is true for the lips, particularly the lower lip, which often protrude prominently from the skin of the chin. To apply the skin textures properly and avoid strange colorization effects where the topology and texturing don’t align flawlessly, maintaining clean topology is crucial.
Tip #3: Project Skin Details In Substance Painter
Using a program like Substance Painter can greatly improve your quality of life while skin-texturing characters. Substance Painter allows you to “paint” textures directly onto a mesh. It also features a Projection tool, which can be invaluable as well. This process allows you to project the skin details from your reference image directly onto the model. You can adjust the projection to best match the topology of your face.
While it is common with stylized characters to UV unwrap a model, you may find a projection-based method to be much easier for skin texturing hyper-realistic characters. You can then bake the high-resolution details into the low-resolution mesh, preserving the realism while also taking advantage of low-res geometry, which is more suitable for real-time use.
Tip #4: Create A Bump Map
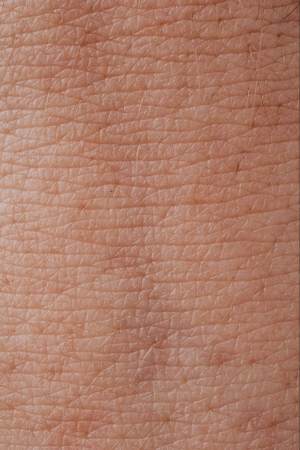
Take a moment to study your own skin closely. You will see that skin is not perfectly smooth, even if we like to think it is. In most cases, the microbumps that cover our skin are so small, we simply can’t feel them with our fingers!
It would be impractical in any situation to try and replicate these tiny bumps in your mesh, so make sure you create a bump map. These bumps and pores are very subtle, so you won’t want to overdo it, but including a detailed bump map will help your characters jump to life for viewers.
If your model is going to be viewed close up, then including a bump map that replicates the quality of skin your character has will help improve the fidelity of your design.
Tip #5: Add Veins, Imperfections, And Other Base Elements
Another great way to add subtle detail and realism is to create a subdermal base beneath the skin. This includes blue veins, and redness to mimic muscle and tissue. If you are using a program like Substance Painter, this can be painted on first, with your diffuse color or skin texture going on above it. Subtly revealing the subdermal layer will immediately transform the appearance of the skin.
It’s important to remember at this level of detail, nobody is perfect, and this should also be the case with how you approach skin texturing. Avoid perfect symmetry, and don’t be afraid to add freckles, splotches, and other imperfections.

The professional cloud rendering service for Daz 3D
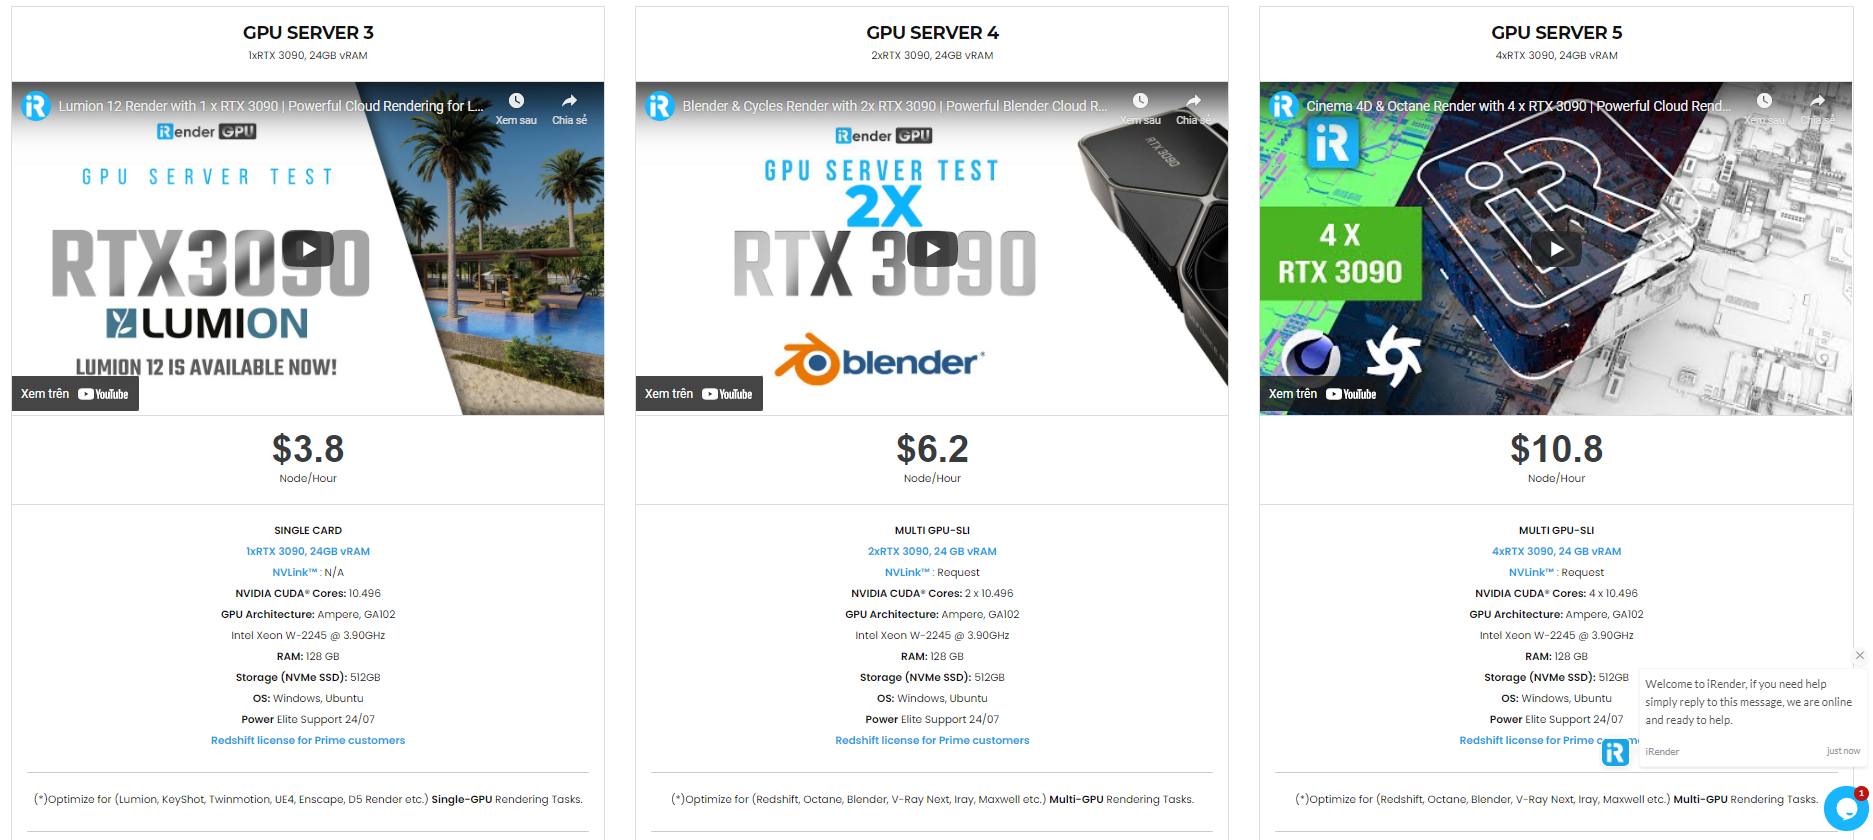
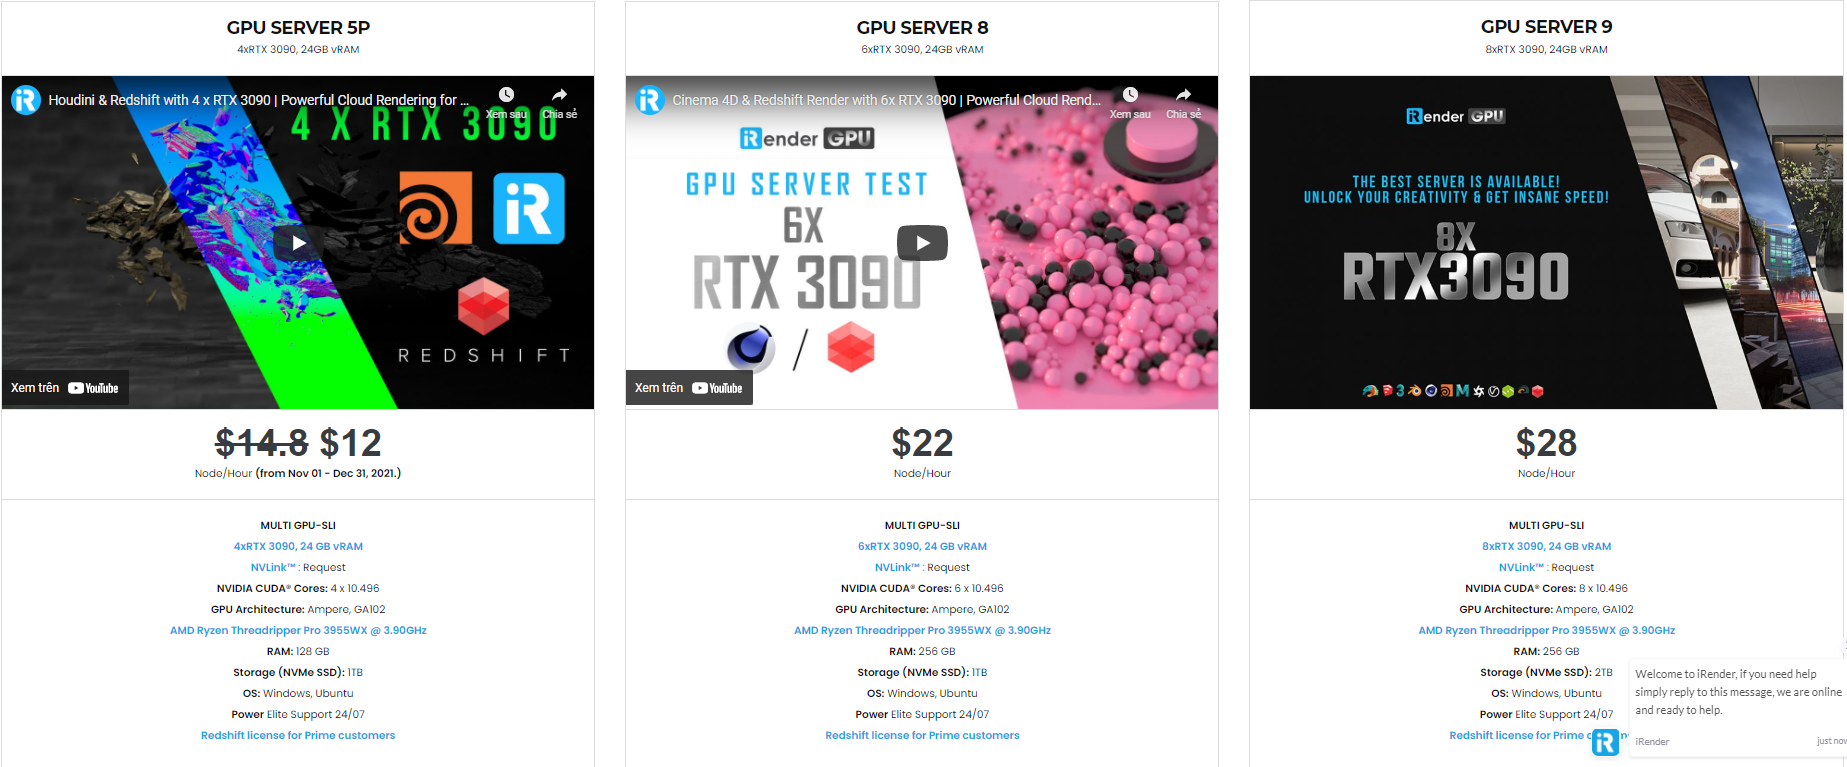
iRender is a GPU-Acceleration Cloud Rendering Service for Multi-GPU Rendering with Powerful Render Nodes: 2/4/6/8x RTX 3090/3080/2080Ti. iRender provides High-performance machines for GPU-based & CPU-based rendering on the Cloud. For Daz 3D users can leverage the power of single GPU, multi GPUs to speed up your render time. Users can easily choose their machine configuration from recommended system requirements to high-end options.

Why iRender?
Reasonable price (lots of bonus)
You will be charged on a per-minute basis. However, you can always save up to 30% with our Fixed Rental feature. For those who are in need of the server for more than a day, or have extremely large projects, we advise choosing daily/weekly/monthly or even yearly rental packages. The discount is attractive (10% for daily packages, 20% for weekly and monthly packages)

Real human 24/7 support
Our support is always online 24/7, helping you to handle the problem quickly, effectively, saving you both time and money.
Conclusion
If you have any questions, please do not hesitate to reach us via Whatsapp: +(84) 972755742. Register an ACCOUNT today and get FREE COUPON to experience our service. Or contact us via WhatsApp: +(84) 972755742 for advice and support.
iRender – Happy rendering
Source & pictures: Daz3D blog
Related Posts
The latest creative news from Daz3d Cloud Rendering, Redshift Cloud Rendering, Nvidia Iray Cloud Rendering , Octane Cloud Rendering, 3D VFX Plugins & Cloud Rendering.