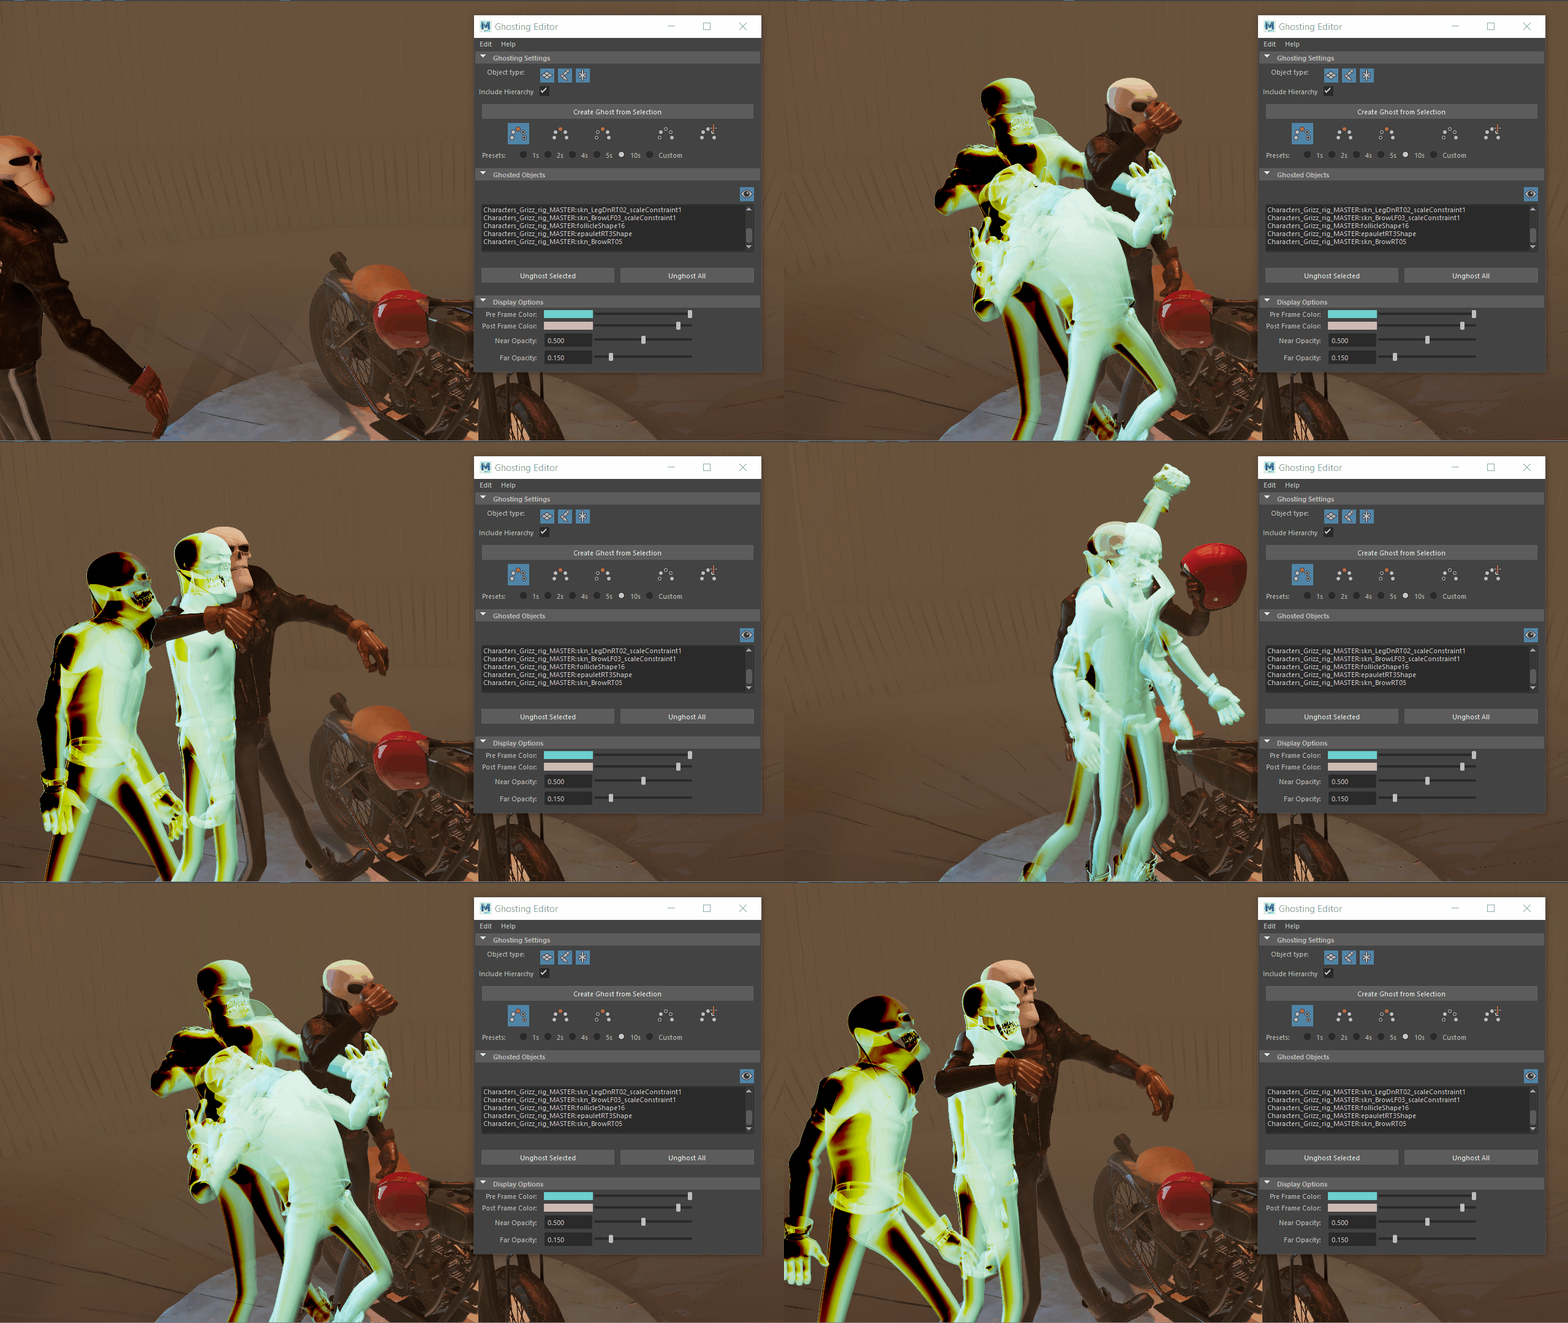
Create an impressive scene of ghosts with the Ghosting Editor in Maya
In animation, artists always have to pay attention to editing layers, visual effects, and shading, especially with 3D objects and models. Maya is an advanced software that helps create 3D interactions in cinematography, in animation and is used flexibly and creatively by users. It is impossible not to mention the 3D editing tool Ghost Editor in Autodesk Maya visual effects software. The Ghost editor allows you to create animated reflections, helping you visualize the movement and position of animated objects over time.
How useful is this tool, let’s explore the way to create an impressive scene of ghosts with the Ghosting Editor in Maya in today’s iRender blog!
Understanding Ghost Editor
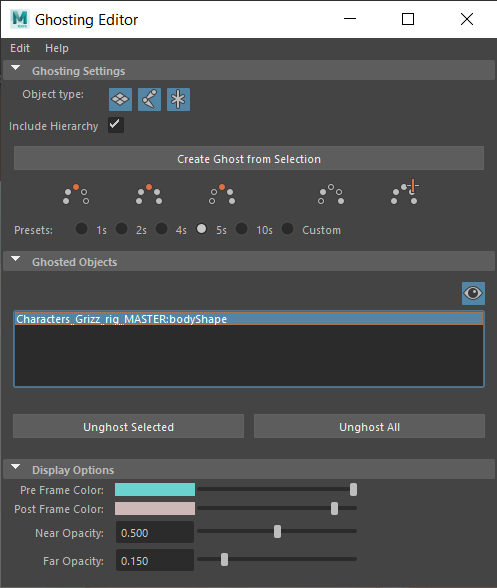
Image Source: Autodesk Documentation
In Maya, a “Ghost Editor” typically refers to a feature or tool within the software that allows animators and artists to simultaneously display multiple frames of an animation sequence, enabling them to visualize the motion and timing of animated elements more effectively. This can be especially useful for refining complex movement or coordinating the timing of different elements within a scene. The ghosting editor essentially creates translucent or “ghosted” representations of previous and upcoming frames, providing valuable reference points for animators as they work on their scenes.
Modify scene ghosts in Maya
To apply ghosts to the elements in the scene
Firstly, you will need to select Visualize > Open Ghosting Editor in the Animation menu set. Then, the Ghosting Editor opens.
In the Ghosting Settings area, select which Object Types to which you want to apply Ghosting: Geometry, Joints, or Locators. Activate Include Hierarchy if you want the entire rig hierarchy included in the Ghosting preview.
Secondly, you click Create Ghost from Selection and the Ghosted Objects list is populated.
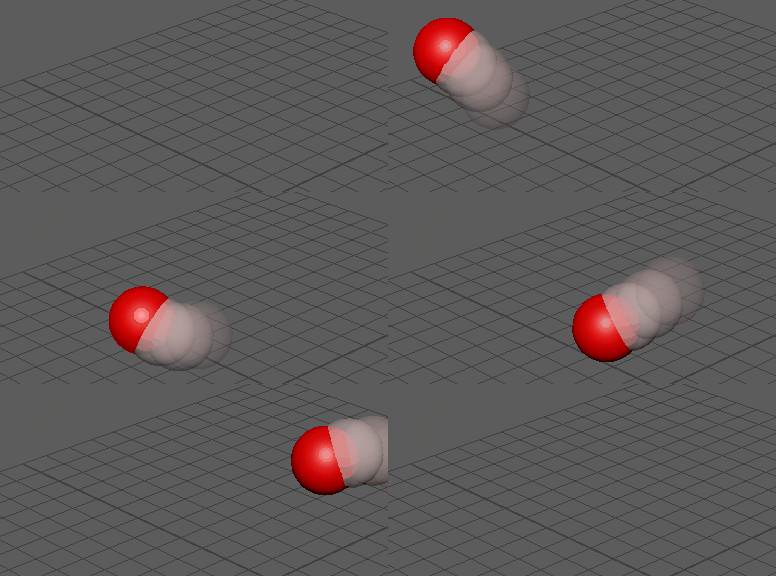
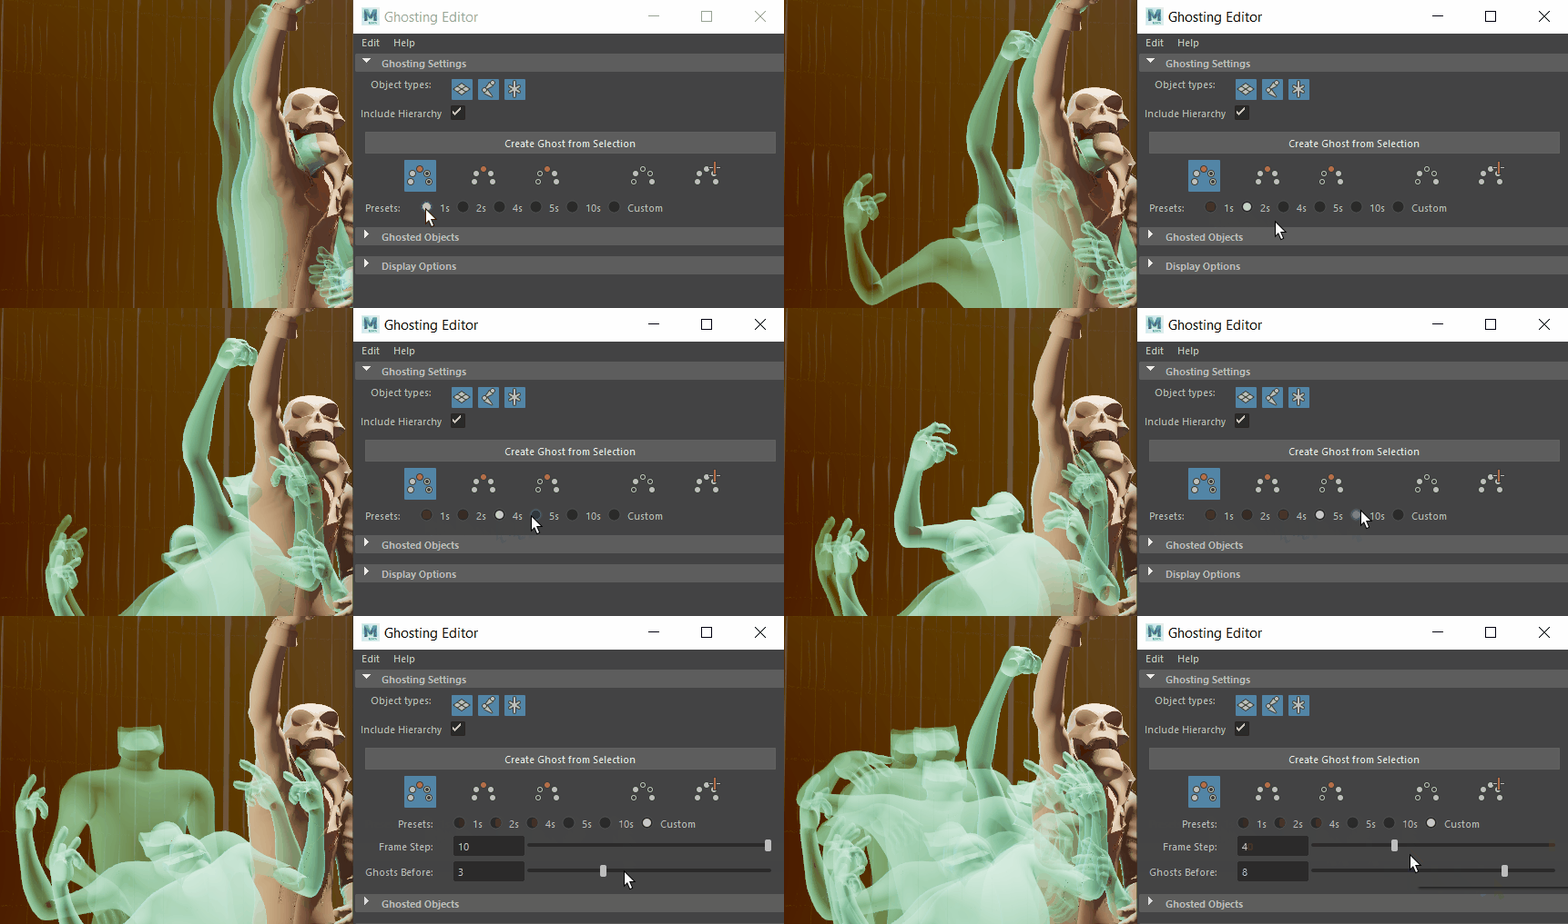
Select how you want the Ghosts to display, such as before, after, or before and after the animation using the Ghost options, as well as if you want the Ghosting to appear after every frame, every second frame, every fifth frame, and so on, in the Frame Step area.
To drive ghosting with another object
With the following MEL script, set an object to be the Ghost driver in the Node Editor: connectAttr <driver>.msg <ghost>.ghostDriver
(Where <driver> is the object you want to drive Ghosts.)
In the Ghosting Editor, please select Ghost Key Frames.
Click the Use Ghost Driver option that appears below Ghost Key Frames to replace the ghosted keys with keys from the chosen object in the Node Editor.
To change the color and the transparency of the scene ghosts
At the bottom of the Ghosting Editor, in the Display Options, double-click the color tile to open a color window, where you can set a color. Click away from the color window in the UI to close it.
And to change the transparency of the scene ghosts, at the bottom of the Ghosting Editor, in the Display Options, move the slider for the Near or Far Opacity settings.
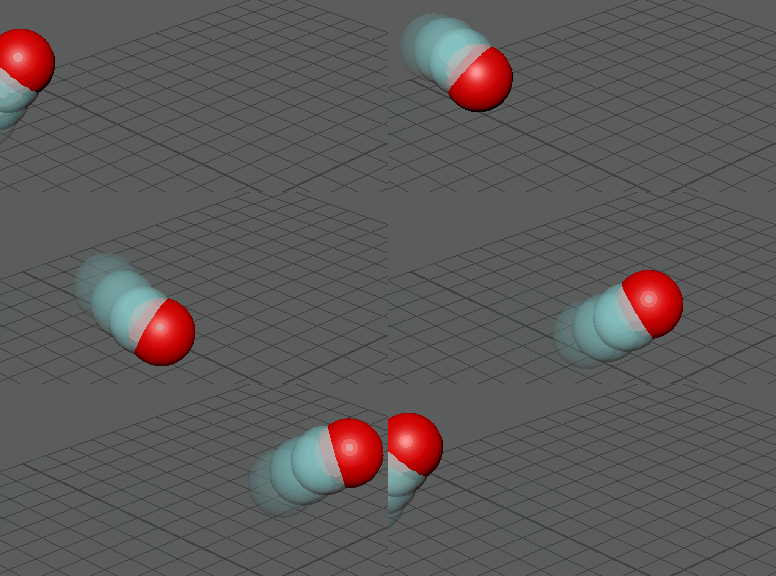
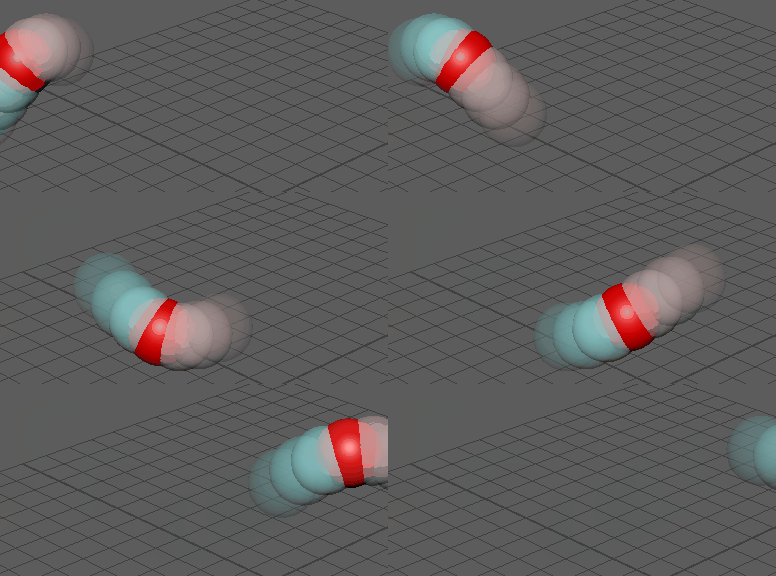
Ghost Editor Opacity Settings:
- A) Near set to 100 and Far set to 5,
- B) Near set to 5 and Far set to 100.
The Near Opacity percentage lets you set how visible the ghosts are close to the ghosted object, and the Far Opacity settings let you increase or decrease how visible the ghosts are further away from the ghosted object.
Ghosting Settings
These filters let you include or exclude specific components from ghosting.
Note: This filter applies before creating the ghost and will affect any subsequently created ghosts. That is, if you have ghosts created and adjust the filters, it will have no effect on existing ghosts but will apply to any ghosts that are created next.
Once components are selected in the scene, click Create Ghost from Selection to apply ghosting to them. Click the icons to set how the ghosting effect appears in the scene. There are some types of Ghost Mode as below:
Ghost Before:
This applies ghosting to the frames leading up to the current frame of the animation. Use the Frame Step field to set the ghost spacing.
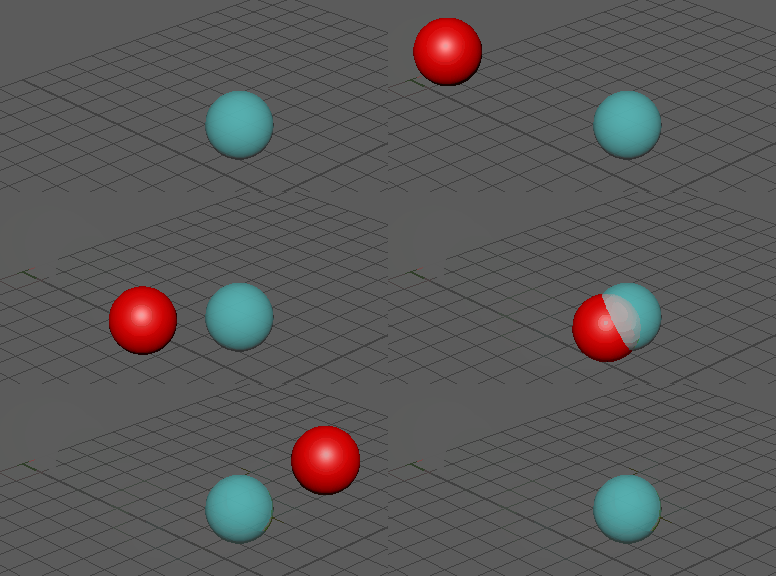
Ghost Before & After:
Applies ghosting to the frames leading up to and following the current frame of the animation.
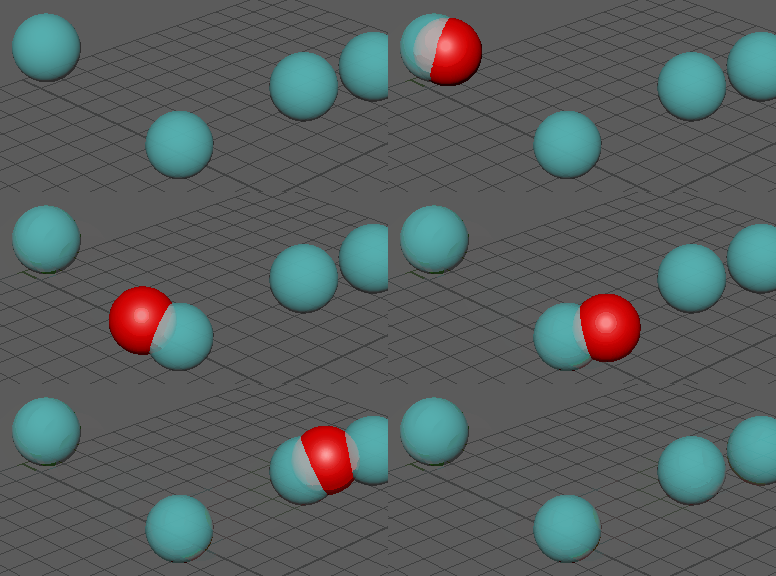
Ghost After:
Applies ghosting to the frames following the current frame of the animation.
Ghost Custom Frames:
Applies ghosting to specific frames of the animation.
- Clicking this icon replaces the Frame Step field with the Custom Frames field, where you can enter the frame numbers on which to display ghosts.
- Click Add Current Frame if you want to add the frame currently shown in the Viewport.
Ghost Key Frames:
Applies ghosting to each keyframe of the animation.
- Clicking this icon replaces the Frame Step field with the Use Ghost Driver option.
- Select Use Ghost Driver to use the keys from an object selected in the Node Editor to drive the ghosting of other selected objects.
Ghosting Presets
In Maya, ghosting presets are configurations or settings that determine how ghosting is displayed in the viewport. Ghosting in Maya refers to the feature that allows you to see multiple frames of animation simultaneously. The ghosting presets allow you to customize how many frames before and after the current frames are displayed, the color and transparency of the ghosted frames, and other visual properties. These presets can be particularly helpful when fine-tuning animation timing and motion, as they provide visual references for previously and subsequently posed frames. By adjusting the ghosting presets, animators can tailor the visual feedback to best suit their specific animation workflow and needs.
Wrap Up
The “Ghosting Editor” in Maya is a valuable feature that allows animators and artists to visualize multiple frames of animation simultaneously. Adjusting the ghosting presets enables users to customize the display of ghosted frames, providing essential visual references for refining animation timing and motion. This feature plays a crucial role in the animation process by helping artists refine their work and ensure that the movement and timing of animated elements are precisely executed.
iRender - The Best Cloud Rendering Support Maya
Maya often come with third render engines like Redshift, Octane, V-Ray, Arnold, etc.. Whether or not you use any of those render engine, you still can find a suitable package at iRender.
iRender provides high-configuration dedicated servers (physical computers/machines) specifically optimized for GPU rendering. Using our service, you will completely control the server(s) you rent through the Remote Desktop application. Therefore, you can customize your creative working environment as you wish. In short, iRender’s server is like your computer in the cloud accessible on any device instantly. You will use its full power for everything. iRender provides useful features to help you switch among the server’s configurations without having to reinstall anything. You can even run multiple servers simultaneously to speed up the renders, not having to re-install anything, either.
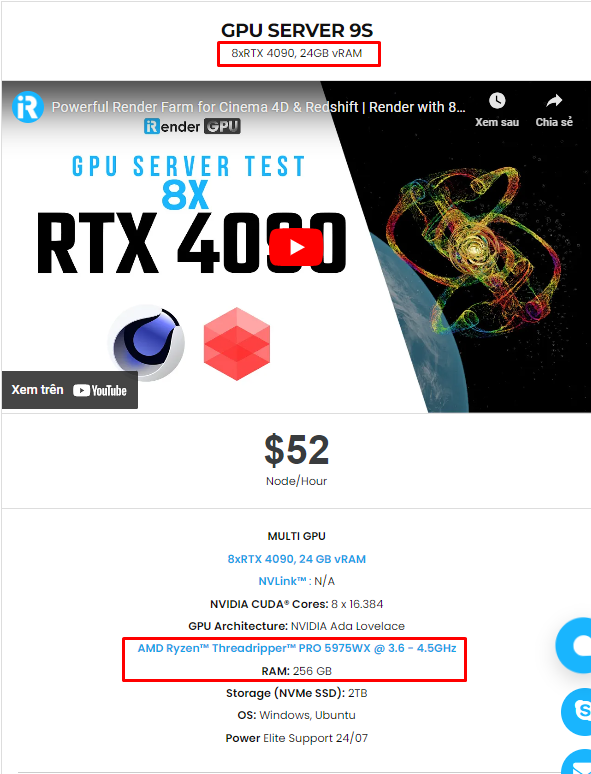
Recently, we have released our server 9S (8 card 4090). You can refer its configuration here. It is the iRender’s latest powerhouse server:
Check out the rendering performance in Maya on RTX 3090 servers.
Not only provide those powerful configurations, but you also have 24/7 support service via live chat with real humans who will support you whenever you encounter an issue.
Get the FREE COUPON to try our high-end computers for your Blender projects now! For further information, please do not hesitate to reach us at [email protected] or Whatsapp: +(84) 916017116.
iRender – Happy Rendering!
References Source: Autodesk Documentation
Related Posts
The latest creative news from Maya Cloud Rendering, Redshift Cloud Rendering, Cinema 4D Cloud Rendering , 3D VFX Plugins & Cloud Rendering.

