Essential Tips for Low Poly Scenes in Blender
Low poly modeling has gained significant popularity in the world of 3D art and animation, particularly in games, animations, and visualizations where performance and style are key considerations. This artistic approach emphasizes using minimal polygons, resulting in a stylized, often blocky appearance that can convey charm and simplicity. Blender, an open-source 3D creation suite, provides various tools and features that facilitate the development of low poly scenes. Whether you are a beginner looking to explore this aesthetic or a seasoned artist aiming to refine your skills, implementing effective techniques can enhance your workflow and the overall quality of your work.
In this blog, we will explore essential tips for creating captivating low poly scenes in Blender.
Reducing the complexity
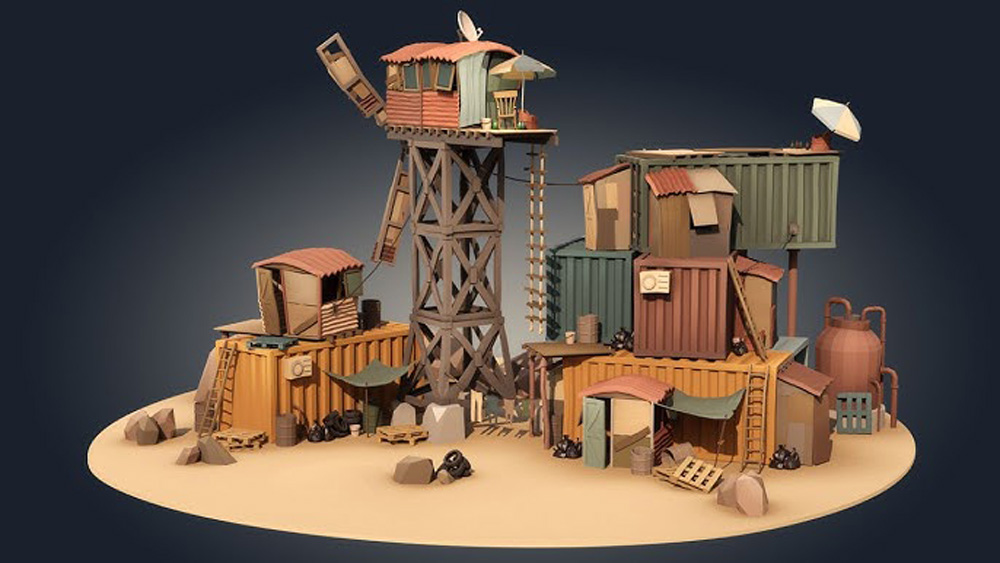
Image Source: Grant Abbit
When modeling, focus on basic shapes and silhouettes rather than intricate details. After creating a high poly version, you should apply the Decimate modifier to reduce the polygon count. Adjust the ratio until you achieve the desired low poly look while keeping the shape recognizable. If you utilize the Subdivision Surface modifier, keep the levels low. You can consider using the modifier on specific objects only when necessary, and apply it to retain the shape as a low poly model. Focus on quads (four-sided faces) or tris (three-sided faces) to create your models. This ensures that the topology remains simple and easy to manage, and for objects that are small and complex, consider merging them into a single mesh. There are two ways to decrease the number of objects:
- Use Ctrl + J to join selected objects together, minimizing the total object count.
- In Edit Mode, select vertices and use the “Merge by Distance” feature to eliminate any overlapping or unnecessary vertices.
Besides, you can change the shading mode of your model to Flat. You can do this by selecting your mesh, entering Object Data Properties, and enabling “Use Flat Shading” in the Normals section. This emphasizes the low poly aesthetic. Instead of using detailed textures, opt for solid colors or basic gradients. This minimizes the complexity of UV mapping and keeps the visual style simple and clean.
It would help if you hid collections you’re not working on to reduce clutter in the Outliner and viewport. Use high poly models to bake high-resolution details onto low poly models using normal maps or AO maps to give the illusion of detail without increasing geometry. By applying these techniques, you can effectively reduce complexity in Blender to create low poly scenes that are visually engaging and performance-efficient.
Tris and N-gons are well
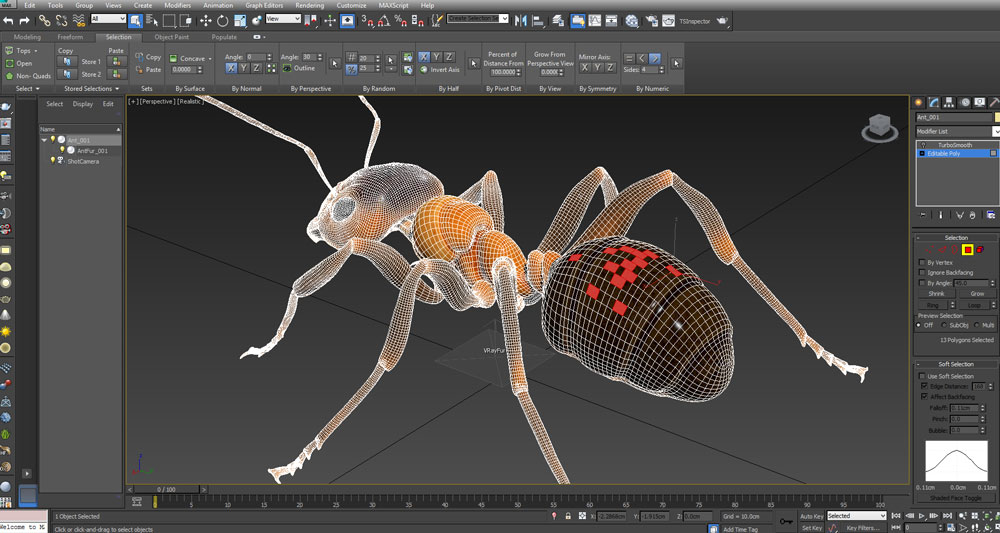
Image Source: (TurboSquid 3D Resources)
When creating low poly scenes in Blender, understanding the use of triangles (tris) and n-gons (polygons with more than four edges) is essential. Here are some tips for effectively using tris and n-gons in low poly scenes. Tris are common in low poly models due to their simplicity. They can effectively convey shapes without adding too much complexity. Using Tris can help create sharp, angular shapes that align well with the stylized look of low poly models. You should ensure that the normals are consistently facing outward to avoid rendering artifacts. You can select the mesh, go into Edit Mode, and recalculate normals by pressing Shift + N. If you plan to animate your model, try to limit the use of Tris in areas that will deform (like joints). Quads are generally preferable in these areas to ensure smoother deformations. When modeling intricate details on flat surfaces, using Tris can be beneficial. For example, you can create sharp edges or indents with carefully placed triangles.
About N-gons, while n-gons can simplify the modeling process and reduce polygon count, they should be used sparingly. N-gons can be useful for creating large, flat surfaces where curvature or deformation is not a concern.
Objects Count
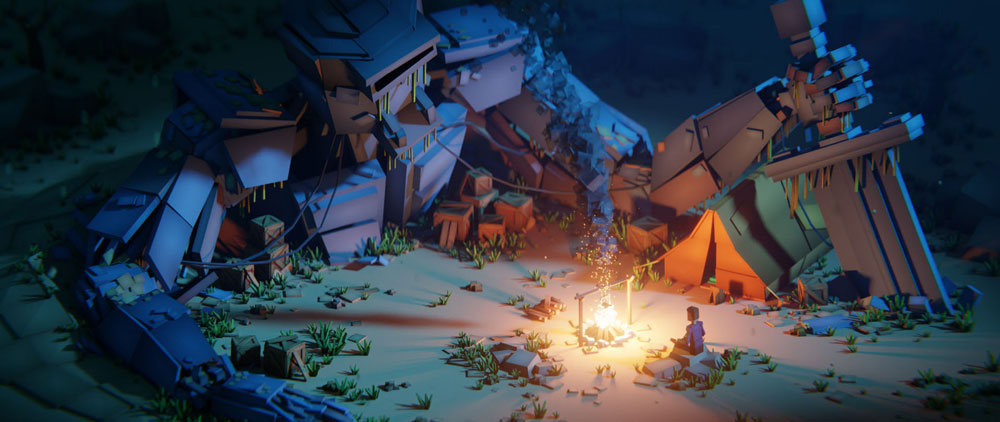
Image Source: CG Boot
The next tip is about the levels of detail it’s the object count of how many objects you have in the scene. Now a detailed scene like this has lots of different objects, books, and Potion bottles, and it can be a little bit time-consuming to produce those objects. It can sometimes be a little bit tempting to fill up the shelves with bigger objects so you don’t have to model so much. However, it’s important to have big objects in your scene like the planks in the wall as well as smaller objects, and you kind of break these bigger objects up. So finding the right balance which often comes from looking at lots of reference images is very important to getting a well-balanced good-looking scene.
If your objects require collision detection, use simpler collision models (like boxes or spheres) instead of complex meshes. This helps reduce the computational load. If your scene relies heavily on detail, consider baking lighting, shadows, and other textures into your models instead of relying on real-time calculations. Sometimes, fewer objects with strategic composition can create a more appealing scene than a crowded environment. Prioritize key visual elements.
Use Empties
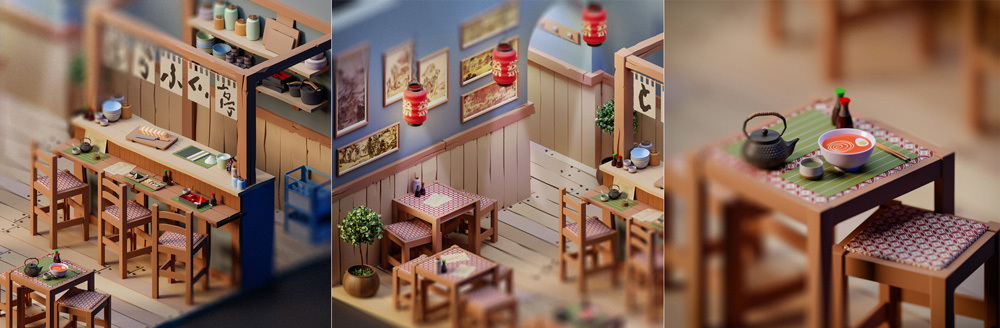
Image Source: 80lv
Using empties in Blender for low poly scenes can be an effective way to organize your assets, improve performance, and streamline your workflow. Use empties as objects for groups of related meshes. This allows you to move, scale, or rotate multiple objects together easily. Create collections for different groups of objects and use empties to represent those collections. For example, you can have an empty for all trees, another for rocks, etc. Instead of using high-poly models during initial layout and design, use empties as visual placeholders. This keeps the scene lightweight and responsive while modeling the layout. Besides, use empties to position and orient reference objects. This is especially useful for things like lights, cameras, or specific positions where you’d like to add detail later. If you’re generating terrain or objects dynamically, use empties to define spawn points for trees, rocks, or other low poly assets within your scene.
Lighting References
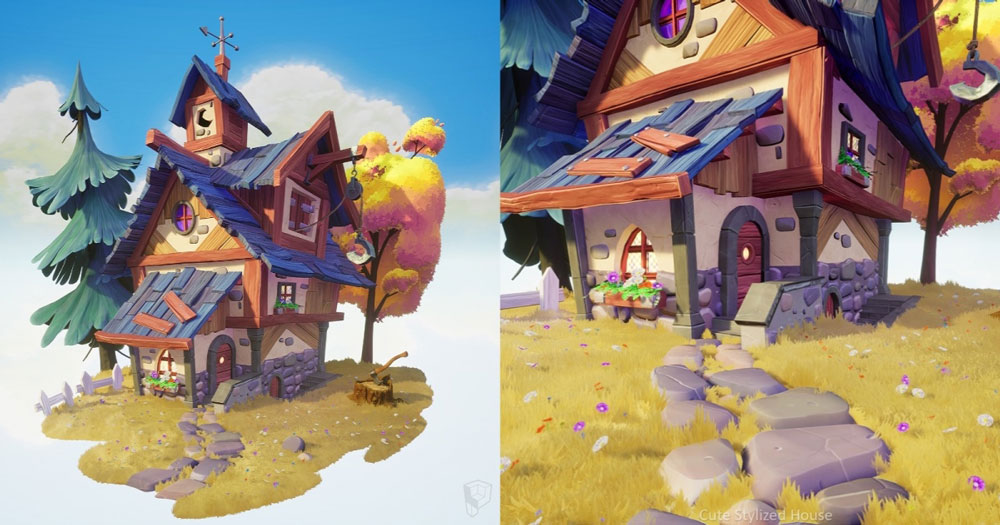
Image Source: 80LV
Lighting plays a crucial role in the overall aesthetic and mood of low poly scenes in Blender. It can enhance your models and create a more immersive environment. There are some types of lighting you can consider:
- Ambient light is a soft, non-directional light that provides a base level of illumination throughout the scene. Use this to brighten areas that might be too dark without creating harsh shadows. Adjust the world settings in Blender to define ambient color and intensity to create a suitable environment for your low poly scene.
- Use a key light to create a primary source of illumination. This can be a sun lamp, area light, or point light placed strategically in the scene. Position your key light at an angle to create dynamic shadows and highlights, which can enhance the low poly look.
- Utilize fill lights to soften shadows cast by the key light. This can help illuminate darker areas without overexposing the entire scene.
- Position a light behind your subjects (e.g., characters or important models) to create a rim or backlight effect. This helps separate them from the background and adds depth to your scene.
How to render low poly scenes with iRender Farm?
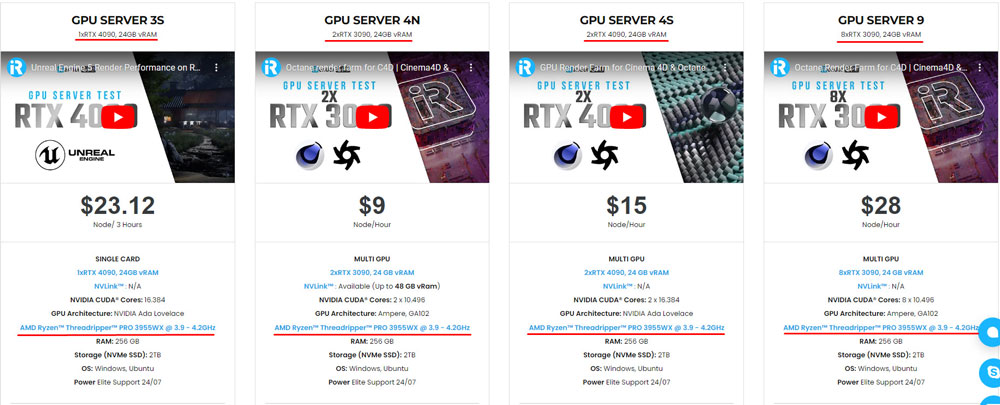
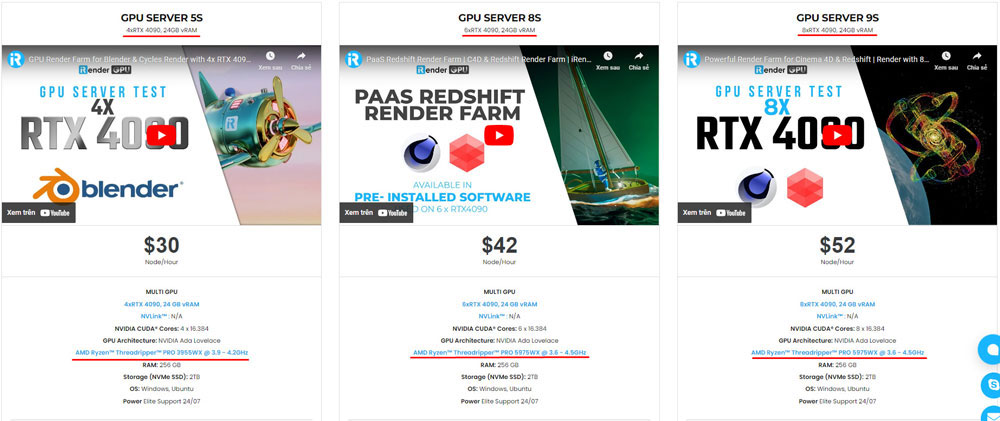
First of all, iRender – the best cloud rendering service, provides high-configuration servers that increase CPU and GPU rendering speeds. We support all software currently. Our iRender GPU Render Farm offers from 1/2/4/6/8 RTX 4090s and 8 RTX 3090 servers. All servers at iRender are also equipped with AMD Ryzen™ Threadripper™ PRO 3955WX @ 3.9 – 4.2GHz or AMD Ryzen™ Threadripper™ PRO 5975WX @ 3.6 – 4.5GHz, 256GB RAM, 2TB Storage NVMe SSD.
iRender has an easy workflow with pre-installed Blender 4.2 LTS.
You can choose the server which suitable for your project, we have various options here:
Let’s check our our Blender test video:


Besides, we also have flexible prices for all small to big projects. You can check out this video to estimate the cost with us:

Enjoy our new beast and boost your multiple GPUs rendering now! If you have any comments about our article, please do not hesitate to reach us at [email protected] or Whatsapp: +(84) 916017116.
iRender – Happy Rendering!
Related Posts
The latest creative news from Blender Cloud Rendering.