How to Install Content for DAZ Studio
Content can be acquired a number of ways. Both DAZ 3D and Renderosity would prefer that you purchase your content, but you can get a number of free downloads from both sites (among others). But finding content is one thing, installing it is another. A lot of objects you’ll find were designed for Poser, a different 3D rendering program (content for Bryce and Carrara will not be compatible). While the files for Poser will work with DAZ Studio, it does require a slightly different installation method.
This is what you’ll see when you open a content file that you downloaded from DAZ 3D. It changes somewhat with each version, but the basics are the same.
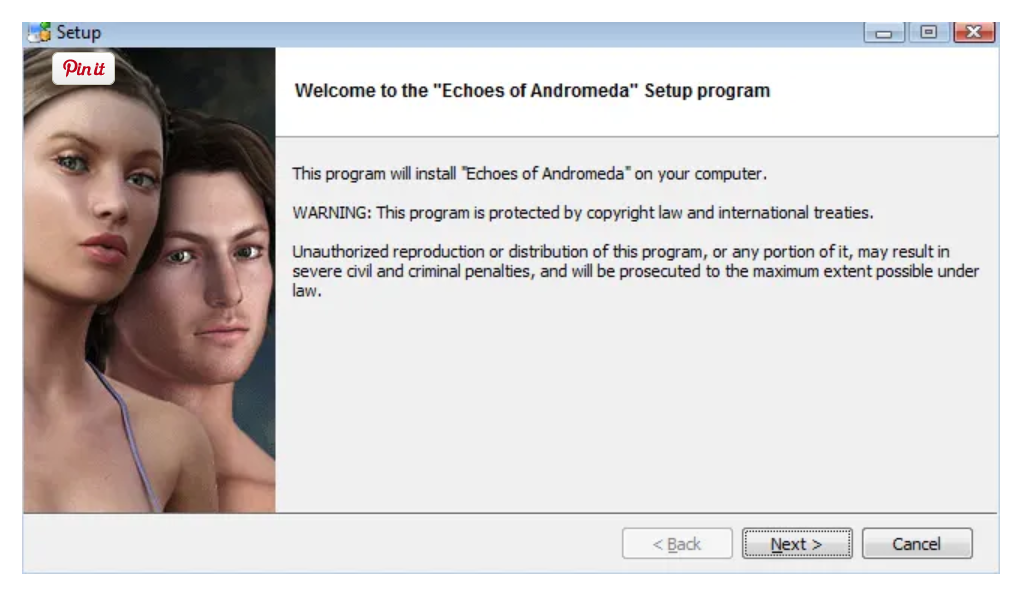
EXE Installer File
If you’re using DAZ Studio that is version 4.6 or higher, then you can use the install manager to download and install your content. If you’re new to rendering, then this will be the easier option as it knows exactly where it needs to put everything. However, this only applies to content purchased through DAZ 3D’s website and the manager is not compatible with older versions of the program. So, you may encounter the exe installer file. This was their old way of giving you content; you would download the exe and run it to add the files to the appropriate folders. This method can still be used (if you prefer it) through the downloads section of your DAZ 3D account.
Installing content from an exe file isn’t much more difficult than the manager. Run the file (either from your browser when it finishes downloading or by double clicking on the file in your downloads folder). It will then launch a special ‘installer’ program that will take you through the process step by step.
While you’re installing, be mindful of a few things: First, you might want to choose not to create an uninstall shortcut. The purpose of this is to allow you an easy uninstall method for that one piece of content which can be accessed in your start menu. However, in practice, you build up so many of these that your start menu becomes bloated and cumbersome. They’re good to get rid of things you don’t like, but you’ll have to weigh that against the space they take up.
The second thing you want to consider is the file path of the installation. Usually this will default to the proper folders, but just double check it every time to make sure it is going to your DAZ content folder in program files. Oh, and if you’re using Windows Vista it will keep asking whether or not to allow the installation to continue, it’s usually because there are added protections for .exe files. Don’t worry, it doesn’t mean the file has a virus. If you downloaded it from the DAZ website, it can be trusted. Follow the prompts and your installation is finished.
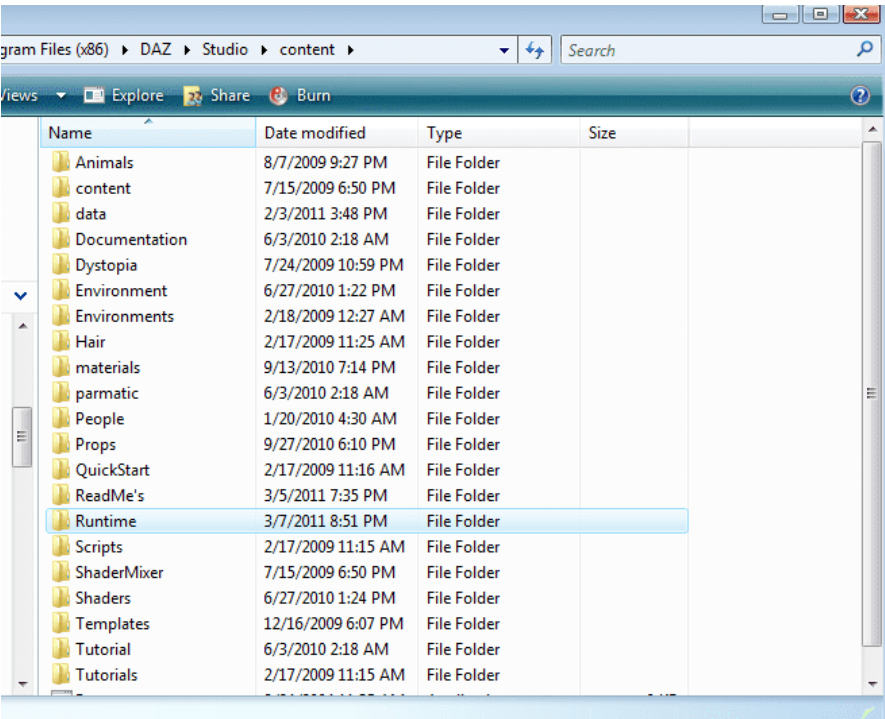
This is what the inside of your DAZ content folder looks like. It’s in here where you will paste the ‘runtime’ folder from the zip folder you downloaded. It will automatically put all of its files into the DAZ runtime folder.
ZIP File
Most other files you will find come in this format. Since you’ll probably be downloading a lot of free stuff from other sources, it’s a good idea to familiarize yourself with this one. You could go through the extraction process of ZIP folders, however often times the proper folder you need, isn’t the first one visible inside the zip folder, which means there is no guarantee that your content will go into the right place. Plus you tend to fill up your DAZ content folder with readme files and that can get annoying. So the method that has been developed is the following:
- Locate your DAZ content folder. Generally it can be found by going to My Computer > Local C: > Program Files > DAZ > Studio > content. In the content folder you should see another folder called “runtime”. This is where you want to be. Don’t click on the runtime folder, just hang out there in the content folder for now.
- Locate the content you want to install. It may have been saved to My Documents > Downloads, or maybe you saved it somewhere else. In either case, find it and open the zip file until you locate a “runtime” folder inside.
- Select the runtime folder in the zipped file, then right-click and select copy. Then go back to the DAZ content folder and right click in any of the white space, then select paste. Windows will ask you if you want to replace the runtime folder already in there, say yes (you won’t lose any of your other files). Allow it to continue until it is finished.
And you’re done; now your content is available for use.
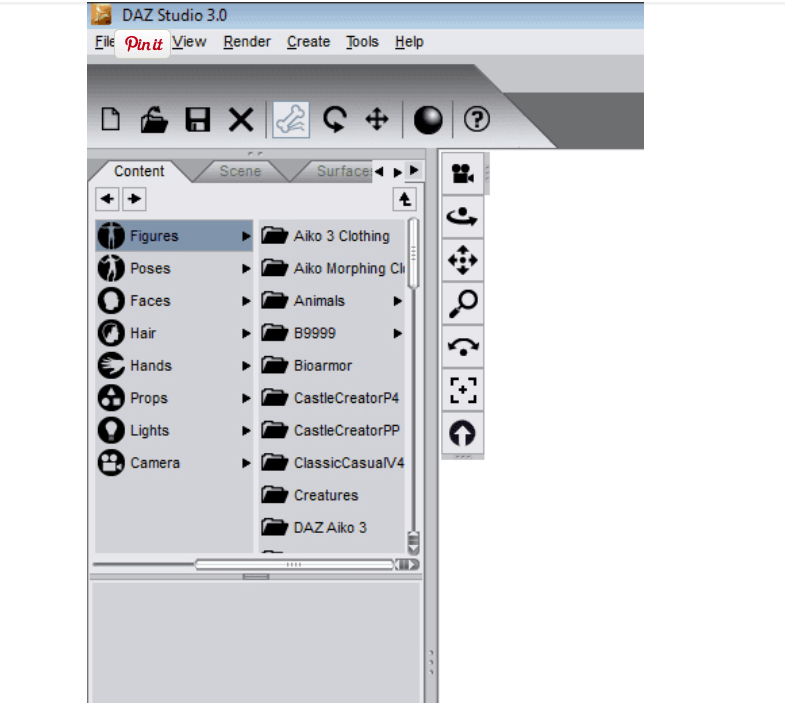
This is your content tab when using DAZ Studio. Notice how some of the things listed don’t have names that represent what you just installed?
Locating Your New Content
While this has nothing to do with installing content, it is important to mention that the new file you installed might not be labeled the way you expect it to be. Oftentimes products are listed in the content window based on their creator, not necessarily what the object was. So it may take some searching to actually locate what you just installed.
It’s a good practice to take a quick glance through the folders in the original zip file so you know what names to look for. And there will be many instances where something didn’t, or couldn’t, install properly. Usually this happens when you install content intended for older versions of DAZ Studio and Poser. It was found that it’s easier to just delete the prop rather than try to find a way to get it to work. These are complex programs with lots of folders filled with content. Proceed at your own risk.
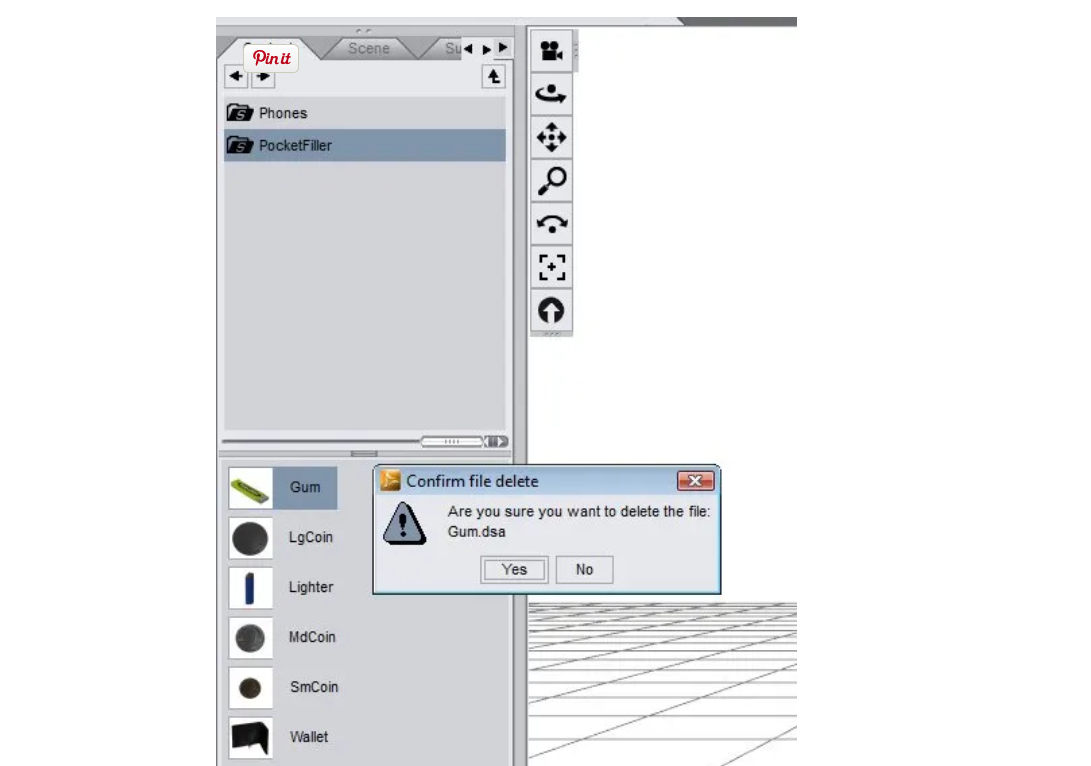
This is the message you’ll get if you try to delete something while using DAZ Studio. It doesn’t just remove it from the program, it will remove it from your computer as well, making it an effective method for ‘uninstalling’ content.
Uninstalling Content
The best ways to uninstall content are by using the install manager or the uninstall link in your start menu. If you don’t have either of those, then you’ll need to physically go into the DAZ folder to delete what you don’t want.
Basically just head back into the content folder and start looking around. You may have to reference the original Zip file (if you still have it) to see exactly what was installed.
You can also delete something from within DAZ Studio by right clicking the object and going to ‘delete’. It will prompt you with a dialogue box that asks if you want to delete the file. In this instance you could delete as you go, rather than needing to hunt it down in the DAZ folder. Be mindful not to delete things that you don’t know the purpose of. Many objects and figures have multiple pieces and if you delete any one of them it will cause the overall content to fail. So, try to stick with things you are certain you don’t need. Also be aware that some deleted content may still appear in your content window.
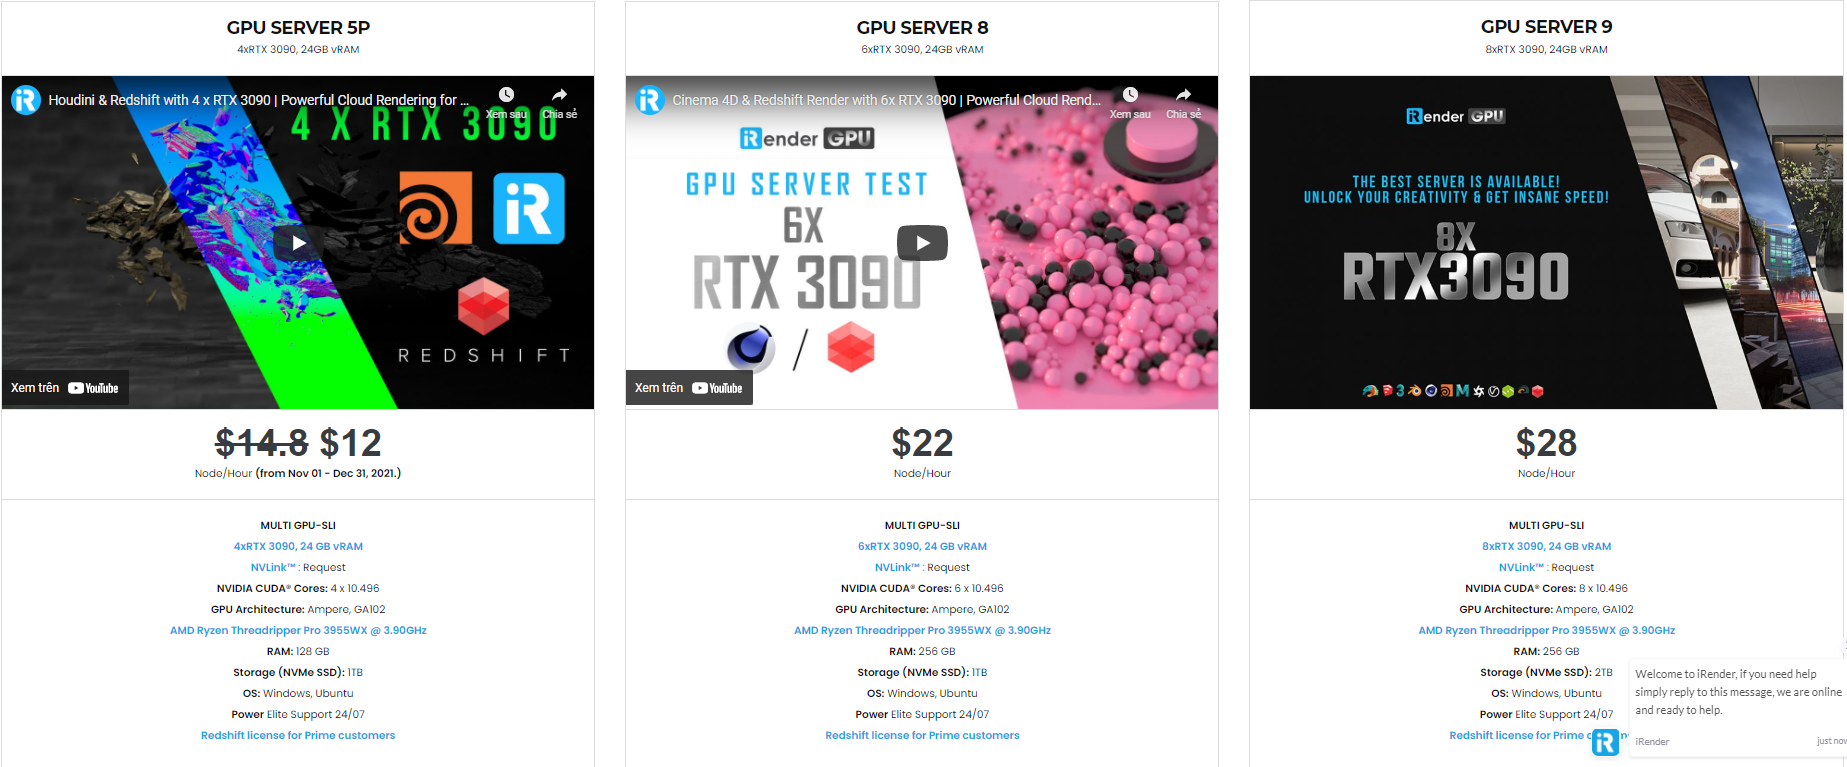
The professional cloud rendering service for Daz 3D
iRender is a GPU-Acceleration Cloud Rendering Service for Multi-GPU Rendering with Powerful Render Nodes: 2/4/6/8x RTX 3090/3080/2080Ti. iRender provides High-performance machines for GPU-based & CPU-based rendering on the Cloud. For Daz 3D users can leverage the power of single GPU, multi GPUs to speed up your render time. Users can easily choose their machine configuration from recommended system requirements to high-end options.

Why iRender?
Reasonable price (lots of bonus)
You will be charged on a per-minute basis. However, you can always save up to 30% with our Fixed Rental feature. For those who are in need of the server for more than a day, or have extremely large projects, we advise choosing daily/weekly/monthly or even yearly rental packages. The discount is attractive (10% for daily packages, 20% for weekly and monthly packages)

Real human 24/7 support
Our support is always online 24/7, helping you to handle the problem quickly, effectively, saving you both time and money.
Conclusion
If you have any questions, please do not hesitate to reach us via Whatsapp: +(84) 972755742. Register an ACCOUNT today and get FREE COUPON to experience our service. Or contact us via WhatsApp: +(84) 972755742 for advice and support.
iRender – Happy rendering
Source & pictures: turbofuture.com (M. T. Dremer)
Related Posts
The latest creative news from Daz3d Cloud Rendering, Redshift Cloud Rendering, Nvidia Iray Cloud Rendering , Octane Cloud Rendering, 3D VFX Plugins & Cloud Rendering.