How to render animation in Blender 3D?
Blender is a powerful, free, and open-source 3D creation software supported by a large and active community. Starting your journey with animation in Blender is a great choice, especially if you’re new to this field.
The Most Useful Tools
Before jumping into animation in Blender, it’s a good idea to get familiar with some essential tools that will make the process easier and more efficient.
-
Constraints:
Constraints are used to control how an object moves, rotates, or scales by linking it to another object or rule. They help automate complex motion, so you don’t have to animate everything manually, saving time and increasing realism.
-
Motion paths:
Motion Paths show the route an object or bone takes during an animation. This visual guide helps you fine-tune the movement and timing by showing where things go frame by frame.
-
Drivers:
Drivers let you control one property using another. For example, if you’re animating a clock, you can set up a driver so the hour hand moves automatically based on the rotation of the minute hand—no need to animate both separately.
-
Shape keys:
Shape Keys allow you to modify the shape of a mesh and blend between those shapes. They’re commonly used for facial expressions like smiling, blinking, or frowning. Combined with keyframes, Shape Keys bring characters to life.
-
Rigging:
Rigging creates a digital skeleton for your 3D model, allowing it to move in realistic ways. For example, rigging a human model helps joints bend naturally, which is essential for character animation.
-
Keyframes:
Keyframes mark specific positions or values at certain points in time. To animate something like a bouncing ball, you would insert keyframes at different frames to show where the ball is—on the ground, in the air, and back down again.
-
Grease pencil:
Grease Pencil lets you draw directly in 2D or 3D space. It’s perfect for sketching, storyboarding, or creating full 2D animations with layers, brushes, and editable strokes.
By learning and practicing with these tools, you’ll be well-prepared to handle many creative tasks involved in animation in Blender.
2D Animation in Blender
Here’s a simple guide to help you start making your own 2D animation in Blender:
1. Launch the 2D Workspace
Open Blender and select “2D Animation” from the screen. This will bring you directly into Blender’s dedicated 2D animation workspace, which is quite different from the typical 3D layout.
2. Start Drawing with the Grease Pencil
First, switch to Object Mode from the menu in the top-left corner. Then, create a Grease Pencil object, which acts as your drawing surface.
Next, change the mode to Draw Mode using the same drop-down. In this mode, you can begin sketching using Blender’s drawing tools.
Use the Grease Pencil to draw your characters and backgrounds. You can customize your brushes—adjusting thickness, opacity, and style—just like in most digital drawing apps. Be sure to add colors to bring your drawings to life!
3. Add Animation Using Keyframes and Motion Paths
Once your drawing is ready, it’s time to animate!
- Select your drawing, press I to insert a keyframe for its current position.
- Move the timeline to a new frame.
- Then draw a new pose and hit I again to insert another keyframe.
Repeat this process to build up your character’s motion across frames.
For smaller objects or repeated elements, you can animate them using motion paths and keyframes without redrawing every single frame.
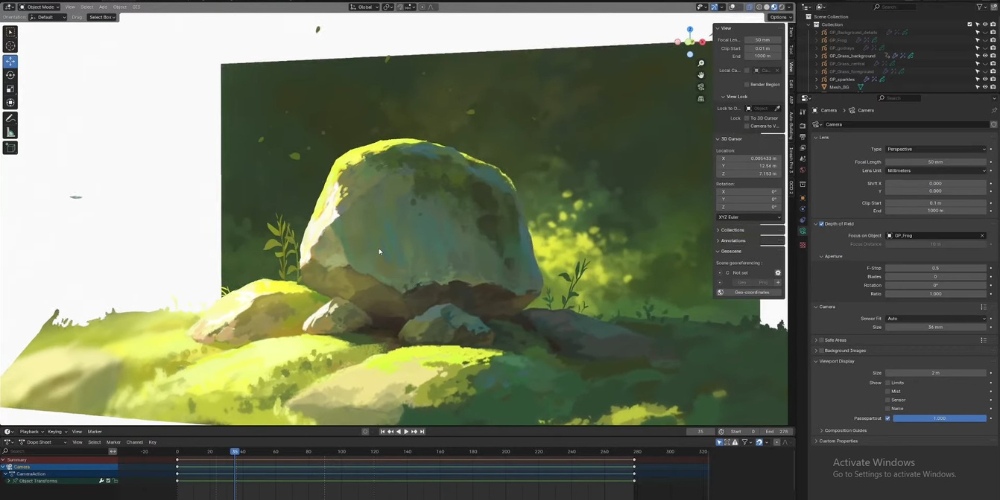
To enhance your animation, consider adding some visual effects—like a blurred background for depth or camera movements to add energy and focus.
4. Preview and Final Render
Use the Play button in the timeline to preview your animation in real time.
For a quick preview, go to the View menu and choose “Viewport Render Animation”. This lets you check the animation without fully rendering it.
Once you’re satisfied, follow Blender’s rendering process to produce the final animation file.
If you want a visual guide, check out the video “Blender 2D Animation Basics for Beginners – Grease Pencil Guide” by PolyPaint for a great walkthrough of the process.
3D Animation in Blender
Here’s a step-by-step overview to help you get started with creating 3D animation in Blender:
1. Start a New Project
To begin, open Blender and create a new project by going to the File menu, hovering over New, and selecting General. This sets up the workspace for 3D animation in Blender, not 2D.
2. Import and Prepare Your 3D Model
Bring your 3D character or object into Blender by navigating to File > Import. Choose the correct format (e.g., .obj or .fbx), locate your model, and click Import.
Once the model is in your scene, you’ll see it placed in the 3D viewport. You can import more objects as needed to build your scene. Set up lighting using Blender’s lighting tools to enhance the look of your environment.
To animate facial expressions or mesh changes, use Shape Keys to create various versions like smiling or blinking.
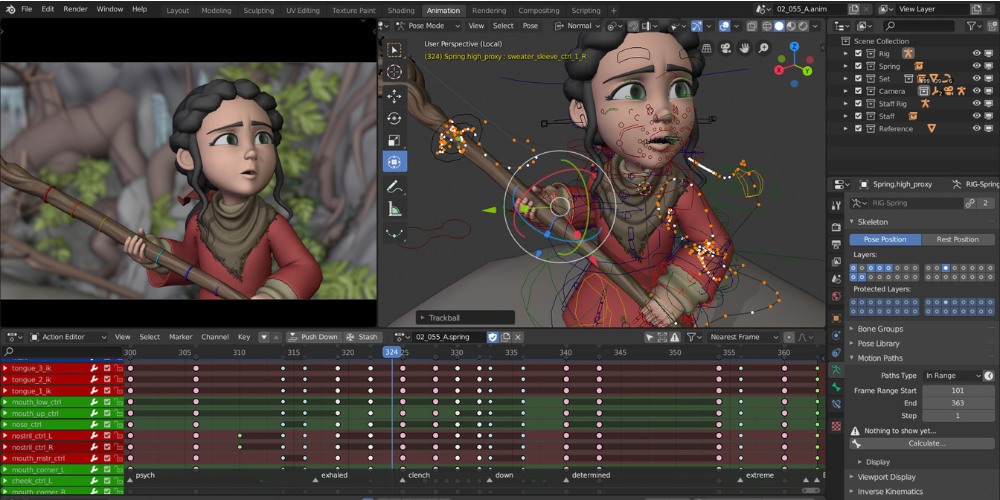
3. Animate with Keyframes and Animation Tools
Use Blender’s animation features—such as Constraints, Motion Paths, Drivers, and Keyframes—to bring your models to life.
- Go into Object Mode and press I to insert a keyframe, or go to Object > Animation > Insert Keyframe.
- Place keyframes at different moments in time to define the movement or transformation of your model.
- You can set keyframes for position, rotation, and scale—and even name them if your animation gets complex, making it easier to manage.
4. Refine Your Animation
Go through your timeline and tweak your keyframes to make the motion smoother. You can adjust the interpolation type (e.g., linear, bezier) to control how movement transitions between keyframes. Don’t forget to animate smaller details to give your work a polished feel.
5. Add Sound and Camera Motion
To include sound in your animation:
- Switch to the Video Sequencer from the top-left editor menu.
- Press Shift + A, select Sound, and load your audio file.
- You can drag the sound strip along the timeline to sync it with your animation.
Adding camera movement also helps bring your scene to life. You can animate the camera just like any other object using keyframes.
6. Preview and Render
Before final rendering, use Blender’s Viewport Render Animation option to preview your scene and make any necessary tweaks. Since rendering can take time, this helps catch errors early.
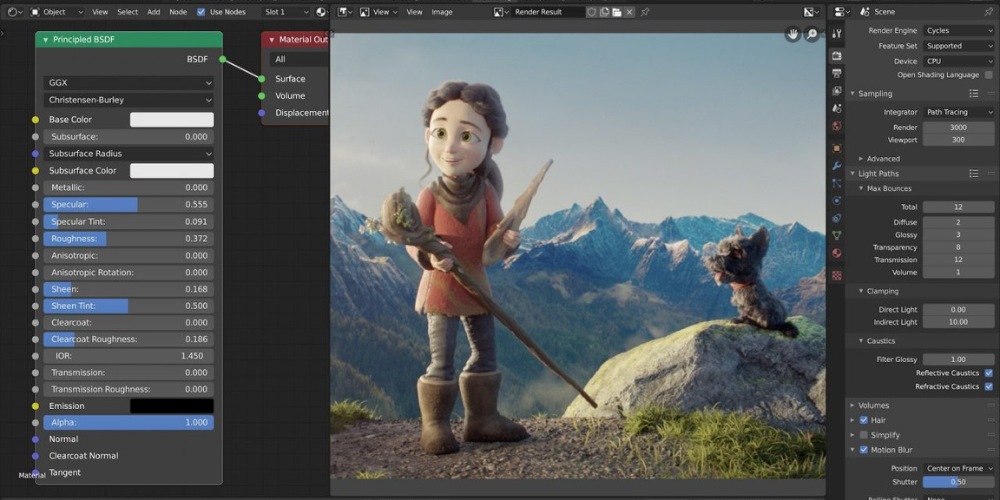
When you’re happy with the result, let’s render the full animation. You may want to check some tips to optimize Blender Cycles and Eevee for fast rendering here.
Need help learning the ropes? Check out beginner-friendly tutorials like:
“How to Animate in Blender: Learning the Basics” by Alex on Story
“Animation for Beginners! Blender Tutorial” by Ryan King Art
These are great starting points to level up your skills with 3D animation in Blender.
Fast rendering with Blender Cycles and Eevee on iRender’s servers
iRender provides private high-configuration machines with upmarket specifications that excel in rendering, like AMD Ryzen™ Threadripper™ PRO 3955WX @ 3.9 – 4.2GHz or AMD Ryzen™ Threadripper™ PRO 5975WX @ 3.6 – 4.5GHz, 1/2/4/6/8 x RTX4090 or RTX3090, RAM 256GB, Storage NVMe SSD 2TB.
Why can iRender be a great render farm for you?
In addition to high-configuration servers, iRender provides many other utilities to provide the best user experience.
- Dedicated server for individuals: You have full control and access to the server you rent. The working environment (installed apps, files) will be stored for the next use.
- Easy and free file transfer between your computer and iRender’s server: The transferring task can be done via iRender GPU application for Windows and the iRender Drive application for MacOS.
- 24/7 assistance: iRender’s attentive agents are always ready to support all your queries.
- All software compatibility: iRender’s PCs are built to meet the configuration needs of all 3D software and rendering tools at a variety of cost levels for users to choose from.
Let’s see how fast Blender renders on iRender’s machines!


New users will get a 100% bonus for the first transaction within 24 hours of their registration. No minimum amount!! If you top up 50$, you will get 100 points in total to hire our machines.
If you have any questions, please get in touch with me through email [email protected] or our 24/7 support team for a quick response.
Thank you for reading
Image and information source: Skillshare, Vagon, Blender, PolyPaint
Related Posts
The latest creative news from iRender Cloud Rendering for Blender