
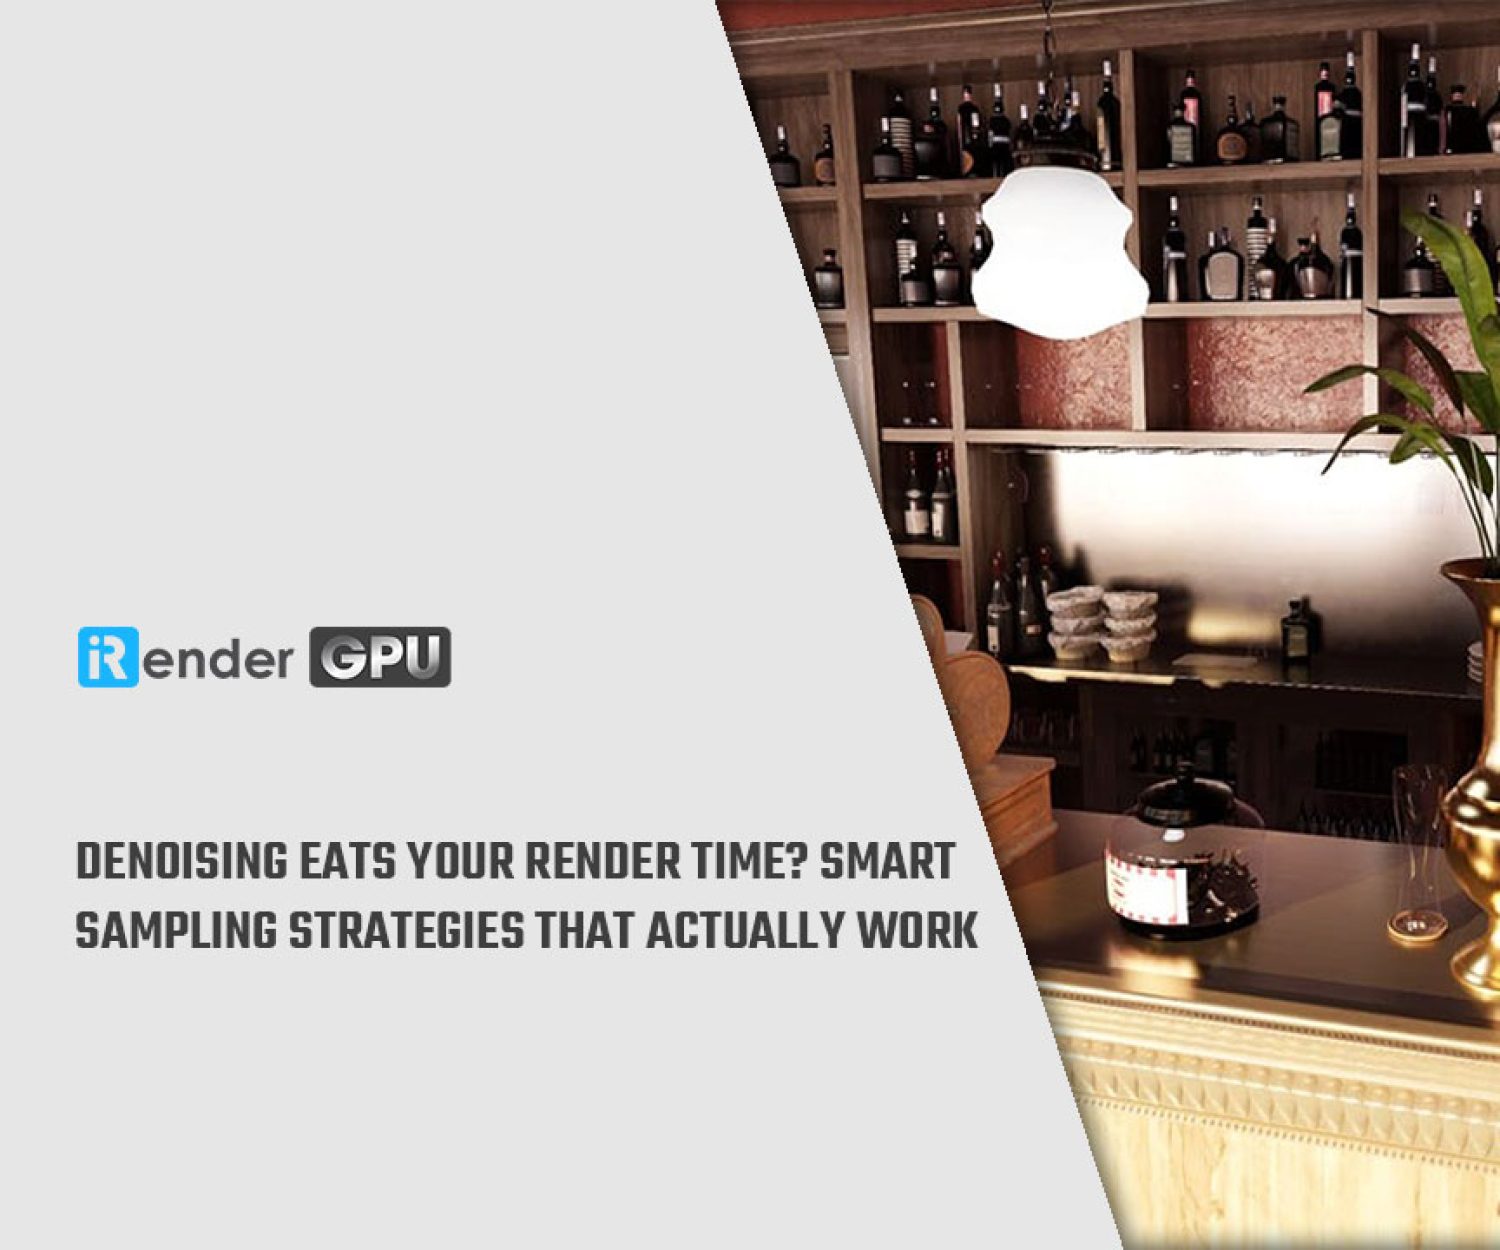
Mastering Blender Render Settings: Get High-Quality Renders Faster
Creating stunning visuals in Blender requires more than just great models and lighting. The way you configure your render settings directly impacts both image quality and render time. When you balance sampling, noise control, resolution, and performance correctly, you can significantly reduce waiting time while maintaining sharp details and clean results.
In this article, we will help you understand how to fine-tune Blender’s render settings so you can achieve high-quality renders faster and work more efficiently.
Why the Right Render Settings Matter in Blender
Choosing the correct render settings directly impacts the balance between visual fidelity and production time. In professional workflows, this balance determines not only image quality but also deadlines and costs.
Quality is the most obvious factor. Proper sampling values, accurate light path configurations, and well-managed color settings ensure realistic lighting, clean shadows, and physically plausible reflections. Without carefully tuned settings, even a well-modeled and textured scene can look flat, noisy, or artificial.
Efficiency is equally important. Excessively high sample counts or unnecessary bounces in light paths can dramatically increase render time with little visible improvement. Optimizing adaptive sampling, denoising, and resolution settings helps artists avoid wasted hours.
Consistency becomes critical in animation or multi-shot projects. Uniform render settings across scenes maintain visual continuity, ensuring that lighting intensity, contrast, and color response remain stable throughout the production.
Common Mistakes When Choosing Blender Render Settings
Many artists unintentionally slow down their workflow by misconfiguring key parameters.
One of the most frequent mistakes is over-sampling. Increasing samples indefinitely does not always produce visibly cleaner results. After a certain threshold, noise reduction gains become minimal while render time grows exponentially.
Another issue is poor noise management. Ignoring built-in denoising solutions, especially when working in Cycles, often leads to grainy outputs. Properly configured denoisers can reduce required sample counts significantly without sacrificing quality.
Improper light path settings can also produce unrealistic lighting behavior. Excessive bounces may brighten interiors unnaturally, while too few bounces can result in dark, flat scenes lacking indirect illumination. Artists sometimes overlook adaptive sampling, a feature that dynamically allocates samples only where needed. Without it, Blender may waste processing power rendering already clean areas of the image.
Lastly, incorrect output settings, such as inappropriate resolution, compression, or file formats, can either degrade quality or create unnecessarily large files that complicate post-production.
Cycles vs. Eevee: Choosing the Right Engine
The choice between Cycles and Eevee depends entirely on project goals. If your objective is maximum realism with accurate light transport, Cycles is the superior option. If you prioritize rapid iteration, real-time performance, and faster delivery, Eevee offers significant advantages.
Best Blender Render Settings for Cycles
When working with Blender Cycles, the goal is not simply to push settings higher, but to balance realism, render time, and hardware efficiency. Cycles is a physically based path tracer, which means every adjustment directly affects how light behaves in your scene.
Optimal Sampling Settings for Quality and Speed
Sampling controls how many rays Cycles traces per pixel. More samples reduce noise but increase render time. Lower sample counts speed up rendering but may introduce grain, especially in low-light or indirect-light scenes.
Higher sample counts produce smoother gradients and cleaner shadows, but render times can grow exponentially beyond a certain threshold. Instead of relying purely on high sample values, enabling Adaptive Sampling significantly improves efficiency.
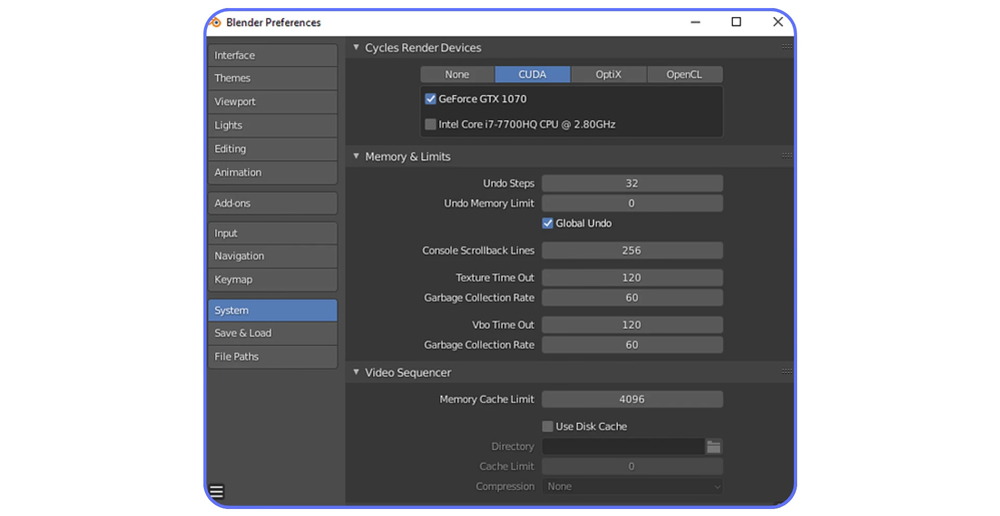
Denoising Options: OpenImageDenoise vs. OptiX
Denoising plays a crucial role in modern Cycles workflows, allowing artists to achieve clean renders with fewer samples.
OpenImageDenoise (OIDN) is a CPU-based, open-source denoiser developed by Intel. It is known for preserving fine surface details, textures, and subtle lighting transitions. OIDN is particularly effective in scenes where micro-detail and material fidelity are priorities.
OptiX, developed by Nvidia, is a GPU-accelerated AI denoiser designed for RTX hardware. It processes denoising extremely quickly and integrates efficiently into GPU rendering pipelines. On compatible RTX GPUs, OptiX can dramatically reduce overall render times.
However, speed comes with trade-offs. While OptiX is fast, some artists report that it can slightly soften intricate details compared to OIDN. Therefore:
- Choose OptiX if you prioritize speed and use RTX GPUs.
- Choose OpenImageDenoise if preserving fine textures and subtle lighting detail is more important.
Light Paths and Their Impact on Realism
Light path settings determine how realistically light interacts within your scene. These settings have a major influence on both visual accuracy and render performance.
Max Bounces defines the number of times a light ray can reflect or refract before terminating. Increasing bounce values improves realism in scenes with glass, mirrors, or complex indirect lighting. However, each additional bounce significantly increases render calculations.
- Too few bounces will lead to flat lighting and unrealistic interiors.
- Too many bounces will lead to longer render times with diminishing visual returns.
Clamping helps control fireflies (bright noise artifacts caused by extreme light values). By limiting maximum ray intensity, clamping can reduce noise and shorten render times.
Best Blender Render Settings for Eevee
When working with Blender Eevee, the focus is speed, flexibility, and strong visual impact. Unlike path-traced engines, Eevee relies on real-time techniques, so optimizing settings is about enhancing realism while maintaining performance.
Reflections and Ambient Occlusion
In Blender 4.2 and later, traditional Screen Space Reflections (SSR) have been replaced with Raytracing options inside the Render Properties. Enabling Raytracing improves reflection accuracy and makes materials such as glass, water, and polished surfaces look more realistic.
Ambient Occlusion (AO) adds subtle shadowing in corners and contact areas, giving objects more depth. Adjust the Distance to control how far the effect spreads, and tweak the Factor to balance intensity. Too much AO can look artificial, so keep it subtle for natural results.
Shadows and Light Control
Shadow quality strongly affects realism in Eevee.
Increase Cube Size (e.g., 1024 px or higher) for sharper, cleaner shadows.
Enable High Bit Depth to reduce banding and jagged edges.
If you notice light leaking through walls or edges (light bleed), make sure your meshes are properly sealed and adjust shadow bias settings carefully.
Bloom, Motion Blur, and Depth of Field
Post-processing effects enhance visual polish:
Bloom adds a cinematic glow to bright areas. In newer Blender versions, it is managed in the Compositor. Use it moderately to avoid overexposure.
- Motion Blur simulates movement using a post-process vector system. Adjust Shutter for blur strength and Steps for smoothness.
- Depth of Field (DoF) helps guide viewer attention. Configure it in the camera settings for realistic focus effects.
These effects improve presentation but should be balanced to avoid unnecessary performance costs.
Conclusion
Understanding how sampling, lighting, denoising, and hardware choices affect performance, you can achieve high-quality results without wasting time or resources. When you optimize with intention, you not only render faster, you create a more efficient and professional workflow overall.
iRender - The Best Render Farm for Blender
iRender provides a remote machine rental service by offering flexible configurations of 1, 2, 4, 6, and 8 GPU machines using the top-tier RTX 4090. Built with powerful CPUs (AMD Ryzen™ Threadripper™ PRO 3955WX @ 3.9 – 4.2GHz and AMD Ryzen™ Threadripper™ PRO 5975WX @ 3.6 – 4.5GHz), 256GB RAM, and 2TB NVMe SSD storage, our machines can handle even the most demanding scenes in your 3D projects.
Our server has pre-installed Blender 4.5.3. We grant you complete access to your rented machines. You can use your C4D, renderers, plugins, and/or any other software of any version on our machine. We treat your rented machines like your personal workstations – no restrictions apply. This freedom enables you, 3D artists, to realize creative visions without limitations. Moreover, iRender offers an iRender GPU app. In this all-in-one application, you can free your workflow from accessing iRender website, and just have to work on the iRender GPU app. This app is only for Window users.

Let’s check out some of our test videos on Blender!


Enjoy our FREE TRIAL to try our RTX 4090 machines and boost your rendering now!
For more detailed information, please contact us via Live chat 24/7 or WhatsApp: +(84) 912-785-500 or Email: [email protected].
iRender – Happy Rendering!
Related Posts
The latest creative news from Blender Cloud Rendering.


[/vc_section]