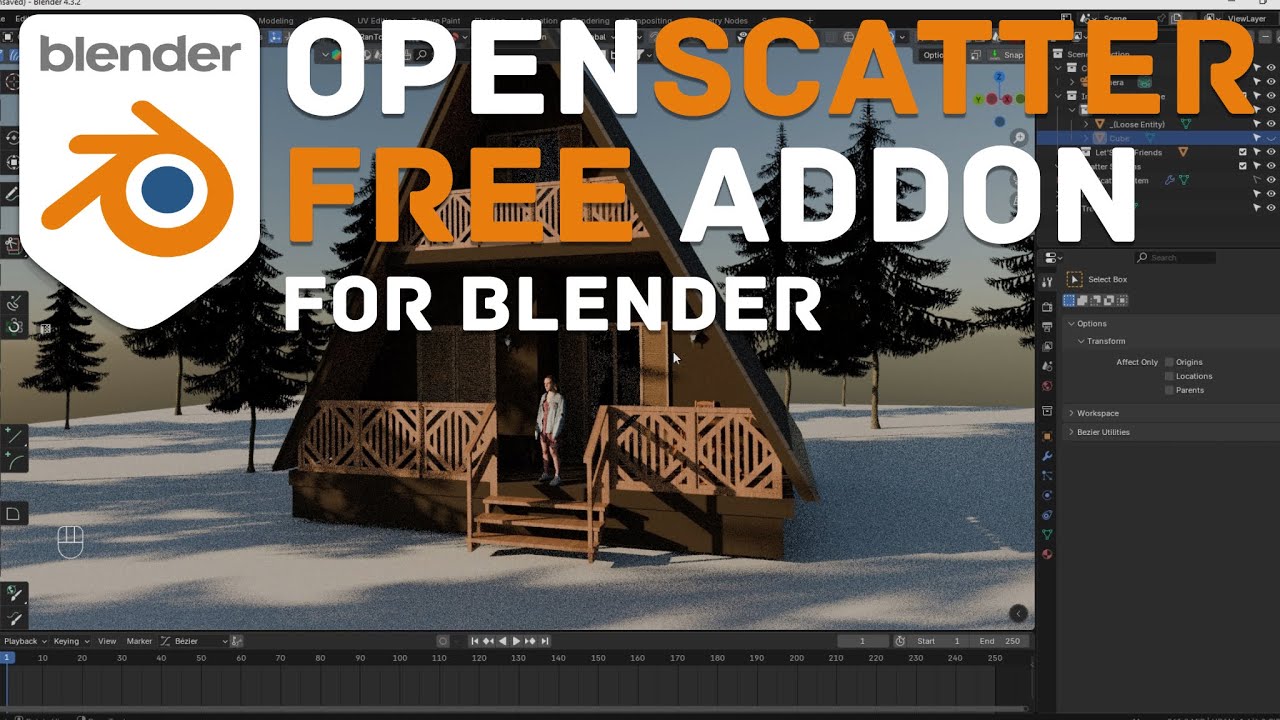
OpenScatter: A Free and Powerful Blender Add-on for Advanced Object Scattering
OpenScatter is a free and open-source Blender add-on developed by May3D that offers advanced object scattering capabilities for 3D artists. Designed with user-friendliness and flexibility in mind, OpenScatter enables artists to distribute objects like plants, rocks, or other assets within a scene based on various parameters, enhancing the realism and efficiency of their projects. In this blog, iRender will explore the key features of Open Scatter
Key Features of OpenScatter
- Non-Destructive, Layer-Based Workflow: OpenScatter employs a non-destructive, layer-based approach, allowing users to create multiple scatter layers for each object. This means artists can adjust scatter settings without permanently altering the original models, providing greater flexibility during the creative process.
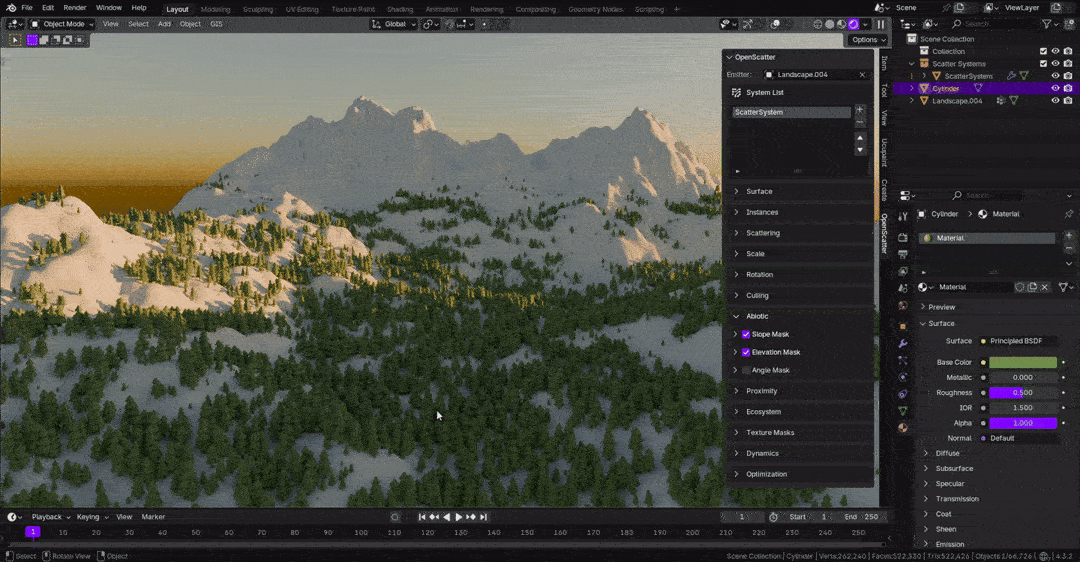
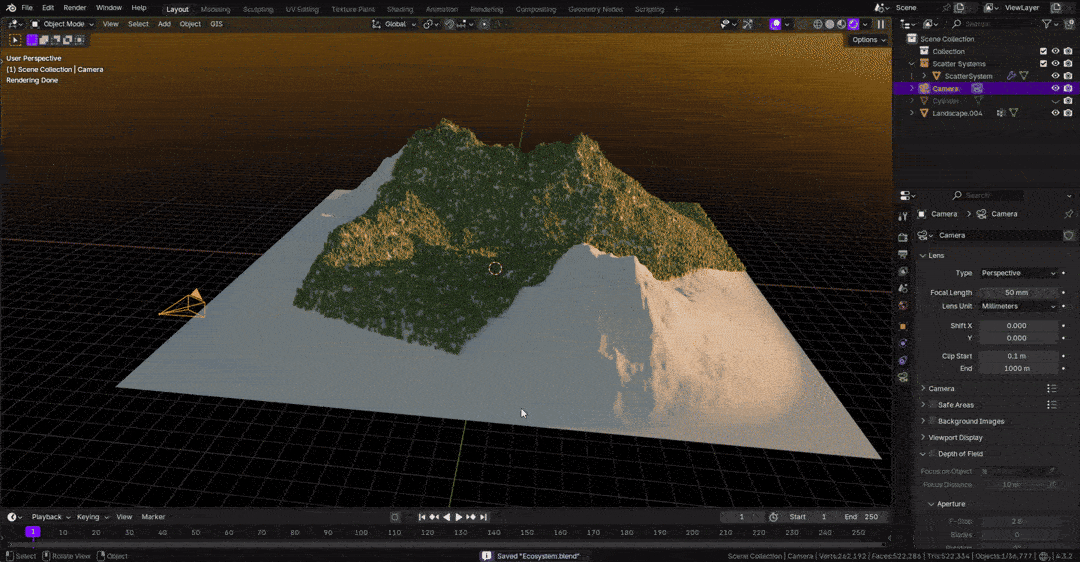
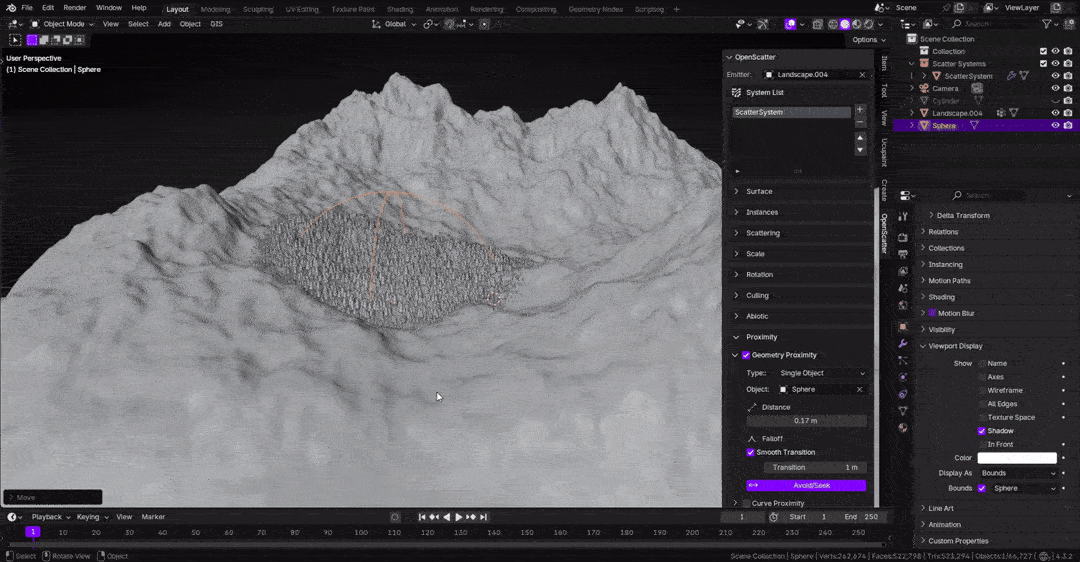
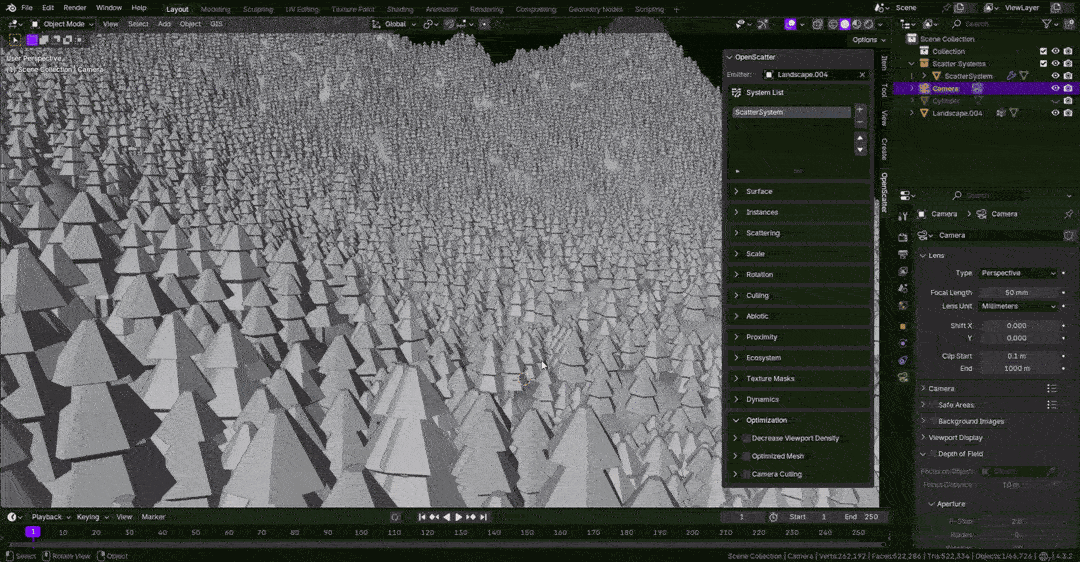
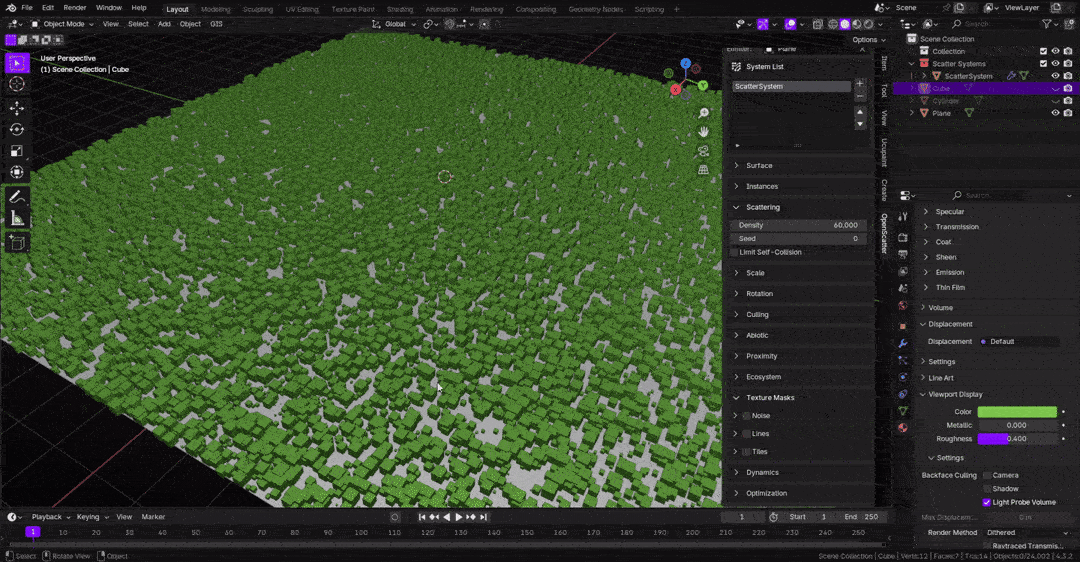
- Advanced Control Mechanisms: The add-on offers fine-tuned control over scattering parameters, including density, scale, rotation, and dynamic behavior. Artists can utilize procedural texture masks, guide curves, and abiotic properties like elevation and slope angle to dictate where and how objects are scattered within a scene.
- Dynamic Animations: OpenScatter supports dynamic features such as wind animation and object collisions, enabling more lifelike interactions among scattered objects. These capabilities are particularly beneficial for creating natural environments where elements like trees and foliage respond to environmental forces.
- Performance Optimization: To ensure smooth performance, OpenScatter includes features like viewport mesh optimization, automatic low-poly mesh generation, and camera and render-region culling. These optimizations help maintain efficiency during both the design and rendering phases.

Getting Started with OpenScatter
To integrate OpenScatter into your Blender workflow:
1. Download: Obtain the add-on from its GitHub releases page or support the developer by purchasing it from BlenderMarket.
2. Installation:
- Open Blender and navigate to Edit -> Preferences -> Add-ons.
- Click the Install button and select the downloaded OpenScatter .zip file.
- Enable the add-on by checking the box next to its name in the add-ons list.
3. Setup:
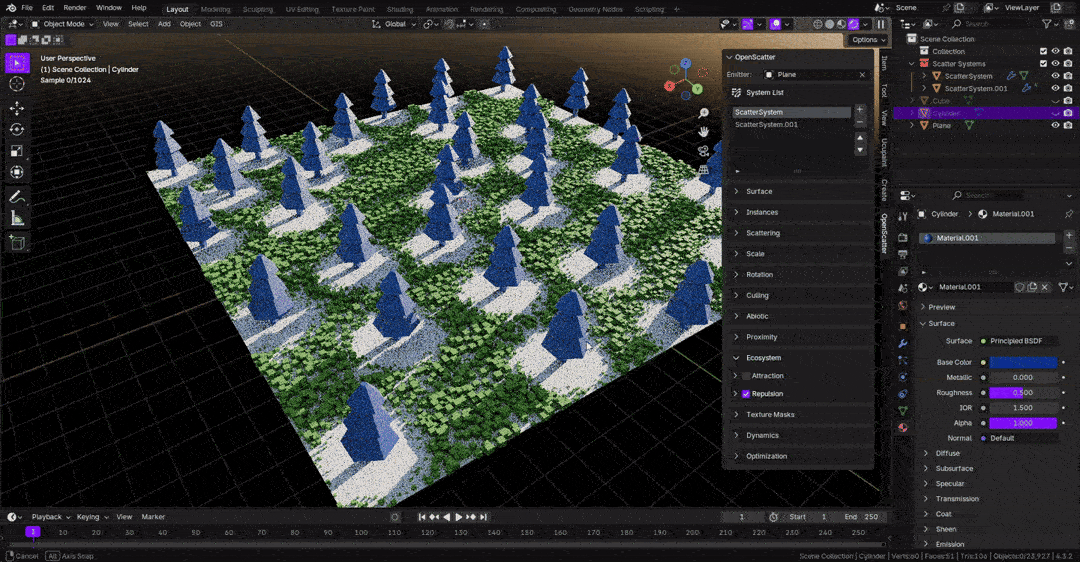
- Access OpenScatter through the N-Panel/Sidebar under the OpenScatter category.
- Select an emitter object and click the ‘+’ icon to add a new scatter system.
- Choose the desired surface and the instances you wish to scatter.
-
Availability and Support
OpenScatter is compatible with Blender versions 4.2 and above. Artists can download it for free from GitHub or choose to support its development by purchasing it from BlenderMarket for a nominal fee.
Download Blender scattering tool OpenScatter for free from GitHub
Comprehensive documentation is available to assist users in maximizing the add-on’s potential.
Conclusion
OpenScatter significantly streamlines the process of scattering objects in Blender, offering a robust set of features that cater to both realism and artistic control. Its non-destructive workflow and advanced scattering capabilities make it a valuable tool for environment artists and VFX professionals seeking to enhance their scenes with intricate details.
iRender - The Best Cloud Rendering For Blender
iRender is proud to be one of the best GPU service providers on the market. We provide you with high-configuration models with advanced specifications such as AMD Ryzen™ Threadripper™ PRO 3955WX @ 3.9 – 4.2GHz or AMD Ryzen™ Threadripper™ PRO 5975WX @ 3.6 – 4, 5GHz, 256GB RAM, 2TB NVMe SSD storage.
Under the IaaS (Infrastructure as a Service) model you will have full control over the machine via a remote desktop app, similar to Teamviewer but more stable. You will be able to proactively install the software and use it on the server just like using a personal computer. You can find many server packages with high-end configurations that are extremely suitable for complex projects. Our machines have preinstalled Blender, you can choose to create the machine at first then connect and render yourself
Let’s see how you can start to work on iRender remote server:

We released our GPU Server 9S, with 8x RTX 4090s, powered with AMD Ryzen™ Threadripper™ PRO 5975WX @ 3.6 – 4.5GHz, let’s see how our RTX4090 performs when rendering with Blender scenes:


We’re always happy to help you with any questions. If you have any problems or questions, don’t hesitate to contact our 24/7 support team. Or via WhatsApp: 0912 785 500 for free advice and support.
Right now iRender has a SPECIAL PROMOTION program with a 100% bonus for the first transaction within 24 hours of your registration. It means you can get 100% of the money you recharged the first time. And points never expire so you can use them at any time.
Sign up for an account today to experience and enjoy our services.
Thank you & Happy Rendering!
Source and image: cgchannel.com,github.com

Related Posts
The latest creative news from Blender Cloud Rendering