Top 10 modifiers in Blender that every 3D artist should know
Blender is one of the most well-known software for 3D artists all over the world and it includes a multitude of Modifiers. This article will help you learn more about Top 10 modifiers in Blender that Blender artists should know. Let’s check it now!
Overview of Modifier in Blender
Blender is a free and open-source 3D creation suite. With Blender, you can create 3D visualizations such as still images, 3D animations and VFX shots. You can also edit videos. It is well suited to individuals and small studios who benefit from its unified pipeline and responsive development process.
Modifiers are automated processes that alter an object’s geometry without causing destruction. Modifiers allow you to automate a lot of tasks that would otherwise be too laborious to complete by hand, such as subdivision surfaces, without changing the object’s fundamental geometry.
Let’s discover top 10 modifiers in Blender that allow you to make a lot of stunning scenes with this 3D software!
Top 10 modifiers in Blender that every Blender artist should know
1. Curve Modifier
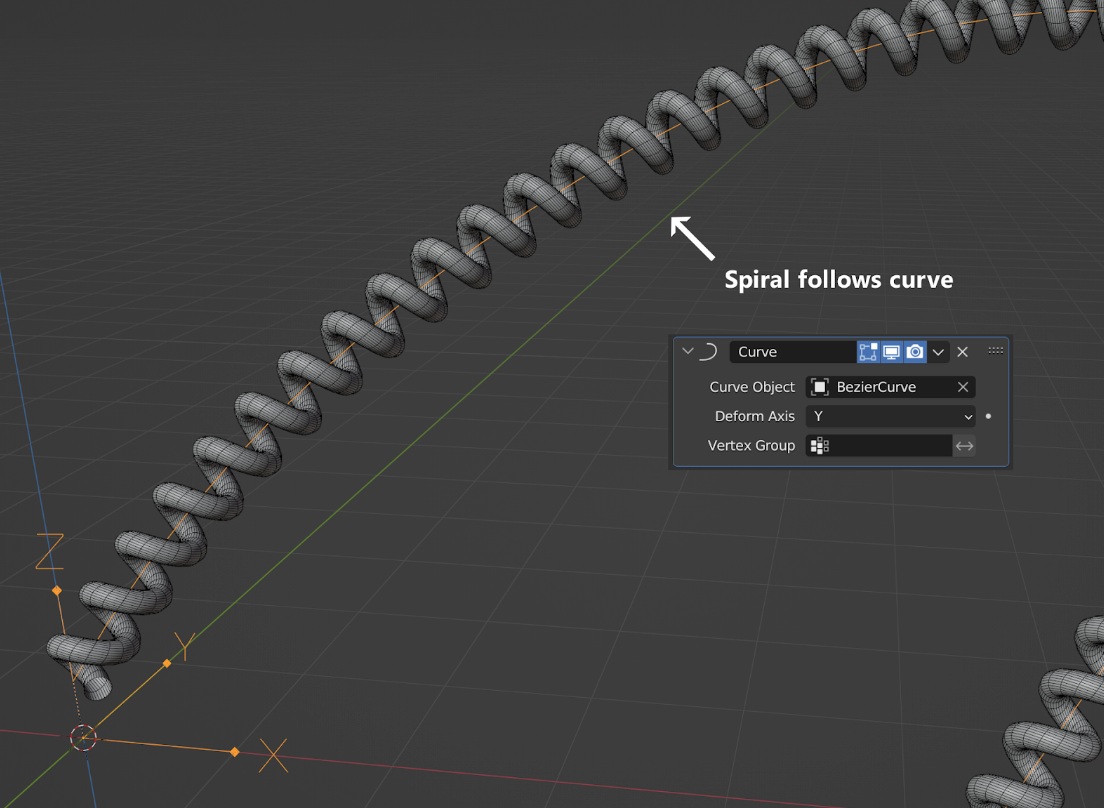
The Curve modifier is the first software on the top of the best modifiers in Blender. It provides a simple but efficient method of deforming a mesh along a curve object. It functions along X, Y, or Z, the (global) dominant axis. This implies that your mesh will follow the curve and deform like a train following and bending along rails as you move it in the dominant direction, which is the X axis by default. The object’s distance from the curve can be adjusted by shifting the mesh perpendicular to this axis.
When using the Curve Modifier, ensure your base mesh and curve have their origins aligned. This alignment ensures that the mesh follows the curve as expected, minimizing unwanted distortions or placement issues. A quick ‘Shift + S‘ to ‘Cursor to Selected‘ on the curve followed by ‘Selection to Cursor‘ on the mesh can help align them perfectly.
2. Mirror Modifier
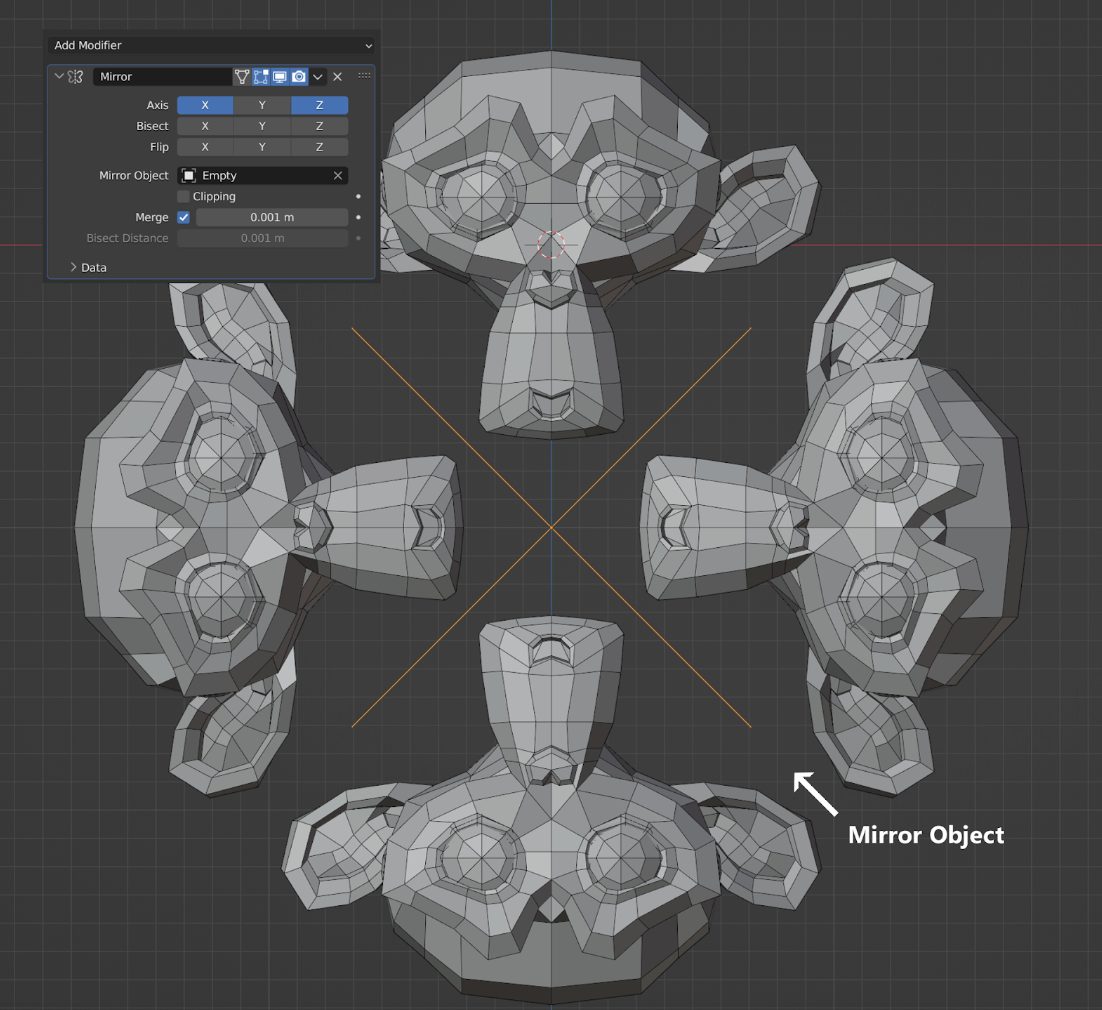
Let’s explore the next modifier of top 10 modifiers in Blender. The Mirror modifier mirrors a mesh along its local X, Y and/or Z axes, across the Object Origin. It can also use another object as the mirror center, and then use that object’s local axes instead of its own.
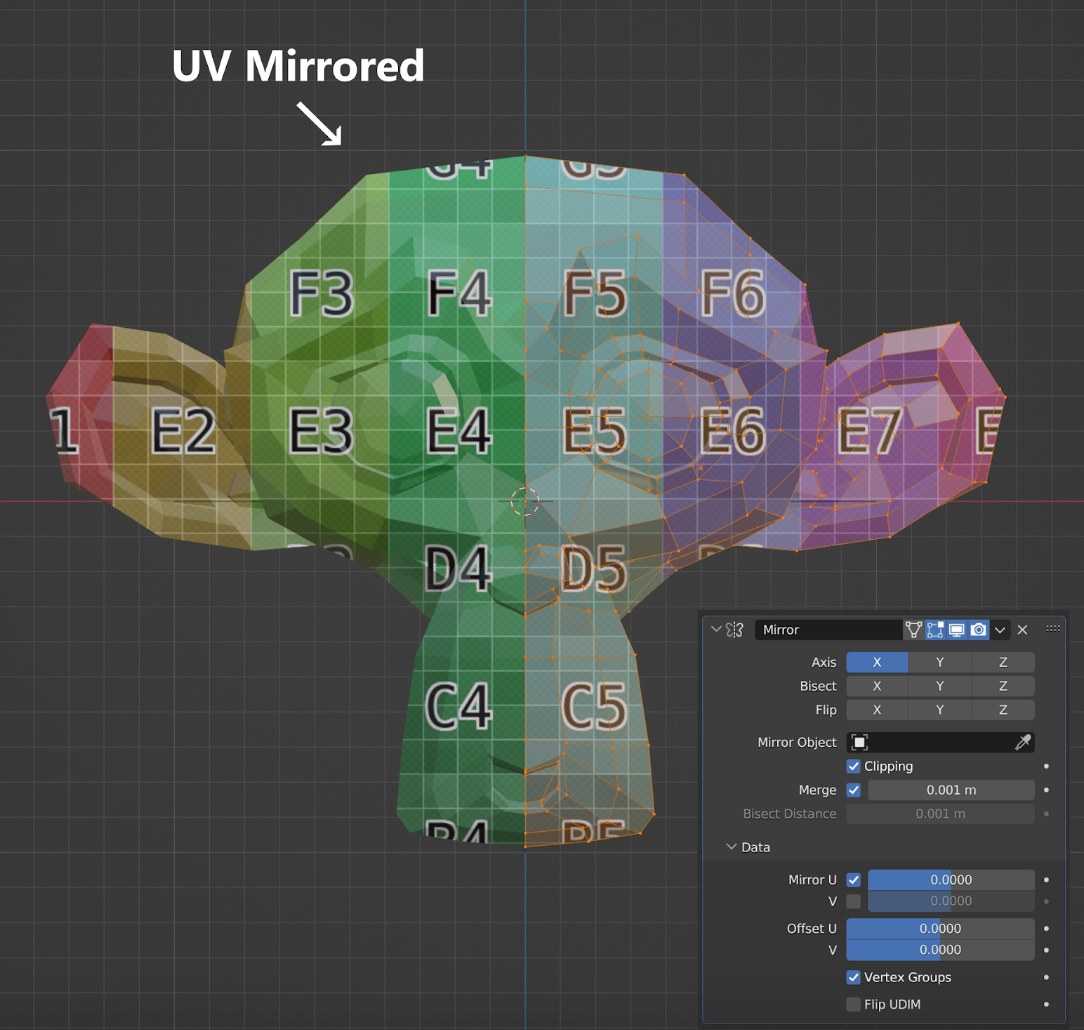
The Mirror modifier allows you to reflect a UV map, enhancing texture application and management. Plus, there’s a unique capability where you can mirror based on an angle set by another object, offering dynamic design possibilities.
A good technique to achieve an exact position is to select the edge, then snap Cursor to Selection. This will position the 3D Cursor in the center of the edge. Finally, use the Set Origin menu, and select Origin to 3D Cursor. This will move the object’s origin (and thus, the mirror plane) to where the 3D cursor is located, and the mirroring will be exact.
3. Simple Deform Modifier
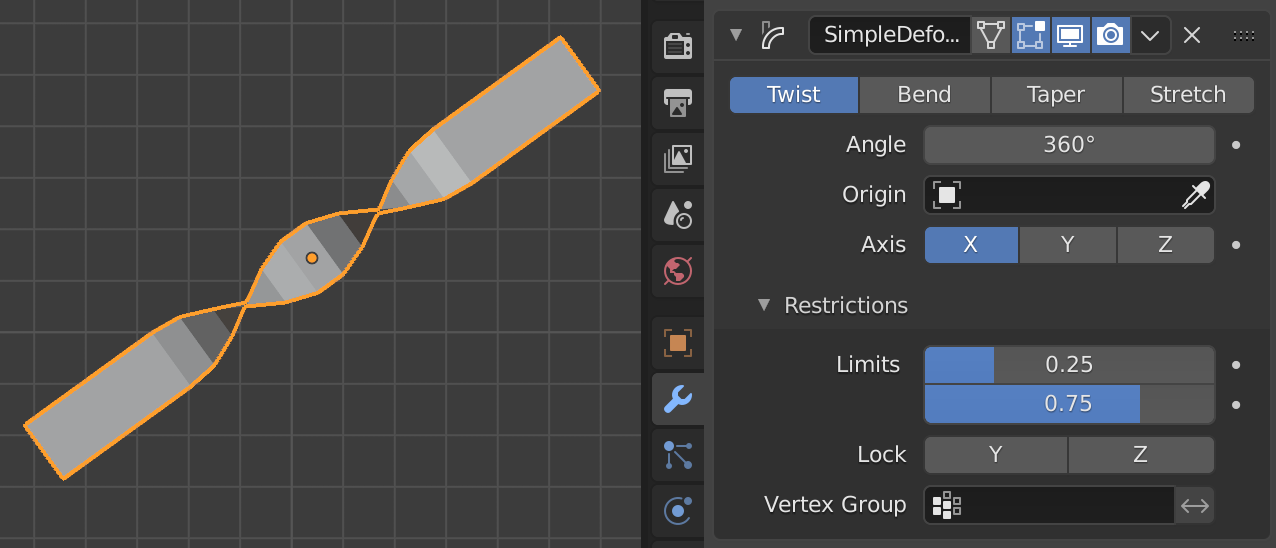
An object can be given a simple deformation by using the Simple Deform modifier. Meshes, lattices, curves, surfaces and texts are supported objects. The deformation is either a rotation (Twist, Bend) or a scaling (Taper, Stretch). The amount of deformation is specified by the Deform Angle (rotation) or Deform Factor (scaling).
Here is a tip for you: When using the ‘Twist’ function, couple it with Proportional Editing (shortcut O in Edit Mode). This allows for control over the twist intensity. Blending these two functions can produce some of the most organic and dynamic spiral transformations. And always remember to scroll the mouse wheel to adjust the influence radius.
4. Warp Modifier
The Warp modifier can be used to warp parts of a mesh to a new location in a very flexible way, by using two objects to select the “from” and “to” regions.
Some people will find this modifier a bit tricky to understand at first. It requires two points, specified by the two target objects’ origins. The “from” point designates a point in space that is pulled toward the “to” point. It is akin to using the Proportional Editing in Edit Mode.
Another way to use this modifier is similar to the Deform Modifier. This allows you to deform parts of the mesh without having to make a vertex group.
5. Smooth Laplacian Modifier
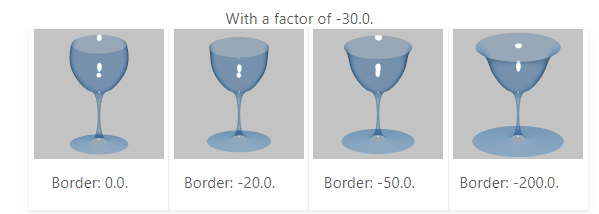
You may minimize form changes to a mesh while still reducing noise on its surface by using the Smooth Laplacian modifier. Additionally, it can use a negative Factor to accentuate the shape.
When reconstructing real-world objects that have unwanted noise, the Smooth Laplacian might be helpful. It eliminates noise while maintaining the original model’s shape and desired geometry.
This modifier is based on a curvature flow Laplace Beltrami operator in a diffusion equation.
One of its standout features is the ability to control both volume and boundary independently. This distinct capability makes it a useful tool, especially when you’re in the design phase and want to iterate through different drinking glass shapes and styles.
6. Lattice Modifier
One of its standout features is the ability to control both volume and boundary independently. This distinct capability makes it a useful tool, especially when you’re in the design phase and want to iterate through different drinking glass shapes and styles.
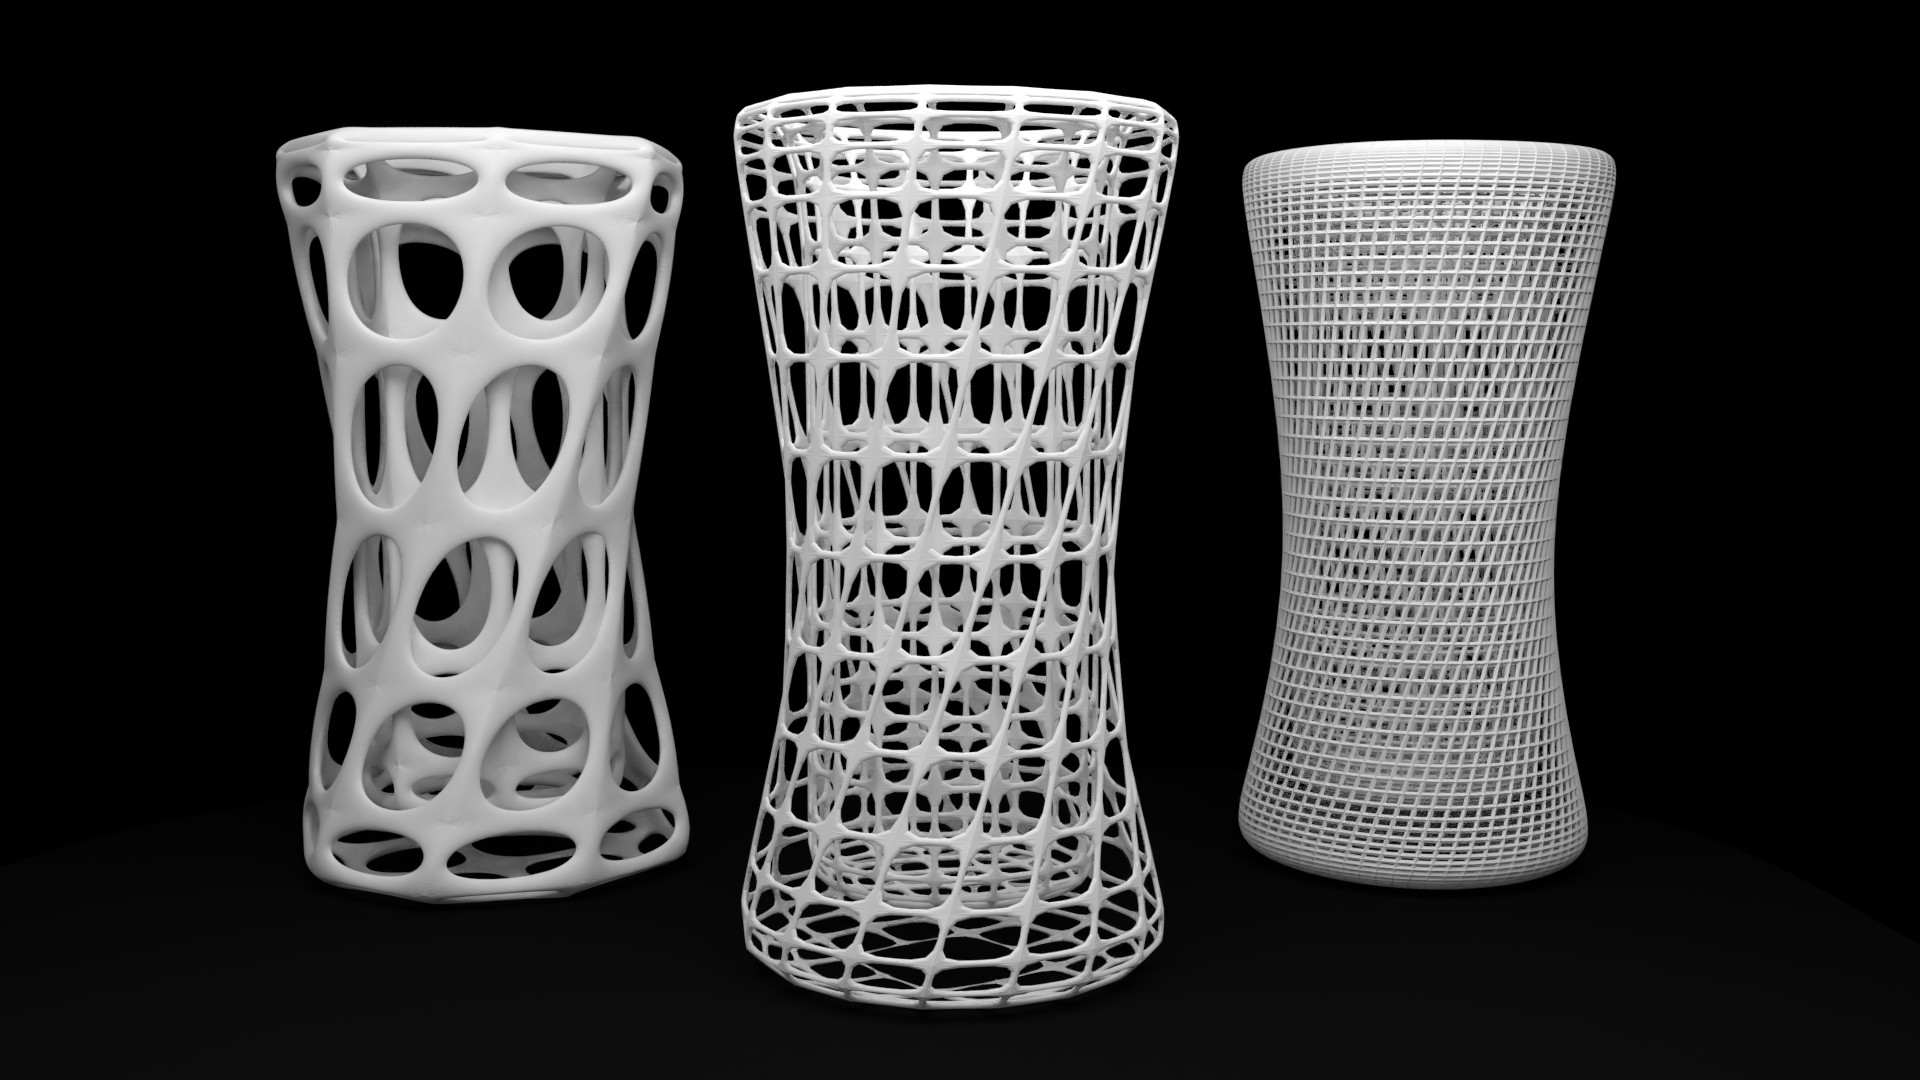
Instead of using Edit Mode to deform a mesh, the Lattice modifier can be the best choice. If your object has a large number of vertices, it would be difficult to edit portions of it quickly in Edit Mode. Using a lattice will allow you to deform large portions efficiently and the smooth deformation you get from a Lattice modifier can be hard to achieve manually. In addition, multiple objects can use the same lattice, thus allowing you to edit multiple objects at once.
7. Cloth Modifier
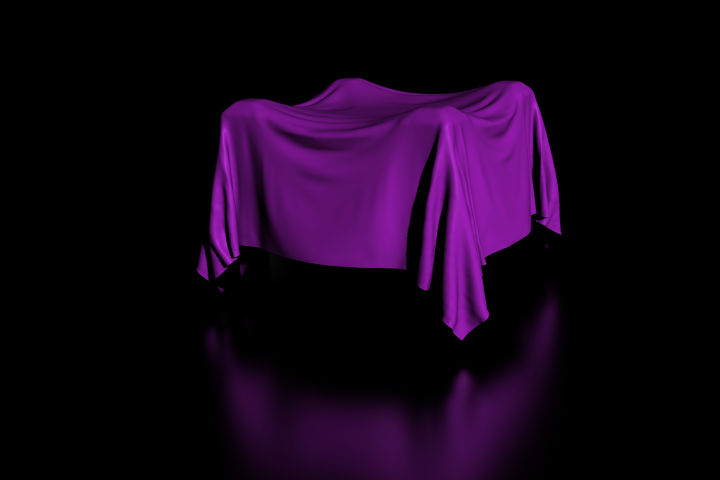
The Cloth modifier is a container for a Cloth Physics simulation. It can be useful for example, to simulate on a low-poly mesh then add a Subdivision Surface Modifier after the Cloth modifier to improve the visual quality of the cloth without drastically increasing simulation times.
As the modifier is only a container its actual options can be configured in the Physics Properties tab.
8. Particle System Modifier
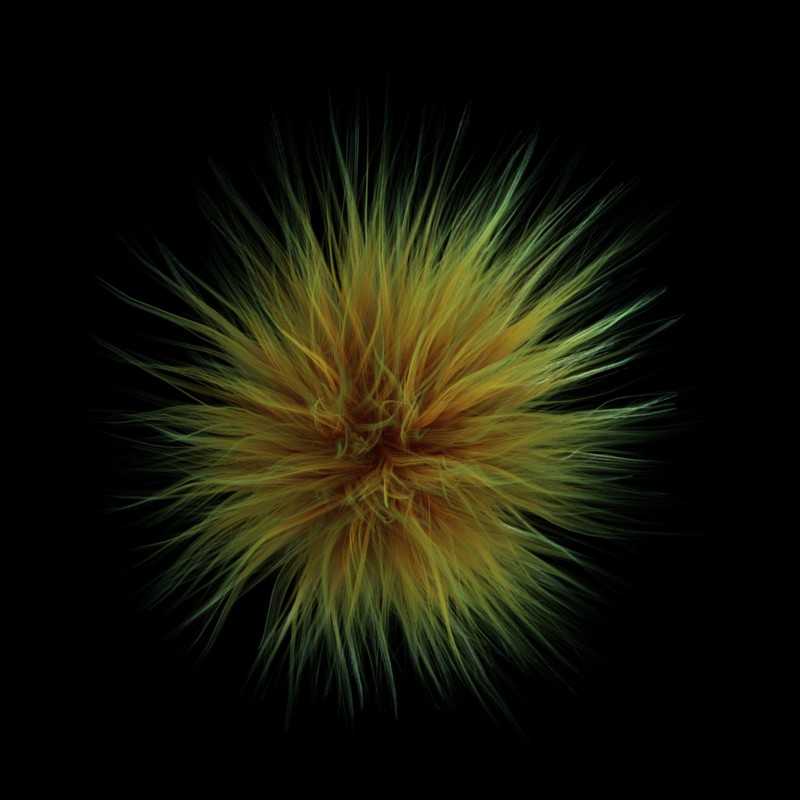
The Particle System modifier is a container for Particle Systems. Particles are lots of items emitted from mesh objects, typically in the thousands. Each particle can be a point of light or a mesh, and be joined or dynamic. They may react to many different influences and forces, and have the notion of a lifespan. Dynamic particles can represent fire, smoke, mist, and other things such as dust or magic spells.
To add a new particle system to an object, go to the Particles tab of the Properties editor and click the small + button. An object can have many Particle Systems. Each particle system has separate settings attached to it. These settings can be shared among different particle systems, so one does not have to copy every setting manually and can use the same effect on multiple objects.
9. Shrinkwrap Modifier
The Shrinkwrap modifier allows an object to “shrink” to the surface of another object. It moves each vertex of the object being modified to the closest position on the surface of the given mesh (using one of the four methods available). It can be applied to meshes, lattices, curves, surfaces and texts.
This mode is similar to Nearest Surface Point, but produces a much smoother projection in return for being significantly slower. Instead of finding the closest point, it searches for the nearest point that has its interpolated smooth normal pointing towards or away from the original vertex position. Non-manifold boundary edges are specially handled as infinitely thin cylinders that emit normals in all perpendicular directions; ignore flat shading.
10. Fluid Modifier
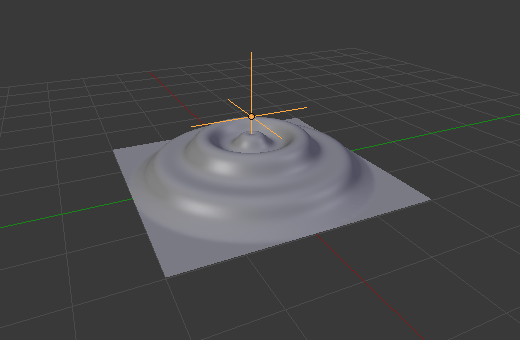
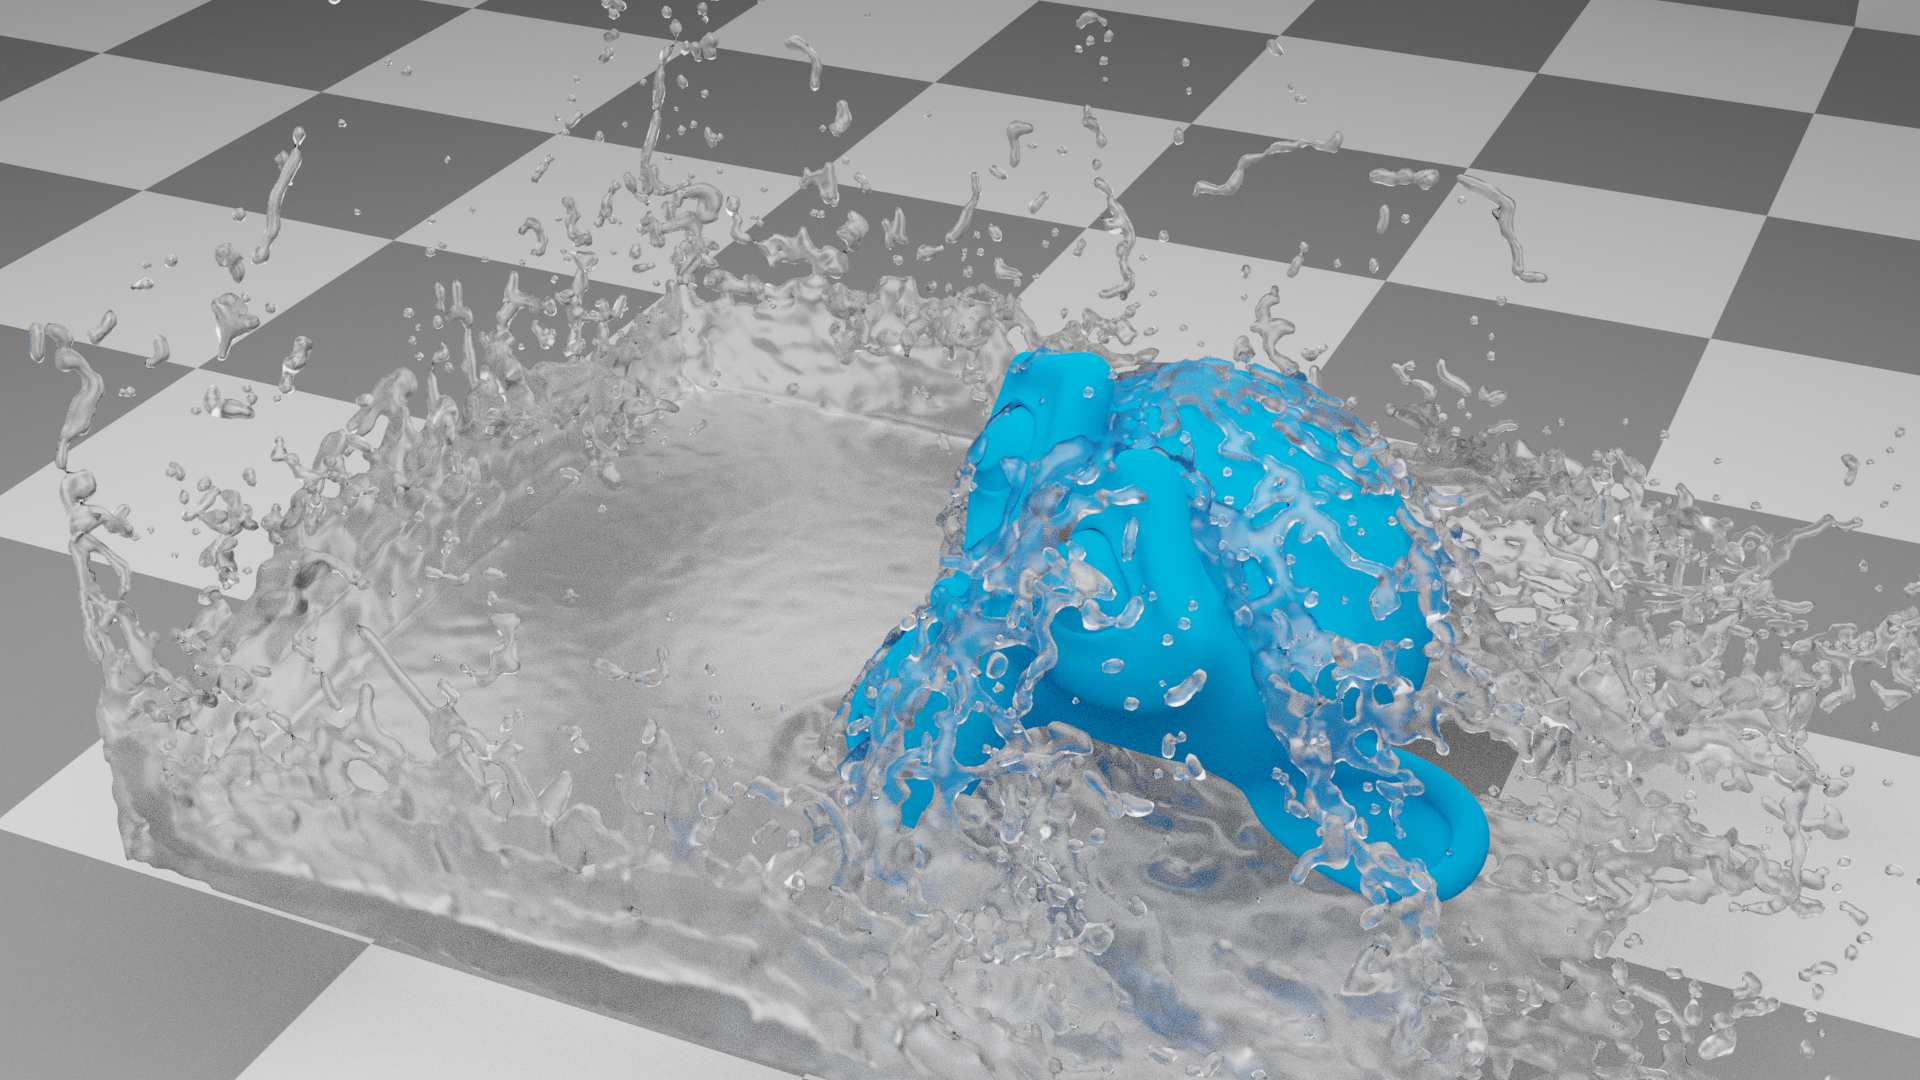
The Fluid modifier is the last of the Top 10 modifiers in Blender. It is a container for a Fluid Physics simulation. It can be useful for example, to simulate on a low-poly mesh then add a Subdivision Surface Modifier after the Fluid modifier to improve the visual quality of the fluid without drastically increasing simulation times.
Fluid physics is used to simulate the physical properties of liquids, especially water. While creating a scene in Blender, certain objects can be marked to become a part of the fluid simulation. For a fluid simulation, you have to have a domain to define the space that the simulation takes up. In the domain settings, you will be able to define the global simulation parameters (such as viscosity and gravity).
Gas or smoke simulations are a subset of the fluids system and can be used for simulating collections of airborne solids, liquid particulates and gases, such as those that make up smoke. It simulates the fluid movement of air and generates animated Voxel textures representing the density, heat, and velocity of other fluids or suspended particles (e.g. smoke) which can be used for rendering.
iRender - Best Cloud Rendering Service for Blender Artists
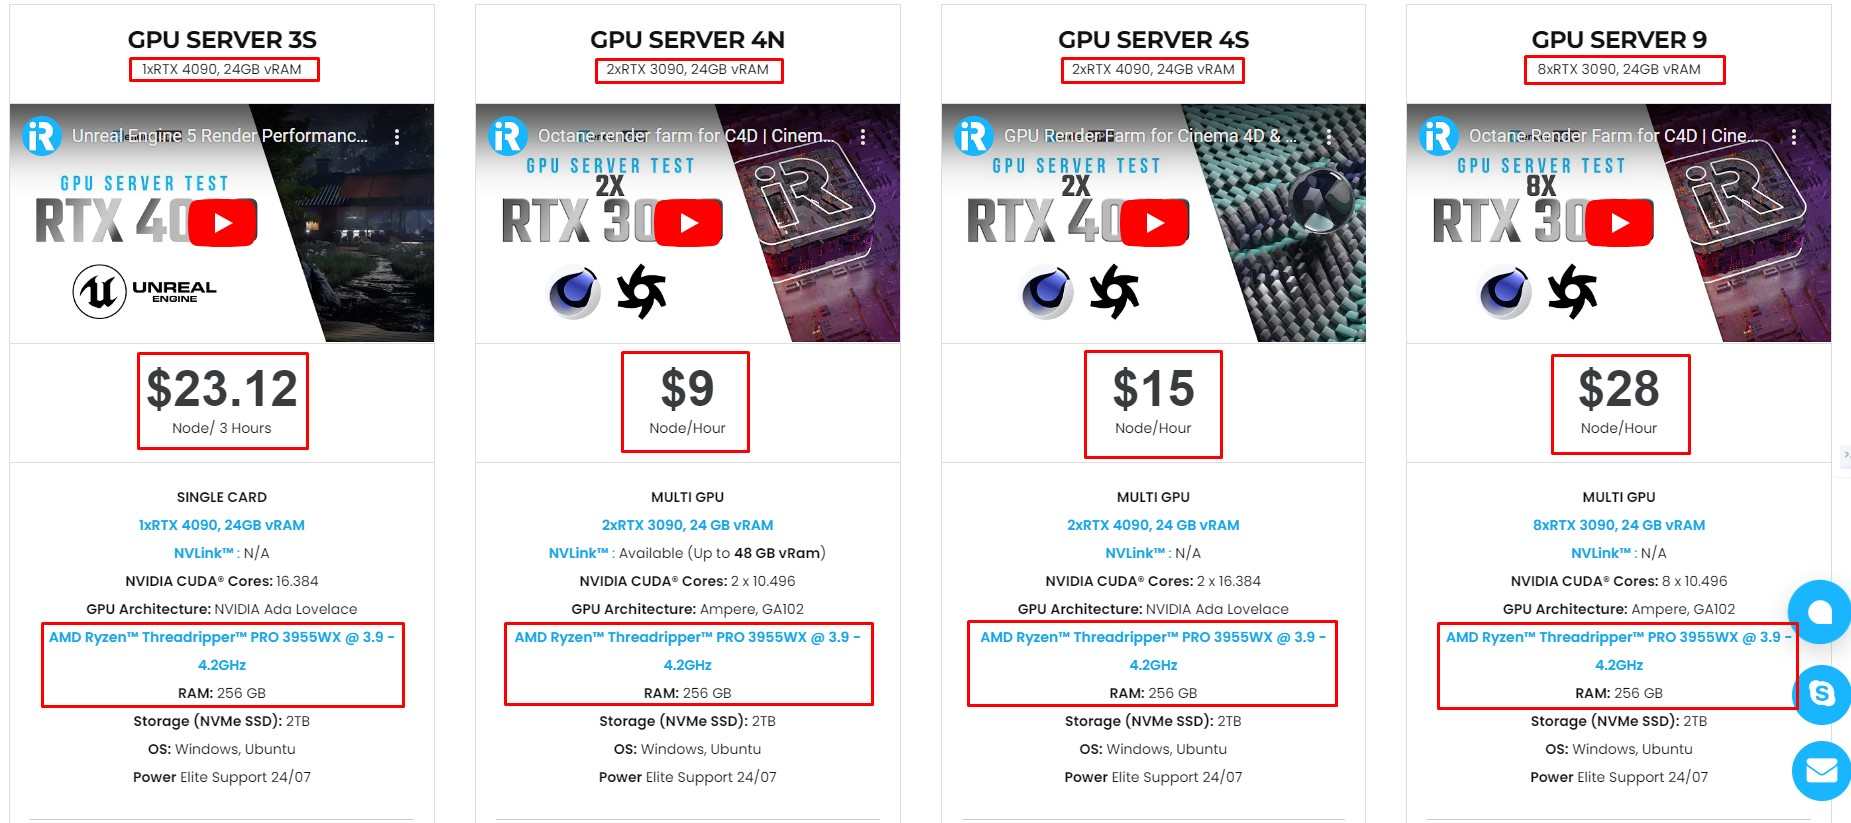
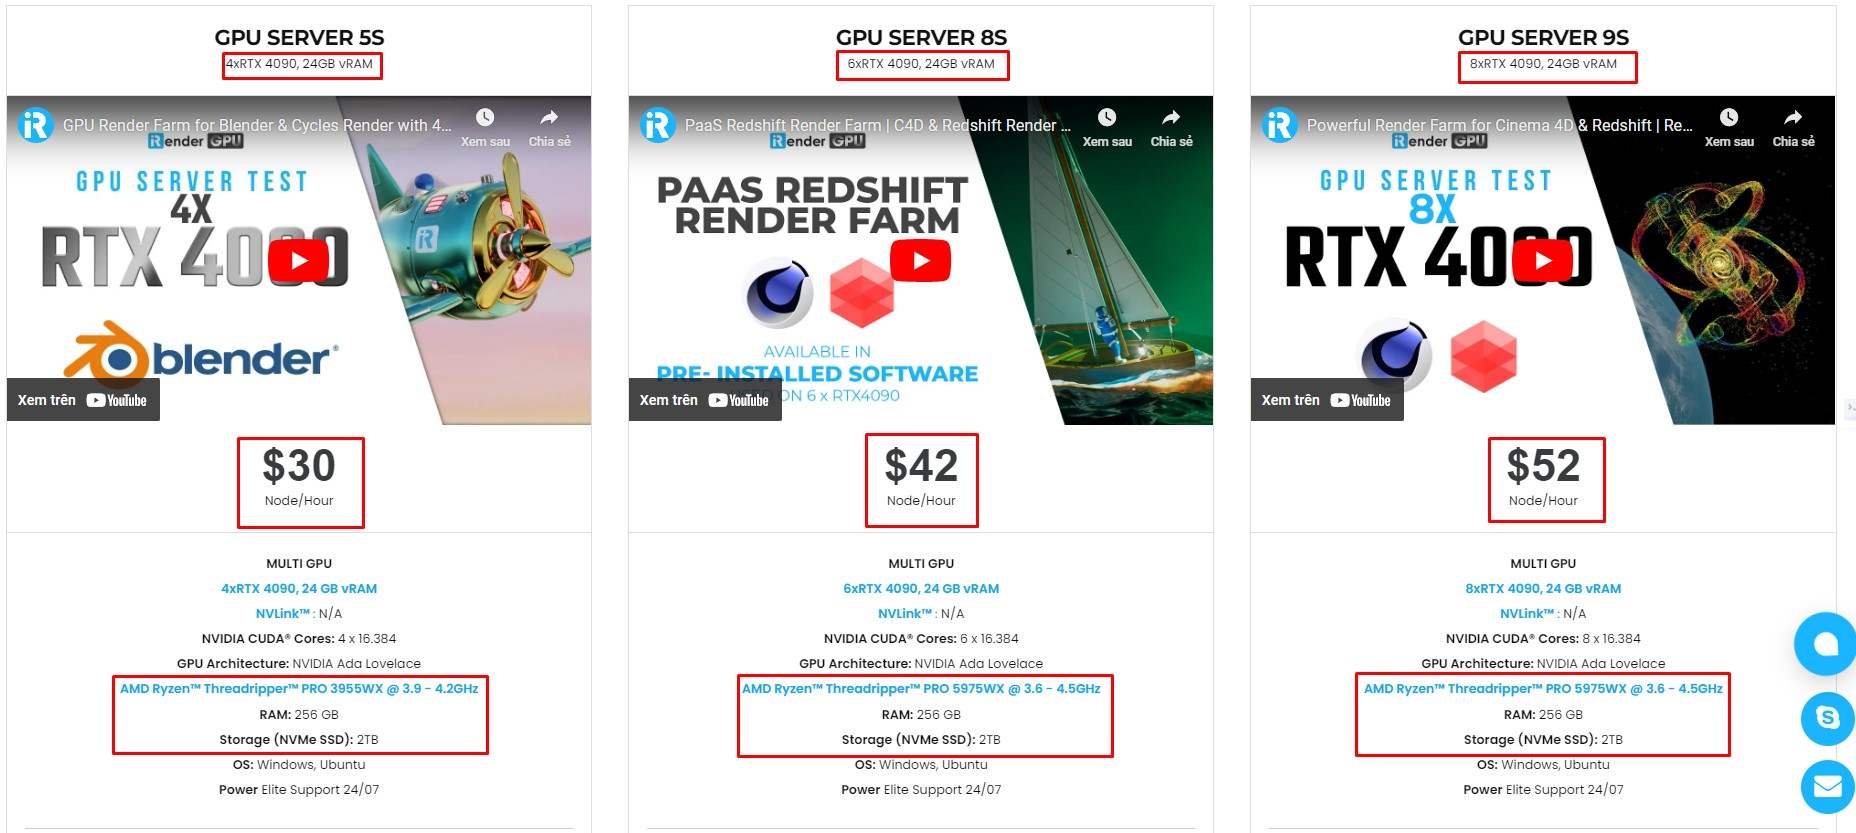
iRender provides high-configuration servers that increase CPU and GPU rendering speeds. We offer the most powerful RTX 4090 configuration packages on the market, all equipped with AMD RyzenTM ThreadripperTM PRO 3955WX @ 3.9 – 4.2GHz and AMD Ryzen™ Threadripper™ PRO 5975WX @ 3.6 – 4.5GHz processors, 256GB RAM and 2T NVMe SSD hard drive capacity. With a wide range of GPU servers (1/2/4/6/8x) – RTX 4090, you can choose the server that suits your needs to start the rendering process.
Our system has pre-installed Blender. You just need to transfer your files, connect to the remote servers and render yourself.
You can check our packages here to get the most suitable choice for your Blender render.
We just released a new server with 8 x RTX 4090 which will optimize your render with Blender, let’s check it now!
Currently, iRender offers a special promotion for new users, a 100% bonus program for the first deposit within 24 hours of registration, making it an attractive option for those looking to optimize their rendering budget. Just register and get our best deal!
For more detailed information, please contact us via Live chat 24/7 or WhatsApp: +(84)915875500 or Email: [email protected]
iRender – Happy Rendering!
References: docs.blender.org, cgcookie.comkie
Related Posts
The latest creative news from Blender Cloud Rendering

