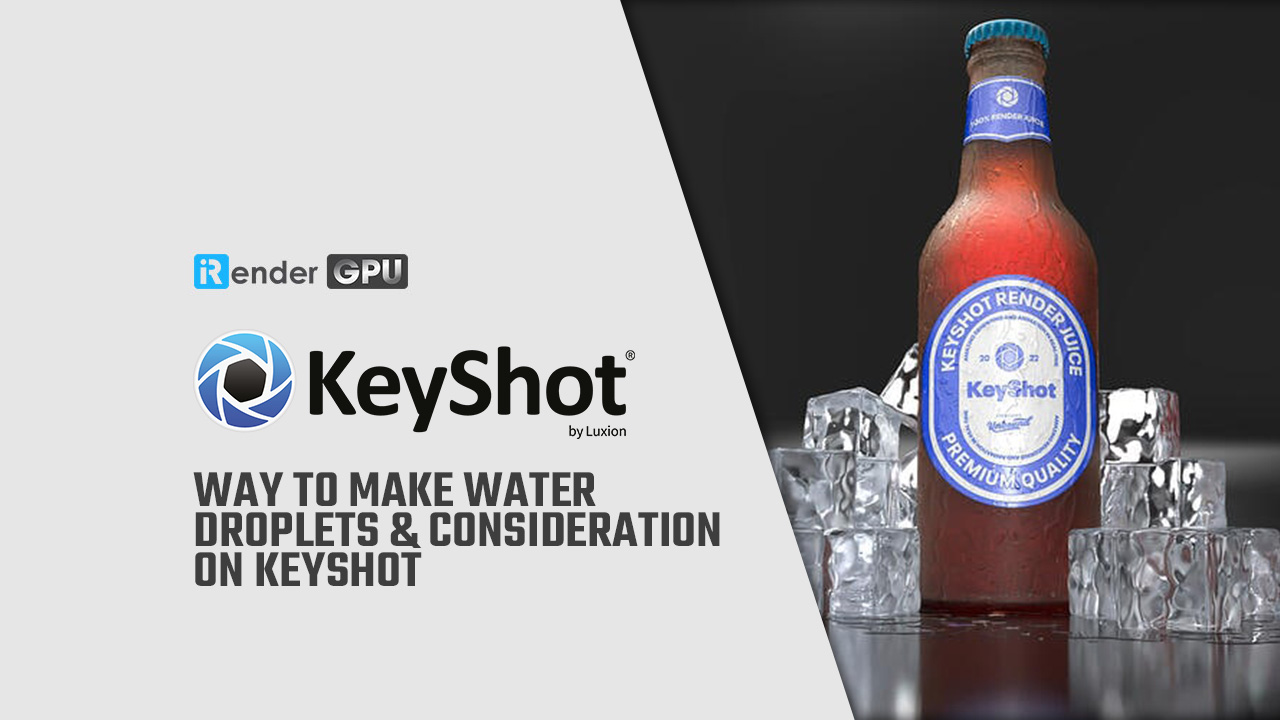
Way to make Water Droplets & Condensation on Keyshot
KeyShot not simply allows you to make advanced materials and textures with features like 3D Paint but also provides rich texturing capabilities to add water droblets and condensation. now, Let’s dive into a texture combination to dial in exactly the water droplet appearance designers need for their product illustrations with iRender Cloud Rendering Service.
KeyShot Water Droplets & Condensation
There’s an array of employments for making a scene appear more realistic with water driblets, water pools, water streaks, or light condensation. Beverage visuals are likely the most obvious but the following technique will work just as well for a bedroom window after a light rain, fresh dew on stunning out-of-door automotive scenes, or the hint of sweat on a brow of a character. Let’s dive in and figure how to create Water Droplets & Condensation on Keyshot
Before You Start making Water Droplets & Condensation
Double-click the object you want to add condensation to and choose the Material Graph button from the Project, Material tab. We will add water driblets to a glass bottle, so make sure the Material Type is set to Solid Glass. However, if you dont want to use it, you can still use this technique to make believable condensation on any material,
Bump Map, Procedural Texture, Displacement, or All?
Once you have your base material set up, the coming step is to add the water droplets. You might have tried using bump maps, procedural textures, and displacement. They all have their own strengths and weaknesses, so we’ll show you how to use these methods to dial in the perfect combination of water drop and condensation.
1. Add a Procedural Texture
To start with Water Droplets & Condensation, you will need to apply a Spots texture node. First, right-click the Material Graph workspace and choose Texture, Spots. Select Spots node and hit C- key to enable Preview Color for a better look at the adjustments you’ve made. Update the Spots Scale, Falloff settings, and Distortion to as you want.
Change the Spots node Color to black and the Background color to white color to use the texture to drive the roughness of the parent material. Then, connect the Spots node to the Glass materials Roughness input for the white-colored background area to turn rough while the black water drop areas remain smooth. This way will create the appearance of a frosty, chilled glass with water dropping on the surface.
2. Apply the Texture Map
Drag-and-drop a water streak image ( for example here) into the Material Graph and attach it to the Background color of the Spots node. To add the frosty appearance, right-click the connection between the Texture Map node and the Spots node, and choose Utilities, Color To Number to add this node.
Noted that the Color To Number node will convert color values to numeric values. This is often done implicitly such that black is zero and white is 1, however, there are cases when you need further control. When you choose to apply on a Texture Map node, it will allow you to control the values of the image texture which will determine the quantum of roughness or clarity on one surface.
When you select the Color To Number node, hit the C- key to preview adjustments better. Adjust the input and output parameters until you have a mid-to-light gray background and water streaks appear black. Formerly set, toggle Preview Color off (C- key) to see how the surface looks. However, lower the Output From number to reduce the roughness, if the surface is too frosty/rough. And even increase the Output From number to add further roughness, if the surface isn’t frosty enough.
3. Add Displacement
Let’s come to the next steps to make Water Droplets & Condensation. We’ll add a displacement node so that the water will be raised off the surface of the bottle. Right-click on the Material Graph workspace and select Geometry, Displace. Connect the Displace node to the parent Material node’s Geometry input, then attach the Spots node to the Displace node. Adjust the Displacement Height as required. The Displacement Height is dependent on the scene’s overall scale, so don’t be scared to trial. After that, choose the Execute Geometry Node button below the Displace Properties or simply click the Execute Geometry Node icon in the top right corner of the Real-time view. Note that use a negative number for the Displacement Height when the Spot node Color and Background color are inverted. Let’s take a look at the final Material Graph setup for the Glass material
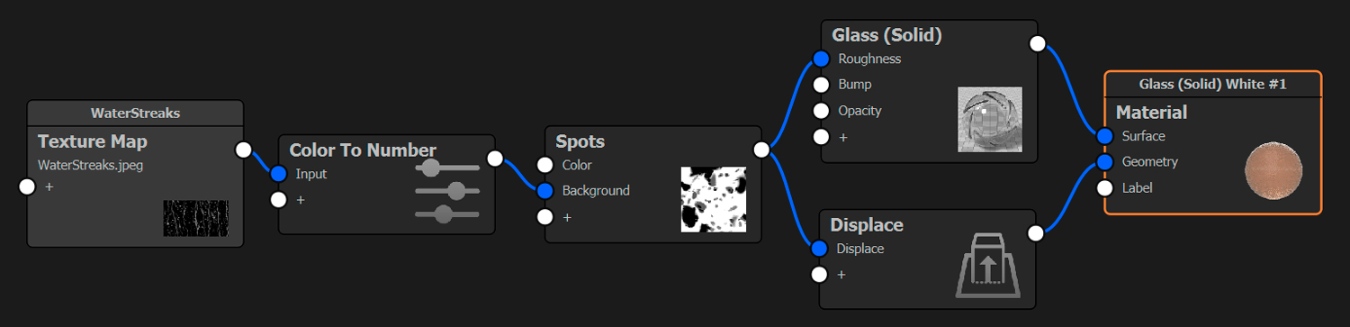
So that’s the end of the instruction to make Water Droplets & Condensation on Keyshot. Dont forget to download KeyShot scene in order to see the entire Material Graph setup with label and explore the various nodes and settings. and to learn further about the KeyShot Material Graph and creating custom materials, visit the KeyShot manual.
iRender - Best cloud Rendering for Keyshot users
iRender is a GPU-Accelerated Cloud Rendering Service providing high computing performance for designers worldwide to boost their render speed. Users will connect to our server online, install any version of Keyshot that they are using, and interestingly that only one time and easily do any intensive tasks like using your own local computers. And if you are having trouble in selecting a good render farm for Keyshot? And you are still asking yourself what is the best cloud render farm for your needs. Let’s straight to iRender. Here we provide various types of single/ multi-GPU-servers ranging from 1/2/4/6/8 RTX 3090. They are the most effective for Keyshot rendering in GPU, coming with the following specifications:


Using multiple video cards gives fantastic rendering performance so using many computers having multi GPUs at the same time gives far better performance. Let’s have a look at some testing videos on our server here:


Some other outstanding features at iRender

At iRender, we always care about customers’ experience to offer our beloved customers the power they need. Even a slow computer can turn into a supercomputer using the cloud rendering services by iRender. You don’t need to buy expensive computers and spend hours loading that heavy software, just makes use of our services and start creating right away
If you are a new here just register HERE to get FREE COUPON to test our servers with your Keyshot scenes and stay tuned for more interesting and useful articles related to rendering every day. SPECIAL OFFER for this month: You will Get 20% BONUS for all newly registered users. Let’s CHECK IT OUT!
Thank you so much and Happy Rendering!
Reference Source: keyshot.com
Related Posts
The latest creative news from KeyShot Cloud Rendering , Cinema 4D Cloud Rendering , 3D VFX Plugins & Cloud Rendering.