An overview of the Twinmotion user interface
Twinmotion which is from Epic Games. It is very intuitive and easy to use, and, as such, most people find that they can learn the majority of its functionality by simply exploring the interface.
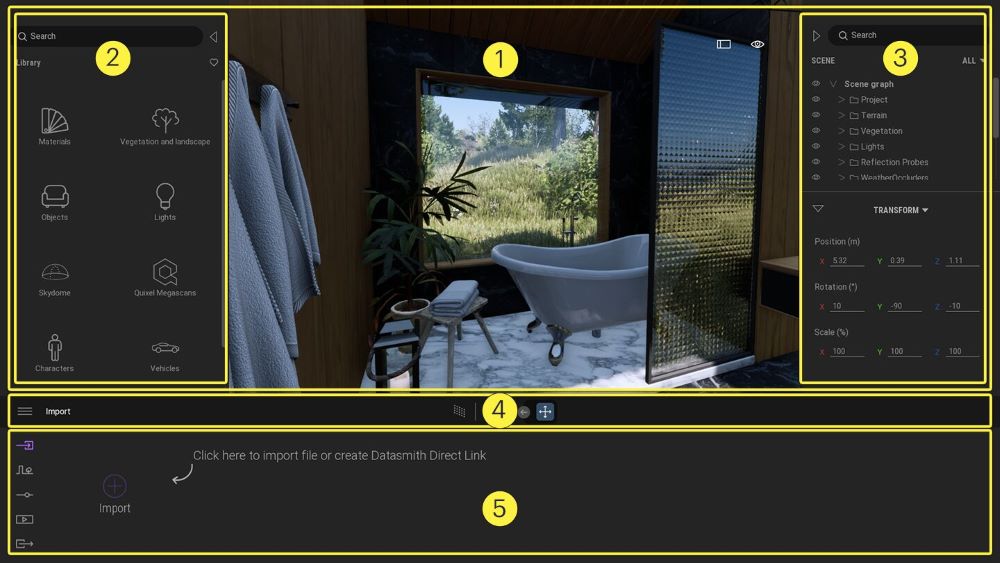
There are five main areas of the user interface. Let’s explore them in this article with iRender team.
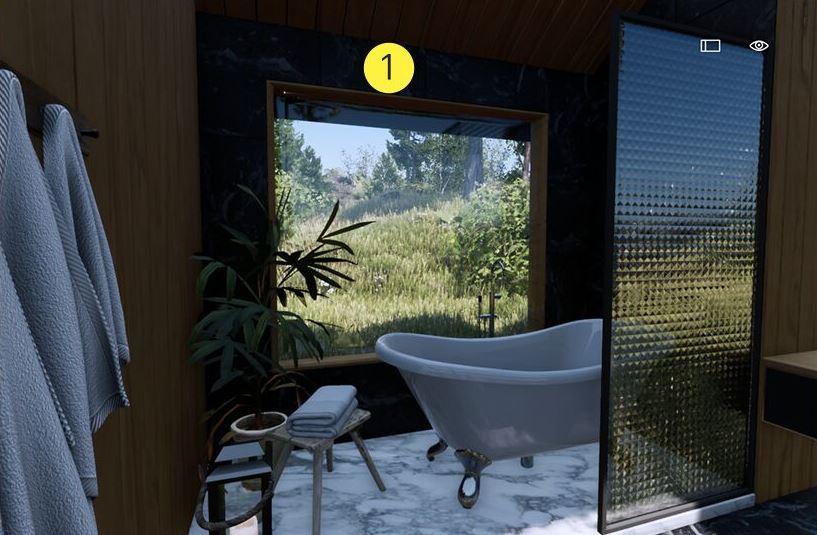
1. The Viewport
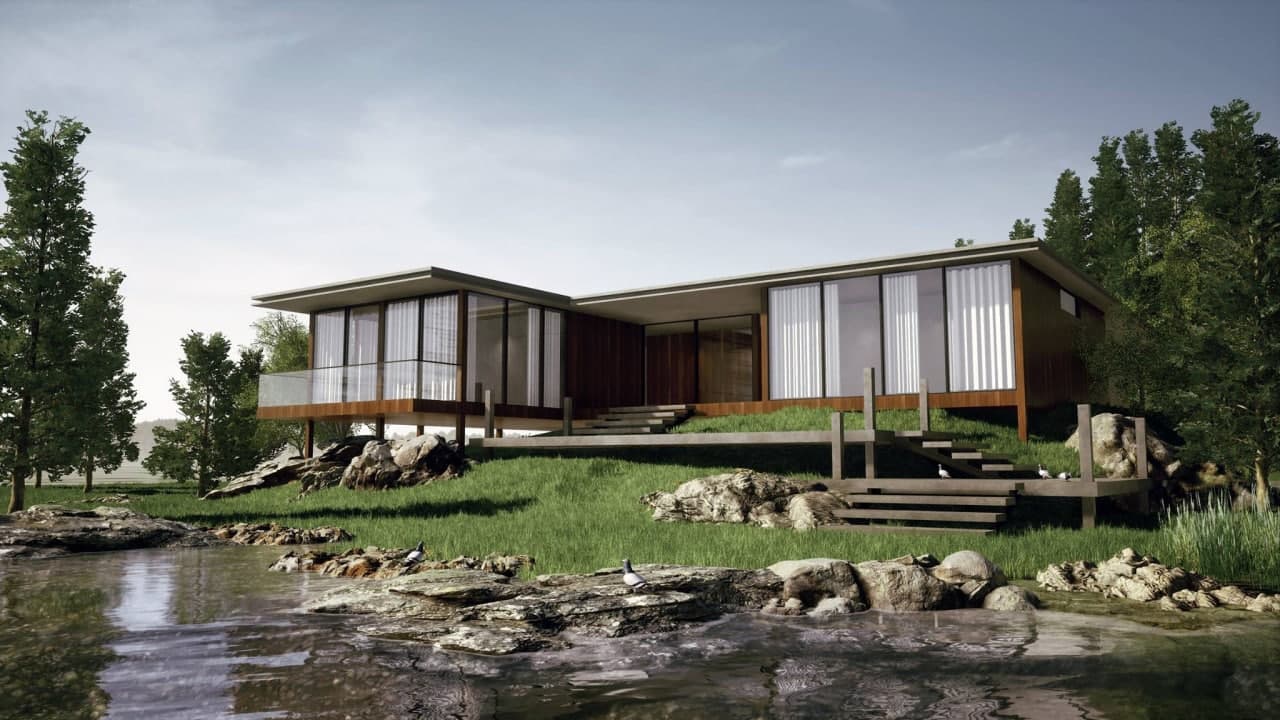
The Viewport is the area where the 3D scene that you import or open appears. It also displays the Navigation panel, and provides access to the Library and Scene Graph panels, the Fullscreen mode, and the Eye menu.
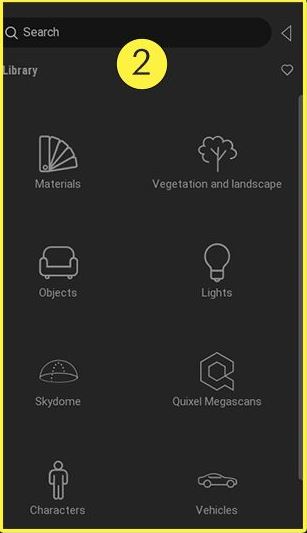
2. The Library
The Library contains all the assets that you can add to a scene, such as materials, vegetation and landscape, objects, lights, skydomes, Quixel Megascans, characters, and vehicles. It also includes scene tools and the User library.
Note: To open the Library, click the Arrow icon in the upper-left corner of the Viewport.
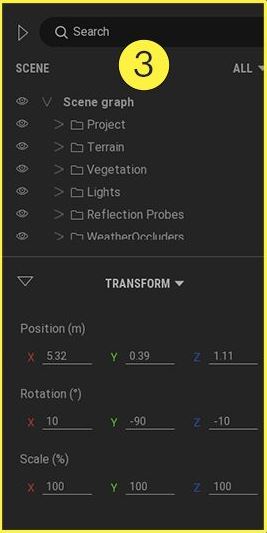
3. The Scenegraph
The Scenegraph contains the scenegraph menu, which is a visual hierarchy of all the elements in the scene. You can view or hide elements, depending on the viewing option and filter that you select. To access commands that you can perform on each element, click the ellipsis (…) that appears on the right of each element.
The bottom of the Scenegraph also contains an area that provides access to the Scene States feature, BIM information, scene statistics, and the Transform tools.
Note: To open the Scenegraph, click the Arrow icon in the upper-right corner of the Viewport.
4. The Toolbar
The Toolbar displays a breadcrumb and provides access to the Burger menu, the Path Tracer, the Material picker, the Move, Rotate, and Scale tools, and the Toggle space and Edit pivot tools.
5. The Dock
The Dock is where you can access most of the main tools for working in your scene. On the left side of the dock, click one of the icons in the Dock menu to open the Import, Context, Settings, Media, or Export contextual docks.
Depending on what you are currently doing, the contents of each dock will vary.
In the Dock, you can:
- Import scenes and create Datasmith Direct Links.
- Enhance scenes using animation, vegetation, and context.
- Modify and create materials.
- Adjust rendering, lighting, location, weather and camera settings.
- Create and export images, panoramas, videos, phasing, presentations, and panorama sets.
Tip: If you hover your mouse pointer over most items in the user interface, such as a menu item or an icon, a tooltip appears. The tooltip shows the name of the item and, if applicable, provides the shortcut to open it.
Some tooltips also contain a shortcut that you can use to automatically open a video about the item on the Twinmotion YouTube channel.
iRender - Powerful servers to accelerate rendering projects in Twinmotion
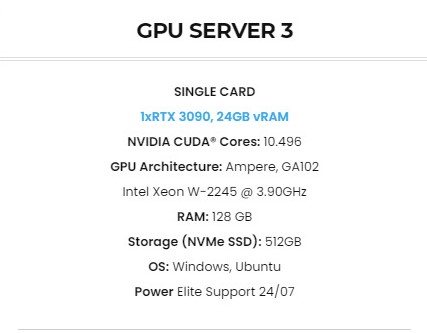
As almost all users know virtual machines have not supported Twinmotion. But in iRender, we have based-mental servers with strong CPU and many GPUs to accelerate rendering projects. We provide powerful machines that have processing capabilities of AMD Ryzen Threadripper Pro 3955WX @ 3.90GHz. In addition, they have the strongest GPU: RTX 3090 24GB VRAM.
Hard drives like SSD (Solid State Drive) or HDD (Hard Disc Drive) should also be taken into consideration when working on a very large project. Furthermore, storing your project on an SSD will allow your project to load and save faster. Luckily, iRender’s server is enough to adapt to these requirements and more.
Let’s CREATE AN ACCOUNT right now and enjoy unimaginative power from iRender.
Do not hesitate to contact Candace – Customer Support via email: [email protected] or Whatsapp: +840394000881 if you have any questions.
www.twinmotion.com
Related Posts
The latest creative news from V-Ray Cloud Rendering , Twinmotion Cloud Rendering , 3D VFX Plugins & Cloud Rendering.

