Animate a rigged Character Generator model in Maya
Autodesk has long been well known in the field of digital content creation, especially in the fields of rigging and animation. Maya has an incredibly powerful feature set that meets the complex needs of the rendering process, so it is always the top choice for 3D artists. Rigging in Maya is used to provide control points to the animator from which the animation can be created. Because the actual polygons we cannot touch but can manipulate to use for animation and modeling.
In this article today, let’s animate a rigged Character Generator model in Maya with iRender!
You may animate your rigged Character Generator model in Maya by either setting keys or using motion capture. You have to bring your customized character built-in Character Generator into Maya, confirm your character’s skeletal definition, and assign a Control rig as your character’s input source. And then you have to:
- Import Character Generator Characters to Maya
- Prepare a Character Generator Model for Maya
Below are detailed steps for you to animate a rigged Character Generator model:
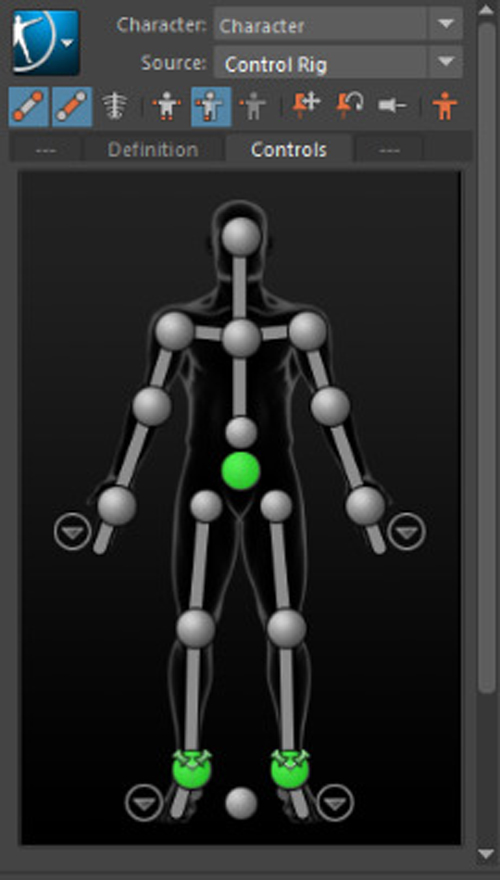
Step 1. Characters Controls
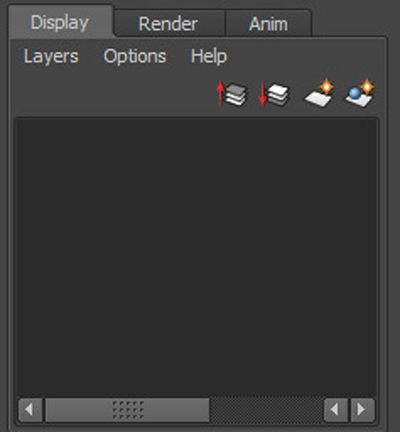
Open the Character Controls window and, if necessary, select the Controls tab.
Once you’ve created a Control rig for your skeleton, the Character representation shows cells for each IK and FK effector in the rig. These cells provide visual input on each effector’s pinning, IK blend, and IK pull settings, as well as the ability to create and select auxiliary and pivot effectors.
Before you start setting keys to animate your model, add an Animation layer where you can organize your keyframe animation while keeping the BaseAnimation layer intact.
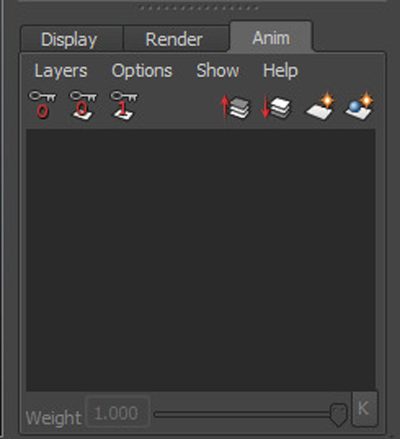
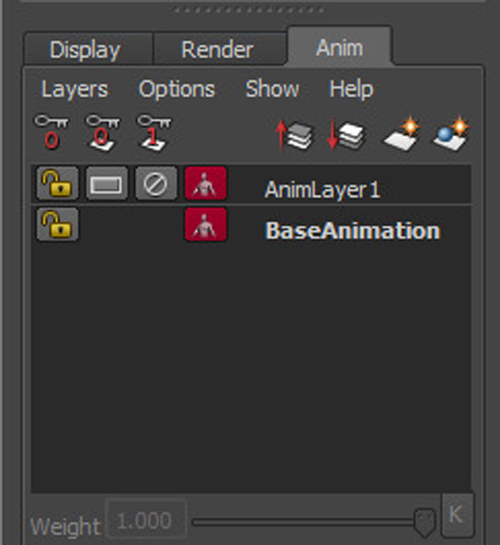
Step 2: Create an Animation Layer
Firstly, go to the right of the Character Controls and select the Channel Box / Layer Editor. The Layer Editor is displayed at the bottom and then you select the Anim tab. Next, in the Animation Layer Editor toolbar, click to create an empty Animation layer. The new Animation layer (AnimLayer1) is displayed by default above the BaseAnimation layer. Finally, you select the new Animation layer (AnimLayer1). The AnimLayer1 is shown as the current Animation layer below the Playback Controls.
Step 3: Set to Body Part
Go to the right of the Channel Box / Layer Editor and select the Character Controls.
The Controls tab toolbar shows the keying mode is set to Body Part.
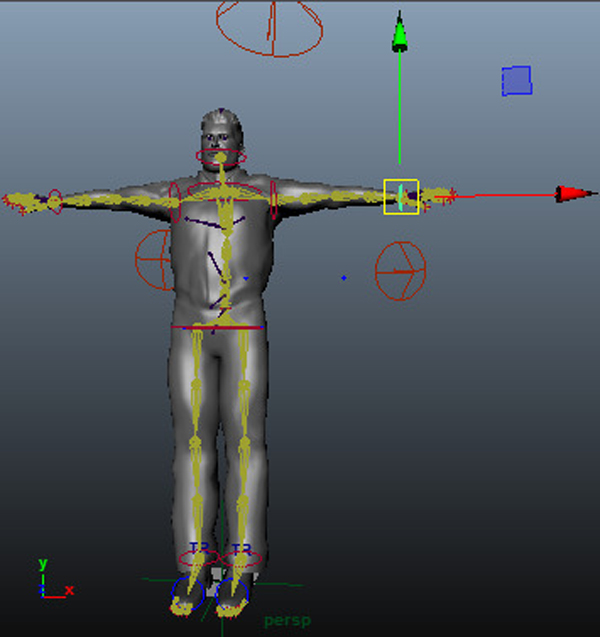
Step 4: Choose Effectors
In the Character representation, choose an effector.
When you choose an effector, it appears with a blue contour and is highlighted in green in the scene view.
Step 5: The effect of scene
On the left side of the interface, click the Tool Box and select the Move tool, or use the keyboard shortcut w.
The Move manipulator is shown in the scene view for the specified effector.
Step 6: Change the position of objects
To change the position of the selected object along an axis, drag an arrow using the Move manipulator.
When you pick Body Part as the keying mode, you may change all of the keyframes on the effectors that are part of the selected effector’s body.
Step 7: Full Body keying mode
If you want to manipulate a whole character rather than a specific body part, use the keyboard shortcut + Z to undo any changes you made to the position of your object.
Go to the Controls tab toolbar and choose Full Body keying mode.
Step 8: Use the Move manipulator to select objects
Step 9: Define the playback range
- Go to the animation controls.
The Range Slider bar allows you to adjust the playback range of your animation up to the Animation Start/End settings.
- Double-click the playback range.
The playback range is set to the values specified in the Animation Start/End fields.
Finally, you go to the Playback Controls and click to play the animation.
Speed Up Rendering in Maya with iRender Farm
iRender Farm is one of the best cloud rendering services that support Maya. With our powerful IaaS model and many server packages, from single GPU to multiple GPUs RTX3090/4090s, you can speed up your Maya projects several times. No matter what rendering engine you use with Maya, iRender can handle everything. iRender will provide you with a server (workstation) and it is a private working environment, you will install Maya, a plugin and add a license, start rendering. All our servers are physical machines so you will use 100% hardware usage, no sharing with anyone else. Join iRender now and have your own Cloud Workstation from only $8.2.
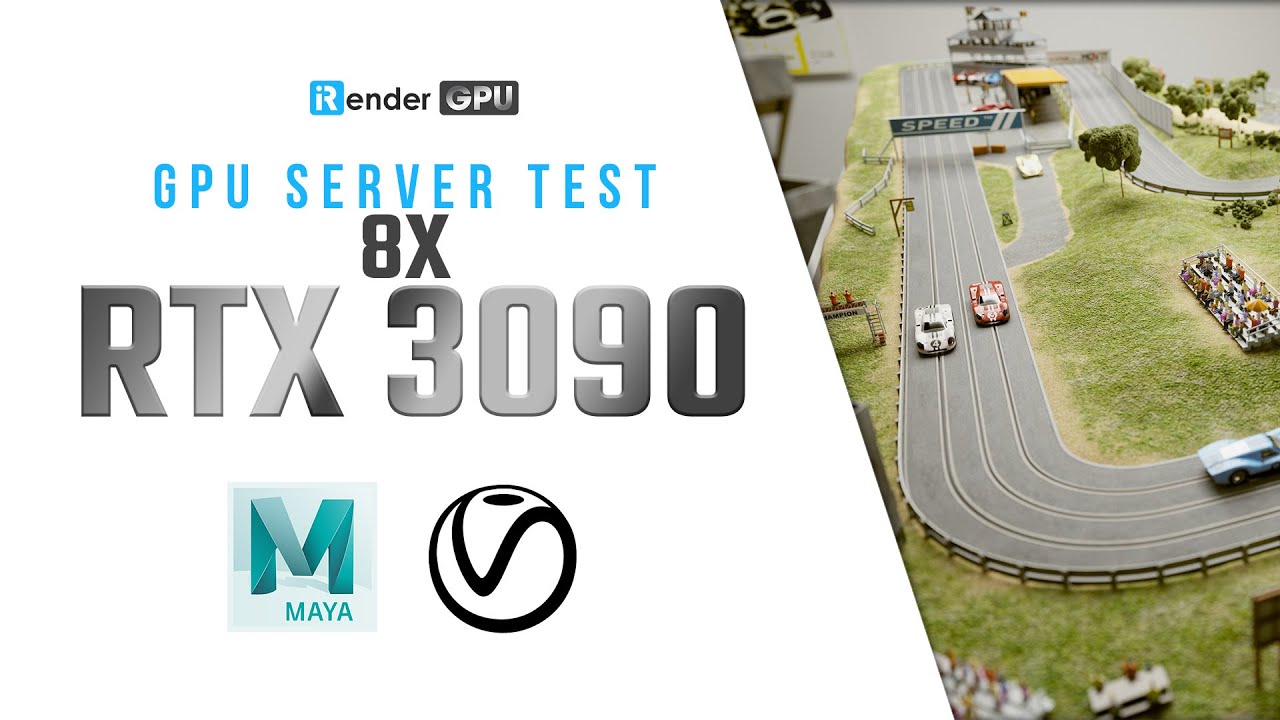
Let’s see how Maya performs on our server 9A (8RTX3090):

Moreover, the price is very flexible and suitable for Maya projects from small to large. Moreover, iRender always has a 24/7 online Support Team to help you handle problems immediately.
Right now, we have a promotion 100% bonus for the first transaction within 24h since your registration, receive 50% bonus for all transactions from 230$.
Let’s create an ACCOUNT and try our render beast for your Maya projects. For further information, please do not hesitate to reach us at [email protected] or mobile/ WhatsApp: +(84) 916017116, Skype: Lina iRender.
iRender – Happy Rendering!
Reference source: help.autodesk.com
Related Posts
The latest creative news from Maya Cloud Rendering, Redshift Cloud Rendering, Cinema 4D Cloud Rendering , 3D VFX Plugins & Cloud Rendering.