
Fluid simulation is a powerful technique that adds realism to 3D modeling and animation. Whether you’re creating a majestic waterfall or a simple spilled drink, mastering fluid dynamics can significantly enhance your projects. In this blog, we’ll explore how to leverage fluid simulation in 3ds Max, a robust software that combines advanced physics with intuitive tools. Join us as we journey through the essentials of creating stunning and lifelike fluid effects in your 3D artwork!
System Requirements for Enscape and PC Recommendations
Enscape is a powerful real-time rendering and virtual reality plugin widely used in the architecture, engineering, and construction (AEC) industries. It lets users visualize their designs interactively, providing a glimpse into how a project will look and feel before it’s built.
What can we do with SpeedTree 10 in Unity?
Recently, Unity has launched SpeedTree 10, the newest version of its tree-generation software. This update introduces a new procedural tool for creating vines, a Trim tool for manually adjusting the shape of trees, and a new Mesh helper object for personalizing major trees. Furthermore, the previous Games and Cinema editions of SpeedTree Modeler have been consolidated into a single edition that can export games and visual effects (VFX) assets.
Let’s jump in with iRender to discover those new features in SpeedTree 10!
Understanding Flow Retopology for Maya
In the world of 3D modeling, achieving high-quality meshes can be pivotal in creating visually stunning and efficient assets for animation, games, and visual effects. One technique that has gained significant attention among artists is flow retopology. This process involves creating a new, optimized mesh over an existing, often high-resolution model, ensuring that the surface flow of the new geometry matches the underlying form. This is essential for enhancing animation efficiency, minimizing rendering times, and improving the overall quality of the final output. Maya, one of the leading software applications in the industry, offers powerful tools and capabilities for retopology.
Let’s explore Flow Retopology for Maya with iRender in this blog today!
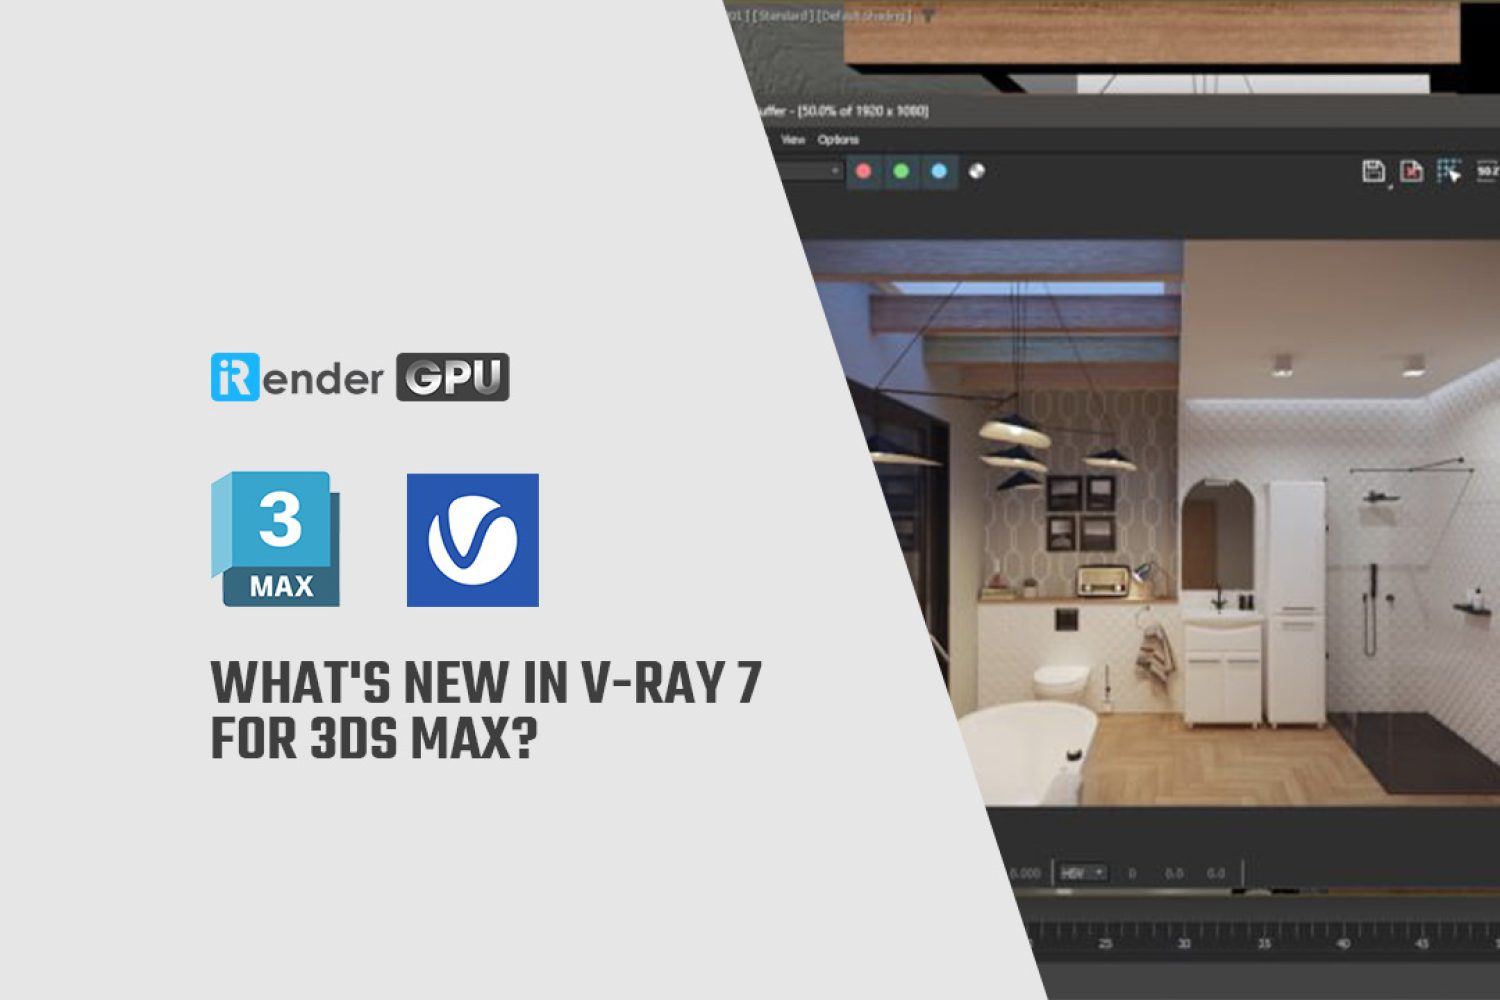
What’s new in V-Ray 7 for 3ds Max?
Recently Chaos has updated V-Ray 7 for 3ds Max. In this version, we see the supports for some prominent features like 3D Gaussian Splats (new 3D scanning method), updates for V-Ray Luminaires and V-Ray Sun and Sky, initial supports for caustics in V-Ray GPU, the V-Ray Frame Buffer and Chaos Scatter. In this article, let’s go through these new improvements.
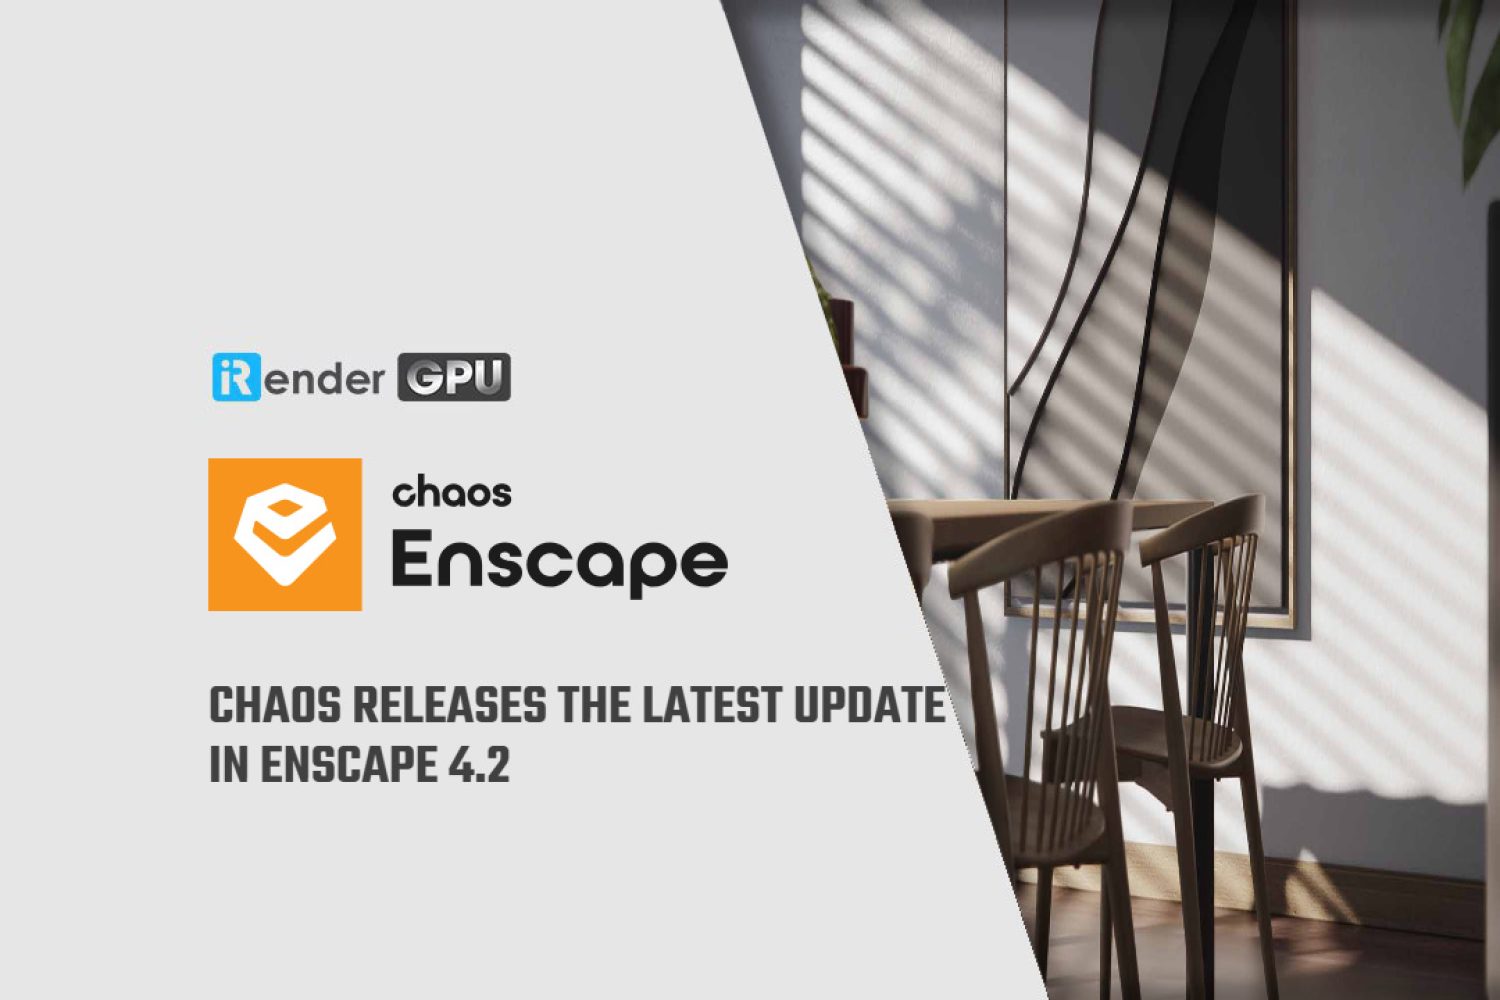
Chaos releases the latest update in Enscape 4.2
Chaos has released Enscape 4.2, the new version of its real-time rendering software for architectural visualization.
The release extends the new Artistic Visual Modes system for applying readymade visual styles to images and improves the visual quality of software ray tracing.
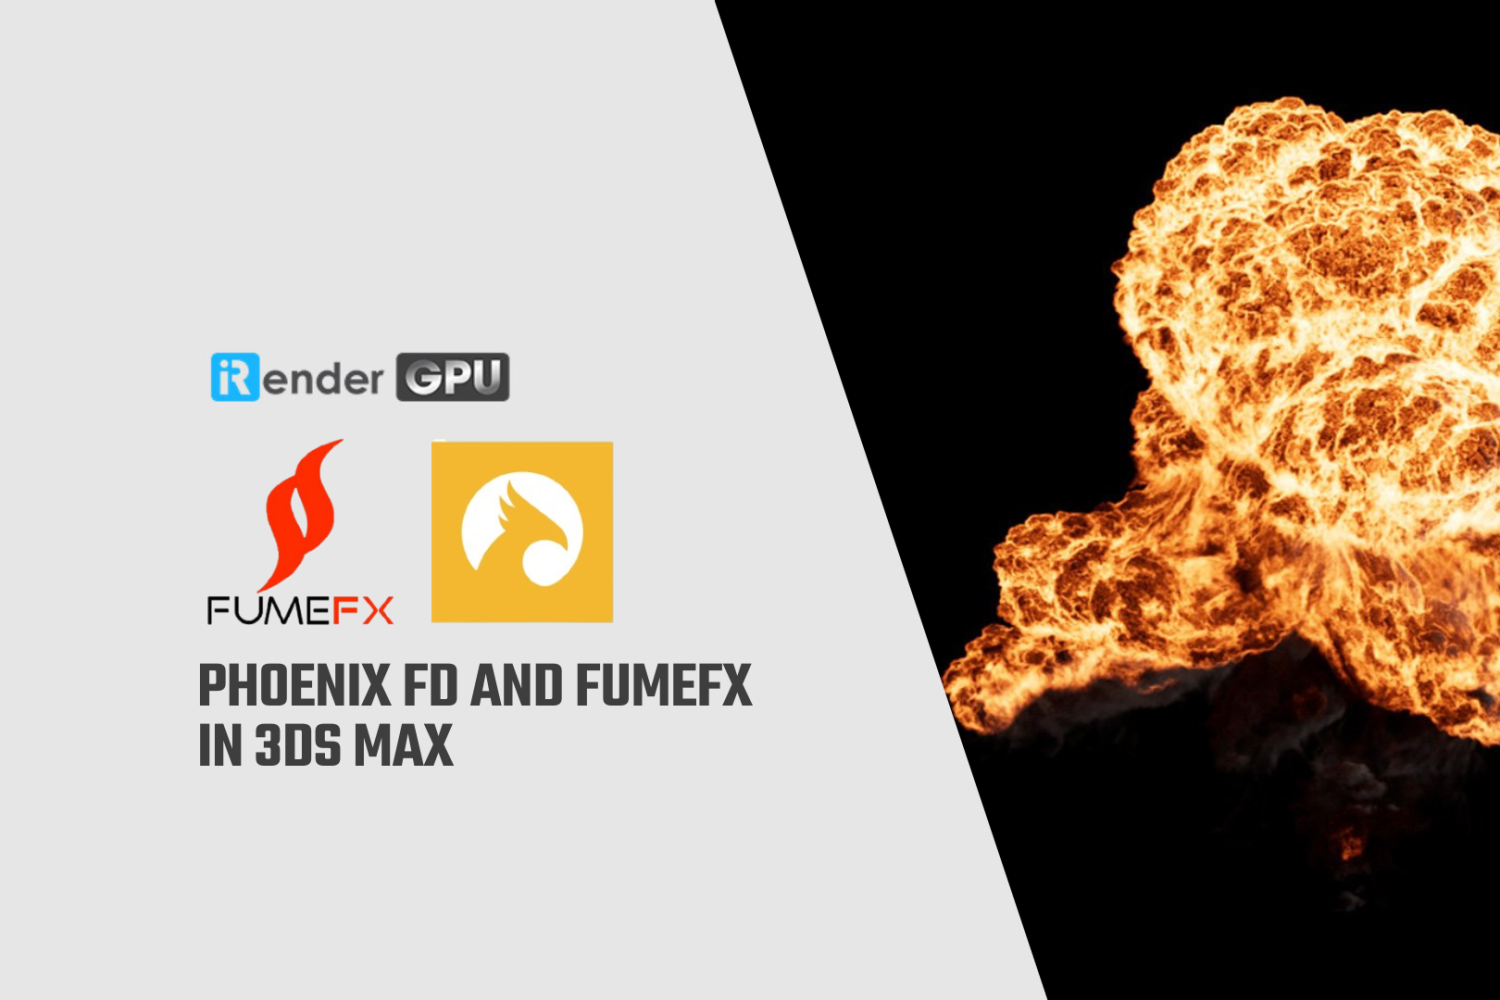
Phoenix FD and FumeFX in 3ds Max
This blog explores the pros and cons and a comparison of Phoenix FD and FumeFX in 3ds Max, providing insights into which might be the best fit for your specific needs. Whether you’re crafting dramatic fire sequences or intricate liquid simulations, understanding the nuances of these tools will help you achieve the most impressive results.
Let’s explore it with iRender!
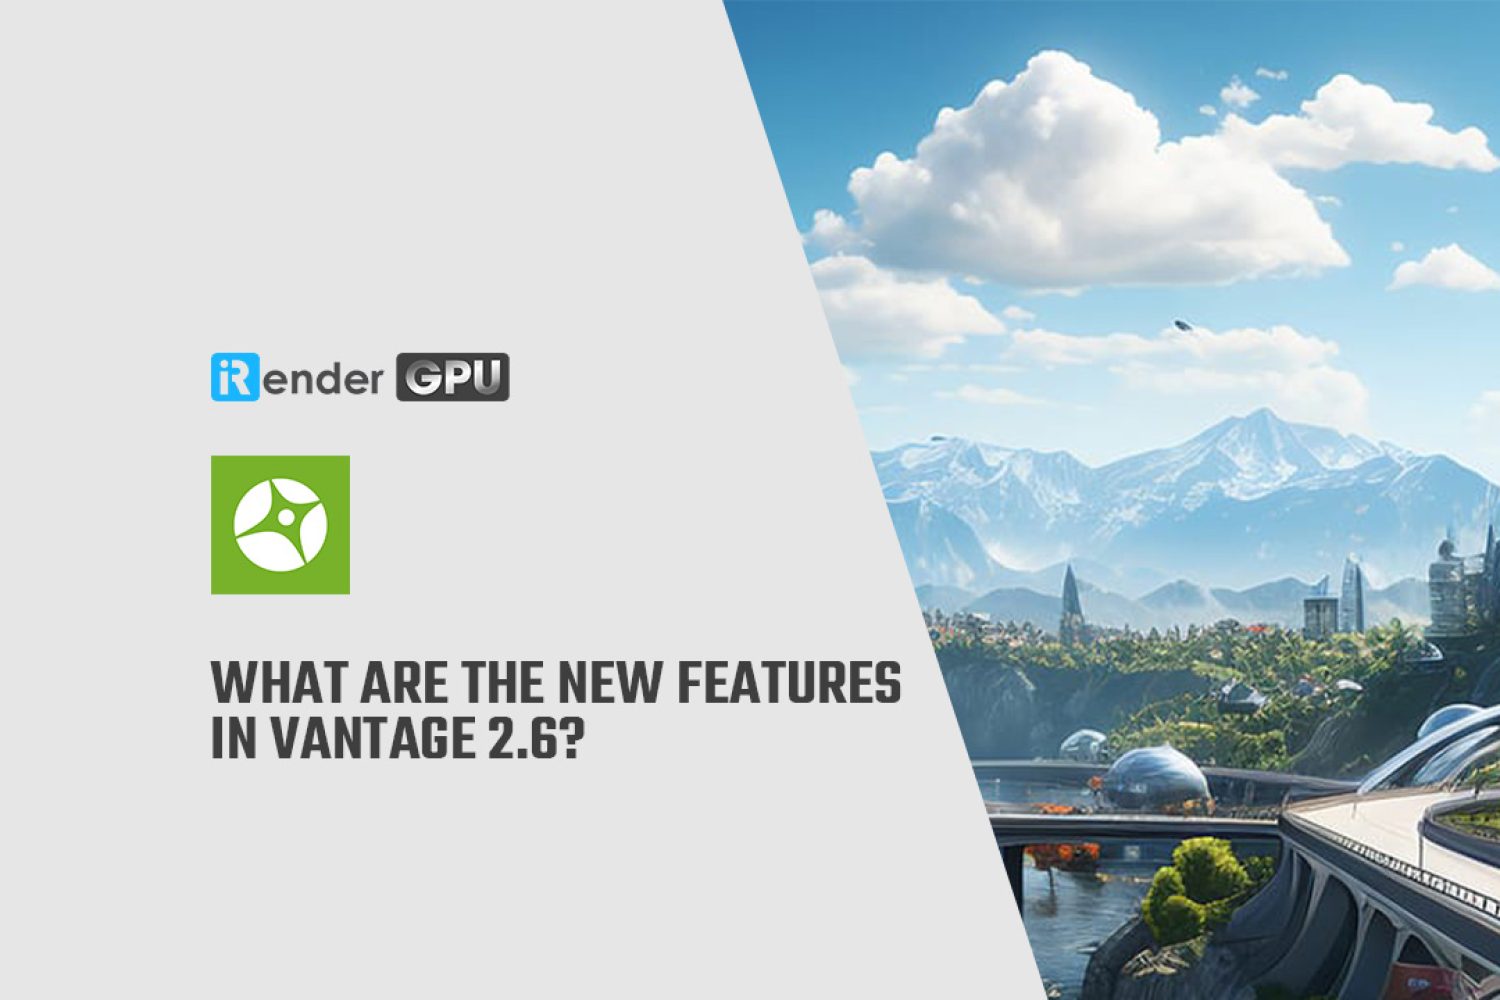
What are the new features in Vantage 2.6?
Chaos has released an update for Vantage, its real-time ray tracing renderer designed for navigating vast V-ray scenes in architectural visualization.
Explore rendering overrides in V-Ray for Maya
Rendering is one of the most critical stages in the 3D production pipeline. It transforms your beautifully crafted models and scenes into stunning images or animations. In V-Ray for Maya, rendering overrides is one powerful feature that can enhance your workflow. This blog will dive into rendering overrides, how to use it effectively, and why it is a game-changer for artists and studios alike.
Let’s get started with iRender!
Discovering Onion Skinning in Animation in Blender 4.2
As we all know, modern or traditional animation relies on precise techniques in motion. The artist has to carefully observe human actions and then sketch them on the animation smoothly and fluidly. Onion Skinning is a feature that helps artists a lot in creating animations. Onion skinning is usually activated in Blender using the “Grease Pencil” tool. When onion skinning is enabled, you can see the previous and next frames as translucent images while working on the current frame. Onion skinning has its roots in traditional animation methods and still plays an important role even in today’s sophisticated digital platforms.
Let’s discover Onion Skinning in Animation in Blender 4.2 with iRender today!