
How to create hair braids in Blender
Hair-type particle systems control strand-like items, such as hair, fur, grass, quills, etc. The interlacing of three or more material strands creates a complicated structure known as a braid. We can see them most frequently in hair though braids can be made from any flexible material, such as wire or textiles. It would be difficult and time-consuming to recreate braids in 3D without the aid of a plugin, as each strand would have to be made separately before being interlaced. This leaves a significant chance of collisions and adds another difficulty when modifying the braid pathways.
In this article today, let’s explore how to use Blender to create hair braids.
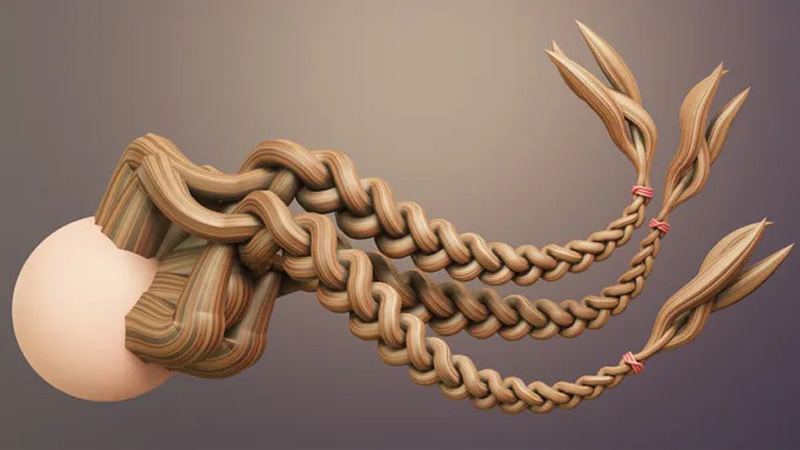
Image Source: Paul Hatton - Creativebloq
1. Overview of Hair Braids in Blender
The method we utilize here requires only one curve, which is then used to drive the braid, avoiding all the arduous aspects of generating braids. You can use any of Blender’s brushes to change this curve in Sculpt mode. Curves offer a great degree of control and customization, which is one of the key advantages of utilizing them to make hair in Blender. With curves, you may easily change the hair’s shape and style to get the look you want. Curves are a fantastic option for beginners as well as professionals because they are also reasonably simple to learn and use.
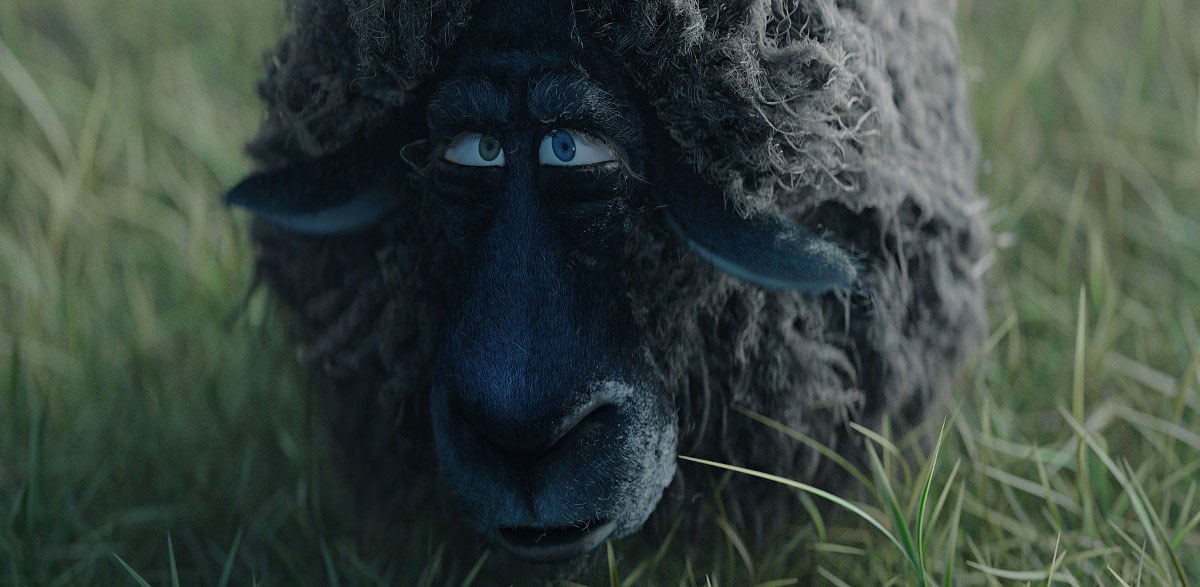
Image Source: Blender Document
2. Steps to Create Braid Hair in Blender
2.1. Get set up with Braidify
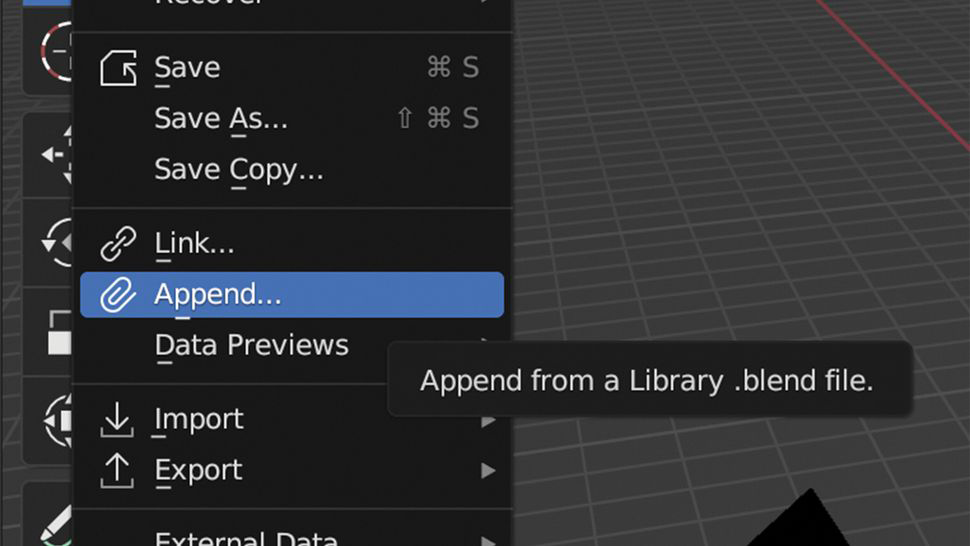
Go to the website of Nino DefoQ to download Braidify. Once your scene is open and your attachment object (likely your character’s scalp) is selected, choose File and Append, select your Blender file, and then open the NodeTree folder and choose Braidify. After you’ve done that, you’ve successfully added the tools you’ll need to get started.
2.2. Create your curves
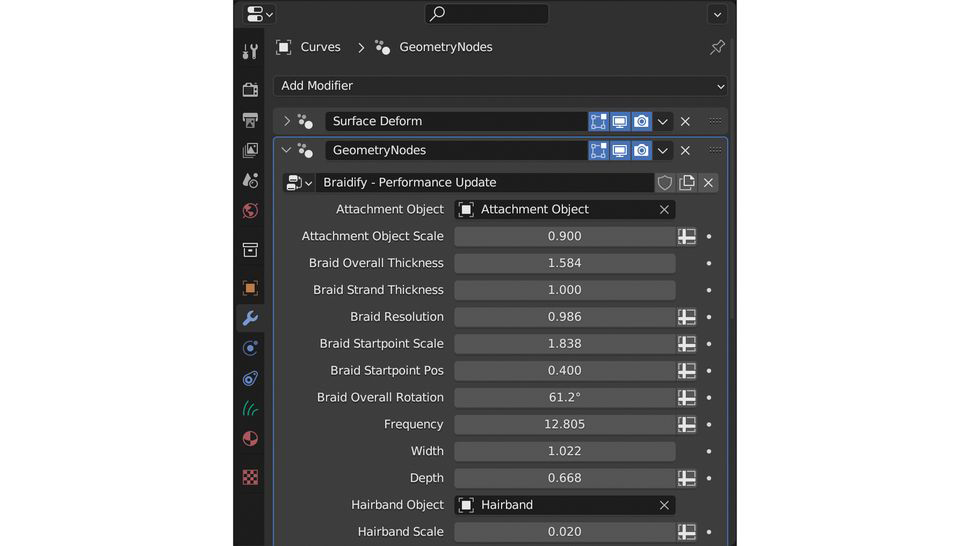
After choosing your attachment object, make a new curve with the Empty Hair type. To form the braid the way you want it to, add a new curve in Sculpt mode. Return to Object mode now, select Properties, then add a new Geometry Nodes modifier. After you change the type to Braidify, a braid ought to start showing up where you made the curve. To modify the curve’s shape, return to Sculpt mode once more.
2.3 Customise your braid
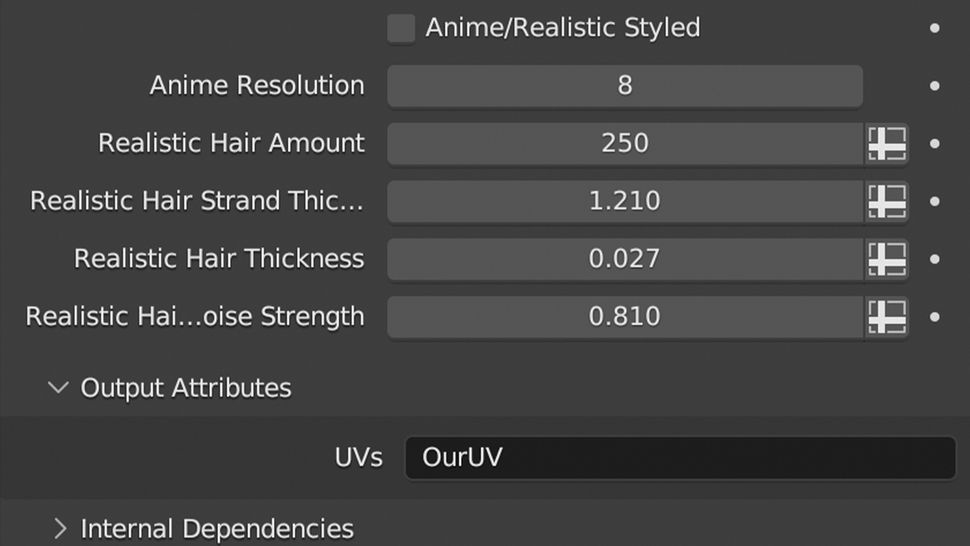
Please enter “OurUV” in the Output Properties to ensure that the correct UVs are being applied. The amazing feature of this tool allows you to create realistic or anime-style braids. You can change between two separate states by selecting the corresponding checkbox in the Geometry Node modification properties. Moreover, you can modify the actual hair properties when selecting the realistic version. You can change the thickness of each hair strand as well as increase the actual Hair Count to create a thicker hairstyle.
2.4. Explore further customization
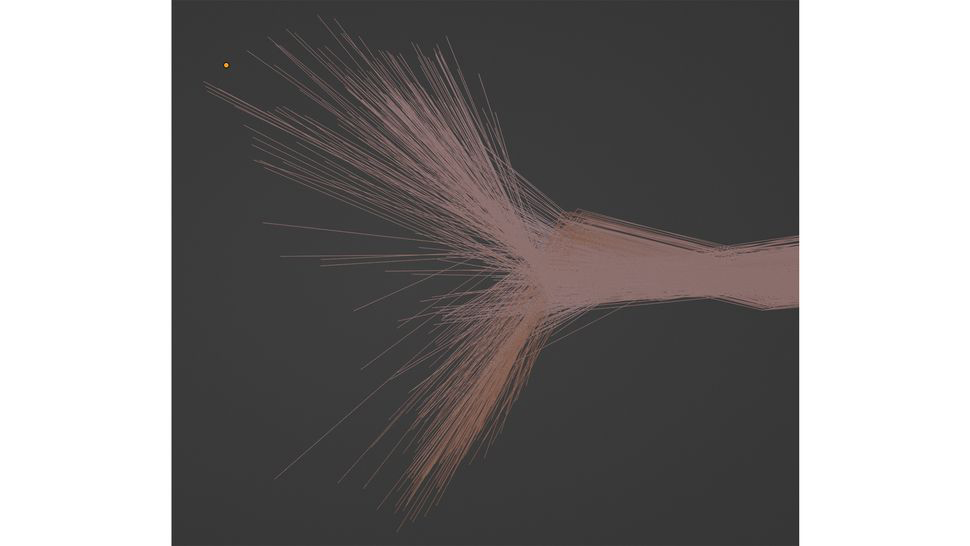
One thing you will want to change is where the hair grows from your attachment. When designing a real braid, this is quite complicated because the hair originates from a wide area and the distribution is very random. This tool gives you the Noise intensity parameter starting from the hair, allowing you to do this most efficiently. Remember that you can add more fibers at any time by switching to Sculpt mode and adding additional curves.
Conclusion
In conclusion, Blender’s curve-based hair creation method is an effective and flexible method that offers a great degree of control and flexibility. After following the methods in this tutorial, you should have the abilities and know-how required to make your own unique Blender hair models that work well in animations and games. Whether you are a beginner or an experienced Blender user, the curve-based method for creating hair is a useful tool to have on your own. You may use this method to produce a variety of realistic and detailed hair models that will add life to your characters and creations with a little experience and experimentation.
iRender - The Best Solution for Blender rendering
iRender is proud to be one of the best GPU service providers on the market. You can find a lot of options suitable for your Blender project. iRender offers from 1/2/4/6/8 RTX 4090s and 3090s. In addition to offering powerful configurations, all servers at iRender are also equipped with AMD Ryzen™ Threadripper™ PRO 3955WX @ 3.9 – 4.2GHz or AMD Ryzen™ Threadripper™ PRO 5975WX @ 3.6 – 4.5GHz, 256GB RAM, 2TB Storage NVMe SSD. The high-end configuration is extremely suitable for complex Blender projects. Right now, we have pre-installed Blender option when you create a machine, it means you won’t take time to install software.
Let’s see how our RTX4090 performs when rendering with Blender scenes:


For Windows users, we recommend using our all-in-one application iRender GPU to work, you don’t need to come to our website but still can transfer your data, recharge your account, and access the machine through the app.

The price is very flexible and suitable for Blender projects from small to large. Moreover, iRender always has a 24/7 online Support Team to help you handle problems immediately.
Right now, we have a promotion 100% bonus for the first transaction within 24h since your registration.
 Let’s create an ACCOUNT and try our render beast for your Blender projects. For further information, please do not hesitate to reach us at [email protected] or mobile/ WhatsApp: +(84) 916017116, Skype: Lina iRender
iRender – Happy Rendering!
Reference source: Creativebloq
Related Posts
The latest creative news from Blender Cloud Rendering.


