Quick Tips for Better and Faster Redshift Renders in Cinema 4D
Hello everyone,
I have found a good channel for Motion Graphic designers and 3D artists on Youtube. I was so excited to introduce it to you guys. That’s Greyscalegorilla – all training and tools to help you in the main software is Cinema 4D with popular 3D programs like OctaneRender, Redshift, X-Particles, and much more.
Today, iRender want to share with you the tips and tricks that were explored by Nick Campbell. Those things he picked up while going through the Greyscalegorilla Plus Guide to Redshift Renders in Cinema 4D.
I hope you guys can learn how to accelerate the speed rendering and moreover get better render results.
Let’s start watching this video or you can also read it below in detail.

TIP 1: BRING CLONE COLORS IN REDSHIFT
First let’s talk about color. This scene uses Fields in Cinema 4D, but the colors used don’t appear in Redshift. You’ll need to apply a Redshift Material to your cloner.

Double click the material and in the Material Editor click on Edit Shader Graph. Search for and add a Color User Data node. Set the Attribute Name to MoGraph > Color. Now connect the Color User Data node to the RS Material and select Diffuse > Diffuse Color.
TIP 2: APPLY DEPTH OF FIELD
Here are the simple steps to set up Depth of Field in Redshift.
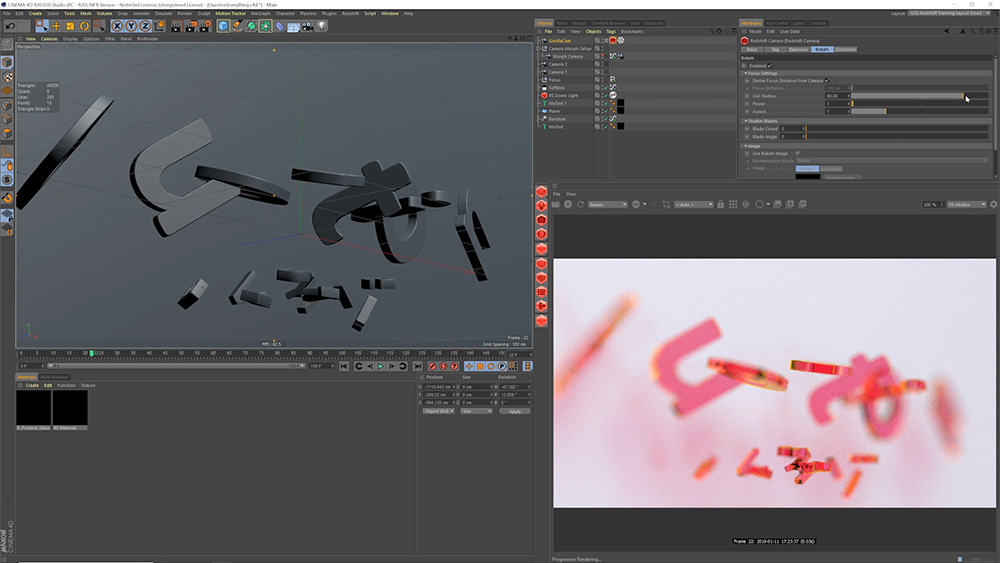
Add a Redshift Camera Tag to your existing camera. With the Redshift tag selected, navigate to the Bokeh tab and check the box marked Enabled. Adjust the CoC Radius slider to achieve the look you want. Fun fact: CoC stands for Circle of confusion!
In this particular render, he also used GorillaCam and the Everyday Material Collection.
TIP 3: FASTER RENDERS WITH LESS NOISE
In this tip, we’re gonna set up our scene for a grain-free render by adjusting the proper render settings.
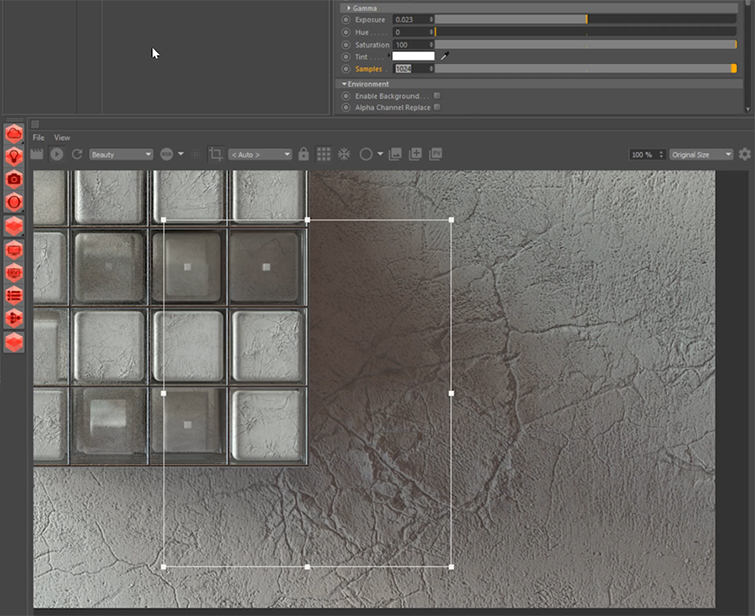
To render faster, it’s going to come down to adjusting the proper Samples. You don’t want to just adjust the overall Unified Sampling in the Render Settings, because that will actually slow things down. You first want to start by adjusting the Sample of your Redshift lights.
Adding more light data to your scene will start to clean up your render. You want to increase your samples at a rate of 2x, and don’t be afraid to crank these numbers up really high.
You can also turn up the number of rays in your Brute force global illumination. If you still have a ton of noise, now you can jump back into the render settings and adjust the overall samples.
One of Trevor Kerr’s best quotes from the Greyscalegorilla Plus Guide to Redshift is, “put your samples where they matter.” It really does hold true.

In other ways, you can refer to iRender’s service. If you need another machine to help you render while your pc is still working, you should use our service. If you don’t want to worry about your deadline and focus on your design, you can use powerful performance servers to improve the rendering process.
Our team always supports you all the time, with some little expenses you can get more images to get done on time.
You’re in trouble with rendering speed? Okay, we’ve got you!
Nick Campbell - greyscalegorilla.com
Related Posts
The latest creative news from Redshift Cloud Rendering, Cinema 4D Cloud Rendering , 3D VFX Plugins & Cloud Rendering.