Reduce your render time in V-Ray with some optimization tips
Rendering is the last step to visualize your hard and long worked hours into amazing image or animation. It could be a sweet dream if the render time is fast but could be a nightmare if it takes longer than you want. To avoid the long render time, it not just comes from the hardware, but from the projects itself. Let’s learn some optimization tips to reduce your render time in V-Ray in this article.
Optimize your models
Models are made of many polygons. And normally, more polygons means that your models are more detailed, which leads to long render time.
In a scene, you should know which models are to focus on and need to be more detailed, while others are not necessarily detailed. By doing this, you drop the polygon count in a scene and the render time can reduce drastically.
V-Ray offers some solutions to optimize your heavy scene for faster rendering, like VRayProxy. It helps you load a geometry only during rendering, which means that your scene will take much less RAM to render while using the available resources more intelligently.
Or the Chaos Cosmos asset library contains many high-quality smart 3D assets, materials and HDRIs that are curated to make sure they’ll always look good and are optimized for rendering no matter which platform you choose. You don’t need to make all of the models or assets in the scene but find them from Chaos Cosmos and be ensured they are modelled correctly with no overlapping faces or loose vertices.
VRayEnmesh is also a great solution for adding the tiniest details to your mesh and takes very little RAM to render, even less than displacement maps, instead of fully modeling intricate 3D patterns.
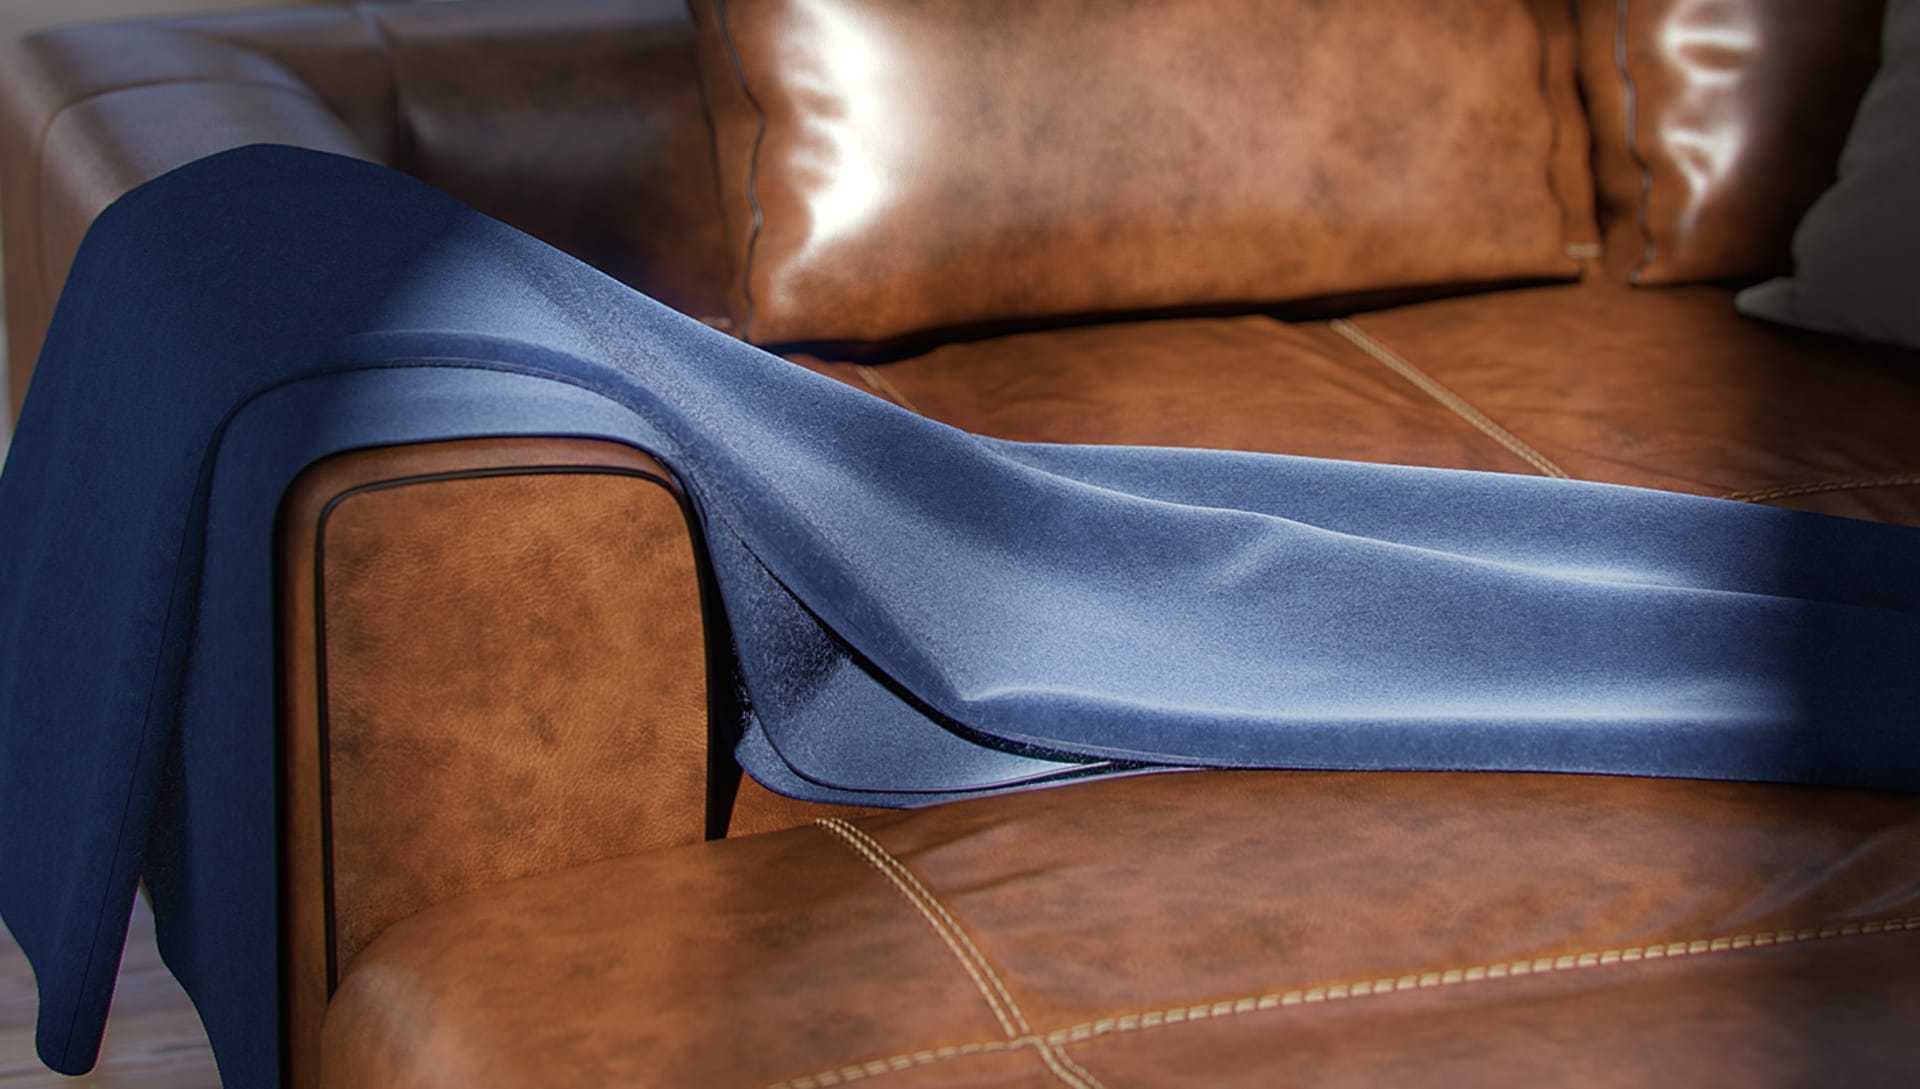
Optimize your shading
Chaos Cosmos is not only good for your modeling, but also for your shading. It provides complex high-quality materials that would take hours to create from scratch and you can take advantage of that.
However, some materials may be too heavy and increase your render time. And sometimes, they don’t fit in your scene at all. Therefore, if you want to reduce render time in V-Ray, make sure you check all the setup and unnecessary effects such as glossy reflections and refractions that probably won’t be visible depending on the distance or size, missing maps or overly complicated shader trees.
You also need to pay attention to a hidden issue that most people usually neglect: oversized bitmaps. It may take a huge chunk of your RAM and slow your render and make no difference in the final result.
Optimize your lighting
Always think about how to optimize and set up your light intelligently, if you want your scene to look good/photorealistic and render faster. You can avoid overly bright lights as they overexpose areas in your scene, which takes longer to render as the computer needs time to do all the calculation needed to show a bright, flat area.
V-Ray offers some solutions to optimize your lighting, such as V-Ray’s Light Mix. You can use it in the VFB to test and finetune your lights, making every light count.
Or you can use a V-Ray dome light as a skylight, whether you’re using a HDRI or V-Ray’s Sun & Sky system with procedural clouds. The dome light is really fast and easy to control and doesn’t require light portals or any other elements to create great environment lighting.
Optimize your render settings
Don’t forget to optimize your render settings, to reduce the render time in V-Ray even further.
You can check V-Ray’s image sampler. It uses noise levels to determine the “quality” of the rendering. Lower noise threshold and high subdivisions mean high quality, while high noise threshold and low subdivisions mean opposite. You can experiment and tweak it on different regions of your rendering, to find the good balance between the amount of noise and the time it takes to render.
One more solution is V-Ray Denoiser, helping you capture the noise in your image and smooths it out to make your rendering look even better in a fraction of the time it would take to reach the same noise level without it.

iRender powerful RTX 4090 for V-Ray rendering
iRender provides you a high-performance and configurable server system for 3D rendering, AI Training, VR & AR, simulation, etc. We believe that design and creative activities are private and personal that only you artists will know what you want with your animation.
You can create a blank remote machine, then install V-Ray and your 3D software, add your own licenses and start to render like how you always do on your local computer.
V-Ray can utilize GPU rendering power, we choose to provide RTX 3090 and RTX 4090. You can refer to these articles to see how V-Ray performs on these graphics card, especially RTX 4090 being the fastest when it comes to V-Ray rendering.
iRender powerful RTX4090 for V-Ray rendering
Top GPU for Redshift, Octane and V-Ray in 2023
Compare RTX 4090 vs RTX 6000 Ada vs RTX A6000 for content creation
If you have more GPUs, the render time will reduce more. However, don’t expect a perfectly linear reduction.
Let’s see our test with V-Ray on our graphics cards RTX 4090 and RTX 3090:


Not only those powerful configurations, iRender also provides you more services. Free transferring tool named iRender drive for macOS or Linux users. For Windows users, we recommend using our all-in-one application iRender GPU to work, and you don’t need to come to our website. Our price is flexible with hourly rental which has a pay-as-you-go basis, daily/ weekly/ monthly subscription with discount from 10-20%. Plus, you have 24/7 support service via livechat with real humans who will support you whenever you encounter an issue.
Register an account today to experience our service and enjoy a very big promotion 100% bonus for new user. Or contact us via WhatsApp: (+84) 916806116 for advice and support.
Thank you & Happy Rendering!
Source and images: Ricardo Eloy from chaos.com
Related Posts
The latest creative news from V-Ray Cloud Rendering