Understanding Physical Lights in KeyShot with iRender
Lights in KeyShot are pretty straightforward. You’ll create better images in no time if you have an in-depth knowledge of the several types of light you can access, how to produce, move, and change them, and when to use each type.
There are two options for lighting your scene with KeyShot. The standard method is HDRIs, however, physical lights can also be used. It also works well to combine physical illumination with HDRI. Simply drag and drop a light material from the KeyShot Library onto a piece of geometry in your scene to add a physical light. KeyShot has five different light material types that each behave differently and offer a variety of purposes for lighting your environment. It would be easier for you to select the best light for your specific situation if you are aware of the many KeyShot light material types.
In this article today, we will learn about Physical Lights in KeyShot to help you create quality images.
The Different Types of Lighting in KeyShot

In KeyShot, there are actually two different “kinds” of light. HDRIs, which are light from images. Additionally, there are physical lights, which are lights made of materials (called Physical Lights).
Image-based Lighting
High Dynamic Range Images, or HDRIs, include brightness information in addition to color. Using this information, we can illuminate a rendering. Most people find that using high-quality HDRIs makes producing realistic lighting easier and faster. This is partially due to the fact that they were taken with a camera and included a variety of information about the scene. The materials in your rendering look better as a result of these reflections.
Physical Lights
You can use physical lights to illuminate an object. This transforms the item into a source of light. The scene is lit up by light beams that are projected from the source. Compared to an HDRI, the light behaves considerably more like a real-world light source. The lighting configuration used by a photographer is typically more accurately imitated by employing physical lights.
How to create Physical Lights in Keyshot
Simply drag and drop a light material from the KeyShot Library onto a piece of geometry in your scene to add a physical light. KeyShot has five different light material types, each of which runs differently and offers a variety of purposes for illuminating your scene.
Area Light Diffuse
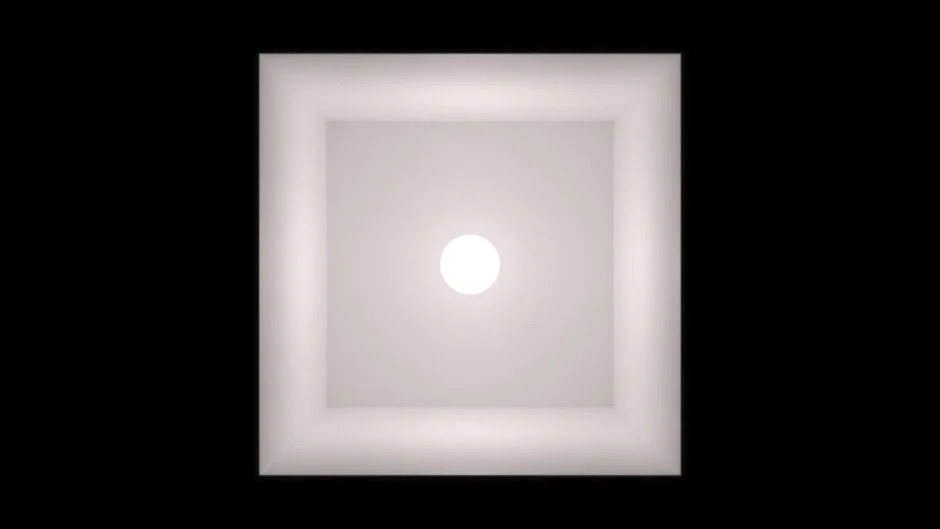
Image Source: Keyshot Blog
- Each surface of the geometry it is applied to emits light, maintaining the geometry’s visibility.
- Use for shadows and soft lighting
- Area Each triangle on a surface emits light in a normal direction; if you’re not familiar with triangles, check tessellation.
- Used most effectively for local illumination
- To optimize efficiency, only enable the Apply to Front of Geometry or Back of Geometry checkboxes as necessary.
Point Light Diffuse
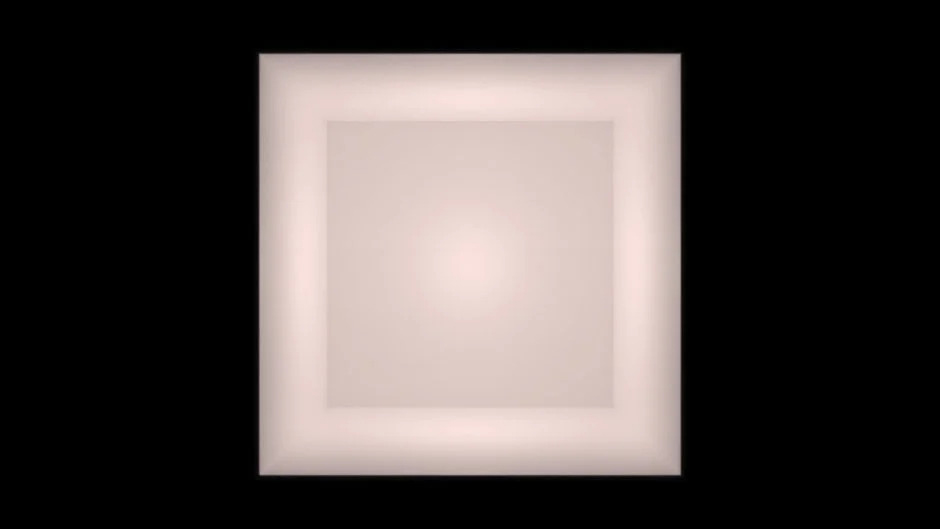
Image Source: Keyshot Blog
- A single point at the center of the geometry is applied to emit light.
- When a point light material is used, the geometry disappears.
- Use for sharper shadows and highlights
- Point lights are omnidirectional, they emit light from a single point in all directions.
- Best for lighting up an entire scene (think of a mini-sun)
Point Light IES Profile
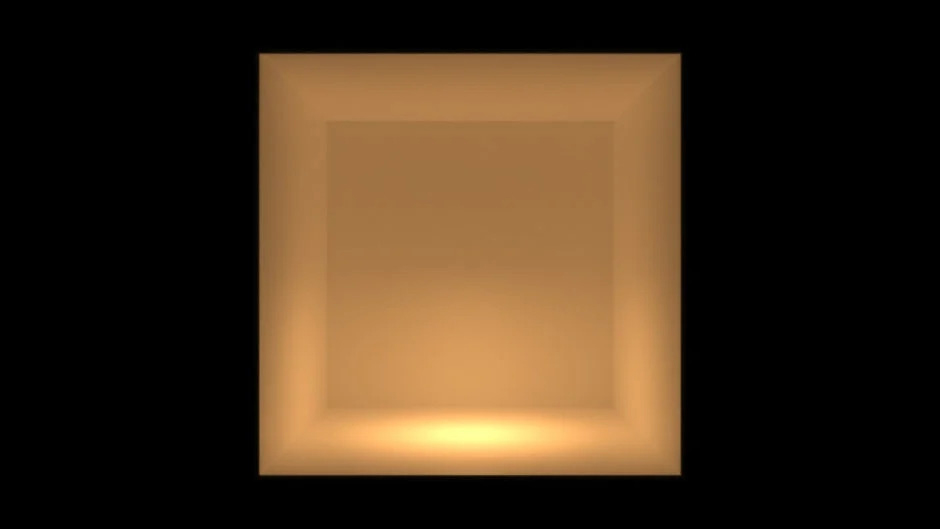
Image Source: Keyshot Blog
- Because light emits only from a single point in the geometry it is applied to, it is extremely efficient.
- The geometry disappears and is replaced with an IES cage
- Since IES Profiles are directed, they can be pointed by turning the geometry they are applied. IES Profiles are pre-made, standard light files with accurate color, shape, and intensity information.
- Useful for most effectively imitating manufactured light bulbs
- Adjust the multiplier to change the brightness
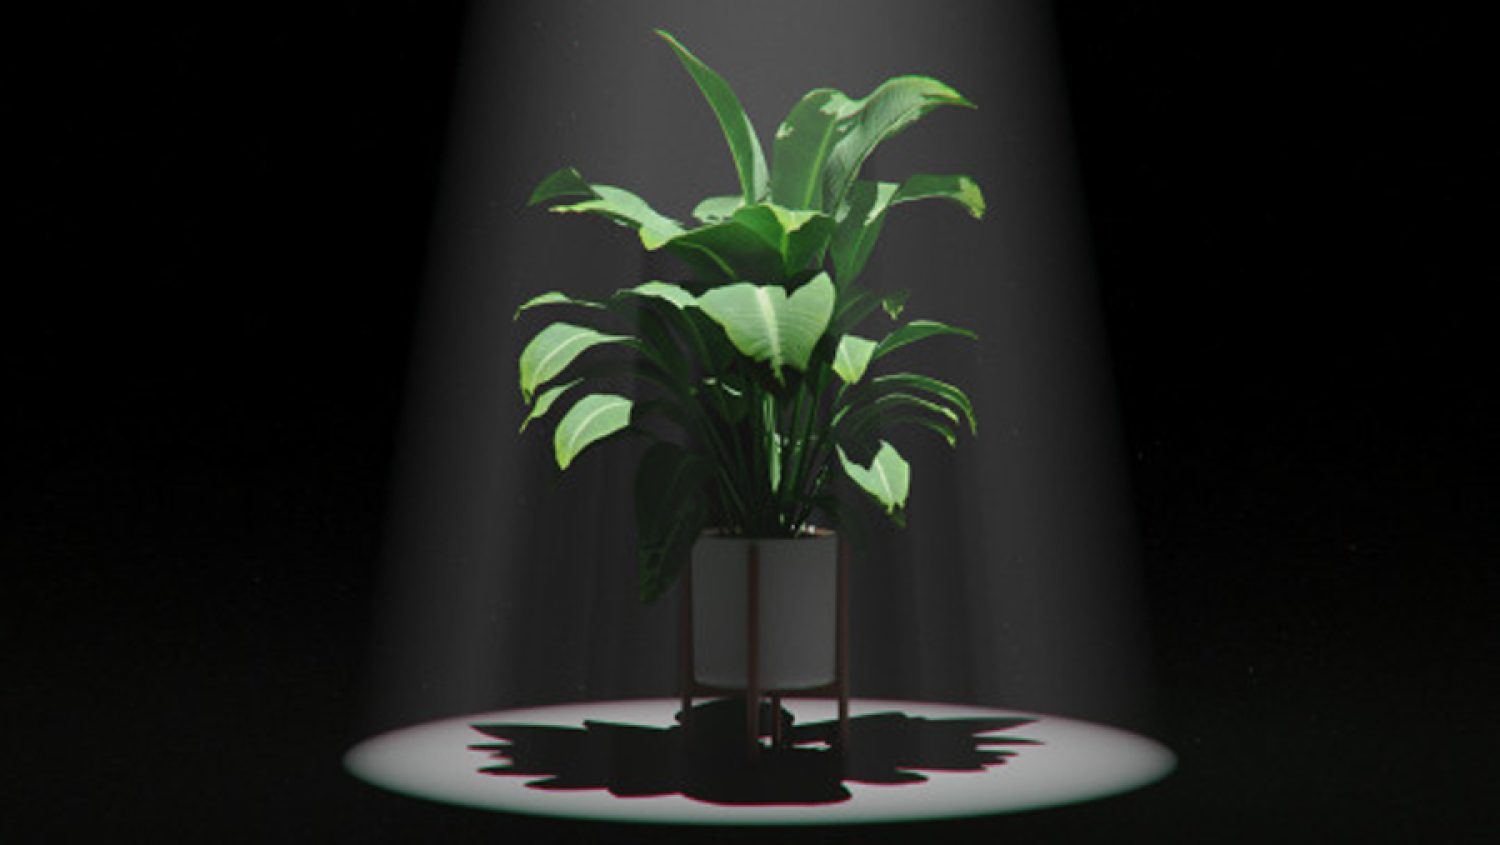
Spotlight
- You can imagine a spotlight as a point of light whose output is cut and whose light is reflected in a cone.
- The light’s hue may be changed, and you can even control the light’s form and color by putting a stencil texture in front of it.
- This slider controls the size of a virtual stencil disc that always fits the beam if you apply a texture on the spotlight.
- When adjusting the light beam’s angle, use the Constant Light Output function for ease. To calculate the size, you can adjust the beam’s angle.
Emissive Light

Image Source: Keyshot Blog
- Not suitable for lighting a scene
- Good for low-intensity lighting
- Each surface of the geometry it is applied to emits light. Comparable to “Area Light Diffuse”
- used for light-emitting materials such as bioluminescent materials, illuminated displays, and small lights (such as those found in phones, tablets, computers, glow-in-the-dark televisions, and LEDs).
- Each triangle on a surface is illuminated by emissive lights in the normal direction.
- Only as needed, apply to the front of geometry or the back of geometry; don’t enable both checkboxes to increase efficiency.
- Adjust the intensity to change the brightness.
Pros and Cons of Physical Lights in KeyShot
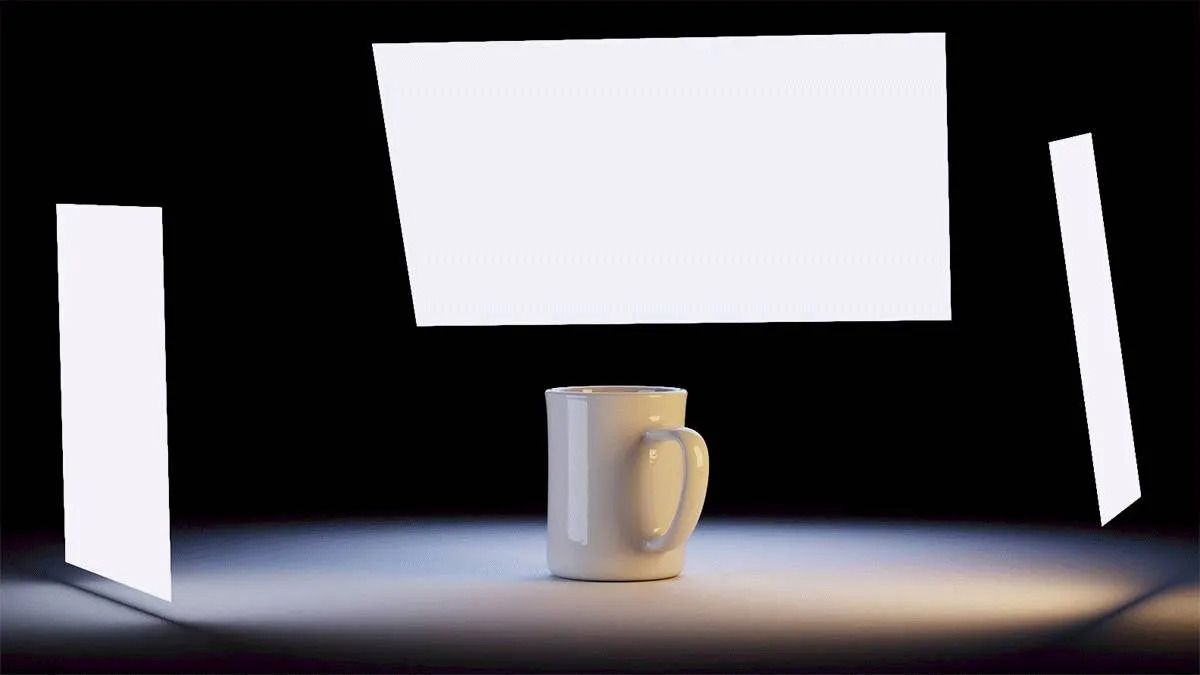
Image Source: Will Gibbons
While it is hard to say that one type of light in KeyShot is inherently superior to another, we can compare their advantages and disadvantages. As mentioned above, HDRIs typically make it simpler for a newbie to get pleasing results rapidly. On the other hand, professionals may frequently achieve a higher level of realism by using physical lights.
Placement of Physical lights in KeyShot
You can put physical lights anywhere in your scene. The exact location of a light source significantly affects how the scene looks. The separation between each HDRI’s “light source” and the object cannot be altered. That’s because each of them is represented by a separate image. This picture encircles the setting like a beach ball. As a result, the distance between each light source and the scene’s center is equal.
The best way to avoid limiting creative direction is to have control over the actual location of the light. The overall appearance of an image can be achieved by strategically placing lighting.
Physical Lights Can Look Boring
The lack of detail while using actual lighting in KeyShot could be a drawback. A plane or a sphere will typically be the only simple shapes used for lights in KeyShot. A viewer can see the light source when it reflects off of bright objects like glass, metal, or glossy plastic.
However, the level of detail in the image is a benefit of HDRIs. A window, for instance, might appear as a light source in an HDRI. A window’s frame, mullion, window sill, curtains, and whatever is outside the window will all be present in this window. All of these particulars add depth, realism, and recognizably reflective surfaces.
Physical Lights in KeyShot Can Add to Render Time
Unfortunately, more realism and complexity also mean longer render times. This is accurate for physical lights. Physical lights allow for better realism while HDRIs simplify the process at the expense of efficiency and render time.
More accurate ray (light) tracing is needed when using physical light sources. This takes longer. with most circumstances, adding real lighting to a scene with KeyShot will make it slower. The likelihood of fireflies will also rise in a scenario with physical lights. This effect can be diminished by increasing the material samples on the light source.
Physical Lights and Shadow Control
One of the main advantages of physical lighting is that it makes it easier to manage shadows. The realism and impact of an image are greatly influenced by the use of shadows. You may make sharper shadows by scaling down a light source. You can soften the shadows in your scene by increasing them.
You can control scale and hue using physical lighting, which can make your settings come to life. You have control over the shadows’ level of clarity and appearance.
Conclusion
In conclusion, Physical Lights offers a comprehensive lighting toolkit for photorealistic rendering and unlimited control. Fast setup of amazingly realistic lighting is made possible by the accurate simulation of real-world lighting behavior, advanced parameters, and integrated physically-based presets. Physical lights provide the strength and flexibility to realize any lighting concept, whether it’s to replicate a photograph, design a product, or create an imaginary environment.
iRender - The Best Option For Keyshot Rendering
iRender provides remote machine rental service, by offering flexible configurations of 1, 2, 4, 6, and 8 GPU machines using the top-tier RTX 4090 and RTX 3090. Built with powerful CPUs (AMD Ryzen™ Threadripper™ PRO 3955WX @ 3.9 – 4.2GHz and AMD Ryzen™ Threadripper™ PRO 5975WX @ 3.6 – 4.5GHz), 256GB RAM, and 2TB NVMe SSD storage, our machines can handle even the most demanding scenes in your 3D projects.

You can use Keyshot or any other software of any version on our machine. We treat your rented machines like your personal workstations – no restrictions apply. This freedom enables you, 3D artists, to realize creative visions without limitations.
For Windows users, we recommend using our all-in-one application iRender GPU to work, you don’t need to come to our website but still can transfer your data, recharge your account, and access the machine through the app.

With the above advantages and the machine configuration package that iRender has just released, we believe that users will have the most comfortable, quickest, and most effective rendering time.
Create an ACCOUNT now to experience our service and a 100% bonus for the first deposit of new users.

If you have any comments about our article, please do not hesitate to reach us at [email protected] or Whatsapp: +(84) 916017116.
iRender – Happy Rendering!
Related Posts
The latest creative news from KeyShot Cloud Rendering , Cinema 4D Cloud Rendering , 3D VFX Plugins & Cloud Rendering.