Easy Ways To Change Pivot Point In Blender
At some time during our Blender journeys, we all have to change the pivot point. It is also known as the rotation and anchor point. If you are used to 2D programs like After Effects or Photoshop, it’s quite simple to change the pivot point by simply holding down the ALT key and clicking wherever on the screen. However, in Blender, it’s not that easy. In particular, there are many different ways to change the anchor point, depending on what you are doing and what the desired result is. In this scope of article today, iRender will give you some easy ways to change pivot point in Blender.
1. What is Pivot Point in Blender?
Pivot point in Blender (Image Source: Katsbits)
The pivot point is basically the location at which transformations or tool operations are applied. For instance, in edit mode, we may rotate a specific area of our mesh around a point or scale an object or the space between objects in proportion to a pivot point. By default, the pivot point is the origin of the chosen item or the midpoint between several chosen object origins.
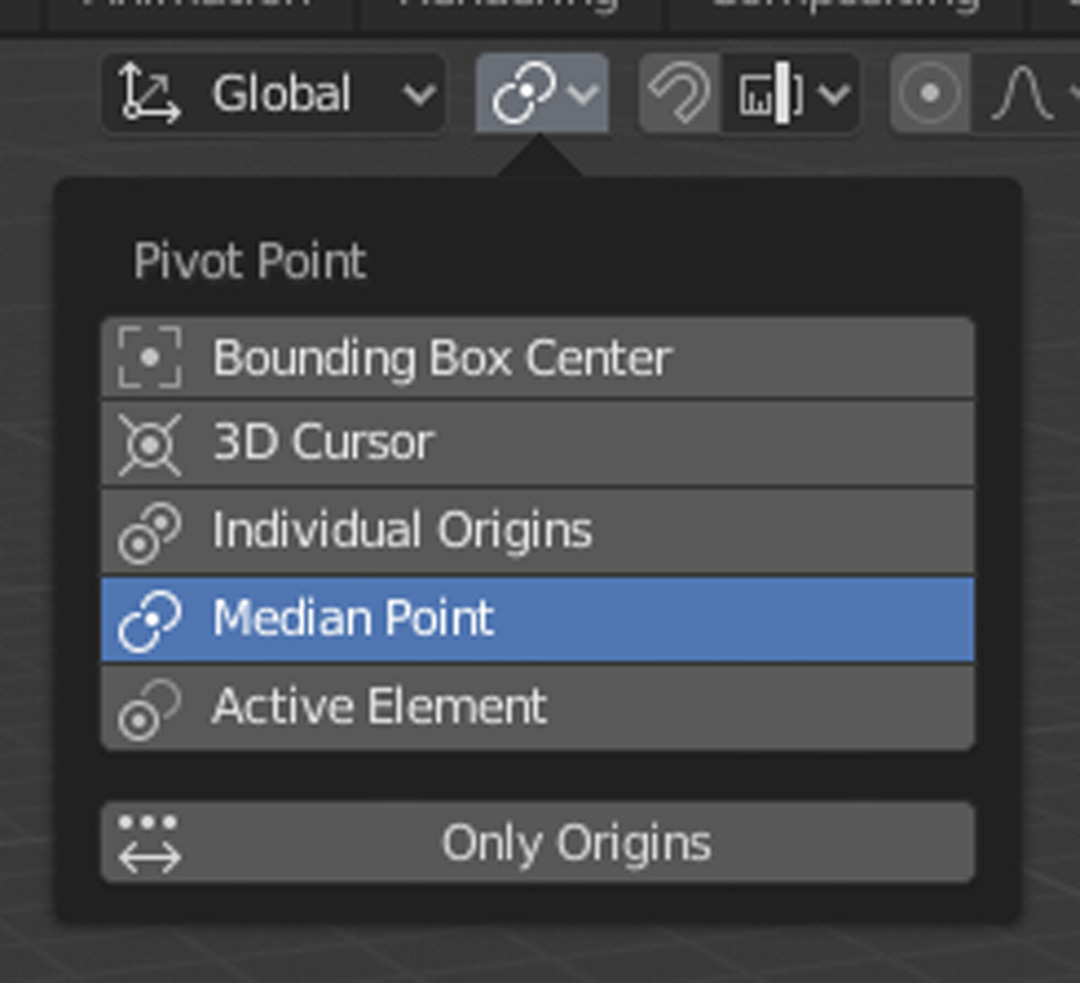
Image Source: Docs.blender
The Pivot Point popover of the 3D View contains “Only Origins”. When this option is selected, the transformation will modify the origin locations of the object but not the object itself.
2. The manual way to change pivot point
Image Source: Digitalarthub
You can change the pivot manually, it won’t always line up with objects in the background or on your model. Most of the time, this solution will work, but not always. Here’s how to do it:
- Choose the item whose pivot point needs to be adjusted.
- Go into edit mode (TAB).
- Choose all of the object’s vertices (A), and then move it wherever you like (G).
- You can now exit edit mode (TAB) after changing the object’s pivot.
3. Using an empty to change pivot point
![]()
Image Source: Digitalarthub
There’s also another way to manually change the pivot of an object in Blender. You can have the empty serve as the pivot point by creating an empty and parenting it to your chosen object. This can be helpful if you’re working with a very heavy model and cannot enter edit mode without it lagging on you.
- Select any other option (it’s only a visual depiction), use Shift + A > Empty > Plain Axes.
- Choose the Empty and place it where you want the pivot point to be.
- Shift-click on the Empty after clicking the object.
- CTRL + P while choosing Object (Keep Transform)
- Once finished, use the Empty to rotate the object.
4. Using the 3D cursor
Remember that all objects that utilize the 3D cursor as their pivot will also revolve around it if you choose to use it as a global pivot point. As a result, if there are several items distributed around the screen, they will all revolve around the same point.
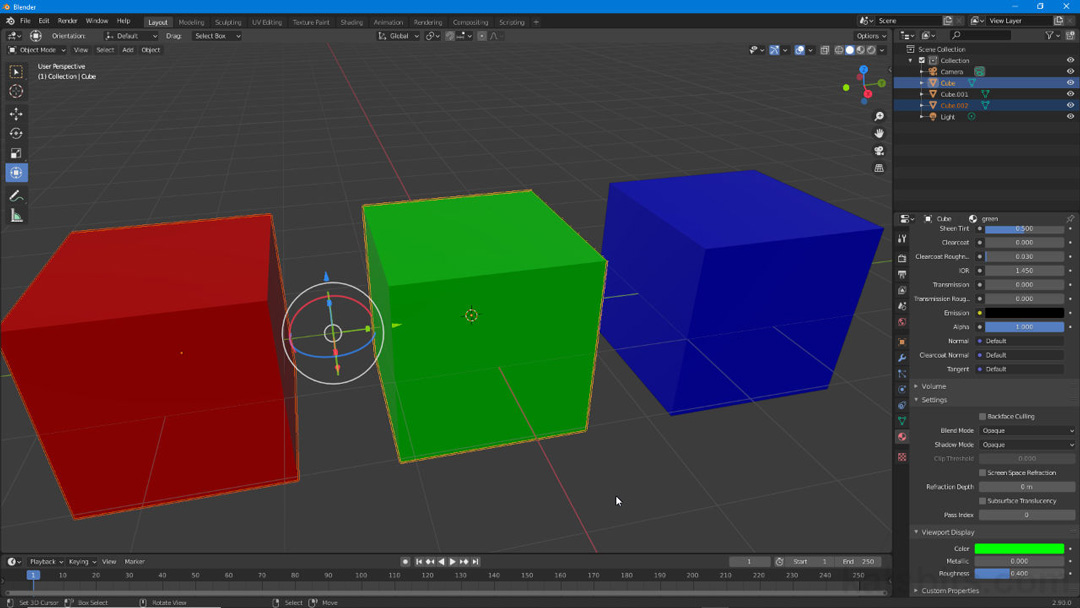
4.1. Using the 3D cursor as a global pivot point
- Click the icon that resembles two chain links in the middle top toolbar, next to the dropdown menu that says “Global.”
- Select 3D Cursor from the drop-down menu.
- If you shift + right-click anywhere in the scene, you can move the 3D cursor.
- Enter edit mode, choose a vertex, edge, or face, press SHIFT + S, and choose “Cursor to selected.” to position the 3D cursor at the chosen point.
- Now, everything will pivot on the 3D cursor.
Image Source: Digitalarthub
4.2. Using the 3D cursor to assign a new pivot point for an object
If you want to permanently change the pivot to a vertex of an object. Make sure your pivot point is set back to the Median Point in the upper middle menu instead of the 3D cursor.
- Put your object in edit mode after choosing it (TAB)
- Choose a face, edge, or vertex.
- To exit edit mode, press SHIFT + S > Cursor to Selected (TAB)
- Go into the menu on the top left and find “Object”
- Choose SHIFT + S > To return the 3D pointer to the center, type “cursor to World Origin”.
 Image Source: Digitalarthub
Final thoughts
Hope these tips will help you to change pivot point more easily. When 3D modeling, it’s important to understand your possibilities for pivot points. To use the pivot point properly, we must first comprehend the possibilities available to us. After that, we must work with 3D modeling to ingrain the pivot point’s use into our muscle memory. If you want to boost your render faster, you can consider using a Cloud render farm. This way will save you a lot of money and time without having to invest a huge amount of money to upgrade the machine configuration.
Why should we choose iRender for Blender projects?
1. Features and Highlights of iRender
iRender is proud to be a professional GPU Accelerated Cloud Rendering Service provider for 3D Render, CGI, and VFX tasks with more than 30,000 clients. We are appreciated in many global rankings (e.g. CGDirector, Lumion Official, Radarrender, InspirationTuts CAD, All3DP, BlenderBaseCamp, VFX Rendering.)
We are currently a Diamond Sponsor of the Blender Foundation. Our long-term goal is to support the Foundation to partly contribute to the development of this awesome software.With iRender, all the servers are physical machines, you will ensure 100% performance and security. In addition, you will need a password to access the server, no shared working environment with anyone else so the confidentiality is absolute. Last but not least, there are outstanding features such as:
- Flexibility: Users can handle immediately your projects that require frequent editing and modification on iRender server without queuing. It can be said that this special characteristic directly satisfies user needs.
- Various options: suitable for all projects and budgets. You can save your budget with daily/weekly/monthly/yearly Fixed Rental packages, which saves you up to 20% of the cost compared to the hourly rental.
In particular, iRender has many servers from single, dual to multiple GPUs to serve your needs.
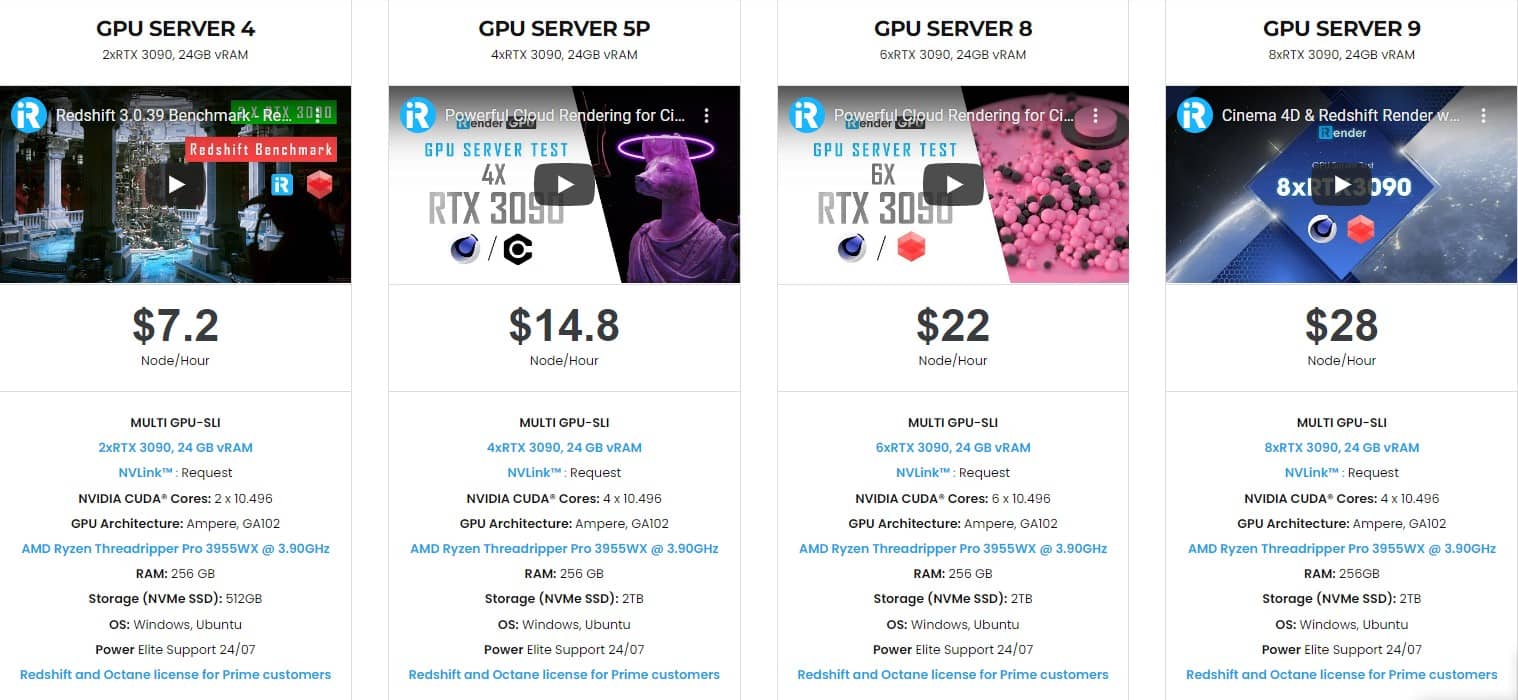
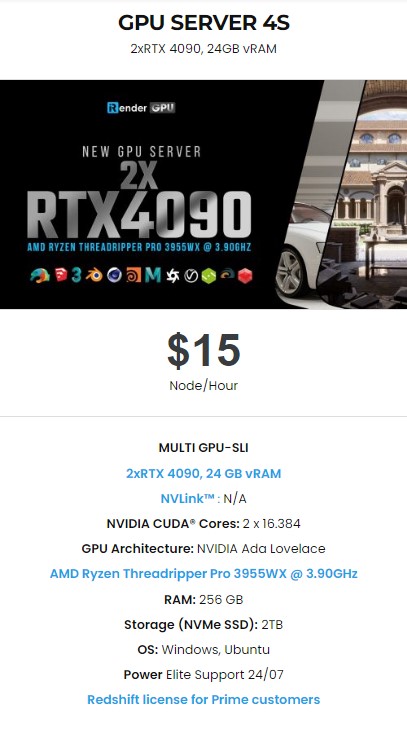
Specially, we just released our new package server 4S (2 RTX 4090), you can refer its configuration as below:
2. Blender server test on iRender
Let’s check out the rendering performance in Blender on RTX 4090 servers.


3. Our Customer Support and Technical Team available 24/7
In case you have any problems or questions, don’t hesitate to contact the 24/7 support team. We will be happy to help you with your questions and problems at all times.
Besides, iRender always has a special deal for you. This month, we are running a SPECIAL PROGRAM: 20% Additional Bonus for new clients who register an account and make a top-up within 24 hours of registration.
Get the FREE COUPON to try our high-end computers for your Redshift projects now! For further information, please do not hesitate to reach us at [email protected] or Whatsapp: +(84) 916017116.
iRender – Happy Rendering!

Related Posts
The latest creative news from Cinema 4D Cloud Rendering , Blender Cloud Rendering, Redshift Cloud Rendering, Houdini Cloud Rendering , Octane Cloud Rendering, 3D VFX Plugins & Cloud Rendering.