Motion Blur advanced render settings in Redshift for Cinema 4D
A real-life camera captures images by opening its shutter for a short period of time and exposing the film or digital sensor to light. When the camera or the objects or lights in the scene move, the image becomes blurry depending on the shutter speed. Motion blur in Redshift simulates that type of blurring effect. In today’s article, iRender is going to introduce you to the Motion Blur and walk you through the advanced render settings of this effect in Redshift for Cinema 4D. Let’s dive into the detailed instruction!
Introduction to Motion Blur in Redshift for Cinema 4D
Redshift supports 03 types of motion blur:
-
-
- Camera motion blur: Blurring happens because of camera movement
- Transformation motion blur: Happens because of rigid-body motion (object or light transforms)
- Deformation motion blur: Blurring happens because the object vertices got deformed (due to morphing/skinning, etc)
-
In order to simulate motion blur, Redshift must track the trajectories of cameras, objects/lights, and vertices, respectively. Redshift renderer uses a sequence of linear segments (referred to as “steps”) to represent curves when motion blur is present. The trajectory simulation is more precise with more steps. Nonetheless, it also consumes more memory. In Redshift, camera blur and transformation blur can have a maximum of 31 steps, and deformation blur’s limitation is 2, 3, 5, 9, and 17 steps.
Motion blur advanced render settings in Redshift for Cinema 4D
The image below shows the advanced render settings of motion blur in Redshift.
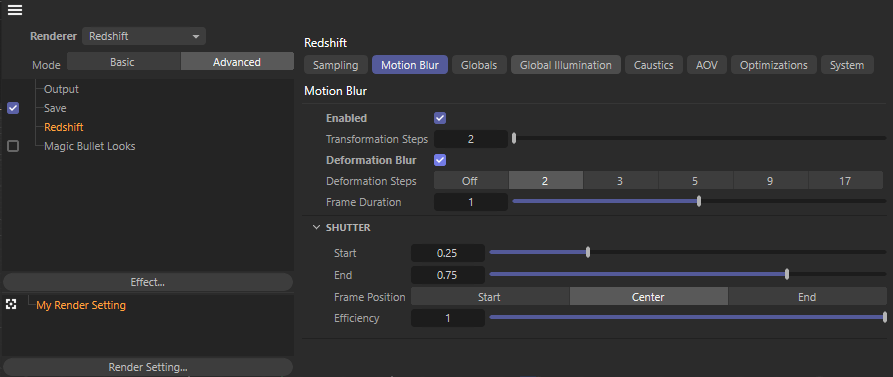
Let’s cover all the settings in Motion Blur and Shutter parts.
Enabled Motion Blur
Firstly, you should enable or disables motion blur in Redshift.
Note: All Redshift motion blur will be automatically disabled in the beauty render if you enable a Motion Vector AOV in your scene. Reason: this would be undesirable for a Motion Vector AOV.
Transformation Steps
Transformation steps control how many linear steps Redshift will use to simulate the trajectory of cameras, lights, and objects. And the more steps, the more accurate the trajectories will be. As a result, the motion blur will look smoother, but more memory will also be used.
Let’s see how Transformation Steps influence the render in the example images below. (Note: All renders come from the same animation. The only thing that changed was the Transformation Steps count.)
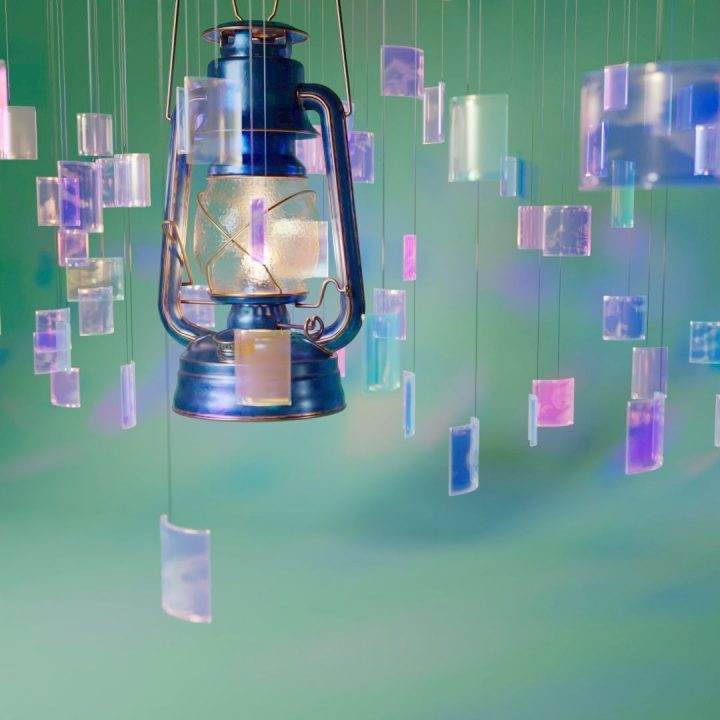
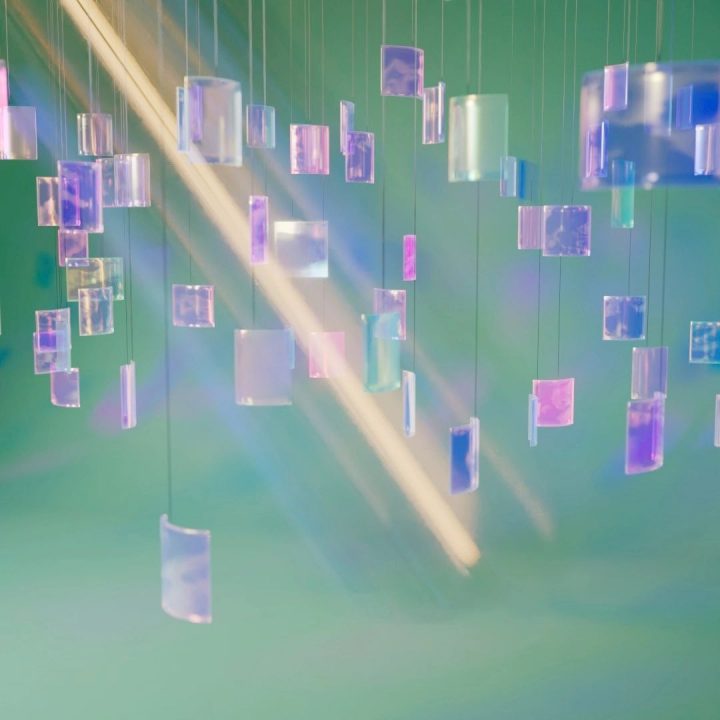

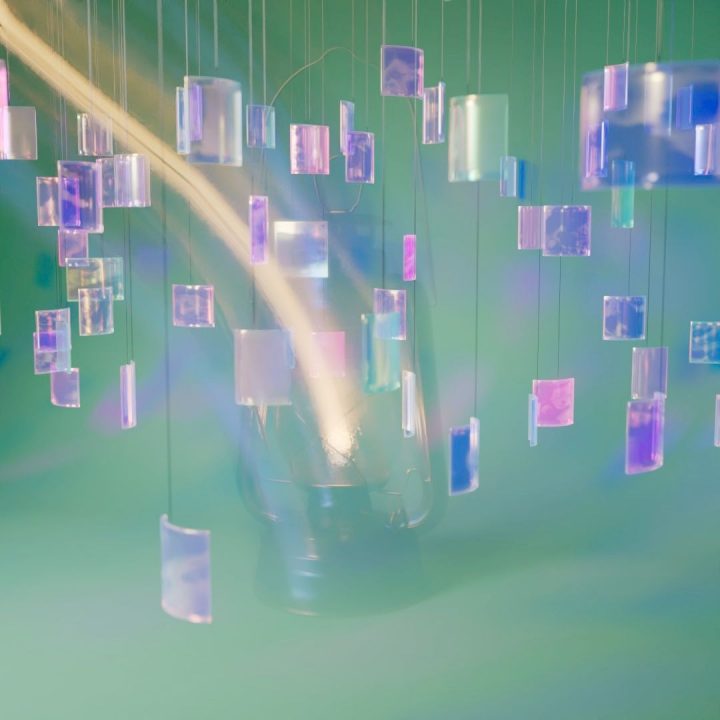
Image Credits: help.maxon.net
As you can see, the trajectory of the moving lantern is more appropriately rendered when increasing the Transformation Steps.
Deformation Blur
Enables or Disables deformation motion blur.
Deformation Blur tracks the motion of individual vertices. And it can be memory-intensive, especially for high-poly or displaced geometry. If your objects do not have animated deformation, you can leave this parameter disabled for increased performance. For more information, please visit this page.
Deformation Steps
This controls the number of linear steps that Redshift uses to represent the trajectory of moving vertices on deforming objects. Like transformation steps, the more deformation steps, the more accurate the trajectories will be, resulting in a smoother motion blur. However, this also causes more used memory
Frame Duration
Frame duration determines how many frames the camera’s virtual “shutter” will stay open for. As in real life, the greater this value, the more motion blur is produced.
Note: Because this setting parameter has to do with frame duration, it is affected by the animation frame rate in your modeling program.
Next comes the Shutter settings. These settings allow us to fine-tune the time range of motion blur for the specified frame range. (Note: remember that the total number of frames used for motion blur is controlled by the ‘frame duration’ setting). The smaller the difference between the shutter start and end values, the shorter the blur, and vice versa. For this reason, the pair values of start/end at 0.0 & 0.5 and 0.5 & 1.0 will create the same amount of blur. (The value difference between them is 0.5 in both cases). The motion blur, however, will be ‘offset’ near the start and end of the frame range respectively.
Start
Start sets the motion blur’s start point relative to the frame position within the frame’s duration. This value may range from 0.0 to 1.0. A value of 0.0 represents the very beginning of the frame duration, while the 1.0 value corresponds to the very end of the frame duration.
End
End sets the motion blur’s end point relative to the frame position within the frame duration. This value can also range from 0.0 to 1.0 as Start. While 0.0 corresponds to the very start of the frame duration, 1.0 represents the very end of the frame duration.
Frame Position
Frame position controls the motion blur’s offset relative to the rendered frame during the frame duration. There are three options: Start, Center, and End.
-
-
- Start: Starting motion blur at the rendered frame. For instance, prior to the rendered frame, there is no visible motion.
-
-
-
- Center: Centering the motion blur on the rendered frame. For example, motion is visible both in front of and after the rendered frame.
-
-
-
- End: Ending motion blur at the rendered frame. For example, there is no visible motion blur from any frames after the rendered frame.
-
Below is a 100-frame animation. The rendered frame is frame 50. As you can see, the dragon is moving upwards and the motion blur frame duration setting is 50.
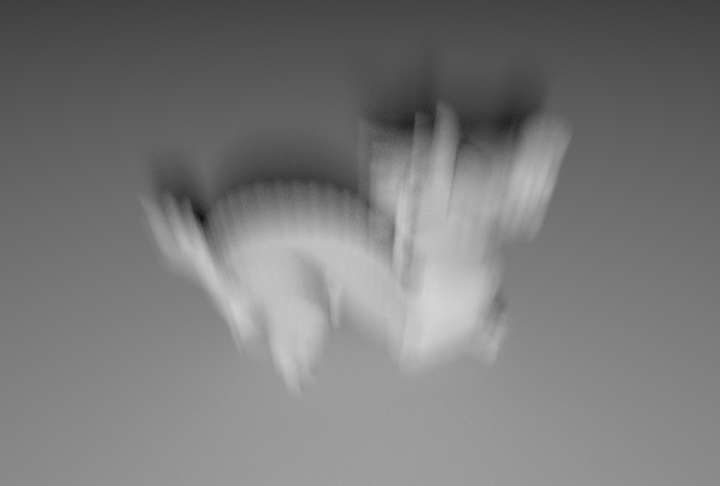
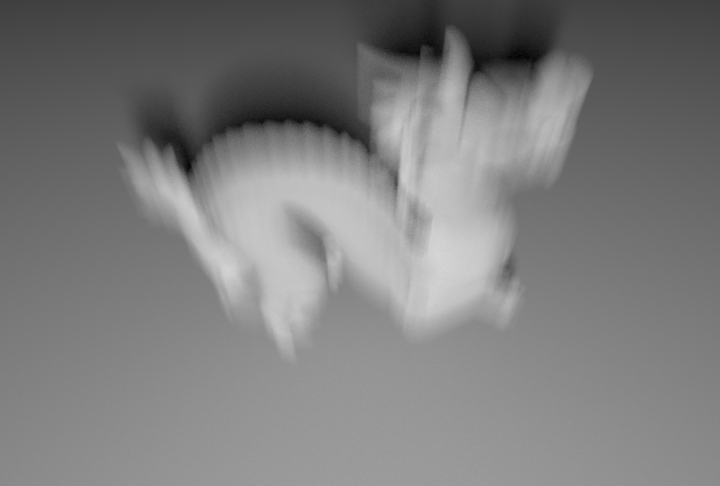

Image Credits: help.maxon.net
Efficiency
Efficiency setting controls how fast the shutter opens and closes. In reality, camera shutters open gradually rather than instantly. A setting of 0.0 causes the shutter to open as gradually as possible, whereas a setting of 1.0 causes it to open instantly (the default). The following picture demonstrates how the shutter efficiency parameter impacts the shutter opening speed.
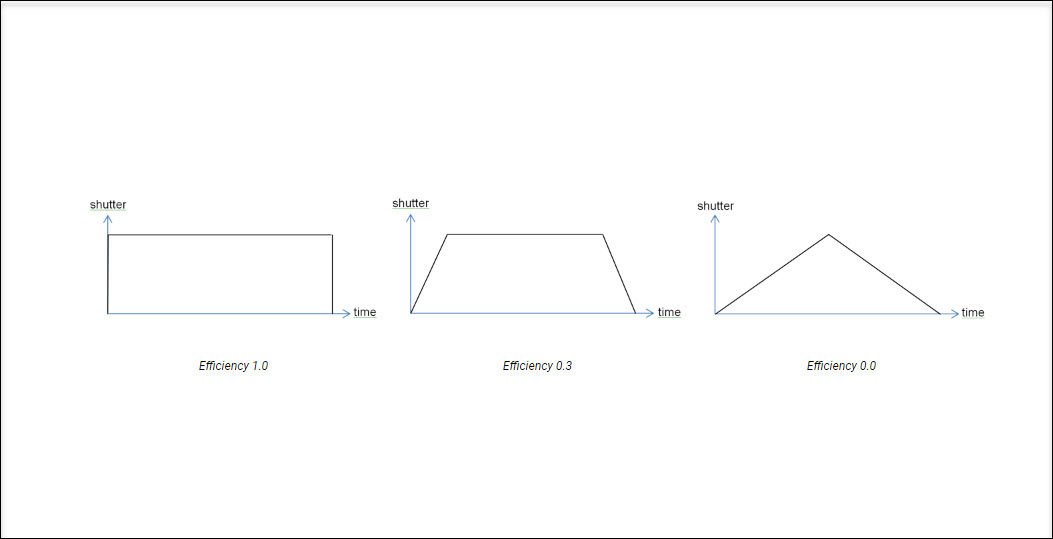
As seen in the examples of the motion blur trails below, the shutter efficiency parameter influences how motion blur trails appear. If you set the Efficiency to 0, you’ll see that the motion blur trails look smoother.

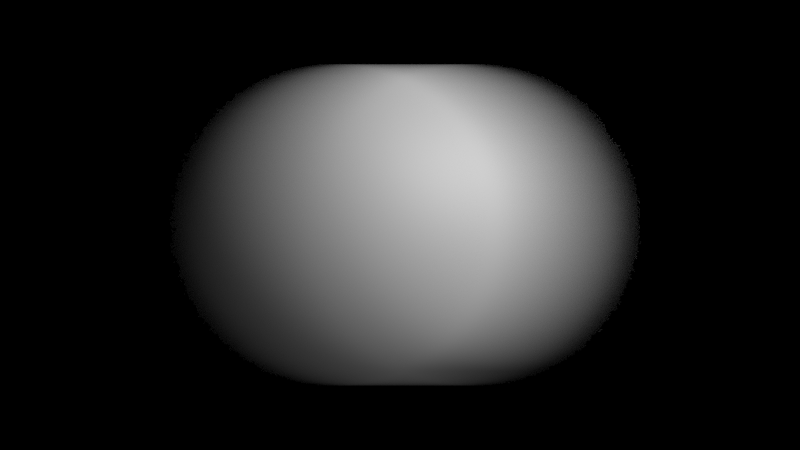

Image Credits: help.maxon.net
Above are all the information regarding motion blur and it’s advanced settings in Redshift. Hope you find it useful for your rendering optimization.
iRender - The Best Render Farm for Cinema 4D with Redshift
iRender is proud to be a professional GPU Accelerated Cloud Rendering Service provider for 3D Render, CGI, and VFX tasks with more than 30,000 clients. We are appreciated in many global rankings (e.g. CGDirector, Lumion Official, Radarrender, InspirationTuts CAD, All3DP, BlenderBaseCamp, VFX Rendering.)
Our service
We provide high-configuration servers (machines) that are specifically configured and optimized for GPU rendering. Using our service, you have complete control and flexibility over the server(s) you operate. Therefore, you can customize your creative working environment as you wish. With a range of multiple GPU servers (2/4/6/8x RTX 3090), you can choose the one that meets your need to start the rendering. Furthermore, we provide useful features to help you switch among the server packages without having to reinstall anything. You can even run multiple machines simultaneously to speed up the renders, not having to re-install anything, either.
Why choose us for your Redshift projects?
Redshift is a fully GPU-based renderer. This means that the graphic cards (or GPUs) in your system are what impact how long the renders take to complete. Also, Redshift scales very well with multiple GPUs and can significantly improve your render times. Thus, the more powerful the GPU, the better, the more GPUs the faster the render will be.
At iRender, we have both powerful GPU and multiple GPU servers that absolutely speed up Redshift rendering. Our multiple GPU machines are designed with 2/4/6/8x RTX 3090. Also, all of them have a strong AMD Ryzen Threadripper Pro 3955WX processor, allowing you to extract mesh data, load textures, and prepare scene data more quickly. Moreover, the workstations are ideal with 256GB RAM capacity and 2T NVMe SSD storage. We highly recommend you try the highest configuration server, the 8x RTX 3090. This server will be a super-configured one that brings crazy speed to Redshift in Cinema 4D. It is rated as one of the most worth-trying workstations so far for Redshift.

All of our servers’ configurations are publicly posted on our website. Visit HERE for more details about the configuration and the cost.
Cinema 4D with Redshift speed test videos
Let’s check out the rendering performance in Cinema 4D with Redshift renderer on our 4/6/8x RTX 3090 servers in the 03 following videos.


This month, we are running a SPECIAL PROGRAM: 20% Additional Bonus for new clients who register an account and make a top-up within 24 hours of registration.
Let’s get started!
Get the FREE COUPON to try our high-end computers for your Cinema 4D and Redshift projects now! For further information, please do not hesitate to reach us at [email protected] or Whatsapp: +84915875500.
iRender – Happy Rendering!
Reference source: help.maxon.net
Related Posts
The latest creative news from Redshift Cloud Rendering, Cinema 4D Cloud Rendering , 3D VFX Plugins & Cloud Rendering.