Understanding volumetric scattering and fog in Redshift for Cinema 4D
Apart from Volume object and volume shader, we also have volumetric scattering and fog, which helps you describe lighting and shadow better in a scene. In this article, let’s dive into it to understand volumetric scattering and fog in Redshift for Cinema 4D.
What is Volumetric Scattering And Fog in Redshift?
When you enhance a scene, its space around is very important. It contains small particles of water, dust, ash, etc. And when light travels through this space, it changes based on the composition of these particles. Parts of the lighting get absorbed while the remaining lighting gets scattered around.
The volumetric scattering shader allows the user to describe the lighting properties of this space and, therefore, its effects on lighting.
Using the volumetric scattering shader, it’s possible to render:
-
-
-
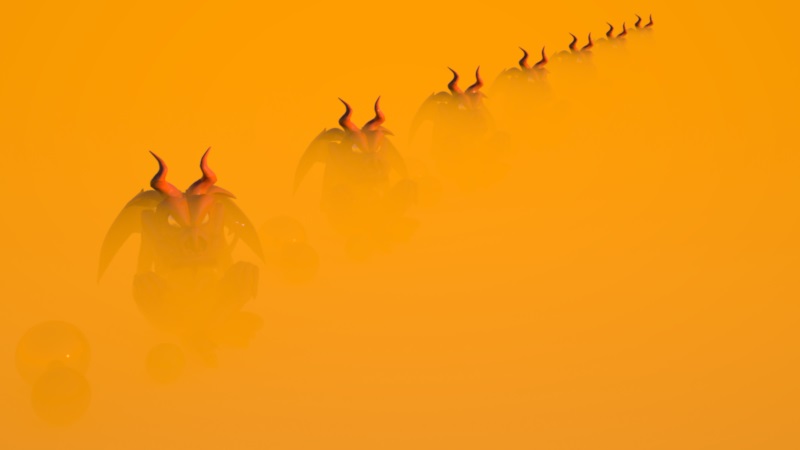
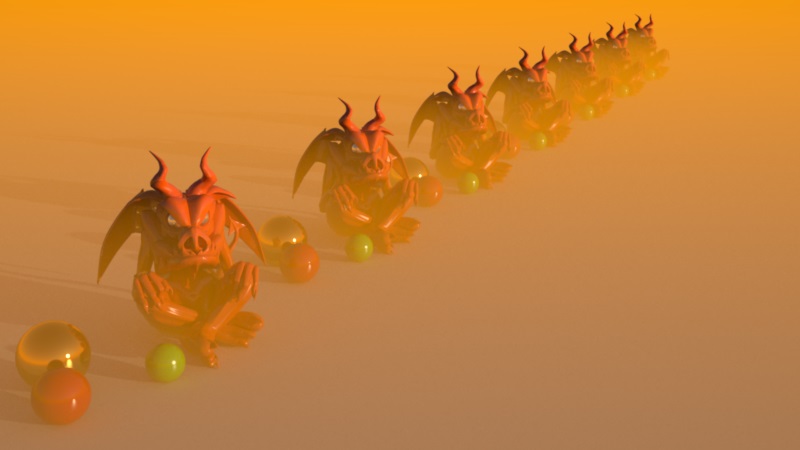
- A global fogging effect
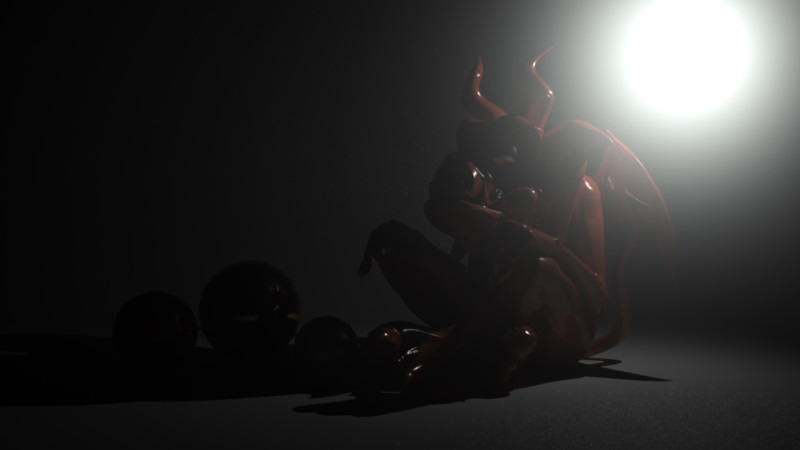
- Volumetric light beams and shadows
-
-
How to use The Volumetric Scatter Shader?
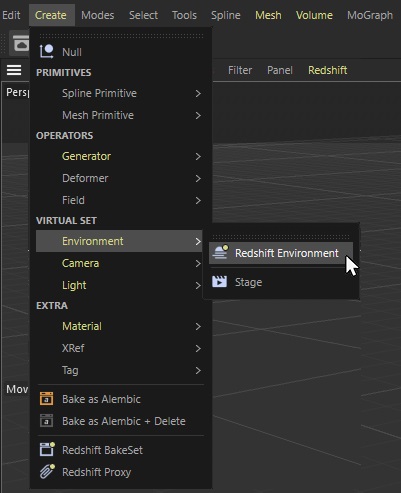
If you want to use the Volumetric Scattering effect, go to Create > Environment > Redshift Environment:
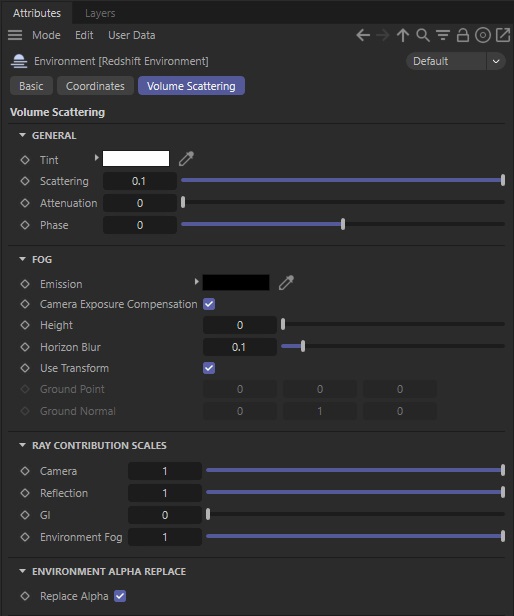
General Settings
Enable
It’s used to toggle the volumetric scattering effect (fog and volumetric lighting) on/off
You can find this option in the Basic tab or just use the green checkmark icon to the right of the Redshift Environment in the Object Manager.
Tint
A global tint for all volumetric lighting effects (this doesn’t include global fog)
Scattering
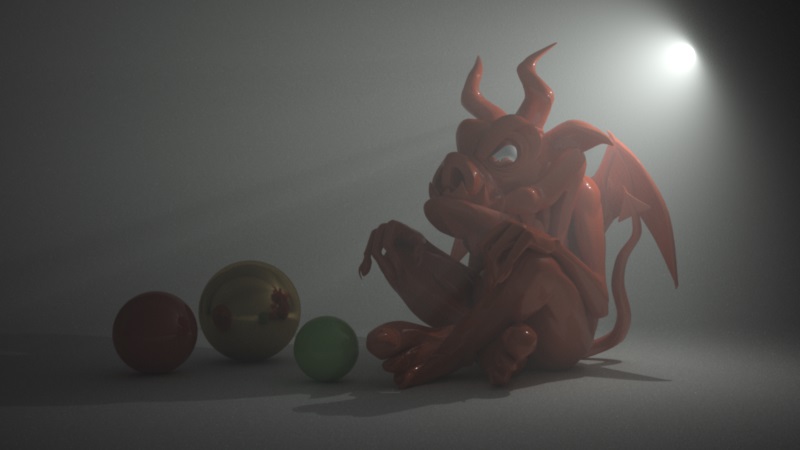
It defines how strong the volumetric lighting effect should be. Higher values will generate brighter volumetric lighting and vice-versa. If you enable volumetric scattering and you get a completely washed-out-white frame, you might need to reduce this setting significantly.
Attenuation
It controls both the strength of the fog and the amount by which light gets attenuated as it travels through the space with light travelling through. Higher numbers introduce stronger fogging and more light attenuation.
Lighting attenuation only happens for non-infinite lights, but not with Dome lights, the physical sun and infinite lights.
Phase
The “Phase” parameter controls how much the lighting will bounce around inside the space with light travelling through and get scattered. In some ways, this setting is similar to the “Diffuse/Specular” settings of a surface material.
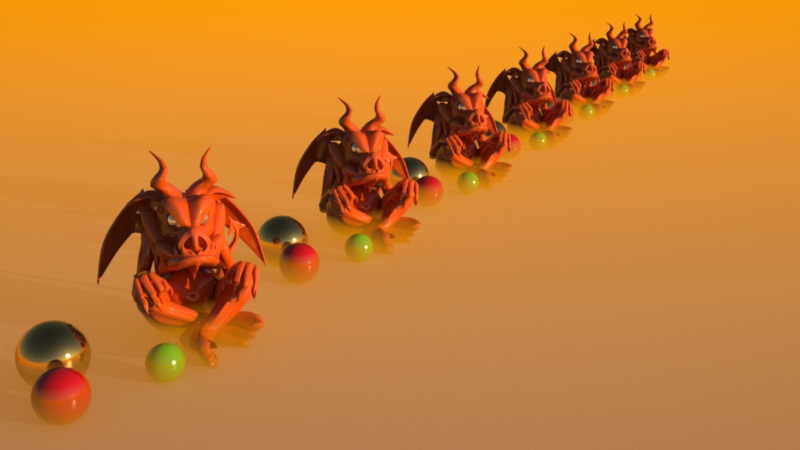
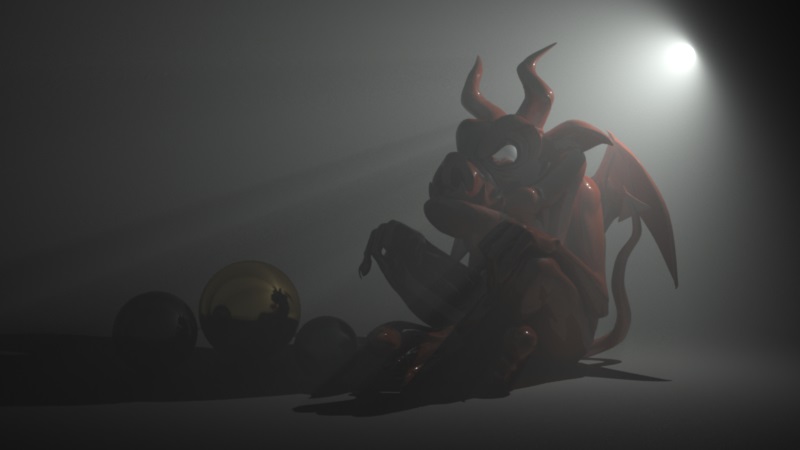
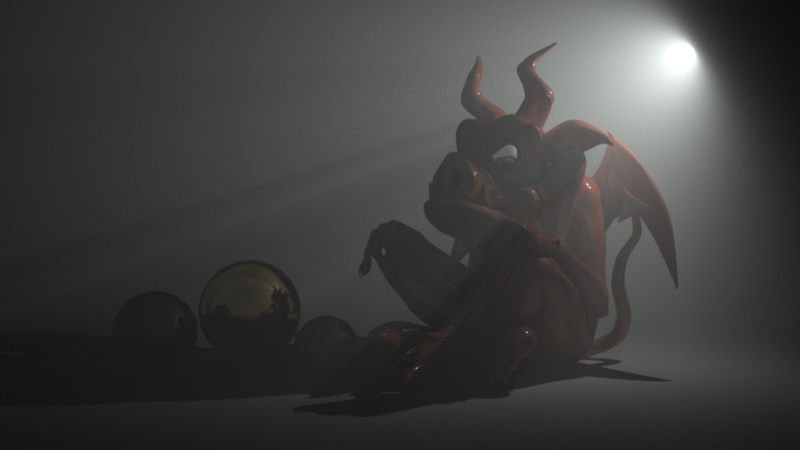
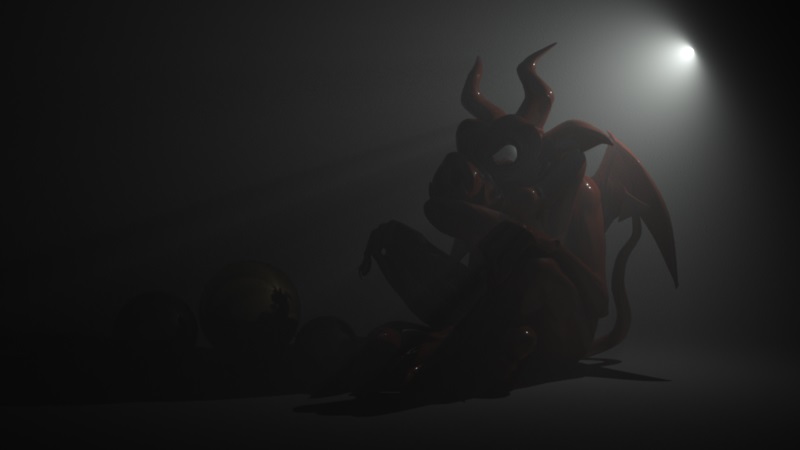
A phase of 0.0 means that the lighting will bounce around more and will appear more diffuse. A phase greater than 0.0 produce what is known as “forward scattering”, and the light there will not bounce around much but visible mostly when travelling toward the camera. On the other hand, negative numbers will produce “backward scattering’ which means that volumetric lighting will mostly be visible as it travels away from the camera.
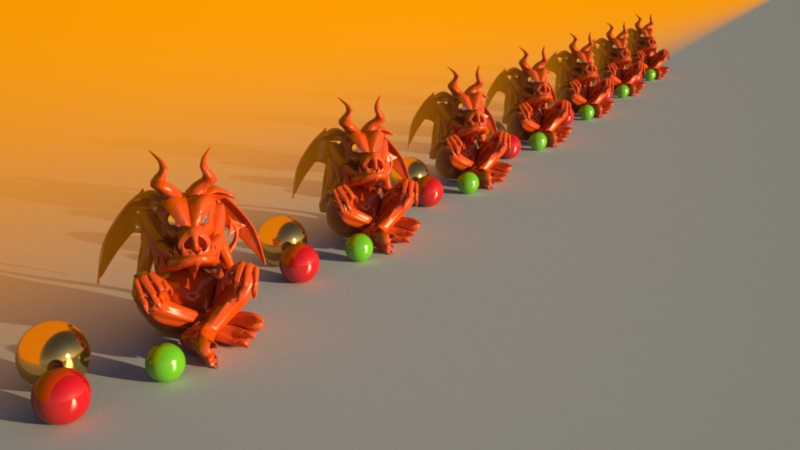
Below are some forward scattering examples.

Fog Settings
Emission Color
This parameter enables fog to be self-illuminating. This is useful when you want the fog to have color and not just be black.
Apply Camera Exposure Compensation
This option is enabled to ensure the emission color will be scaled appropriately so that the user won’t have to use large RGB numbers.
Height
This parameter sets the height of the fog. When height is set to zero, fog is omnipresent.
Horizon Blur
The horizon blur setting allows the height fog’s horizon (where the fog joins the horizon) to be faded out which will smooth out the effect.
Use Transform
If activated, you can control the orientation and location of the fog by moving the Redshift Environment object directly in your view. If deactivated, you can set a starting point and direction for the fog by using the Ground Point and Ground Normal parameters.
Ground Point
If using height fog, this setting determines where the fogging effect starts.
Ground Normal
If using height fog, this setting determines the direction of the fog. Using this setting you can create a ‘wall of fog‘ instead of a ‘blanket of fog’. See example images below.
Ray Contribution Scales
Camera
It defines how much fogging and volumetric lighting you should apply to rays that hit scene objects.
Reflection
It defines how much fogging and volumetric lighting you should apply to rays that were spawned from reflection.
GI
It defines how much fogging and volumetric lighting should be applied to any GI lighting. Applying volumetric lighting on GI computations can wash out the results, produce noise (especially if strong phase settings are used) and be computationally intensive. That’s why Redshift turns off this contribution by default.
Environment Fog
It defines how much fogging and volumetric lighting should be applied to rays that don’t hit anything and go to infinity.
Environment Alpha Replace
Enable
The ‘Environment Alpha Replace’ option replaces environment alpha with 1. This is because alpha pre-multiplied output can make the volumetric effect disappear in areas where the alpha is not 1 or 0. The example below shows a light volume over a black environment with an alpha of 0. You can clearly see the artifacts caused by disabling the option in the preview window of Softimage, where anti-aliasing produces ‘halos’ of alpha values between 0 and 1. You should only disable this option if you expect to composite and effectively replace the volumetric effect where the environment is.
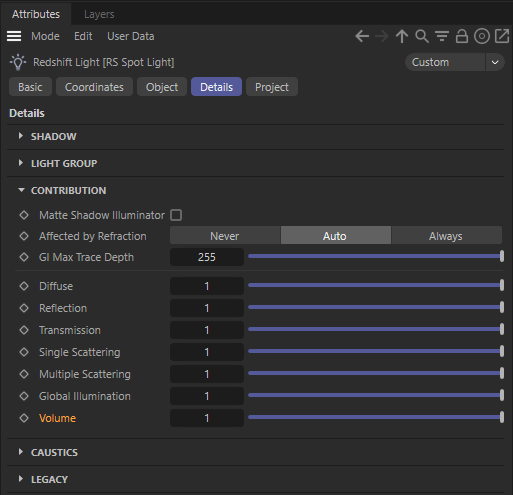
Enabling Volumetric Lighting
To enable volumetric lighting for a light, use a Volume value above 0. You can find this setting in the Details tab of the Redshift Light.
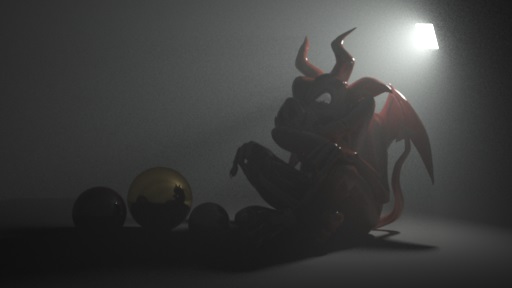
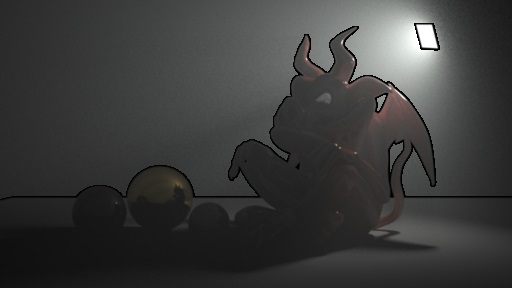
Below are the effect of some more volumetric-lighting-related settings.
Working on a Redshift customized pipeline with iRender’s remote machines
iRender is proud to introduce our remote machine, from single to multiple RTX4090. We provide you supercomputers, with high-end specifications like AMD Ryzen™ Threadripper™ PRO 3955WX @ 3.9 – 4.2GHz or AMD Ryzen™ Threadripper™ PRO 5975WX @ 3.6 – 4.5GHz, RAM 256GB, Storage NVMe SSD 2TB. Most importantly, we always update to the latest GPU technology, with 1/2/4/6/8 x RTX3090/RTX4090.
You are free to install any 3d software or rendering engines. And now we are having remote servers with Cinema 4D and Redshift pre-installed. Moreover, our users are free to use one Cinema 4D and Redshift license on our remote machine. You just need to activate it via our license app, and start to render your project without having to waste time to install the software.
Check out some of our Redshift tests on our server RTX 4090/3090:


iRender also provides you more services. Free transferring tool named iRender drive for macOS or Linux users. For Windows users, we recommend using our all-in-one application iRender GPU to work, and you don’t need to come to our website. Our price is flexible with hourly rental which has a pay-as-you-go basis, daily/ weekly/ monthly subscription with discount from 10-20%. Plus, you have 24/7 support service via livechat with real humans who will support you whenever you encounter an issue.
Register an account today to experience our service and enjoy a very big promotion 100% bonus for new user’s first top up. Or contact us via WhatsApp: (+84) 916806116 for advice and support.
Thank you & Happy Rendering!
Source and images: help.maxon.net
Related Posts
The latest creative news from Cinema 4D Cloud Rendering , Redshift Cloud Rendering