What are the best ways to use Maya for motion design?
In the competitive landscape of motion design, Autodesk Maya stands out as a powerful and versatile 3D modeling and animation software that is widely embraced by creative professionals. Renowned for its robust features and flexibility, Maya empowers artists to bring their visions to life through intricate animations, stunning visual effects, and detailed character modeling. understanding how to effectively utilize Autodesk Maya is key to producing stunning visual content that captivates audiences. From character animation and rigging to the integration of 3D elements in motion graphics, Maya offers a range of tools that facilitate the creation of complex animations with precision and artistry. This blog will explore the role of Autodesk Maya in motion design, highlighting its essential features, best practices, and techniques that empower designers to bring their imaginative concepts to life.
Let’s get started with iRender!
Overview of Motion design for Maya
Autodesk Maya is a powerful 3D software that can create stunning motion graphics for film, TV, games, and the web. Whether you want to animate text, logos, characters, or environments, Maya has the tools and features to help you achieve your creative vision.
Motion design, or motion graphics, refers to the creation of animated graphic elements. These can include text, shapes, images, and 3D models that move to convey a message or tell a story. The goal is to make content more engaging and visually appealing. Motion design in Autodesk Maya involves creating animated visuals that combine elements from graphic design and animations. It’s widely used in various fields, including advertising, film, television, and digital media.
Best ways to use Autodesk Maya for motion design
How to set up your project
Before you start designing, you need to set up your project in Maya. This includes choosing the right resolution, frame rate, and format for your output. You also need to organize your files and folders, and save your scene with a descriptive name. Setting up your project correctly will help you avoid technical issues and work more efficiently.
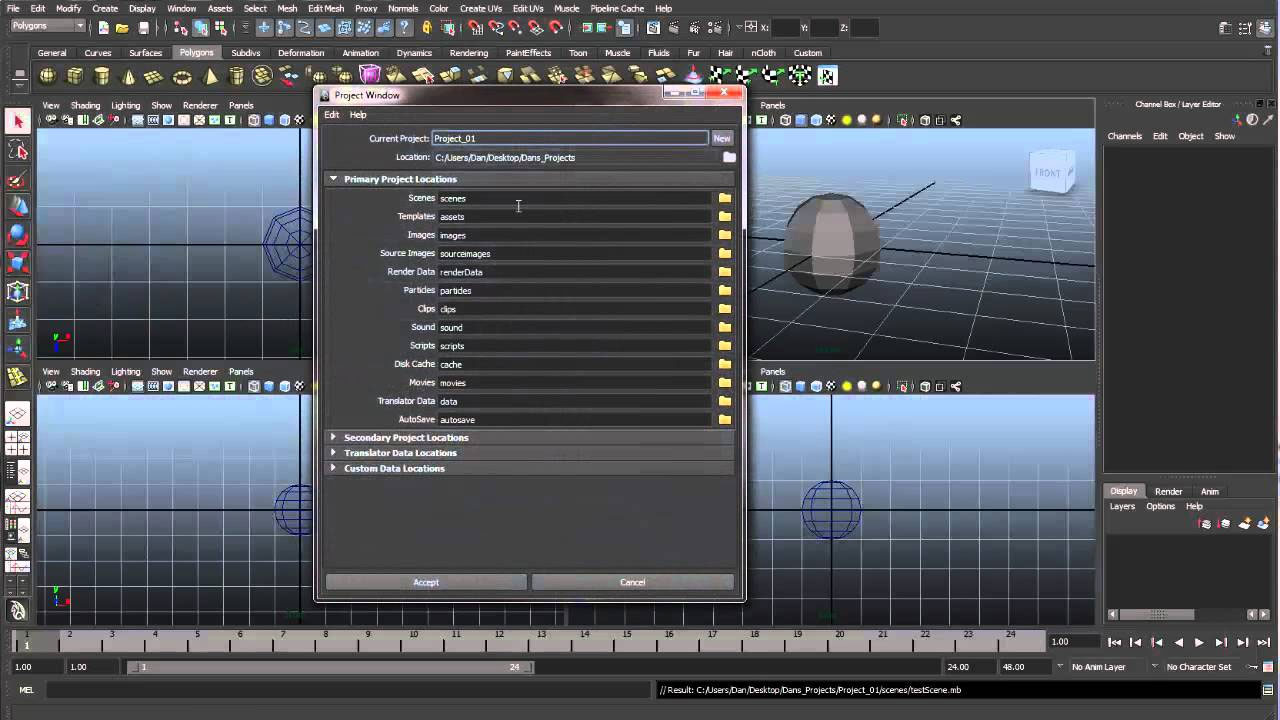
Create a New Project
- Start Maya: Launch Autodesk Maya.
- Create New Project: Go to the top menu and select File > Project Window.
- New Project Setup: In the Project Window, click the New button. Enter a name for your project (e.g., “MotionDesignProject”) and choose a location on your hard drive where the project folder will be created.
- Set Project Structure: Maya will create a folder structure with subdirectories for all your project assets, such as scenes, images, audio, and renders.
Setting Up Project Preferences
- Project Settings: Go to Windows > Settings/Preferences > Preferences. Here you can adjust various settings according to your project needs, such as animation settings, display preferences, and more.
- Set Frame Rate: Under Settings > Time Slider, set the frame rate appropriate for your project (common rates are 24, 30, or 60 FPS depending on your target platform).
- Adjust Working Unit: Under Settings > Settings > Working Units, choose the appropriate units for your project (e.g., centimeters, meters) to ensure scale consistency in your models and animations.
How to use the MASH network
One of the most useful features of Maya for motion design is the MASH network. MASH is a set of nodes that let you create complex and dynamic animations with ease. You can use MASH to distribute, clone, deform, and manipulate objects in your scene. You can also apply effects, such as noise, trails, or audio, to add more variety and realism to your motion graphics. MASH operates on a node-based system, allowing designers to connect different nodes visually. This modular approach makes it easy to manage and adjust elements without diving into complicated timelines or keyframes.
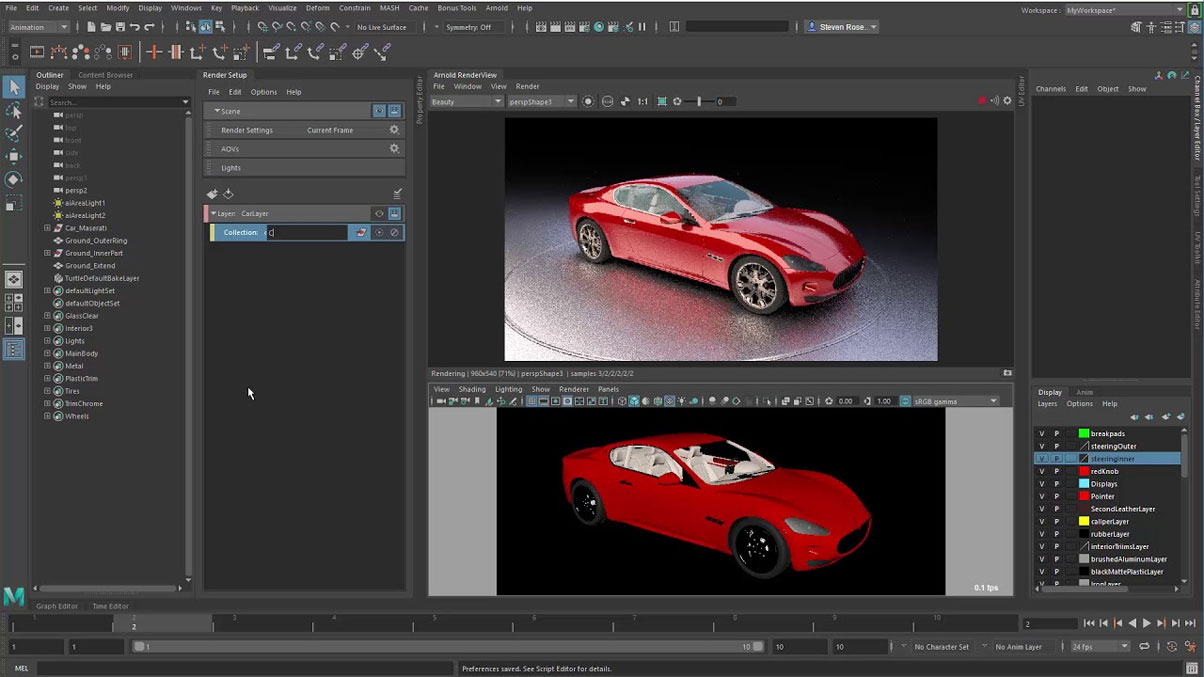
How to use the Arnold renderer
Another key feature of Maya for motion design is the Arnold renderer. Arnold is a high-quality and fast renderer that can produce realistic and stylized images. You can use Arnold to set up your lighting, materials, and camera settings. You can also use Arnold to render your animations in different passes, such as beauty, ambient occlusion, or depth, and then composite them in software like After Effects. Arnold’s advanced global illumination techniques allow for realistic lighting effects, providing detailed light interactions in your scenes. This is crucial for creating depth and atmosphere in motion graphics. With the Arnold Standard Material, artists can create complex materials that mimic a wide range of real-world surfaces, such as metals, glass, and skin. This capability is essential for delivering stunning visuals in motion design.
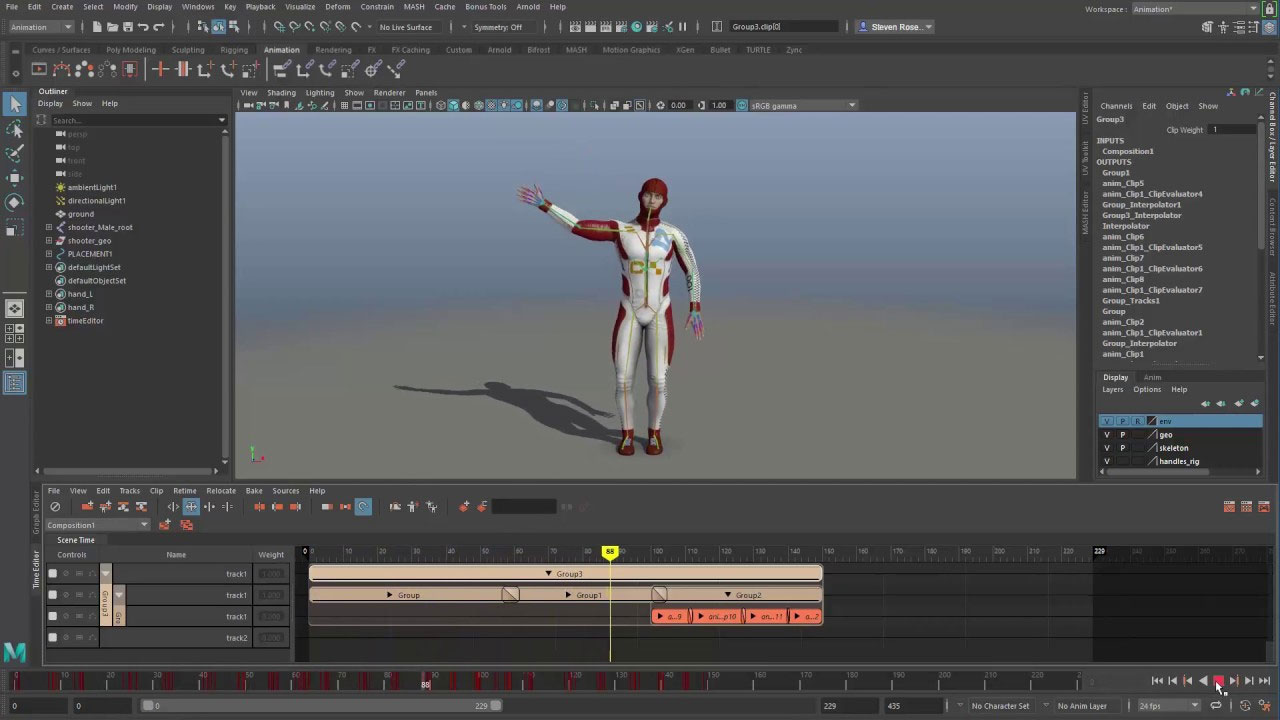
How to use the Time and Graph Editor
The Graph Editor is a tool that lets you edit and refine your animations in Maya. You can use the Graph Editor to view and modify the curves that represent the keyframes and values of your animated attributes. You can also use the Graph Editor to adjust the timing, spacing, and easing of your animations. The Graph Editor can help you create smooth and natural motion for your motion graphics. By understanding how to utilize the Graph Editor effectively, you can significantly enhance the quality and dynamism of your motion graphic projects. Through practice and experimentation, you’ll become more efficient at creating engaging animations that capture attention and convey your intended message.
The Time Editor is a tool that lets you edit and manage your animations in Maya. You can use the Time Editor to arrange, trim, blend, and loop your animation clips. You can also use the Time Editor to create transitions, offsets, and layers for your motion graphics. The Time Editor can help you create complex and dynamic sequences for your motion design projects.
How to use the Motion Graphics Toolkit
The Motion Graphics Toolkit is a collection of presets, templates, and scripts that can help you create motion graphics in Maya. You can use the Motion Graphics Toolkit to access ready-made elements, such as text, shapes, icons, or backgrounds. You can also use the Motion Graphics Toolkit to customize your motion graphics with colors, fonts, styles, or animations. The Motion Graphics Toolkit can help you save time and inspire your creativity.
Wrap Up
Autodesk Maya is a powerful tool for motion design, offering a wide array of features that can significantly enhance the creativity and efficiency of artists. By leveraging its robust modeling, animation, and rendering capabilities, designers can bring their ideas to life with remarkable precision and depth. Some of the best ways to utilize Maya for motion design include mastering key animation techniques, utilizing the Graph Editor for fine-tuning motion curves, and harnessing the potential of the Motion Graphics Toolkit for streamlined workflows.
iRender - Maya’s best cloud rendering service
iRender is the greatest choice for your Maya pipeline whether you’re searching for a render farm or cloud rendering solution. You can use the remote workstation(s) that we offer at iRender just like a regular computer.
iRender provides high-configuration dedicated servers (physical computers/machines) specifically optimized for GPU rendering. Using our service, you will completely control the server(s) you rent through the Remote Desktop application. Therefore, you can customize your creative working environment as you wish. In short, iRender’s server is like your computer in the cloud accessible on any device instantly. You will use its full power for everything. iRender provides useful features to help you switch among the server’s configurations without having to reinstall anything. You can even run multiple servers simultaneously to speed up the renders, not having to re-install anything, either.
Maya often comes with third render engines like Redshift, Octane, V-Ray, Arnold, etc.. Whether or not you use any of those render engine, you still can find a suitable package at iRender. Especially, if you use Maya with Redshift, you can access our remote servers and use our Redshift license for free. For Maya, please install and use your license to render yourself.
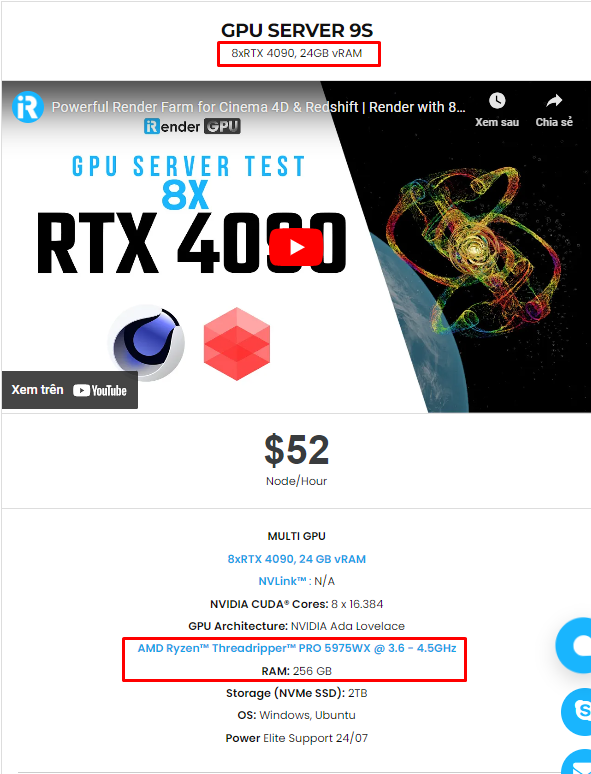
Recently, we have released our server 9S (8 cards 4090). You can refer its configuration here. It is the iRender’s latest powerhouse server:
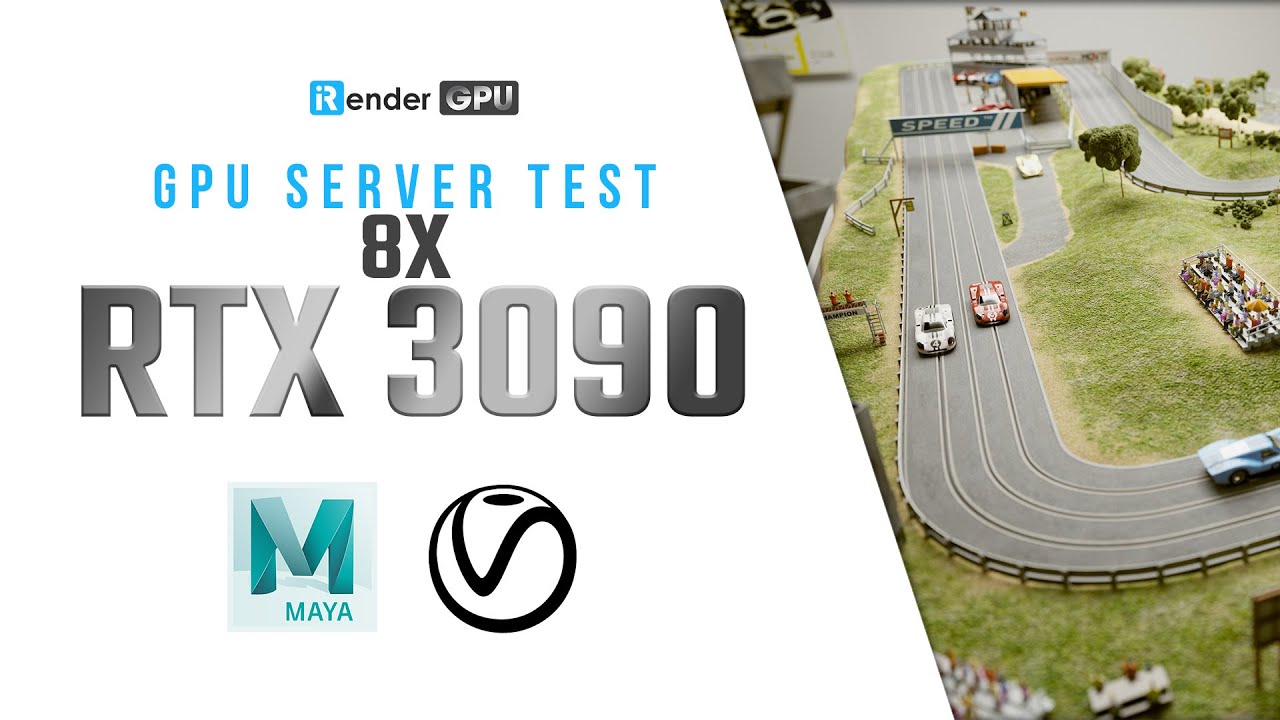
Let’s check out the rendering performance of Maya on our RTX 3090 servers.

In case you have any problems or questions, don’t hesitate to contact the 24/7 support team. We will be happy to help you with your questions and problems at all times.
This month, we are running a SPECIAL OFFER: 100% Additional Bonus for new clients who register an account and make a top-up within 24 hours after their registration.
Register an account today to experience our service or contact us via the email [email protected] or WhatsApp: (+84) 912075500 for advice and support.
Happy Rendering!
Reference source: autodesk
Related Posts
The latest creative news from Maya Cloud Rendering, Redshift Cloud Rendering, Cinema 4D Cloud Rendering , 3D VFX Plugins & Cloud Rendering.