Difference between Subdivision Surface and Multiresolution Modifier
We may use a variety of modifiers in Blender to generate 3D models using procedural, nondestructive workflows. Certain of these modifiers may be similar in terms of the effect they can have on your model, or at least share certain characteristics. In the article today, we will discover the differences between subdivision surface modifier and the multiresolution modifier to find out the best way to modify model.
What Can You Do With The Subdivision Surface Modifier?
Before we can compare the differences between the two modifiers we first need to understand just how each of these modifiers is designed to function in itself, starting with the subdivision surface modifier.
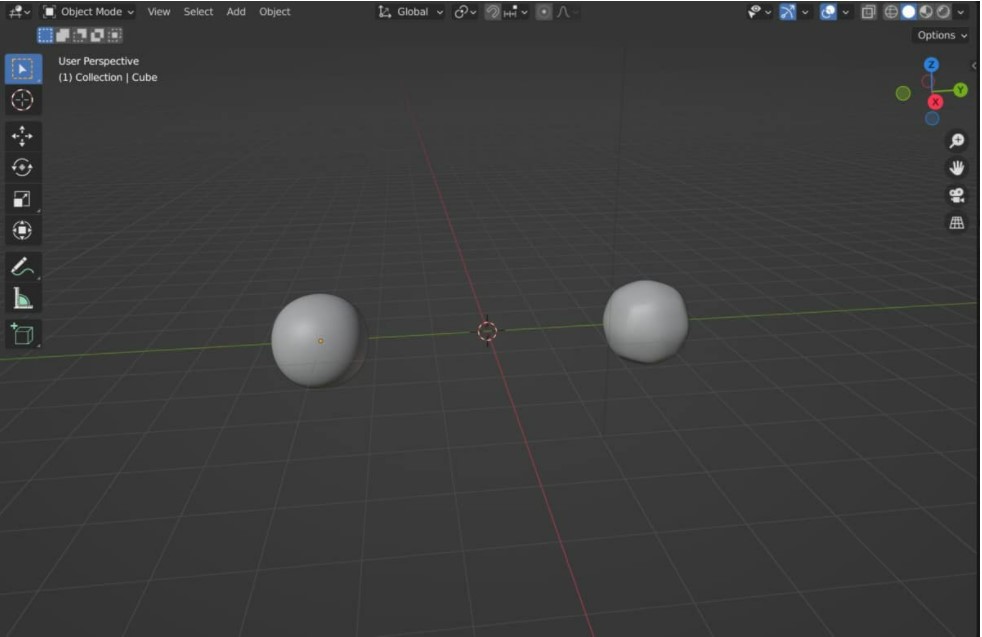
The main purpose of the subdivision surface modifier is to increase the total amount of geometry across your entire 3D model. You have the option of increasing the amount of geometry in both the 3D viewport and the rendered image as two independent values.

You can use this setup to preview your model at a slightly higher poly count by using a low levels value in the viewport, while also having a higher value for the render to get the best of both performance and results.
You also have access to some slightly more advanced tools such as the ability to improve vertex positioning on the model, as well as for deciding whether or not the modifier is influenced by any creases that you create, and the effect of the subdivision had on existing UV maps.
So in addition to increasing the amount of geometry on the model, you also have the capability to control how the subdivision surface is applied to the model.
How To Use The Multiresolution Modifier In Blender?
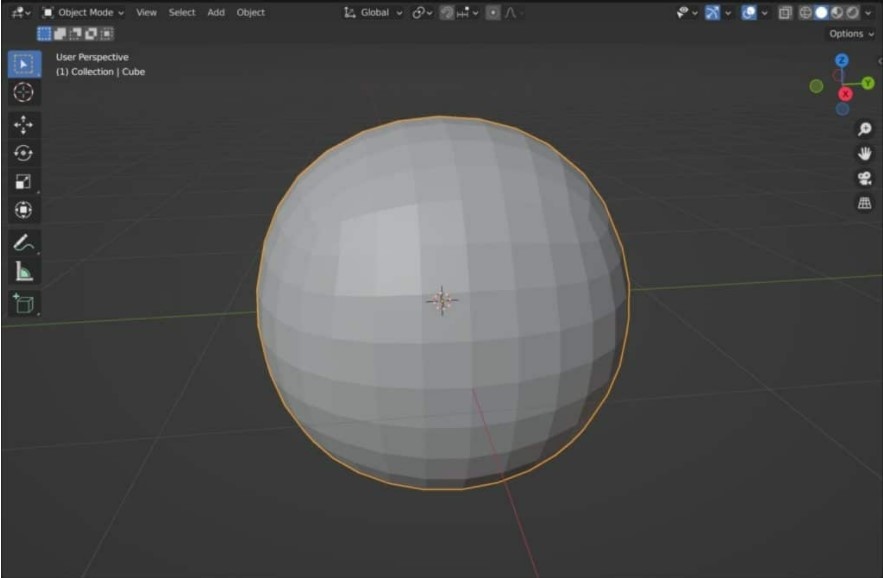
The multiresolution modifier, on the other hand, has a more complicated design and function. You can use multiresolution to not only increase the quantity of geometry by subdividing but also to decrease it by unsubdividing.
However, how this is done differs from how it is done on the subdivision surface. In multiresolution, for example, you have the subdivision choice as well as the simple and linear options underneath. All of them increase the geometry of your subdivision by adding more levels.

You should keep in mind, however, that utilizing them in different orders will have different effects. The linear option adds a subdivision level without changing the shape.
The subdivision option will add a level to the geometry and attempt to smooth it out. The simple option is a cross between the two, with a similar design but more curvature and the ability to be used as a bevel tool.

What Is The Issue With Using A Subdivision Surface And Why Is Multiresolution Modifier Better?
Any modification can cause issues, not the least of which is the subdivision surface modifier, which is one of the oldest of them all.
This modification has become a standard in many 3D artists’ workflows, serving as a preview tool or a platform to construct geometry on, resulting in better results in less time.
One issue with subdivision surfaces is that they don’t work well with hard surface objects with sharp edges. You can either forfeit the sharp edges and lose the model’s base shape, or you can set the technique modifier to simple and maintain the sharp edges.
Either option could work for you, but what if you wanted the model to have a slight bevel? You can accomplish something similar by adjusting the crease values around the edges, but with multiresolution, you can better control the form by using the various subdivision tools.
Another drawback of employing subdivision surfaces is the sculpting process. The modifier is initially beneficial in that it increases the amount of geometry you have to work with, but when sculpting, performance suffers and the viewport becomes slow and unresponsive.
When you increase the total number of subdivisions, you can lower the value for sculpting as its own value below the viewport’s set value to improve performance while still allowing for the extra detail that the modifier provides.
When To Use Either Subdivision Surface Or Multiresolution Modifier When Modeling?
So, when should one modifier be used instead of the other? In most circumstances, though, the subdivision surface modifier will sufficient. For example, while making simpler models that don’t require much sculpting or have a minimal level of detail requirement.
To put it another way, the more detail and geometry a model requires, the more useful the multiresolution tool becomes.

If the structure of your geometry allows it, you can also unsubdivide your model. As a result, you can not only increase but also decrease your poly count as needed.
However, if other modifiers attempt to change the basic geometry, the multiresolution modifier cannot be relocated in the modifier stack like other modifiers.
If you try to reorder the modifiers, the multiresolution will always come first, followed by any other modifiers that have a direct impact on the geometry.
Conclusion
Both the subdivision surface modifier and the multiresolution modifier can be used to increase the overall geometry of a 3D model. The main difference between the two modifiers is the subdivision surface only focuses on increasing the base resolution, while the multiresolution modifier is used to both increase and decrease your geometry count in different ways, such as when you are sculpting.
You can think of the multiresolution modifier as a more advanced version of the subdivision surface modifier if you like, but this barely scratches the surface. Where you choose to use these modifiers is just as important as the how.
The Best Cloud Rendering Service for Blender
iRender is a GPU-Acceleration Cloud Rendering Service for Multi-GPU Rendering with Powerful Render Nodes: 2/4/6/8x RTX 3090/3080/2080Ti, provides high computing performance on the model of IaaS (Infrastructure-as-a-Service). Users will remotely connect to our server, install any version of Blender only one time and easily do any intensive tasks like using their local computers.
High-end hardware configuration
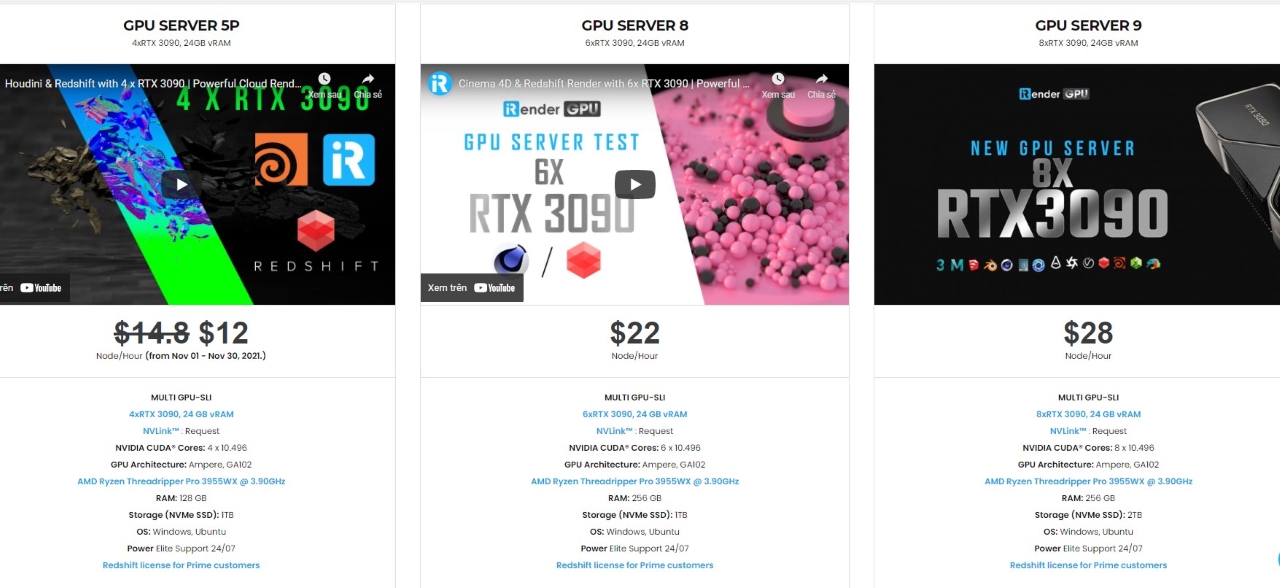
- Single and Multi-GPU servers: 1/2/4/6/8x RTX 3090/3080/2080Ti. Especially, NVIDIA RTX 3090 – the most powerful graphic card.
- 24 GB vRAM capacity, fitting to the heaviest images and scenes. NVLink/SLI requested for bigger vRAM.
- A RAM capacity of 128/256 GB.
- Storage (NVMe SSD): 512GB/1TB/2TB.
- Intel Xeon W-2245 or AMD Ryzen Threadripper Pro 3955WX CPU with a high clock speed of 3.90GHz.
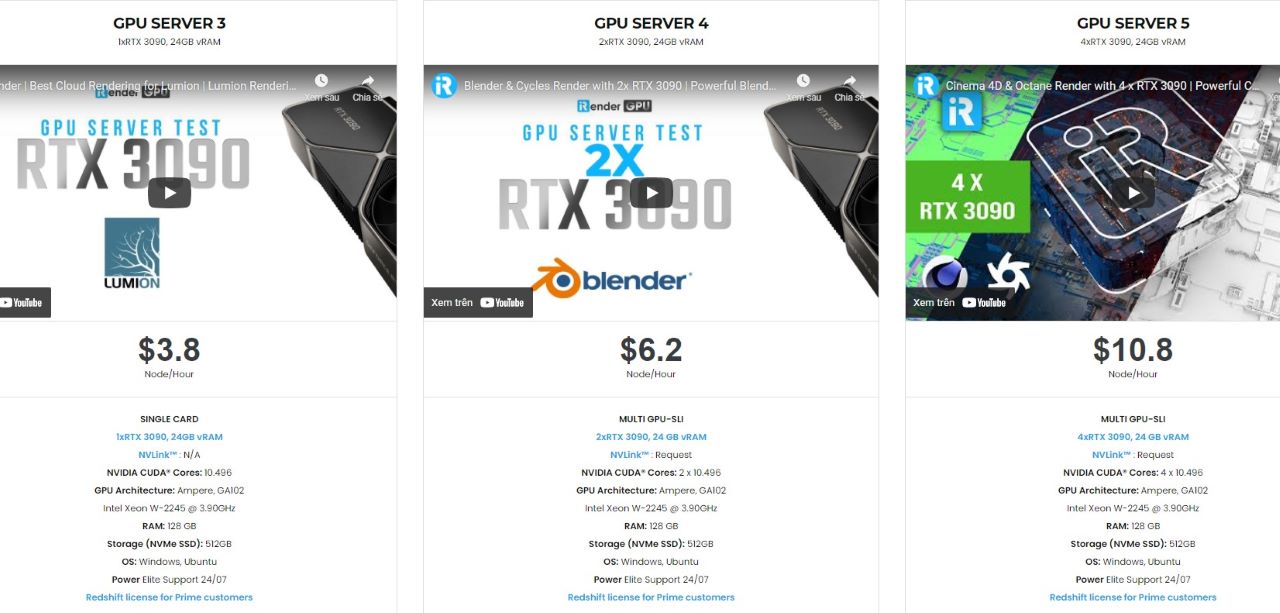
Let’s see rendering tests with Blender with 2x RTX 3090 – the latest NVIDIA CARD RTX 3090 with 24GB VRAM will help you reduce your render time very much at iRender:

Reasonable price
iRender provides high-end configuration at a reasonable price. You can see that iRender’s package always costs much cheaper than packages of other render farms (in performance/price ratio). Moreover, iRender’s clients will enjoy many attractive promotions and discounts. For example, this December, we offer a promotion for new users and discounted prices for many servers, users will take advantage of these to level up their renders.
SPECIAL OFFER for this December: Get 20% BONUS for all newly registered users.

For more advice and support, please do not hesitate to reach us via Whatsapp: +(84) 915875500. Register an ACCOUNT today and get FREE COUPON to experience our service.
Thank you & Happy Rendering!
Source: blenderbasecamp.com
Related Posts
The latest creative news from Blender Cloud rendering.