Some optimization options for your rendering in Redshift
If you want to render faster or produce higher-quality results in Redshift or any render engine, it has many options and one of them is to optimize your scene. In this article, let’s find out some optimization options for your rendering in Redshift.
Some optimization options for your rendering in Redshift
Maximum Trace Depth
If you want to decrease the rendering times, try lowering the trace depth limits. However, you have to be careful to achieve a fairly good and correct result.
The trace depth limits control how deep reflections and refractions can go. There exist separate settings for reflection, refraction and transparency. The “combined” setting specifies the upper limit for both reflections and refractions.
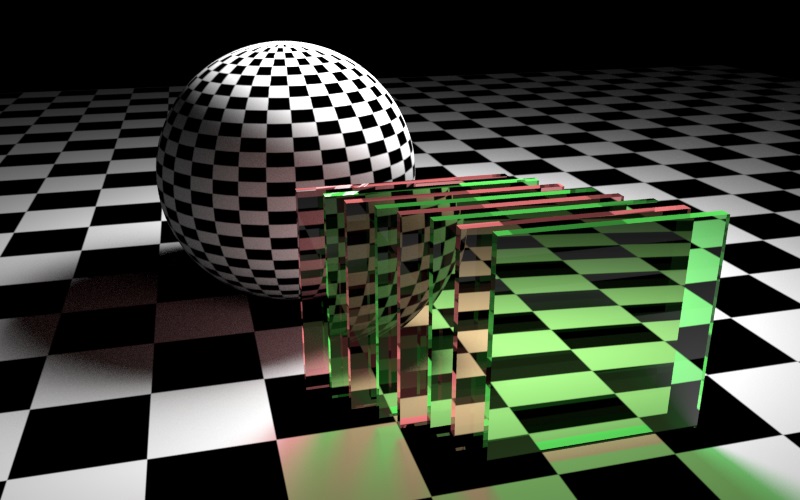
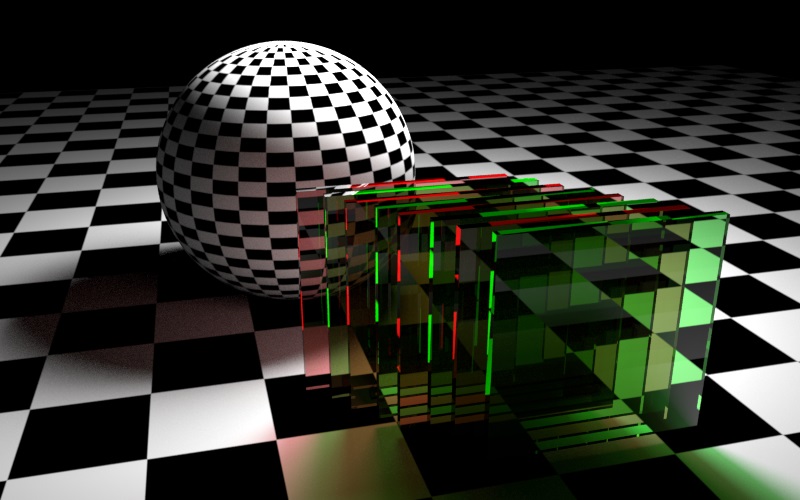
Pay attention to a scene that contains glass, you will need to raise trace depth limit to avoid incorrect results behind a few layers of glass, as shown below:
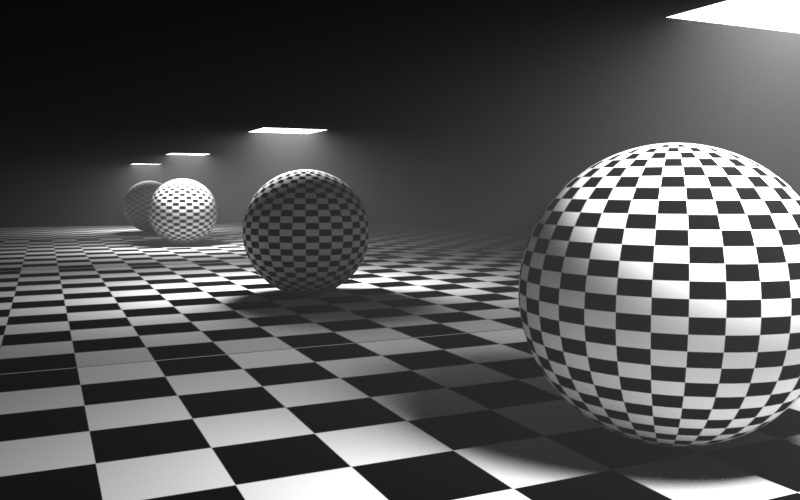
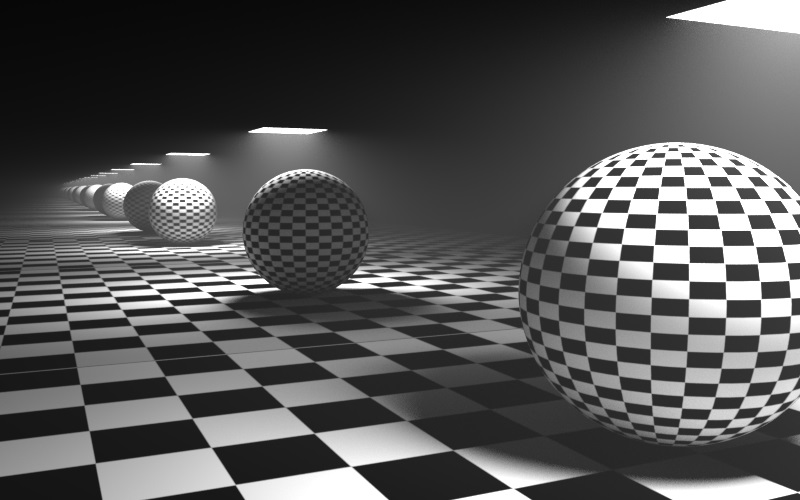
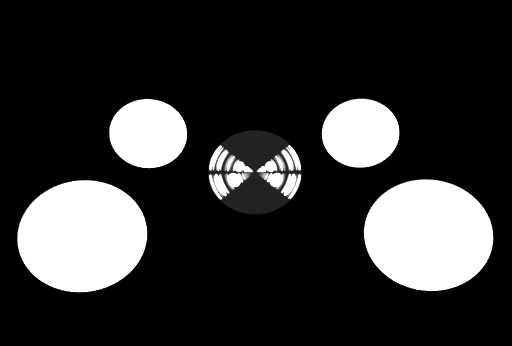
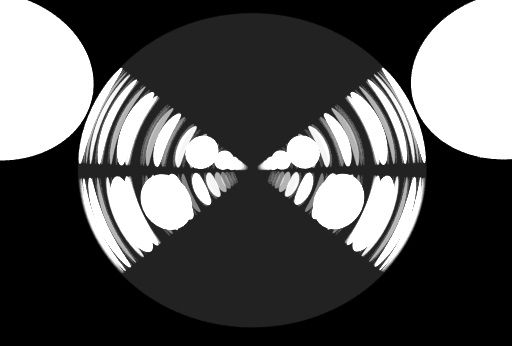
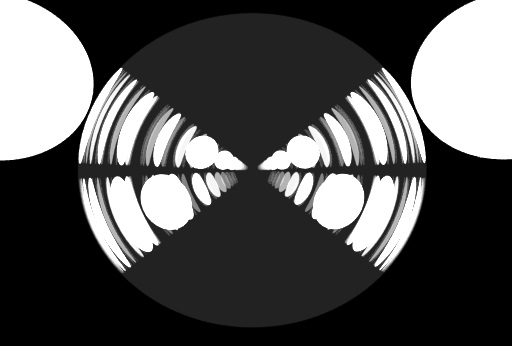
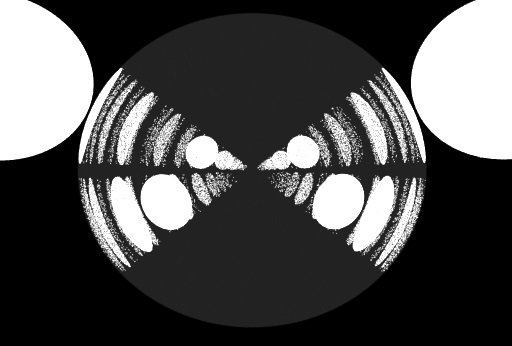
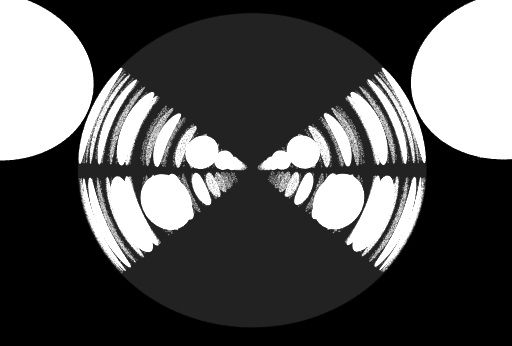
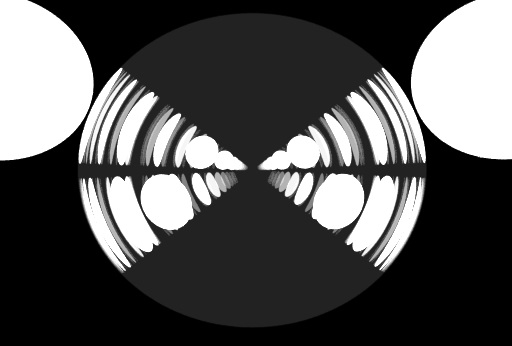
Similarly, an “opposing mirrors” scene like the one shown below will require the reflection trace depth limit raised.
Hair Min Pixel Width
One way to optimize your scene for rendering in Redshift is to keep the Threshold of Hair Min Pixel Width as low as possible. The ‘threshold’ parameter controls the amount of thickening that’ll happen. A lower level of thickening means less semi-transparency and, therefore, shorter rendering times.
However, there a downside, too low of a threshold means hair will start getting missed again by unified samples which, in turn, means the min pixel width technique will be less effective and the rendered images will be noisier.
You can also pay attention to the Trace Depth parameter. The larger the trace depth, the longer the min pixel width technique works and the higher the quality (less noisier).
Therefore, it’s the best to use the automatic threshold setting enabled. From that point onwards, the only setting the user will care about is the trace depth setting as well as the global unified samples (in the Output tab).
Cut-off Thresholds
To produce the best quality for the scene, you should disable all the cutoffs.
As rays go through reflections, refractions or shadows, they get tinted and become dimmer. For example, a ray coming from the camera might hit a very faint mirror. Whatever is reflected on that mirror will be dim. When the rays become dim, they contribute very little to the final image so there is no point for the renderer to keep bouncing them around.
The Cut-off threshold set of parameters allow the user to specify minimum values that are considered “black” and allow the renderer to terminate tracing earlier. The defaults should work fine for most scenes but, in some extreme cases, a very dark mirror might be reflecting an extremely bright piece of geometry. If the renderer “cuts off” the mirrored rays early, grain will appear. If you suspect this is happening to your scene, you can try lowering these numbers. To disable this optimization altogether, set the values to 0.0.
Russian-Roulette
You can optimize your scene by modifying the Russian-Roulette. It allows renderer to shoot only one kind of ray once the importance of the ray is low.
The “Importance Threshold” decides when the renderer will start performing this optimization. Very low numbers mean “start doing it for very dim rays” while higher numbers mean “do it for slightly brighter rays”. So the higher the number, the earlier the optimization will happen. Starting it too early, though, can introduce grain artifacts. If you see grain in your glass and you are suspecting the Russian-Roulette, you can try lowering this number to 0.001. To disable this optimization completely, set it to 0.0.
The “Falloff” parameter ‘eases’ into the Russian-Roulette optimization. This means that once a ray’s intensity crosses the “Importance Threshold” value the renderer won’t go abruptly into Russian Roulette but will do it gradually. This improves potential noise-banding artifacts. How gradually the renderer will ease into Russian-Roulette optimization is controlled by the “Falloff” parameter. Setting this parameter to 0.0 will enable the optimization abruptly, while 1.0 does it very smoothly. It’s very rare that users will need to adjust this parameter, so it’s advised you leave it at 0.5.
To demonstrate the Russian-roulette parameters, let’s check below:
Texture Sampling
In a scene it’s no need to use all high-quality texture. It just makes your scene heavier to load and slow down your work. Most scenes only need high-quality texture mapping for parts of the image that are directly visible to the camera, i.e. the “primary rays”. Secondary rays (reflections, refractions, GI, lights) and shadow rays are often less visually important so they can get away with using lower-quality texture sampling techniques.
Working on a Redshift customized pipeline with iRender’s remote machines
If you want to render faster in Redshift or want to access better hardware power to create higher-quality renders, don’t hesitate to check on iRender.
iRender is proud to introduce our remote machine, from single to multiple RTX4090. We provide you supercomputers, with high-end specifications like AMD Ryzen™ Threadripper™ PRO 3955WX or AMD Ryzen™ Threadripper™ PRO 5975WX, RAM 256GB, Storage NVMe SSD 2TB. Most importantly, we always update to the latest GPU technology, with 1/2/4/6/8 x RTX3090/RTX4090.
Check out these articles to know why RTX 4090 is still the best graphics card for Redshift rendering: Top GPU for Redshift, Octane and V-Ray in 2023 and Compare RTX 4090 vs RTX 6000 Ada vs RTX A6000 for content creation.
You are free to install any 3d software or rendering engines, including Redshift on our remote servers, add your own license then render or modify your project by yourself.
Right now, our users are free to use one of our Redshift and Cinema 4D license on the remote machine. You just need to create a machine wit pre-installed C4D and Redshift and activate it via our license app. Regarding other DCC apps, kindly install and add your own license.
Check out some of our Redshift tests on our server RTX 4090/3090:
Not only those powerful configuration, iRender also provides you more services. Free transferring tool named iRender drive for macOS or Linux users. For Windows users, we recommend using our all-in-one application iRender GPU to work, and you don’t need to come to our website. Our price is flexible with hourly rental which has pay-as-you-go basis, daily/ weekly/ monthly subscription with discount from 10-20%. Plus, you have 24/7 support service with real human who will support you whenever you encounter an issue.
Register an account today to experience our service and enjoy a very big promotion 100% bonus for new user’s first top up. Or contact us via WhatsApp: (+84) 916806116 for advice and support.
Thank you & Happy Rendering!
Source and images: maxon.net
Related Posts
The latest creative news from Redshift Cloud Rendering

