
Tips to have better experience using Modo 3D

Modo 3D is a polygon and subdivision surface modeling, sculpting, 3D painting, animation and rendering package developed by Luxology, LLC, which is now merged with and known as Foundry. The program incorporates features such as n-gons and edge weighting, and runs on Microsoft Windows, Linux and macOS platforms.
Modo’s workflow differs substantially from many other mainstream 3D applications. While Maya and 3ds Max stress using the right tool for the job, Modo artists typically use a much smaller number of basic tools and combine them to create new tools using the Tool Pipe and customizable action centers and falloffs.
Modo allows an artist to paint directly onto 3D models and even paint instances of existing meshes onto the surface of an object. The paint system allows users to use a combination of tools, brushes and inks to achieve many different paint effects and styles. Examples of the paint tools in Modo are airbrush, clone, smudge, and blur. These tools are paired with your choice of “brush” (such as soft or hard edge, procedural). Lastly, you add an ink, an example of which is image ink, where you paint an existing image onto a 3D model. Pressure-sensitive tablets are supported. The results of painting are stored in a bitmap and that map can be driving anything in Modo’s Shader Tree. Thus you can paint into a map that is acting as a bump map and see the bumps in real-time in the viewport.
In this article lets learn some of great tips from Mike Griggs – a Digital Content Creator with over two decades of experience creating Mograph, VFX and CGI, and he has learned these tips in his 10 years of using MODO.
1. Popover and Pie Menus
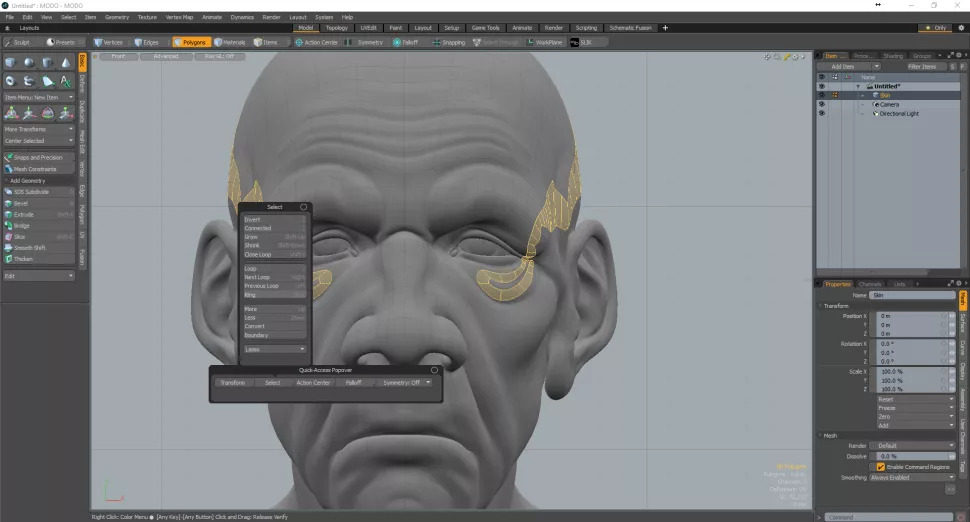
One of the great things about MODO is the way that a lot of the tools are accessible by hot keys, but as we can’t be expected to remember all of the key combinations, use the Quick Access Popover by pressing ALT and the Spacebar to quickly get to a lot of the most common commands in MODO. CTRL and the Space bar brings up the viewport Menu. Like all palettes within MODO both of these can be modified to show what you need them to.
2. Use Projects
One of the key ways to make sure MODO behaves when working with external references like bitmap images for textures is to create a Project for each new job. When File>New Project… is selected, choose a folder where you want to store the new project and after clicking OK. MODO will create a new project folder structure in the chosen destination. This folder can then be moved about between machines as it keeps all links relative, and any new scene is automatically saved to the projects ‘Scenes’ folder.
3. Change Selection Modes

MODO’s Right Click and press selection is very intuitive, and as default it is based on a lasso, which is great for selecting in most situations. However, what to do when you need something ‘less’ flexible.
Naturally MODO does have different selection methods, and they are easily swappable. Instead of Right-Clicking and Pressing to Select just Right Click in the main MOOD viewport and a menu will appear. Towards the bottom of the menu there is the option ‘Lasso Styles’, where as well the Lasso option, Rectangular, Circle and Ellipse methods can be chosen.
4. Selective sequences
Modo 3D has a fantastic ability to intermittently select Polygons, Edges or Vertices. As an example, select two Polygons, making sure that they are in the same Polygon loop and no matter how big the gap, by pressing the up arrow, MODO chooses the next polygon with the requisite gap. Keep pressing the up arrow to walk the selection round the entire loop, the down arrow walks it back.
5. UV images

It’s strange the items that become so used in one application, that realising that those same features aren’t in another seems like a crime. One of the best MODO examples of this I have found over the years is the UV images. MODO has one of the best UV modelling toolsets available, but this library of images which come with MODO are so handy when trying to figure out UV scale as well as if the model’s topology is working correctly.
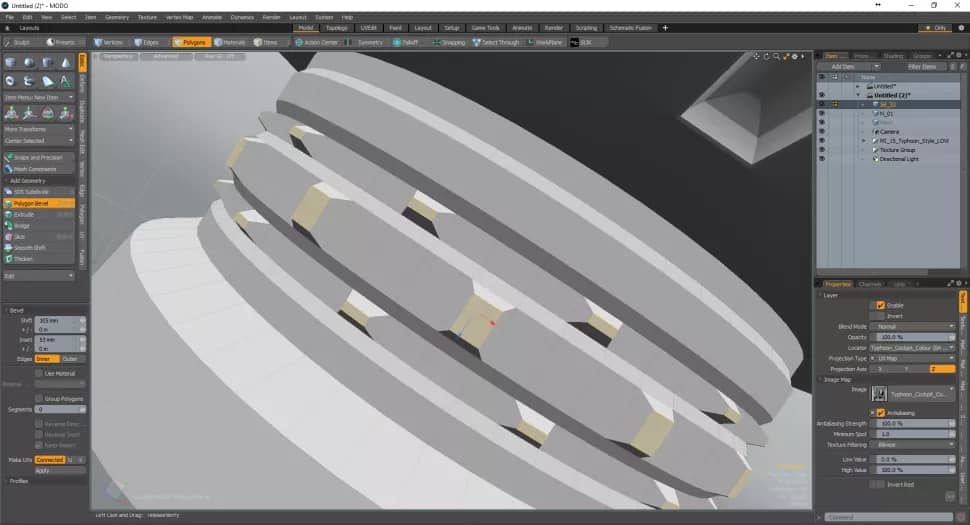
6. Model procedurally for basic elements.
The key feature of MODO 10.1 is the new procedural modelling system. This is a whole new paradigm of modelling in MODO, but the great thing about it is that it uses all the existing modelling tools while adding the ability to keep all the elements live in the Procedural stack. To get the most from the system, if possible start by creating a primitive within the procedural system, this allows any parameter within the mesh as you add procedural elements such as bevels to be adjusted.
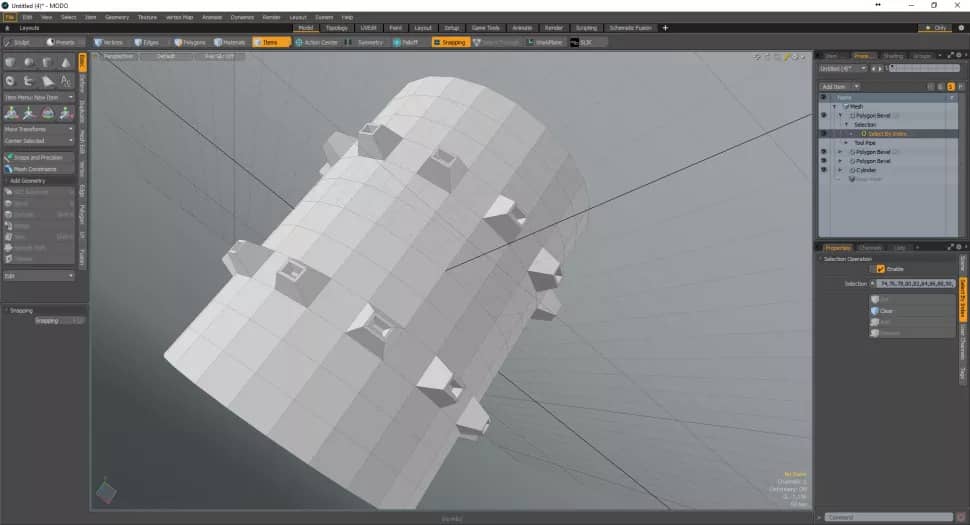
7. Use Procedural Modelling for complex items
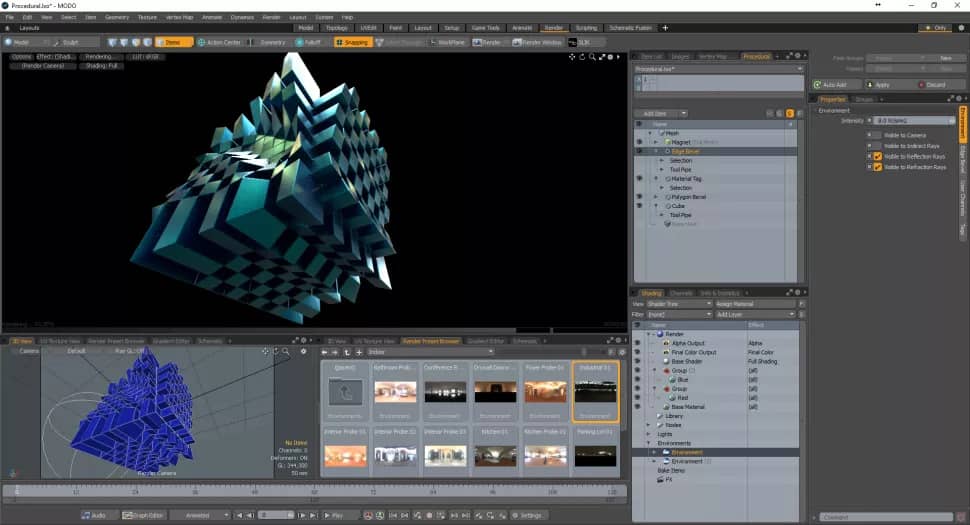
One the great things about the new Procedural system in MODO 10.1 is that it can accept textures to drive model shapes which can be mixed and, naturally, animated. With the inclusion of elements like edge bevelling, material selection, texture driven bevel falloffs, and the addition of deformers, there is raft of complex shapes which can be made in seconds using this new system. My favourite is to add a procedural edge bevel to really help intersection corners look more realistic.
iRender - Powerful Cloud Rendering service for Modo rendering
Hope that these Modo tips can help you to have easier experience using Modo and enjoy your creative journey.
And in case you are looking for a powerful CLoud Rendering Service, so you are in the right place. iRender is a cloud computing service provider in PC optimization for rendering tasks, CGI, VFX with over 10.000 customers and being appreciated in many global rankings (e.g. CGDirector, Lumion Official, Radarrender, InspirationTuts CAD, All3DP). This is the only render farm that users can install any software and plugins that serve their project, take full control over the machine and use it as their local computers and usually recommended for Modo rendering.
iRender prides itself on providing the right configuration packages for every versions of Modo to give you a great experience in rendering. If you have any questions about how to speed up your rendering with our service, register for an account today to experience our service. Or contact us via WhatsApp: (+84) 912 515 500/ email [email protected] for advice and support.
iRender – Happy Rendering!
Source: creativebloq.com
Related Posts
The latest creative news from Modo Cloud Rendering, Octane Cloud Rendering, V-Ray Cloud Rendering , 3D VFX Plugins & Cloud Rendering.


