Ways to Render/Export in After Effects with iRender (Part1)
Adobe After Effects is a video editing and visual effects software used for editing film and handling post-production, as well as mastering audio, generating animation, and creating motion effects. It’s a professional-level video modification tool, and if you know how to render/export video from After Effects, then you can quickly share the high-quality media you produce to the world. There are 2 most-used ways to render/export videos that After Effects users should utilize.
The first method is Internal Render in After Effects using the Render Queue, below are the following steps that demonstrate clearly how to render/export videos.
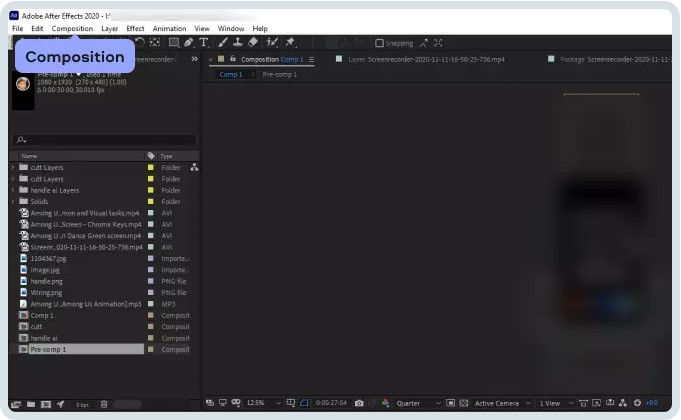
Step 1: Click Composition in the menu
Begin the process of rendering in After Effects. To render in After Effects – which lets you adjust the duration, resolution, output frame rate, and layer quality of your project – check out the top menu and locate Composition. Composition is the dropdown to remember for your rendering, encoding, and exporting needs. Once you click the dropdown, you’ll see several options – select Add to Render Queue in After Effects.
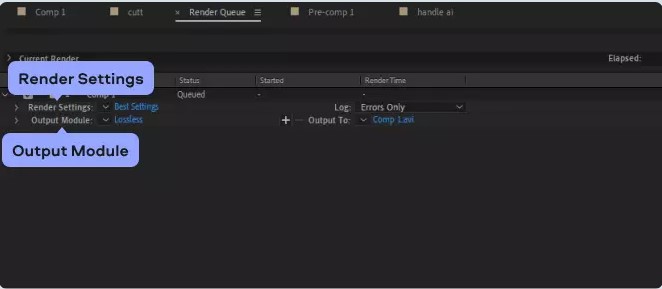
Step 2: Add to Render Queue
The Render Queue is a window at the bottom of your screen that lets you adjust Render Settings, set your Output Module, and choose where you want to export your video (by clicking Output To). Before you render the video in After Effects, take a minute to explore these settings.
Note that you can also navigate to the Render Queue by clicking File, Export, and Render Queue as well.
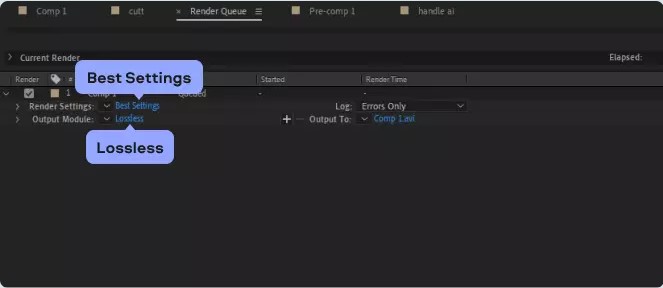
Step 3: Adjust your render settings if necessary
For beginners and most people in general, Best Settings are called best for a reason. Unless you have specific rendering needs, then leave this as it is.
And for the Output Module, you can leave it on Lossless if you’re looking to export the highest quality video file. Or you can click Custom in the dropdown and select details like the codec, color range, and audio-related settings.
Step 4: Render
Next, you can press the “Render” button. It will be situated on the lower-right side of the window.
Step 5: Export from After Effects
Now that you know how to render video in After Effects, it’s time to export video out of After Effects.
Click the dropdown arrow next to the Output To text, and press the plus sign if you want to render and export multiple versions with different settings. Choose where on your computer you’d like your new video exported, and once it’s complete you’ll be able to access it at that location.
This is the fastest way to export a composition in After Effects. And if you’re curious about how to render in After Effects without using the Render Queue, you can try rendering your composition using Adobe’s Media Encoder. In the next article, we will explain detail this second method.
The professional cloud rendering service for After Effect
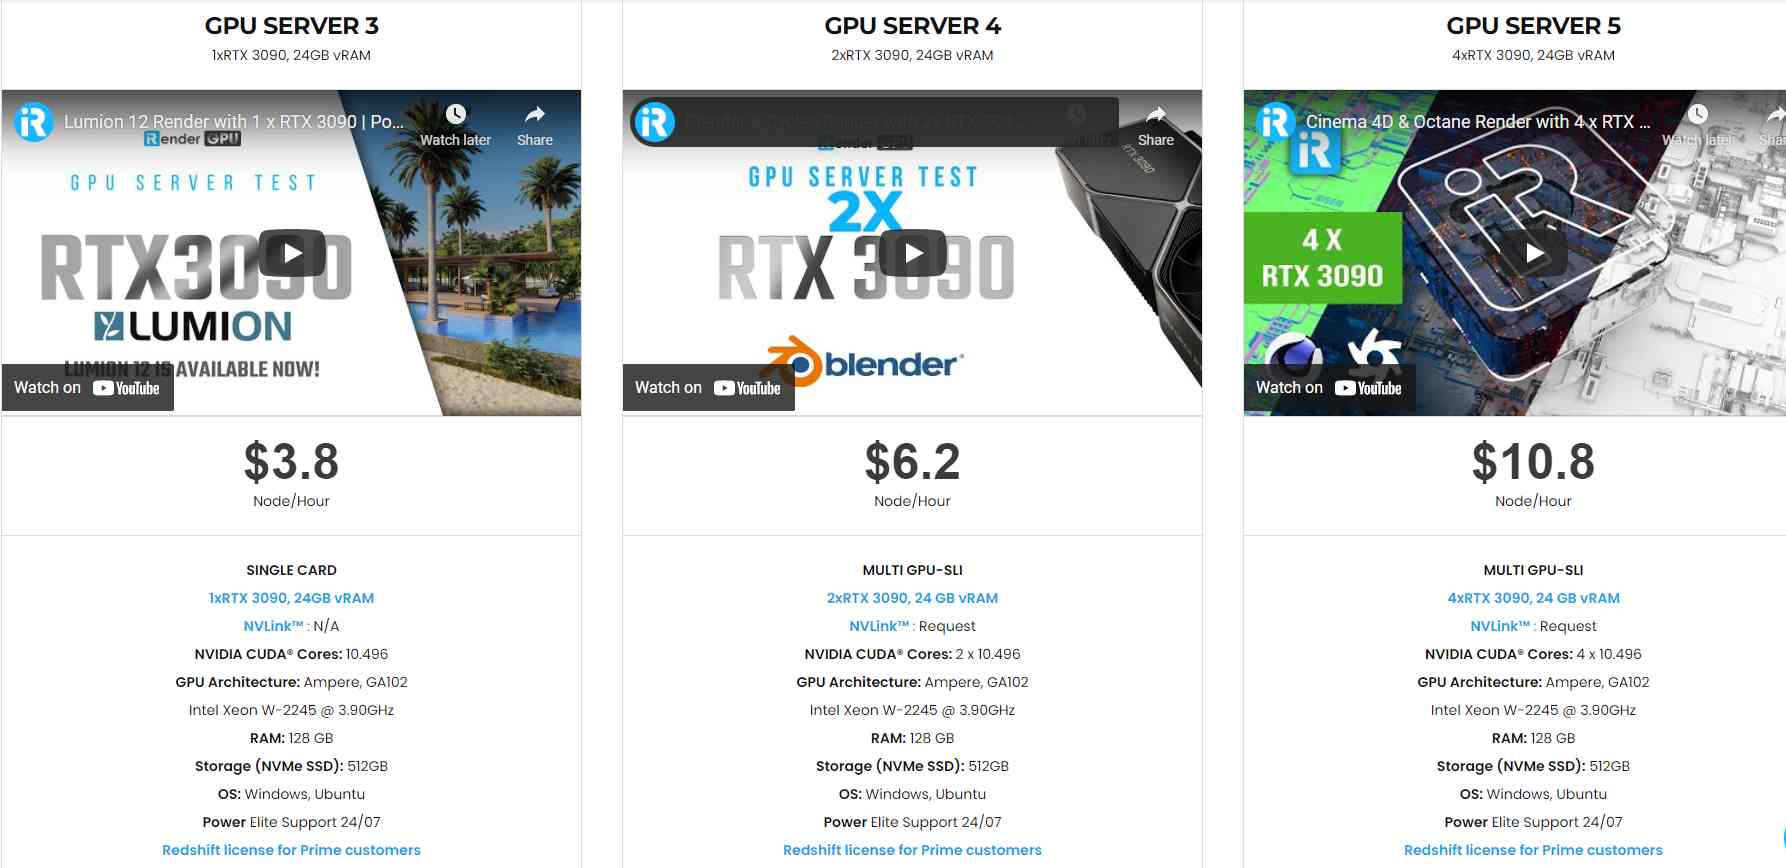
iRender is a GPU-Acceleration Cloud Rendering Service for Multi-GPU Rendering with Powerful Render Nodes: 2/4/6/8x RTX 3090. iRender provides High-performance machines for GPU-based rendering on the Cloud. Users will remotely connect to our server, install any version of After Effect and plugin Helium only one time, and easily do any intensive tasks like using their local computers.


Conclusion
If you have any questions, please do not hesitate to reach us via Whatsapp: +(84) 972755742. Register an ACCOUNT today and get FREE COUPON to experience our service. Or contact us via WhatsApp: +(84) 972755742 for advice and support.
iRender – Happy rendering
Source & pictures: movavi.com
Related Posts
The latest creative news from Unreal Engine Cloud rendering.