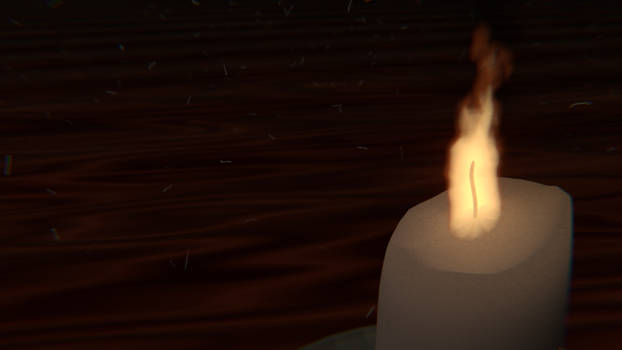
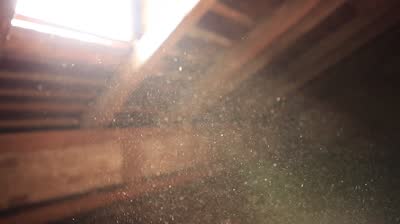
What is the best way to generate floating dust in Keyshot?
On a bright day, you might notice dust hanging in the air. In fact, dust and light can interact in ways that enhance one another’s qualities. Or dust increases the attractiveness of natural scenery by altering atmospheric effects, cloud tints, and sunset colors, and thus renders life more enjoyable. By enclosing your scene with basic geometry and adding Flakes using the KeyShot Pro Material Graph, you can easily create a floating dust effect using KeyShot. To add just the proper level of ambiance, you can make it as dense or as delicate as you like.
So, how to create floating dust in Keyshot?
Step 1. Add Basic Geometry
To begin, select a piece of geometry from the Library tab, Model tab. A cube is ideal, however, a cylinder or sphere can also be used. Scale the geometry to the point where it completely encircles the scene in your Camera View (just as you would when creating fog with scattering medium). This will serve as the foundation for the floating dust.
Step 2. Add Material
Change the material to something that closely resembles dust particles once your cube is at the right scale. Clear or hazy plastic works nicely, but dust can be made from a variety of materials. Light passes and bends through the particles in a transparent substance, making it less likely to have weird reflections or shadows. Unlit areas may appear too dark if particles are not transparent. It’s time to apply the flake shape when you’ve finished with your material.
Step 3. Add Flake Geometry
To open the Material Graph, double-click the cube to bring up the Material Properties. Select Geometry, then Flakes from the menu by right-clicking the workspace. Connect the new node to your parent material’s Geometry input. To view how the flakes look, click Execute Geometry Node (at the bottom of the Flake Properties).
Step 4. Change Flakes Properties
Adjust the Flakes Size and Density at this point to make the flakes appear less visible and more like floating particles. The amount you alter each parameter depends on your personal preferences, so play around with it until you find the size and density that works best for your scene.
Step 5: Integrate Depth of Field
Select the Camera tab in the Project Window and check the Depth of Field option if the particles don’t feel entirely like dust. The particles will be slightly blurred as a result of this. When it comes to depth of field, a little goes a long way, so start modest, especially if you don’t want to see it. Adjust the parameters such that the entire scene is in focus, but the flakes are blurred and appear to be floating dust.
Generating Floating Dust with the Professional Cloud Rendering Service iRender
iRender is a GPU-Accelerated Cloud Rendering Service with Powerful Render Nodes: 1/2/4/6/8x RTX 3090. On the basis of the IaaS paradigm, we deliver high computing performance (Infrastructure-as-a-Service). Keyshot Users can easily choose their machines configuration, ranging from recommended system requirements to high-end options, which suit all your project demands and will speed up your rendering process many times.
High-end hardware configuration:
- Single and Multi-GPU servers: 1/2/4/6/8x RTX 3090.
- 24 GB vRAM capacity, fitting to the heaviest images and scenes. NVLink/SLI requested for bigger vRAM.
- A RAM capacity of 128/256 GB.
- Storage (NVMe SSD): 512GB/1TB.
- Intel Xeon W-2245 or AMD Ryzen Threadripper Pro 3955WX CPU with a high clock speed of 3.90GHz.

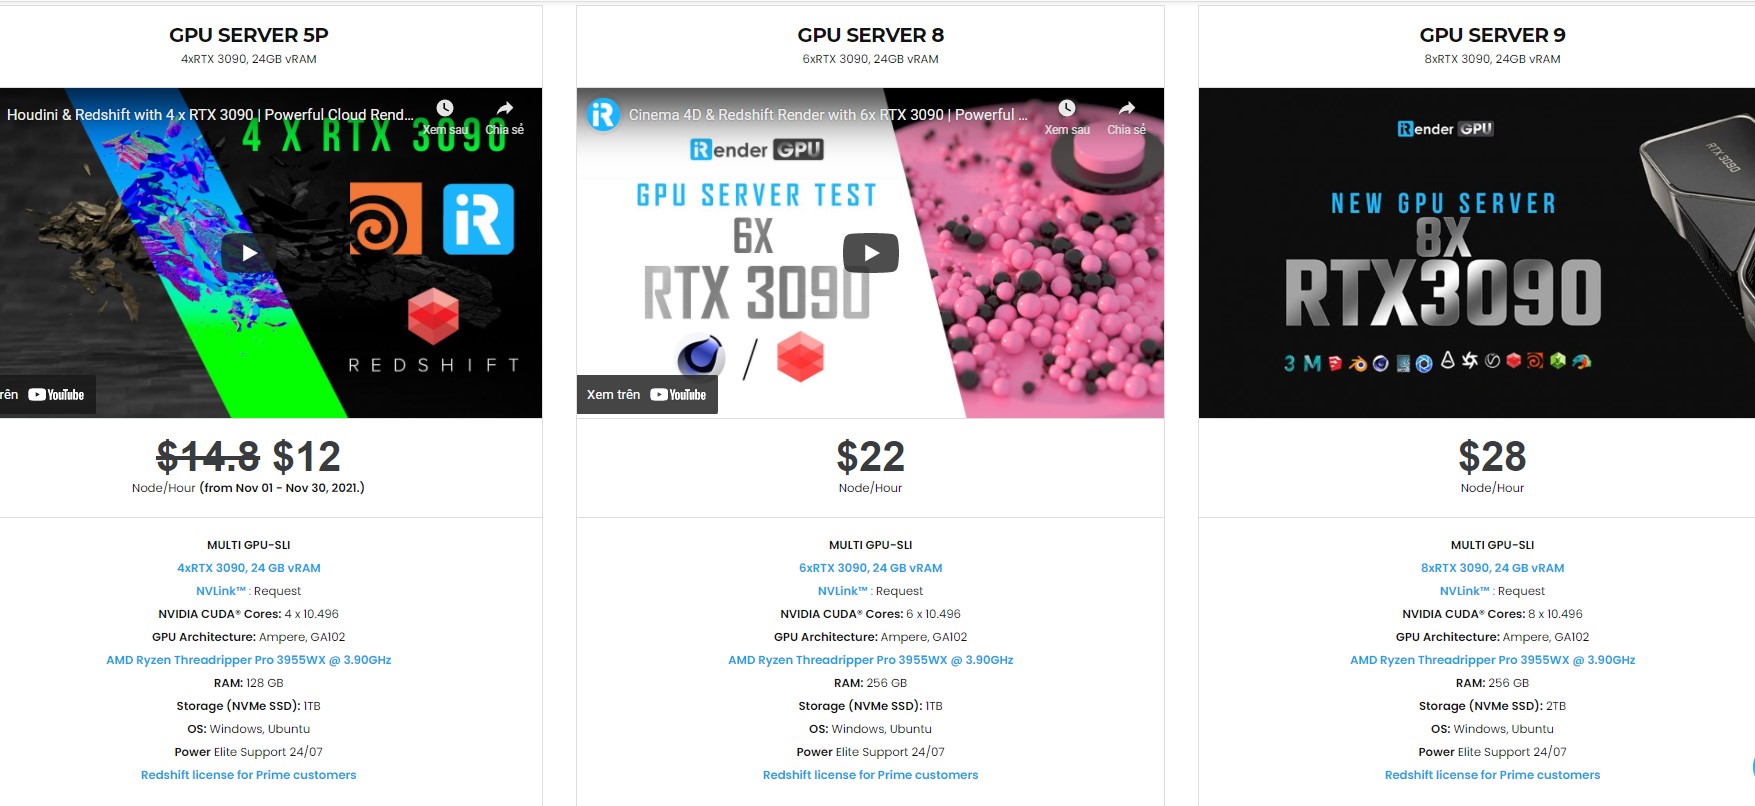
Incredibly, iRender supports NVLink (Request) which helps you increase the amount of VRAM to 48GB. This is a technology co-developed by Nvidia and IBM with the aim of expanding the data bandwidth between the GPU and CPU 5 to 12 times faster than the PCI Express interface.
Let’s look at some Keyshot rendering tests on single and multi-GPU (NVLink) servers at iRender.


If you have any questions, please do not hesitate to reach us via Whatsapp: +(84) 326243106. Register an ACCOUNT today and get a FREE COUPON to experience our service.
iRender – Happy Rendering!
The Reference: blog.keyshot.com
Related Posts
The latest creative news from KeyShot Cloud Rendering , Cinema 4D Cloud Rendering , 3D VFX Plugins & Cloud Rendering.