Five rendering software tricks to improve your render result
In the world of digital artistry, architecture visualization, and animated films, the quality of rendered images can make a substantial difference in the effectiveness and appeal of a project. As rendering software advances, so does the complexity and potential of its outputs. However, achieving the desired level of professionalism often requires more than leveraging the latest technology. By using effective strategies and tricks, artists and designers can significantly improve the result of their renders. This guide will explore five essential rendering software tricks that can enhance visual quality, optimize workflow efficiency, and ultimately elevate your final output.
Let’s get started with iRender!
Hardware and Software trick

Improving your render results often involves optimizing both hardware and software. Here are some hardware and software tricks to enhance your rendering performance and output quality:
Hardware tricks
Increase RAM
- Add More Memory: Ensure you have enough RAM to handle complex scenes and high-resolution textures. Depending on your workflow, 16GB might be the minimum, with 32GB or more being ideal for demanding tasks.
Fast Storage Solutions
- Use SSDs: Solid State Drives (SSDs) offer much faster read/write speeds than traditional HDDs. Use SSDs for your operating system, software, and project files.
- NVMe Drives: For even faster performance, consider NVMe SSDs for better data transfer speeds, especially useful for loading heavy scene files.
Balanced System
- Avoid Bottlenecks: Ensure that your CPU, GPU, and RAM are balanced to prevent bottlenecks. For example, pairing a high-end GPU with an outdated CPU can limit performance.
Software tricks
Upgrade Your GPU
- Invest in a Powerful GPU: High-performance GPUs are crucial for rendering, especially for GPU-accelerated rendering engines. Brands like NVIDIA (RTX series) or AMD (Radeon series) are popular for rendering tasks.
- Use Multiple GPUs: If your rendering software supports it, consider using multiple GPUs to distribute the rendering load and significantly reduce render times.
Choose the Right Rendering Engine
- Select Appropriate Rendering Engines: Different rendering engines (like V-Ray, Arnold, Redshift, Octane, etc.) have unique strengths. Choose one that suits your project needs for faster and better-quality rendering.
Optimize Render Settings
- Use Adaptive Sampling: If your software supports it, use adaptive sampling settings to focus on image parts requiring more detail while reducing samples in less critical areas.
- Render in Passes: Render your scene in passes (beauty, shadows, reflections, etc.) to gain more control in post-processing software.
Use Instances:
- Instance Geometry: Instead of duplicating heavy models, use instances for repetitive elements in your scene (like trees, chairs, etc.) to save memory and speed up rendering.
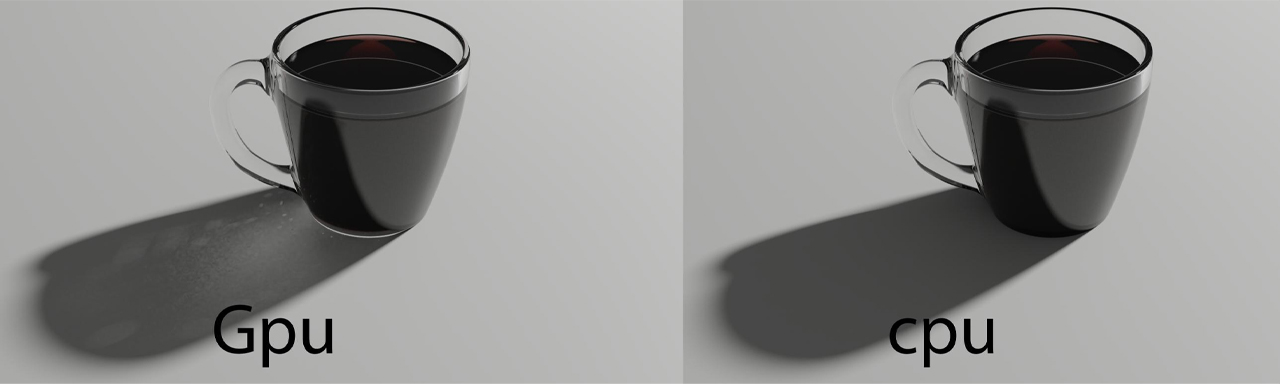
GPU or CPU
The key technique is to ensure that your rendering is using your computer’s full capabilities. Your computer has two processors: a graphics processing unit(GPU) and a central processing unit(CPU). The majority of software will choose to use your CPU by default, although that is drastically less efficient. Your GPU has a lot more power for rendering, you see. In addition to having much greater rendering power, the GPU should be your choice.
GPU Tricks
Use GPU-Accelerated Rendering
- Select Compatible Rendering Engines: Choose rendering engines that support GPU acceleration (e.g., Redshift, Octane, V-Ray GPU). This takes advantage of the parallel processing capabilities of GPUs, significantly speeding up render times.
Optimize GPU Settings
- Adjust Memory Settings: Use the card’s memory as effectively as possible by managing texture sizes and scene complexity. Monitor VRAM usage and make adjustments accordingly.
- Enable Multi-GPU Rendering: If you have multiple GPUs, enable multi-GPU rendering in your software settings to distribute the rendering workload.
CPU Tricks
Leverage Multi-Core Processing
- Choose Multi-Core Rendering Engines: Use rendering software that can effectively utilize multiple CPU cores. Software like Arnold and V-Ray operates well with multiple cores for faster rendering.
- Enable Threading: In the render settings, make sure that multi-threading or CPU threading options are enabled to maximize usage of available cores.
Optimize Render Settings for CPU
- Use Bucket Rendering: Enable bucket rendering (as opposed to progressive rendering) in CPU-based renderers to optimize memory usage during rendering tasks.
- Adjust Sampling Settings: Increase smart sampling settings to reduce noise without taxing the CPU too heavily, which can lead to longer render times.
By applying these CPU and GPU tricks, you can greatly enhance your render results in terms of both quality and speed. The key is to understand the strengths of each processing unit and optimize your rendering pipeline accordingly.
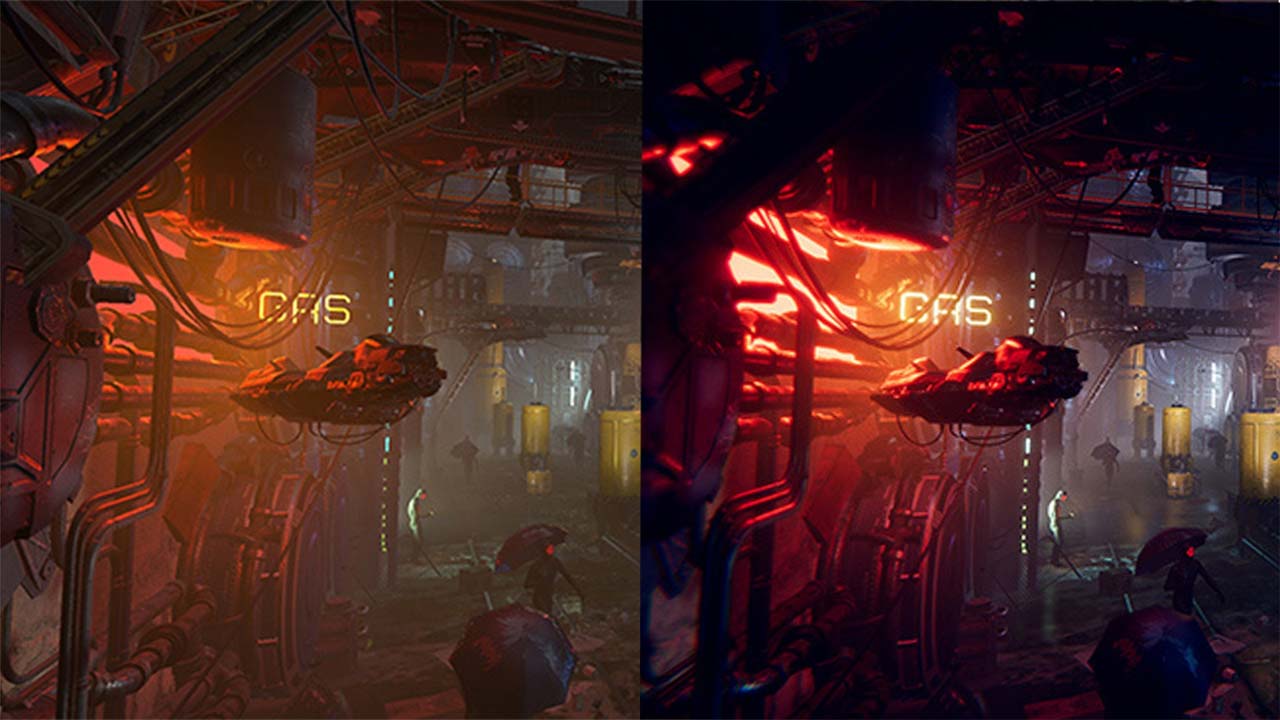
Light and Texture
Rendering is mostly about presenting something in a real environment. Lighting and texturing are essential pieces of a good rendered model. Combining the simulated sunlight and simulated alternative lighting sources, alongside different angles, is going to give us a better interpretation of a product.
Lighting Techniques
- Use Global Illumination (GI): Enable global illumination to achieve more realistic lighting by simulating the way light bounces off surfaces.
- HDRI Lighting: Use high dynamic range images for realistic sky and environment lighting. This method can greatly enhance mood and realism.
- Three-Point Lighting: For character renders, utilize a three-point lighting setup (key light, fill light, and back light) to create depth and interest.
Texture Optimization
- Texture Resolution: Ensure that you’re using high-resolution textures where necessary, especially for close-up renders. Avoid stretching textures on objects.
- Normal and Bump Maps: Use normal maps or bump maps to add detail without increasing polygon count.

Rendering Settings
Optimizing your render settings is crucial for improving the quality and efficiency of your renders. Here are some effective render settings tricks that can help enhance your results while managing render times:
Adjust Sampling Settings
- Increase Samples: Use a higher number of samples for both camera and light sampling, especially in scenes with complex lighting and materials. For final renders, consider using 100-200 samples, balancing quality and render time.
- Adaptive Sampling: Enable adaptive sampling if your renderer supports it. This technique increases samples in areas requiring more detail while reducing them in less critical areas, effectively managing render time.
Denoising Techniques
- Use Denoisers: Implement built-in denoising tools like NVIDIA’s OptiX or software-specific denoisers to clean up unwanted noise in your images. This allows you to use lower sample rates while still achieving a clean result.
Use Bucket Rendering
- Select Bucket Rendering: In CPU-based rendering engines, enable bucket rendering to process the image in smaller sections. This can make rendering more efficient and allow you to preview results more quickly.
Post-Processing Effects
Post-processing effects can significantly enhance the visual quality of your renderings, providing depth, vibrancy, and a polished finish.
Color Grading
- Use Color Grading Software: Tools like DaVinci Resolve or Adobe After Effects can help you achieve cinematic looks. Adjust midtones, shadows, and highlights to create a cohesive mood.
- LUTs (Lookup Tables): Apply LUTs to quickly achieve desired color schemes and styles. You can find many free and paid LUTs online that can be tailored to your specific needs.
High Dynamic Range (HDR) Imaging
- Tone Mapping: If your render is HDR, use tone mapping techniques to compress the dynamic range for better viewing on standard displays. This helps retain details in highlights and shadows.
- Exposure Adjustments: Fine-tune the exposure to balance bright areas and enhance overall contrast.
Depth of Field (DOF)
- Add DOF in Post-Processing: If your software allows it, simulate depth of field in post, focusing on key subjects while softly blurring the background. This draws attention to the focal points of your scene.
- Control Focal Point: Make sure the depth of field complements your composition and storytelling, helping the viewer’s eye move through the image naturally.
Final words
The choice of software and the techniques you employ can profoundly impact the quality and efficiency of your work. By leveraging the five rendering software tricks outlined—optimizing render settings, utilizing efficient lighting techniques, making the most of materials and shaders, implementing render layers and passes, and utilizing powerful post-processing capabilities—you can significantly enhance both the aesthetic and technical aspects of your final renders.
Speed up your projects with iRender
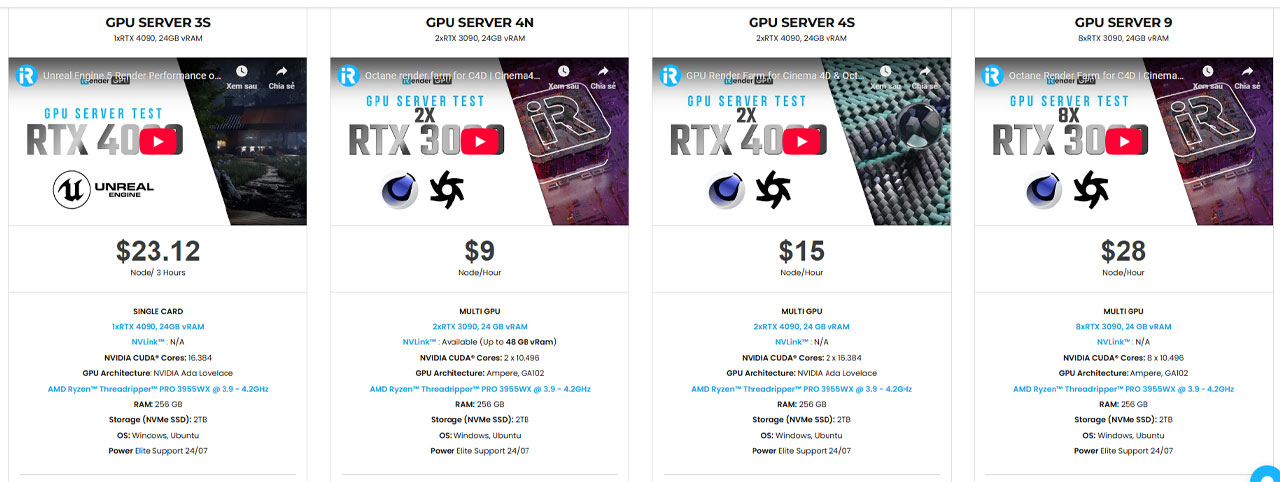
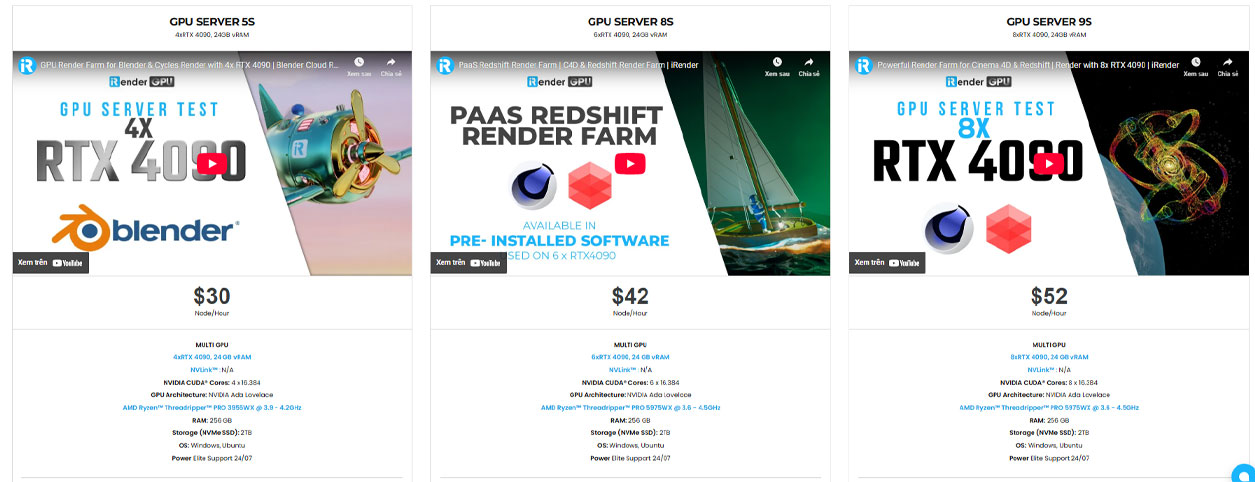
iRender – the best cloud rendering service, provides high-configuration servers that increase CPU and GPU rendering speeds. We provide the most powerful RTX 4090 configuration packages on the market, all equipped with AMD RyzenTM ThreadripperTM PRO 3955WX @ 3.9 – 4.2GHz and AMD Ryzen™ Threadripper™ PRO 5975WX @ 3.6 – 4.5GHz processors, 256GB RAM and 2T NVMe SSD hard drive capacity. You can see our powerful configuration:
You just need to transfer your files, connect to the remote machine, and install your software, as well as the necessary render engine and plugins then add your license and render yourself. Setting up ONCE and your working environment will be saved and ready to use at any time. Specially, if you are a Blender or Cinema 4D and Redshift users, it would be perfect.
Blender projects
Currently, our machine has preinstalled Blender 4.3.2, you can create a machine easily then connect to it and render normally. You can refer our most powerful’s performance video when rendering on Blender scene following:

Cinema 4D and Redshift projects
Our machine has also preinstalled Cinema 4d and Redshift preinstalled, you can save your time for installation. Moreover, as Maxon’s partner, we provide one combo Cinema 4D and Redshift license free. Following is our test video when rendering with Cinema 4D and Redshift scene, you can see:

Currently, we are running a SPECIAL OFFER: 100% Additional Bonus for new clients who register an account and make a top-up within 24 hours after their registration. For educational projects, we offer 50% bonus for all transactions.
Futhermore, our price is flexible with hourly rental which has pay-as-you-go basis, daily/ weekly/ monthly subscription with discount from 10-20%.
In case you have any problems or questions, don’t hesitate to contact the 24/7 support team. We will be happy to help you with your questions and problems at all times.
Register for an account today to experience our service, or contact us via email at [email protected] or WhatsApp at (+84) 912075500 for advice and support.
iRender-Happy Rendering!
Related Posts
The latest creative news from Octane Cloud Rendering, Redshift Cloud Rendering, Cinema 4D Cloud Rendering