How to speed sculpt in Blender 2.80
It’s now easier than ever to sculpt in Blender 2.80. Open-source Blender was created by Ton Roosendaal and originally developed as an in-house tool. It has grown into a huge collection of high-end 3D tools to rival the likes of Maya and Modo, and is part of our list of the best 3D modelling software.
The developers added some amazing sculpting functionality in earlier versions and that has only grown with the addition of Dyntopo sculpting. This feature, similar to Sculptris Pro in ZBrush, is a way to sculpt and have the program give you more resolution only when you need it. This means that the file size is kept fairly lean and that allows you to do more before you experience any lag or slowdown. In this article, we will learn about “How to speed sculpt in Blender 2.80“.
1. Start with a primitive
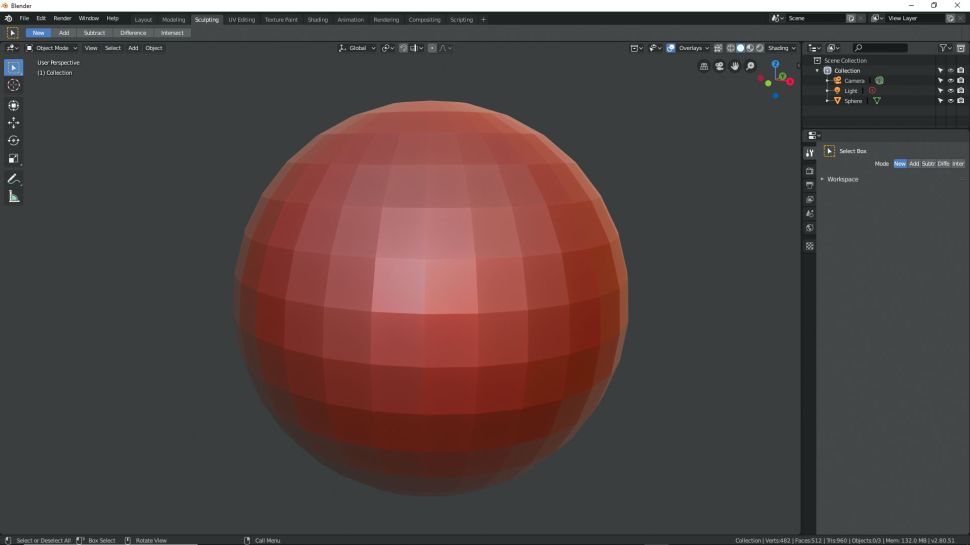
There are a lot of ways to start a sculpt in Blender. You can poly model a rough shape with the modelling tools, import a shape to sculpt on, Boolean shapes together, and there are a set of basic shapes to sculpt onto generally called primitives. For this session, we will simply use a UV sphere. In the Document window, make sure you are in Object mode and then click Add > Mesh > UVsphere. This drops a sphere onto the canvas. Now switch from Object mode to Sculpt mode, and on the top menu bar change to Sculpting. Because we have changed mode we will see more tools appear.
2. Understand Dyntopo

To change the look of your sculpt, in the top right of the window find shading, then Matcap and choose one that suits you. The red wax is new and very common in most packages now. To the left of that panel find Overlays and click Wireframe to see the next step. Dyntopo will change the underlying mesh in the area you are sculpting based on a setting. You can activate it on the top menu (right) or down the right side under Brush settings. Leave it at the default number for now. On the left of the window you will now see a range of sculpting tools. When we use some of these, the topology changes underneath our cursor as we work.
3. Increase the Dynotopo resolution
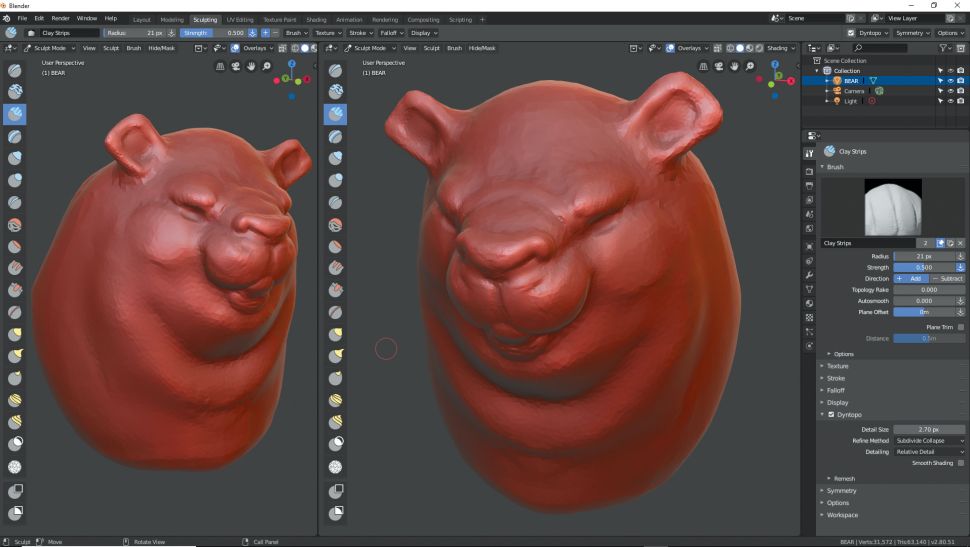
As you drag your bear shape around you might notice that it looks rough and blocky in most areas. Make sure the overall shape is about right and then we can start to decrease the Dyntopo number. If we start at around 12 we can now lower it to about 7 or 8. Use the Clay Strips again and Shift/Smooth and see what happens under your cursor. The number of triangles increases and it allows you to get a smooth area locally to where the brush is working. Go over the whole model and improve the surface look wherever you want to add detail, for example the nose, eyes, ears and maybe the lower jaw. Turn Wireframe on and off as needed to see your results.
4. Add eyes

You can sculpt eyes right into the mesh, but you may want to have separate models to sculpt in Blender. Switch back to Modeling from Sculpting. Add another UV sphere as before. Using the Scale, Rotate and Move tools on the left, move the eye into place in the bear’s head. Hold Z to change the view modes to help you do this. You can use a Mirror modifier to duplicate the eye, but simply copy, paste and relocate the second eye if you are just learning. Switch back to Sculpting mode, and if needed look at your model with different Matcaps to see how it looks.
The Professional Cloud Rendering Service For Blender
iRender is a Professional GPU-Acceleration Cloud Rendering Service provider in HPC optimization for rendering tasks, CGI, VFX with over 20.000 customers and being appreciated in many global rankings (e.g. CGDirector, Lumion Official, Radarrender, InspirationTuts CAD, All3DP). We are proud that we are one of the few render farms that support all software and all versions. Users will remotely connect to our server, install their software only one time and easily do any intensive tasks like using their local computers. Blender users can easily choose their machine configuration from recommended system requirements to high-end options, which suit all your project demands and will speed up your rendering process many times.
High-end hardware configuration
- Single and Multi-GPU servers: 1/2/4/6/8x RTX 3090/3080/2080Ti. Especially, NVIDIA RTX 3090 – the most powerful graphic card.
- 10/24 GB vRAM capacity, fitting to the heaviest images and scenes. NVLink/SLI requested for bigger vRAM.
- A RAM capacity of 128/256 GB.
- Storage (NVMe SSD): 512GB/1TB.
- Intel Xeon W-2245 or AMD Ryzen Threadripper Pro 3955WX CPU with a high clock speed of 3.90GHz.
- Additionally, iRender provide NVLink (Request) will help you increase the amount of VRAM to 48GB. This is a technology co-developed by Nvidia and IBM with the aim of expanding the data bandwidth between the GPU and CPU 5 to 12 times faster than the PCI Express interface. These servers are sure to satisfy Blender artists/ studios with very complex and large scenes.
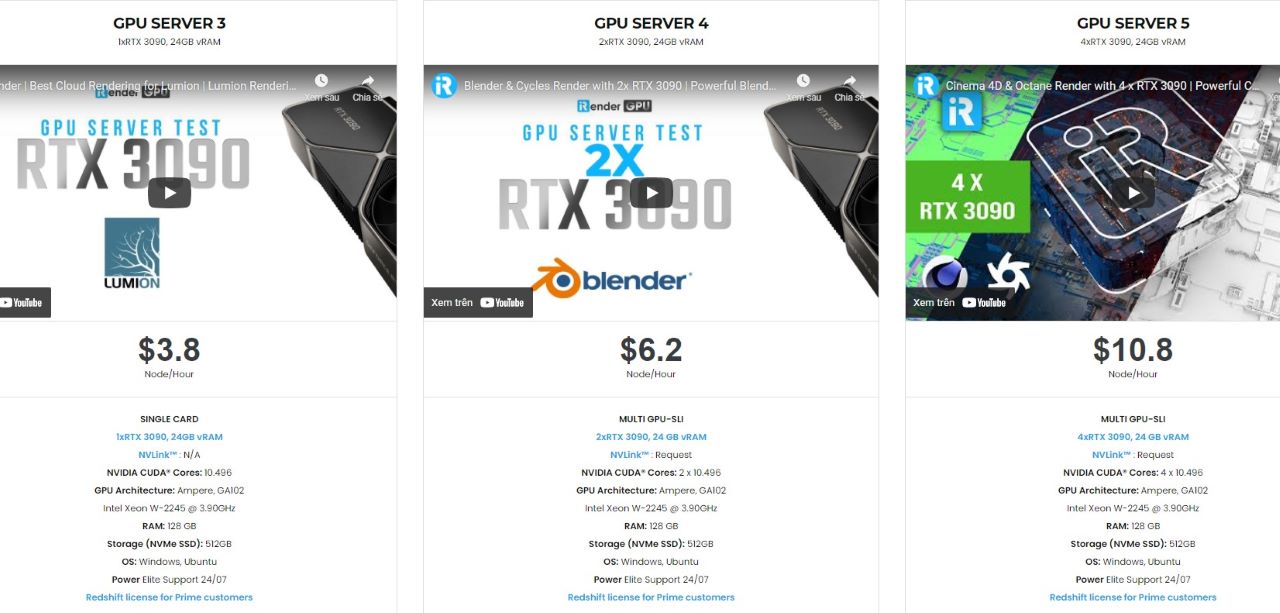
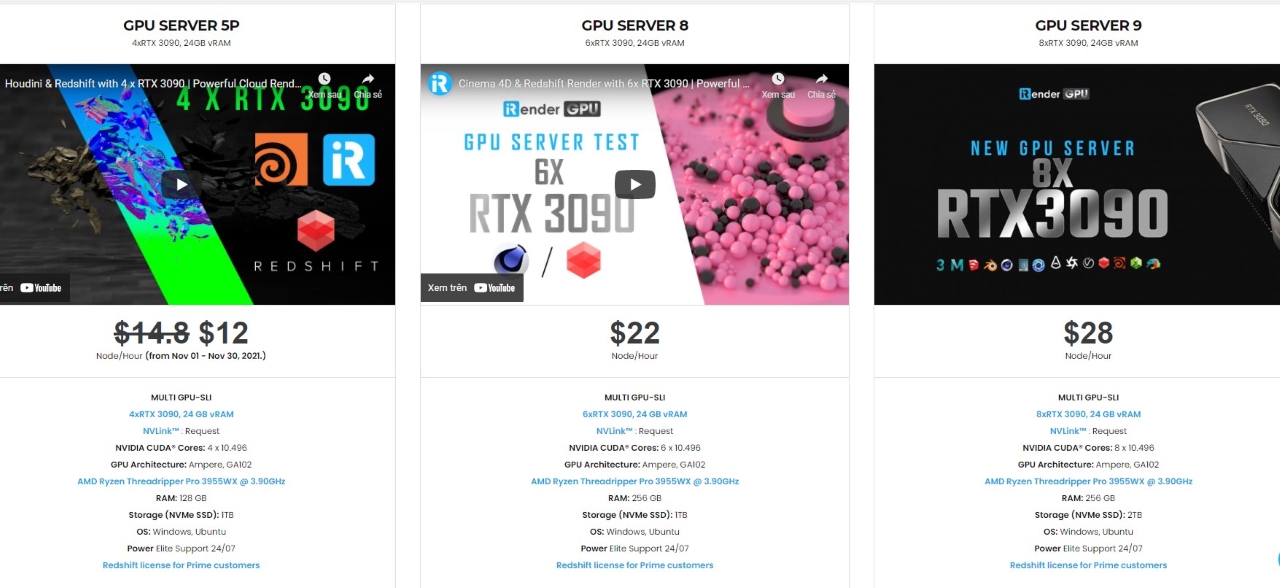
- Reasonable price
iRender provides high-end configuration at a reasonable price. You can see that iRender’s package always costs much cheaper than packages of other render farms (in performance/price ratio). Moreover, iRender’s clients will enjoy many attractive promotions and discounts. For example, this December, we offer a promotion for new users and discounted prices for many servers, users will take advantage of these to level up their renders.
SPECIAL OFFER for this December: Get 20% BONUS for all newly registered users.

Let’s see rendering tests with Blender on multi-GPU at iRender:


If you have any questions, please do not hesitate to reach us via Whatsapp: +(84) 916017116. Register an ACCOUNT today and get FREE COUPON to experience our service. Or contact us via WhatsApp: +(84) 916017116 for advice and support.
Thank you & Happy Rendering!
Source: creativebloq.com
Related Posts
The latest creative news from Blender Cloud Rendering.