Introduces a new character creation and animation pipeline in Blender
The most effective way to create 3D characters and animation pipeline in Blender using Character Creator & iClone.
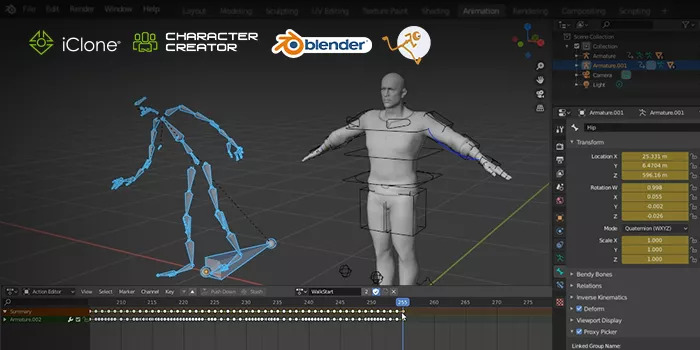
In this Blog’s today, we share the process of creating a fully-rigged character in Character Creator 3, animating the character with iPhone facial mocap and the Reallusion motion library in iClone, and importing character and motion into Blender. There are two methods of working with motion data in Blender – one is using Auto-Rig Pro, another is using Non-linear Action Editor (NLA).
Now let’s find out some new character creation and animation pipeline in Blender!
PART 1: CHARACTER CREATOR TO BLENDER WITH AUTO-RIG PRO
If you are someone who just wants access to a library of characters, then Character Creator 3 (CC3) is the tool that you are looking for. CC3 is an amazing character creation tool that can be imported into Blender with no issue and a little setup. Character creation is a skillset where you can spend tens of hours working on the one character, but with CC3, you can have a unique character in as little as ten minutes using the intuitive sliders to change body and facial shapes.
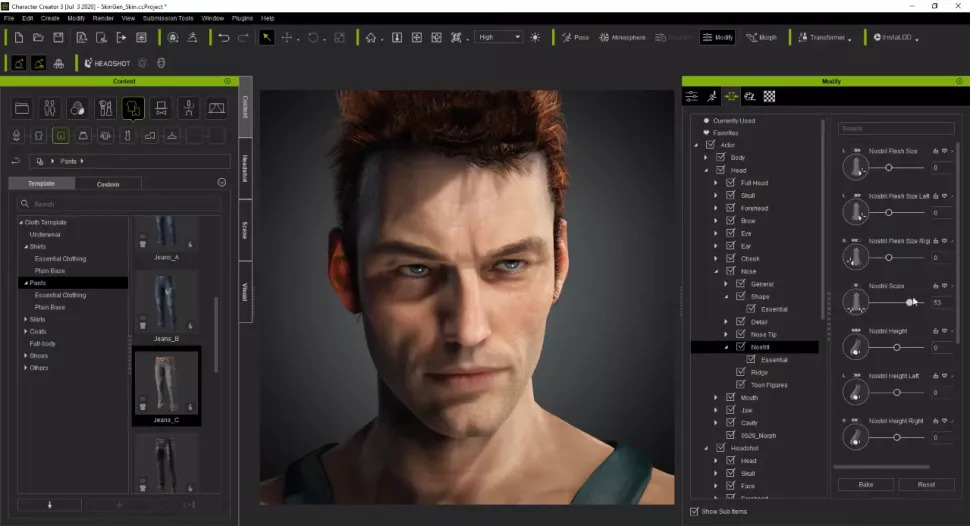
In this video (below), we are going to go through the process of exporting the character from Character Creator 3, importing it into Blender, setting up the materials, and then rigging the character with Auto-Rig Pro.

PART 2: ANIMATING CHARACTERS IN BLENDER
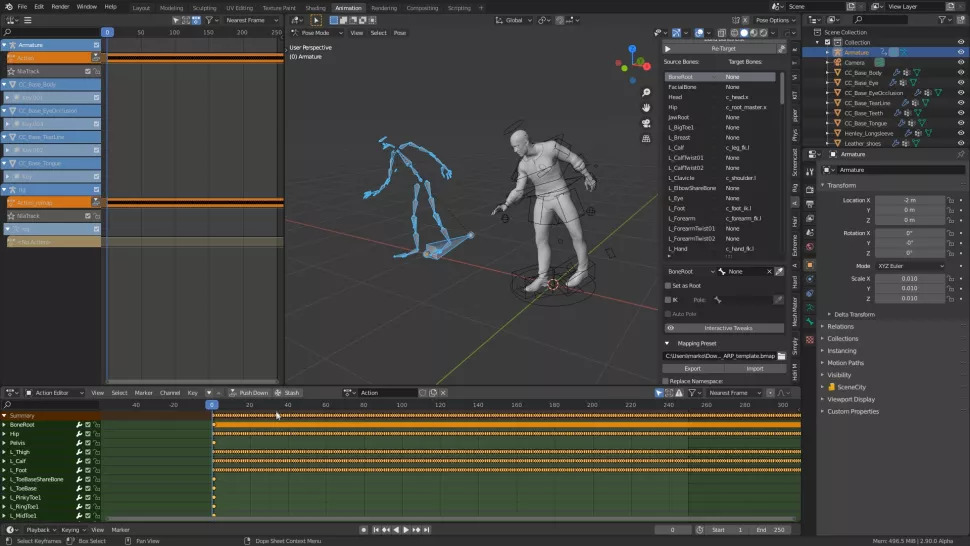
iClone is a truly amazing tool for working with motion capture data, and also using their motion library, in giving your character life. Compared to Blender, there are no native tools for working with motion data other than the Non-linear Action Editor (NLA) and even then, there is a lot of post work that needs to be done. iClone does a lot of the hard work in order for your animations, whether for game or film, to be up and running. If you choose to use iClone, your production cycle will reduce from six months to two weeks for animated short films.
In this video (below), we will go through the process of exporting a character from iClone with body motion, and applying it to another character in Blender.

It is highly recommended that you create all your base animations in iClone before exporting to Blender, and this goes for both body motion and facial motion. This will save a lot of time and you will not need to do post work with applying actions in the Non-Linear Animation Window.

PART 3: FACIAL MOTION CAPTURE FOR BLENDER
Facial animation is a very time consuming aspect of animation, as this is what will make or break your work. Using iClone to capture that facial animation, you have the ability to use facial capture. iClone will then do all the hard work for you, saving you time and money. Within Blender, you could try using hooks and paint dots on your face to track the markers, however that comes with its own challenges, such as failed tracks.
In this video (below), we will go through the process of capturing facial motion data, exporting from iClone and importing it into Blender. From here in Blender we will then go through the process of combining body and facial motion capture to one character to complete your animation cycle.

PART 4: COMBINING FACIAL SHAPE KEYS AND ARMATURE ANIMATION IN BLENDER WITH AUTO-RIG PRO
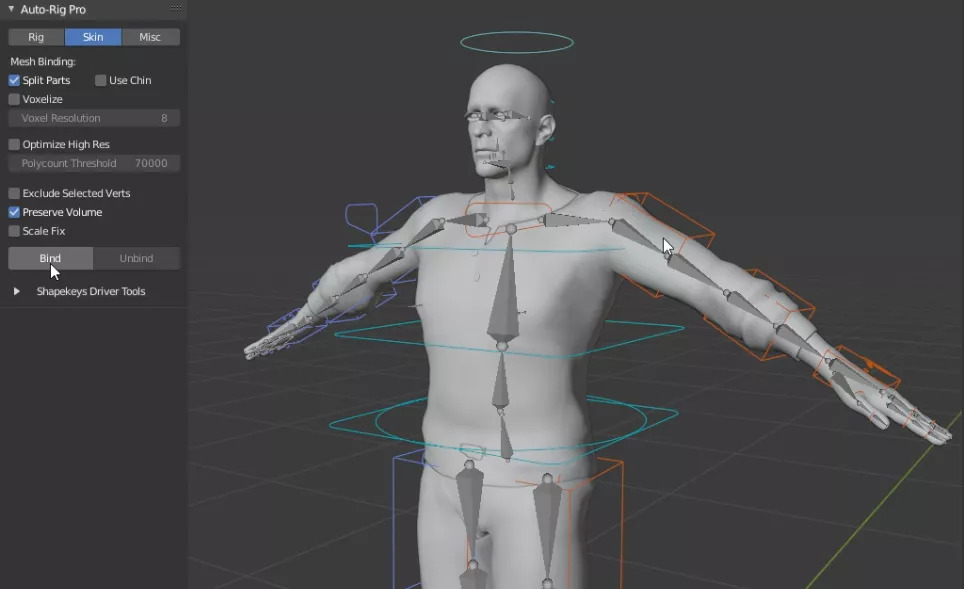
Exporting characters from either iClone or Character Creator 3 and importing them straight into Blender will only import the default rig. If you want to be able to refine your motions, but would like more controls, such as IK and FK tools, then using Auto-Rig Pro will resolve this issue. Auto-Rig Pro as well will speed up the process of applying motion capture data from other sources onto your characters, increasing workflow times. There are some tricks to getting this flow working correctly, but once it is set up, you won’t have to do it again for that character.

In this video (below), we will go through the process of exporting your character from Character Creator 3, importing it in Blender. From here we will use Auto-Rig Pro to create a new rig that allows more control over the default armature, whilst still being able to apply facial motion capture to the character. This is the last part of the series where we will go through the full process of exporting an animation with both body and facial motion capture, importing it into Blender, and then rigging the character with Auto-Rig Pro.
Final Thought
We hope this overview will help you choose a suitable way to create a new character creation and animation pipeline in Blender as well as we hope through today’s Blog you will choose a plugin that is suitable for Blender. As you may know, iRender provide to you high performance and configurable server system for 3D rendering, AI Training, VR & AR, simulation, etc. With our server, you can install any software you need, add your license, and do whatever you like with your project. These tools above are no exception. Most tools for fluids are computationally expensive. Understanding that, we have different config and package compatible with them, from CPU to single GPU, dual and even multi-GPUs.
Moreover, iRender has many more to offer.
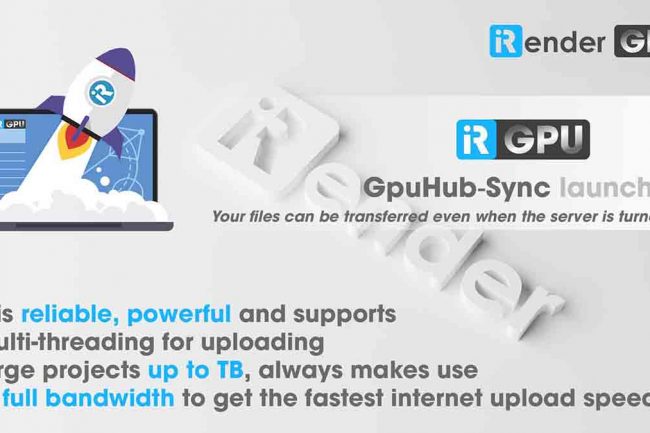
- Free and convenient transfering tool: iRender offers a powerful and free file transfer tool: Gpuhub Sync. With fast file transfer speed, large data capacity, and completely free. You can transfer all the necessary data into our Gpuhub Sync tool at any time without connecting to the server. The data will be automatically synchronized in the Z drive inside the server, ready for you to use.
- Flexible price: You can always save from 10% to 40% with our Fixed Rental feature. For those who’s in need of server more than a day, or have extremely large project, we advise to choose daily/ weekly/monthly rental package. The discount is attractive (from 10 to 40% depends on your package), and you don’t have to worry about over-charging if you forget to shutdown the server.
- Real human 24/7 support service, helping you to handle the problem quickly, effectively, saving you both time and money.
In addition, we always have attractive promotions to thank our beloved customers. SPEICAL OFFER for this June: Get 20% BONUS for all newly registered users.
If you have any questions, please do not hesitate to reach us via Whatsapp: +(84) 916017116. Register an ACCOUNT today and get FREE COUPON to experience our service.
iRender – Happy Rendering!
Source: inspirationtuts.com
Related Posts
The latest creative news from Blender Cloud Rendering.