Learn about Blender Grease Pencil with iRender Cloud Rendering
We bet you know Blender as a 3D package, and it might even sound strange to think of making 2D art in a 3D environment. However, Blender offers you the possibility to do just that with the Blender Grease Pencil object. And although it seems rather pointless since there are many software dedicated especially for 2D art, it can actually provide huge value. So what is Blender Grease Pencil and what is it used for? How to use Grease Pencil in Blender? Grease Pencil is a 2D special type of objects that comes integrated in Blender itself, so you’ll just have to activate it. It allows you to make 2D art in the 3D viewport in a very unique workflow. In Blog’s Today, we will learn about Blender Grease Pencil.
What is a Blender Grease Pencil?
First off, let’s have a quick overview on what this feature is for those of you who are not very familiar with it. Blender Grease Pencil is a 2D drawing object that comes integrated in the 3D package itself, so it doesn’t require any separate install. Using it in the 3D viewport is simple, you just need to:
- activate it.
- hold down the D button of your keyboard.
- maintain the left click of your mouse, and drag the cursor around the 3D space.
Just like all Blender objects, Grease Pencil offers you a range of advanced options for modeling, simulation, rendering, animation and compositing.
Blender Grease Pencil Usage
Grease pencil might seem too simple to be seriously used in most types of projects, or even counter-intuitive and rather useless. But it’s actually quite the opposite when you become aware of its power, as it can serve many purposes and it can be adopted in many industries. We can mention for example:
- Sketching: especially the type of sketching that can stand for brainstorming, before starting a project that will be eventually modeled in Blender itself.
- Drawing: not only the classic form of drawing, but also the one that serves end-to-end integration. For example, many concept and graphic artists rely on 3D models for things like character poses, depth, environment, perspective and so on. Merging both of these dimensions in one single package can boost the workflow tremendously.
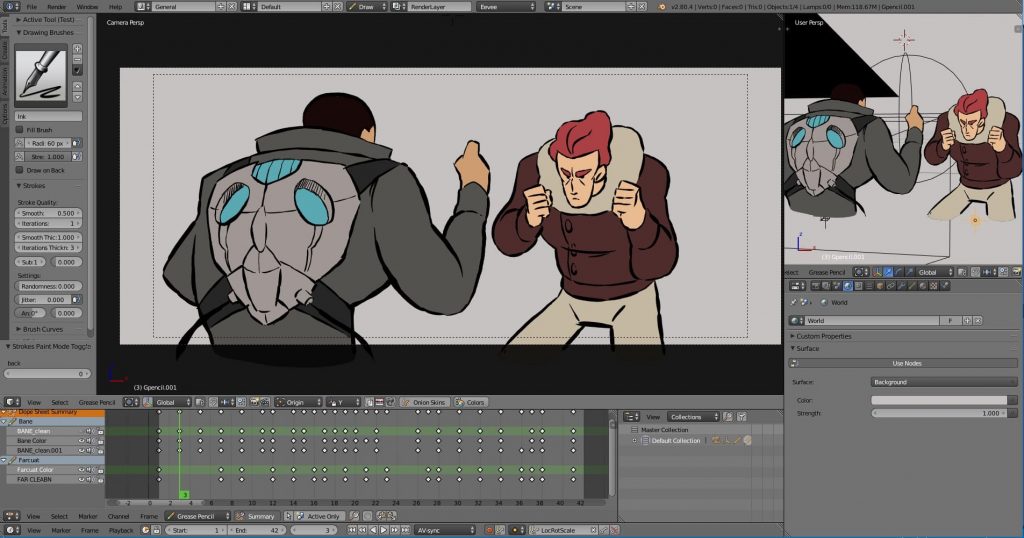
- Animation: since the sole purpose of the Grease Pencil first and foremost was bringing 2D animation to Blender. We can see the tangible proof of this great advantage in many open 2D animation movies, like “Hero” for example.
Moreover, we have seen Blender and its Grease Pencil find their way to many graphic design ends. Some of them include media production, advertisement, marketing, and many others.
Components and Options
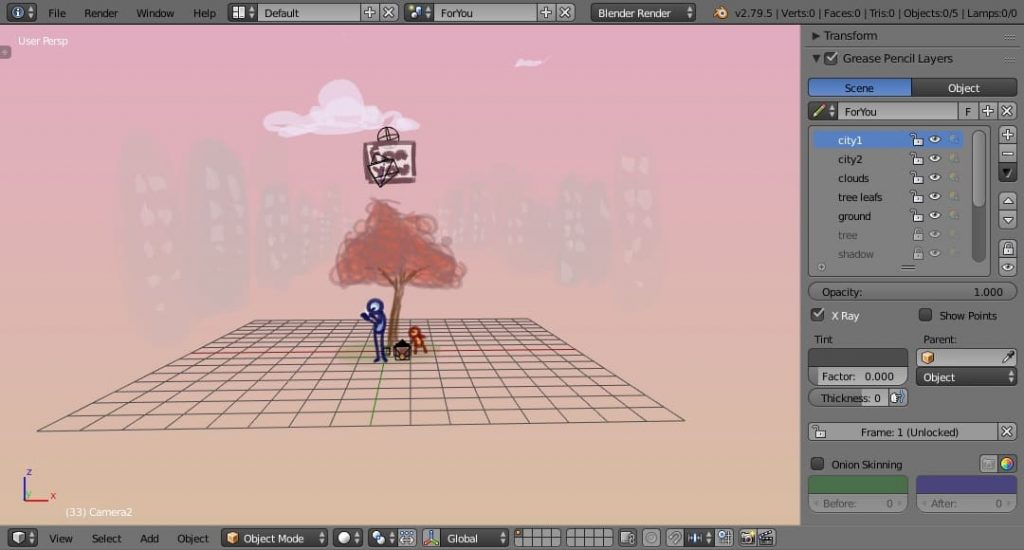
Structure

Once you launch Blender, going to the 2D animation section is the only step to open the Grease Pencil workspace. Taking a closer look at the structure, it’s composed of 3 main elements:
- First you have the Point, which is a single point in the 3D space that saves all the properties like weight, texture, thickness, location and so on. These properties are responsible for the Stroke’s final appearance besides its location in the 3D space.
- Next, you have the Edit Lines that represent the links between the different Points. They’re generally invisible but you can display them in the Edit Mode or the Wireframe View.
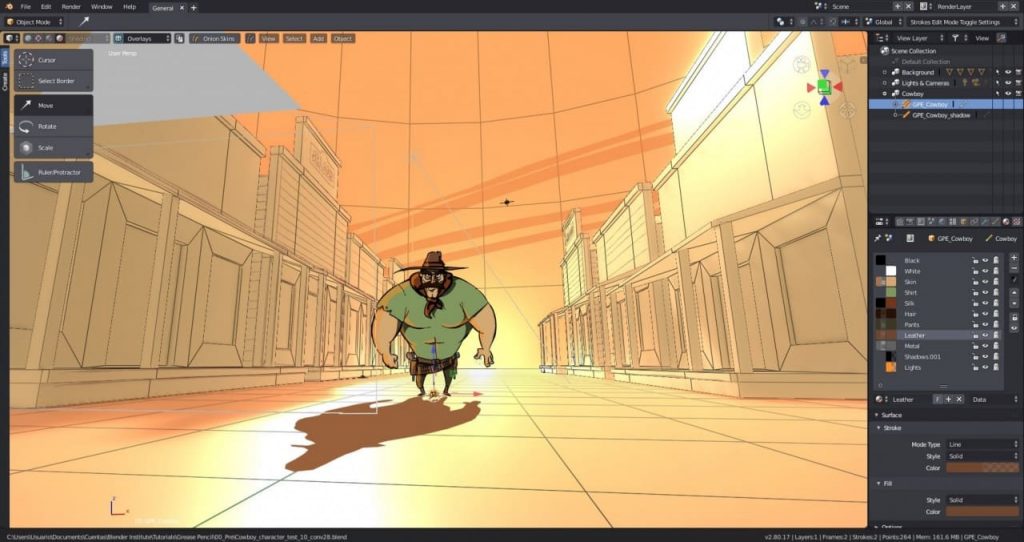
- Finally, you have the Strokes that represent the final result of both Points and Lines combined after rendering.
Primitives
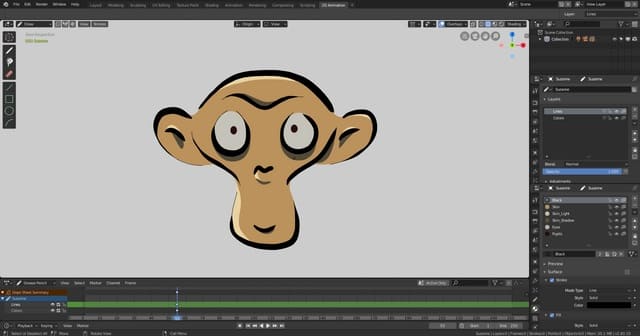
Just like the default cube in the 3D section, there’s an equivalent in the 2D one called “Primitives”. It’s a nice staging phase when you start a new project, a lot better than the overwhelming empty 3D space. You get to add 3 types of Primitives:
- The first one is the Blank: you can add an object without any stroke.
- The second is the Stroke: you can add a simple one as a reference.
- The third and final one is Monkey: remember “Suzanne”? it’s known by the community as Blender’s mascot. There’s a 2D version of her, and you can use it as a standard test.
Modes
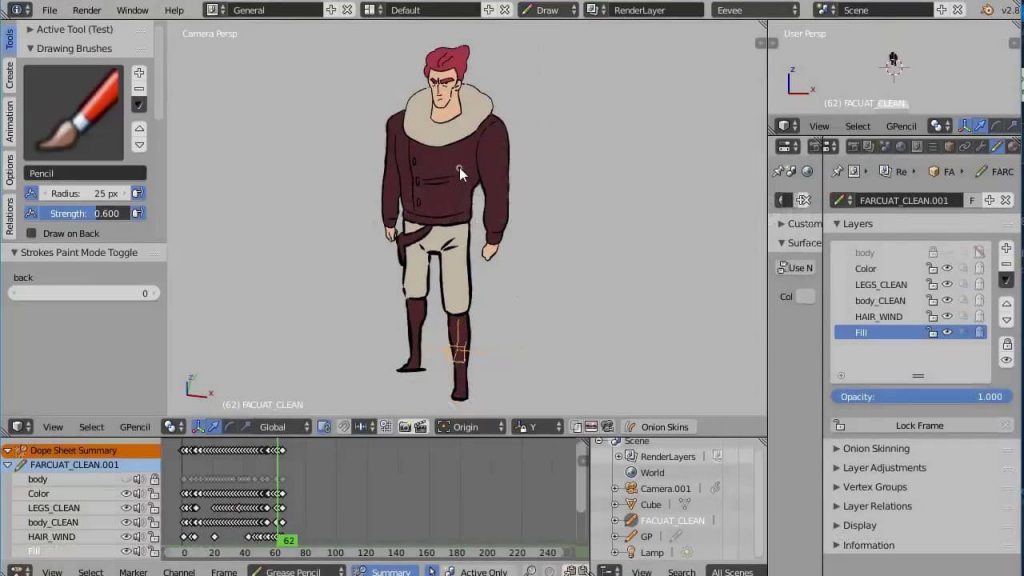
When it comes to the actual workflow, Blender Grease Pencil offers you 3 modes that you can access from the Mode Menu located on the 3D View header:
- First, you have the Draw Mode: which is the only mode that allows you to add and draw a new Stroke in the 3D View. Once you activate it, the cursor will turn into a circle with the same color of the material. You can either choose the free hand drawing option, or you can just pick one of the basic shapes, such as lines, curves, circles and boxes.
- The Edit Mode is used to alter the shape of the drawing. But the workflow is kinda different: it doesn’t deal with Points and Edit Lines. Instead of that, it functions with the area of the model and it alters it using a brush.
- The Sculpt Mode manipulates the drawing in the brush region of influence. It has specific panels and once it’s activated, the cursor will turn into a red circle in the 3D View.
Properties
Since making 2D flat drawings in a 3D environment is not very conventional as it is, you’ll end up facing a few challenges. Most of them will be related to choosing 2 stable axes among the X, Y and Z. This is where drawing properties will come in handy:
- To define the location of the base stroke and the ones that follow, you can use the Stroke Placement Selector.
- While to define the orientation, you can use the Drawing Planes Selector to define the plane and the axes that form it.
The Professional Cloud Rendering Service For Blender
iRender is a Professional GPU-Acceleration Cloud Rendering Service provider in HPC optimization for rendering tasks, CGI, VFX with over 20.000 customers and being appreciated in many global rankings (e.g. CGDirector, Lumion Official, Radarrender, InspirationTuts CAD, All3DP). We are proud that we are one of the few render farms that support all software and all versions. Users will remotely connect to our server, install their software only one time and easily do any intensive tasks like using their local computers. Blender users can easily choose their machine configuration from recommended system requirements to high-end options, which suit all your project demands and will speed up your rendering process many times.
High-end hardware configuration
- Single and Multi-GPU servers: 1/2/4/6/8x RTX 3090/3080/2080Ti. Especially, NVIDIA RTX 3090 – the most powerful graphic card.
- 10/24 GB vRAM capacity, fitting to the heaviest images and scenes. NVLink/SLI requested for bigger vRAM.
- A RAM capacity of 128/256 GB.
- Storage (NVMe SSD): 512GB/1TB.
- Intel Xeon W-2245 or AMD Ryzen Threadripper Pro 3955WX CPU with a high clock speed of 3.90GHz.
- Additionally, iRender provide NVLink (Request) will help you increase the amount of VRAM to 48GB. This is a technology co-developed by Nvidia and IBM with the aim of expanding the data bandwidth between the GPU and CPU 5 to 12 times faster than the PCI Express interface. These servers are sure to satisfy Blender artists/ studios with very complex and large scenes.
- Let’s see rendering tests with Blender on multi-GPU at iRender:


- Reasonable price
iRender provides high-end configuration at a reasonable price. You can see that iRender’s package always costs much cheaper than packages of other render farms (in performance/price ratio). Moreover, iRender’s clients will enjoy many attractive promotions and discounts.
SPECIAL OFFER for this February: Get 20% BONUS for all newly registered users.
If you have any questions, please do not hesitate to reach us via Whatsapp: +(84) 916017116. Register an ACCOUNT today and get FREE COUPON to experience our service. Or contact us via WhatsApp: +(84) 916017116 for advice and support.
Thank you & Happy Rendering!
Source: inspirationtuts.com
Related Posts
The latest creative news from Blender Cloud Rendering.